
Graflex Lightsaber Part 1: Planning

For this project I am going to attempt to make a replica of the Skywalker Lightsaber. There are several variations on the design depicted in the numerous Star Wars movies. The version I am intending on replicating in the one from Star Wars: The Force Awakens. The reason I chose this model is, in my opinion, it combines the best features of original A New Hope prop, and the more detailed The Empire Strikes Back Prop.
This is a project that I am back posting a little. I actually started it back in 2016, and have finally gotten around to putting the finishing touches on it recently. I am going to try not to break it into too many posts, but a lot went into the almost 4-years it took to complete.
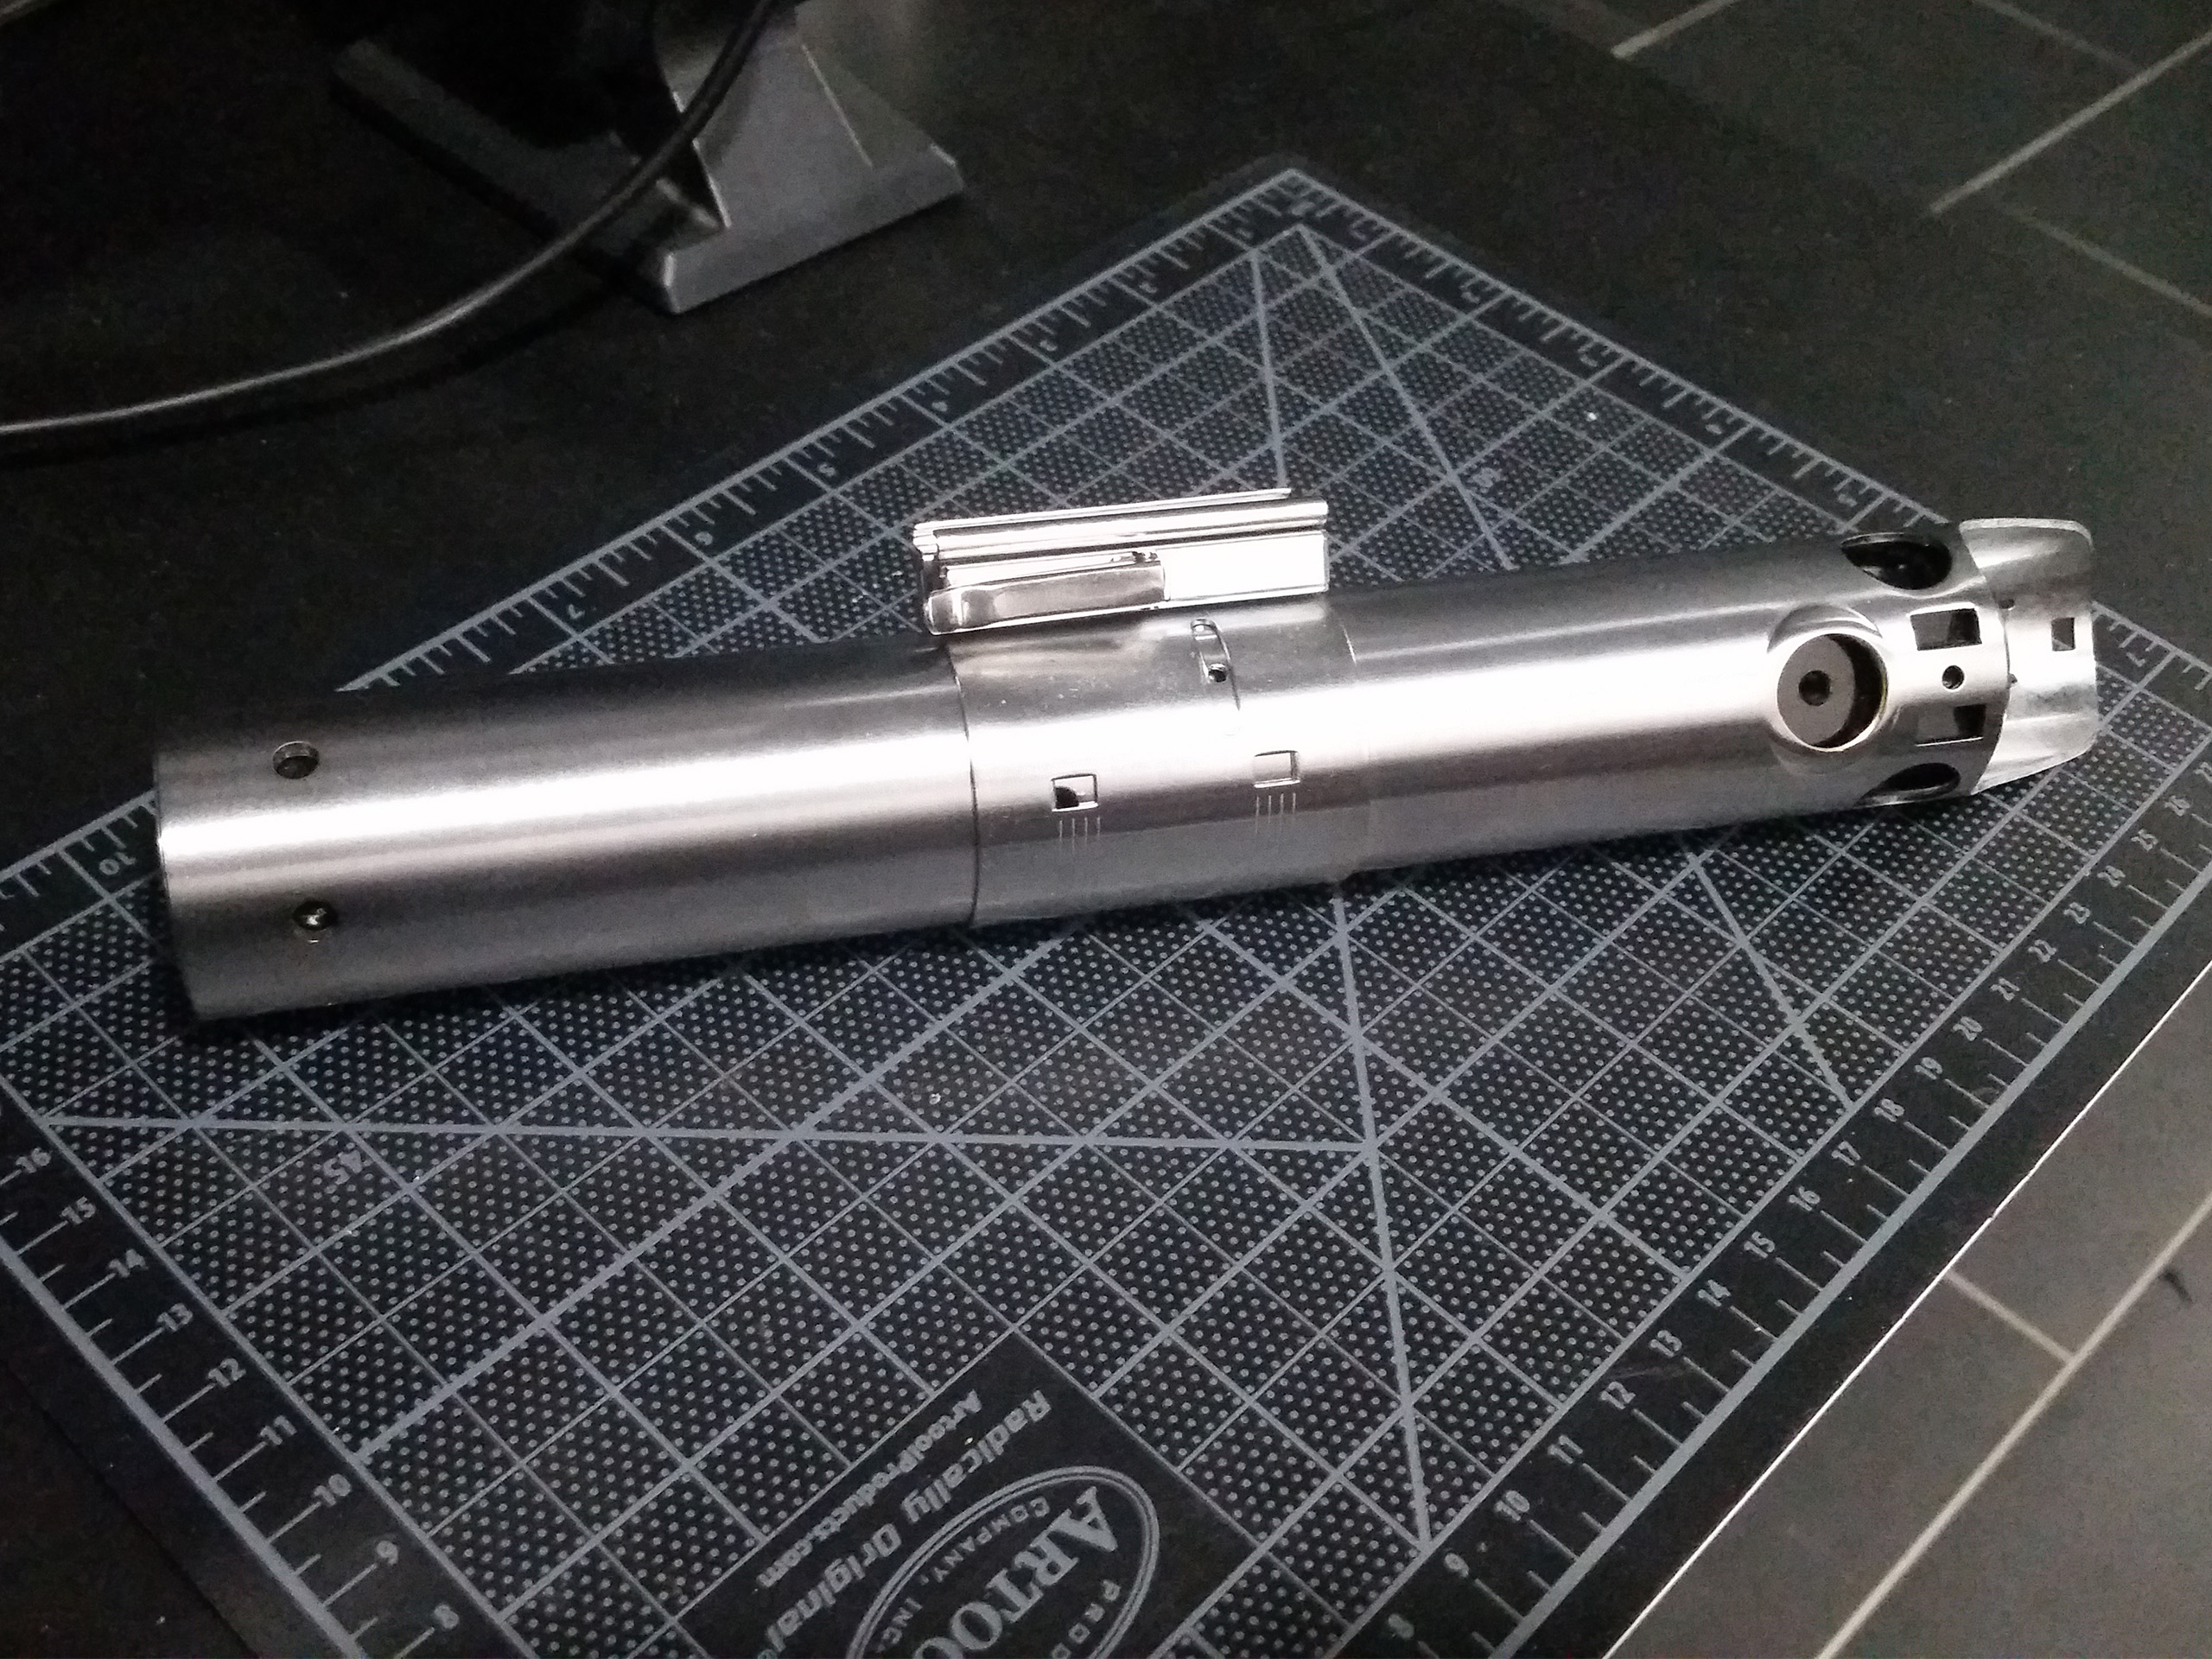
The project started when I had the chance to get my hands on a Korbanth/Parks Graflex 2.0 chassis. This is by no means the most accurate Graflex flash replica, but it will serve well enough. I plan on making a bunch of small modifications along the way to make everything a bit closer to screen accurate.
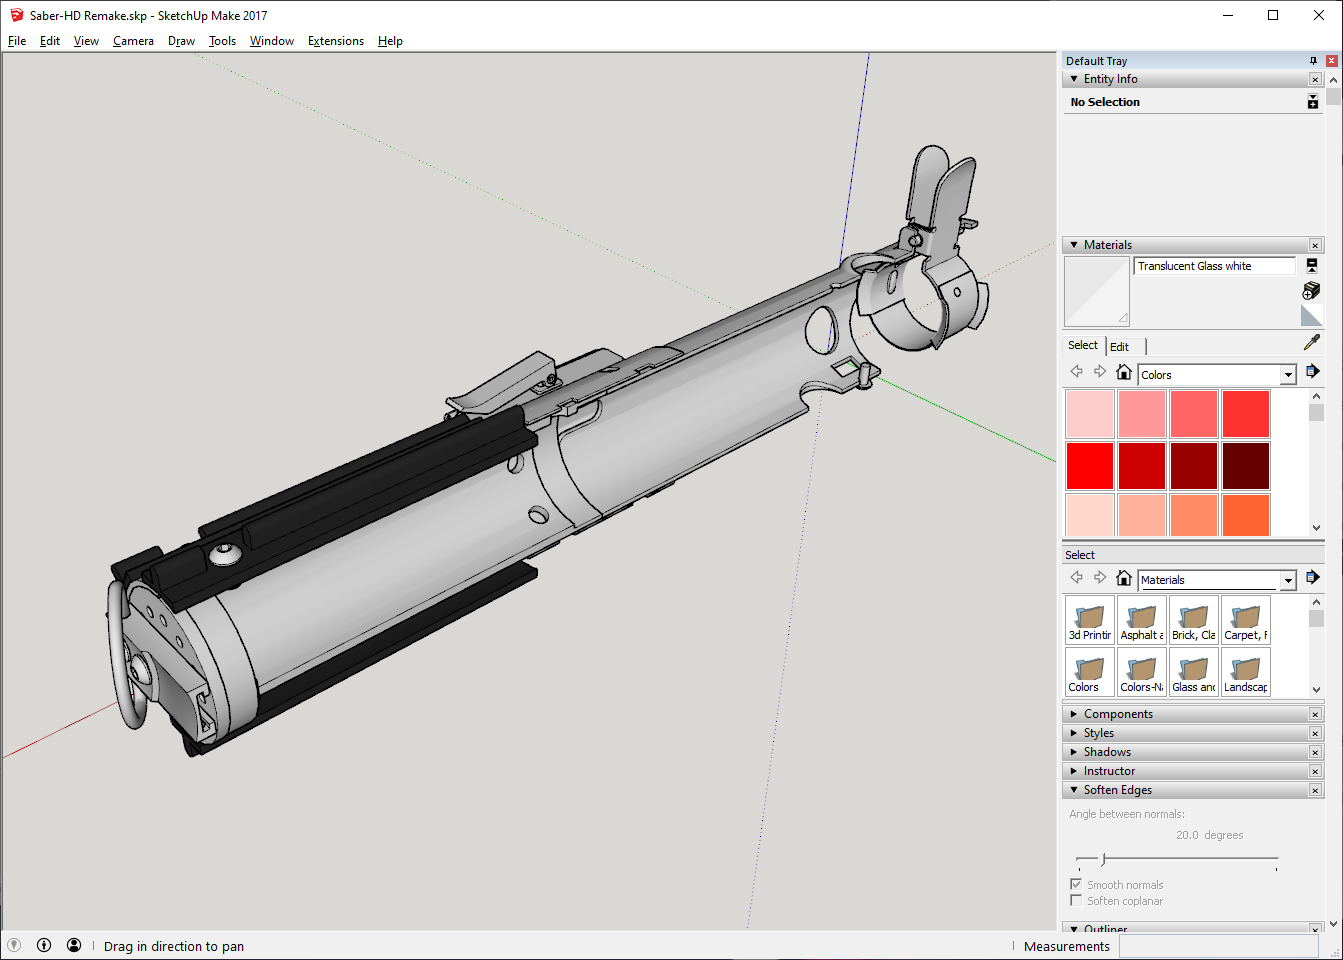
The first thing I did when the chassis arrived was completely disassemble it and take a bunch of measurements. I used those measurement to make a 3D model in SketchUp. I tried to be as accurate as possible so I knew how much space I had to work with when designing the internal components. For this project I will be making a full display internal chassis with crystal chamber.

The Graflex 2.0 chassis comes with a rather large “emitter” or blade holder that takes up almost half of the body. It is also 7/8” diameter. In its place I will be using a much nicer 1” bore blade socket adapter from The Graflex Shop. (Note: at the time of my posting this, the blade socket adapter I used has been discontinued and replaced with a newer version.)
The internal chassis is going to be broken down into a few key subassemblies held in place by long 4-40 threaded rods running the length of the saber. From front to back will be the emitter assembly with LED electronics, activation switches, rumble motor, and speaker. Next will be the LED lit crystal chamber. Followed by the battery and controller board. And finally, the charging port.
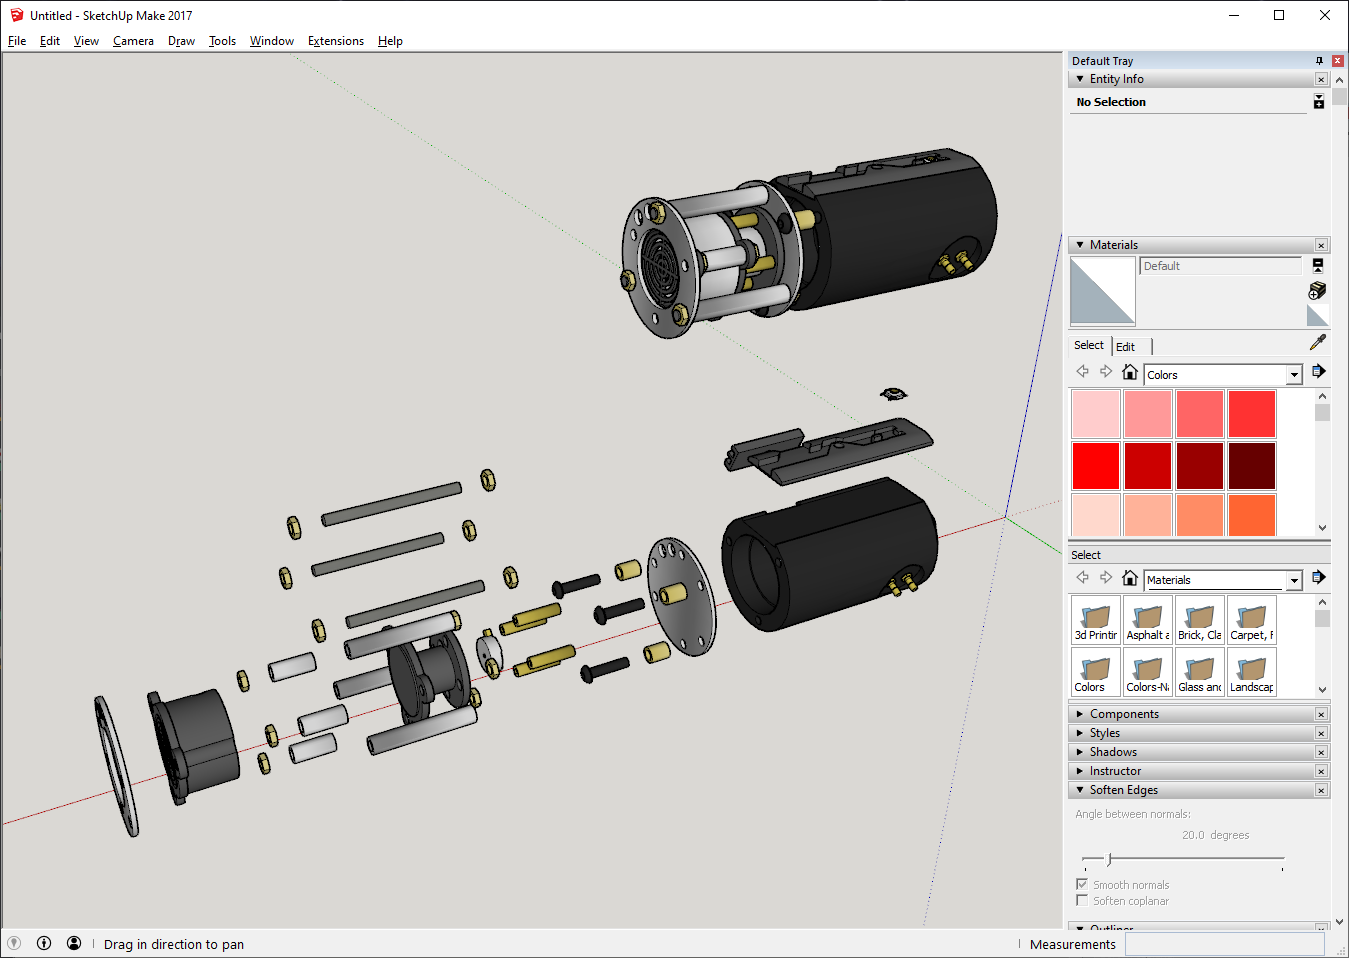
Here is the fully exploded emitter assembly. It will be made from machined aluminum disks, brass and aluminum tube stock of various diameters, and 3D printed parts. The rumble motor and speaker will be housed inside the 3D printed parts directly behind the LED emitter. In an attempt to keep everything small, I will be using a 10mm ruble motor and a 20mm speaker.
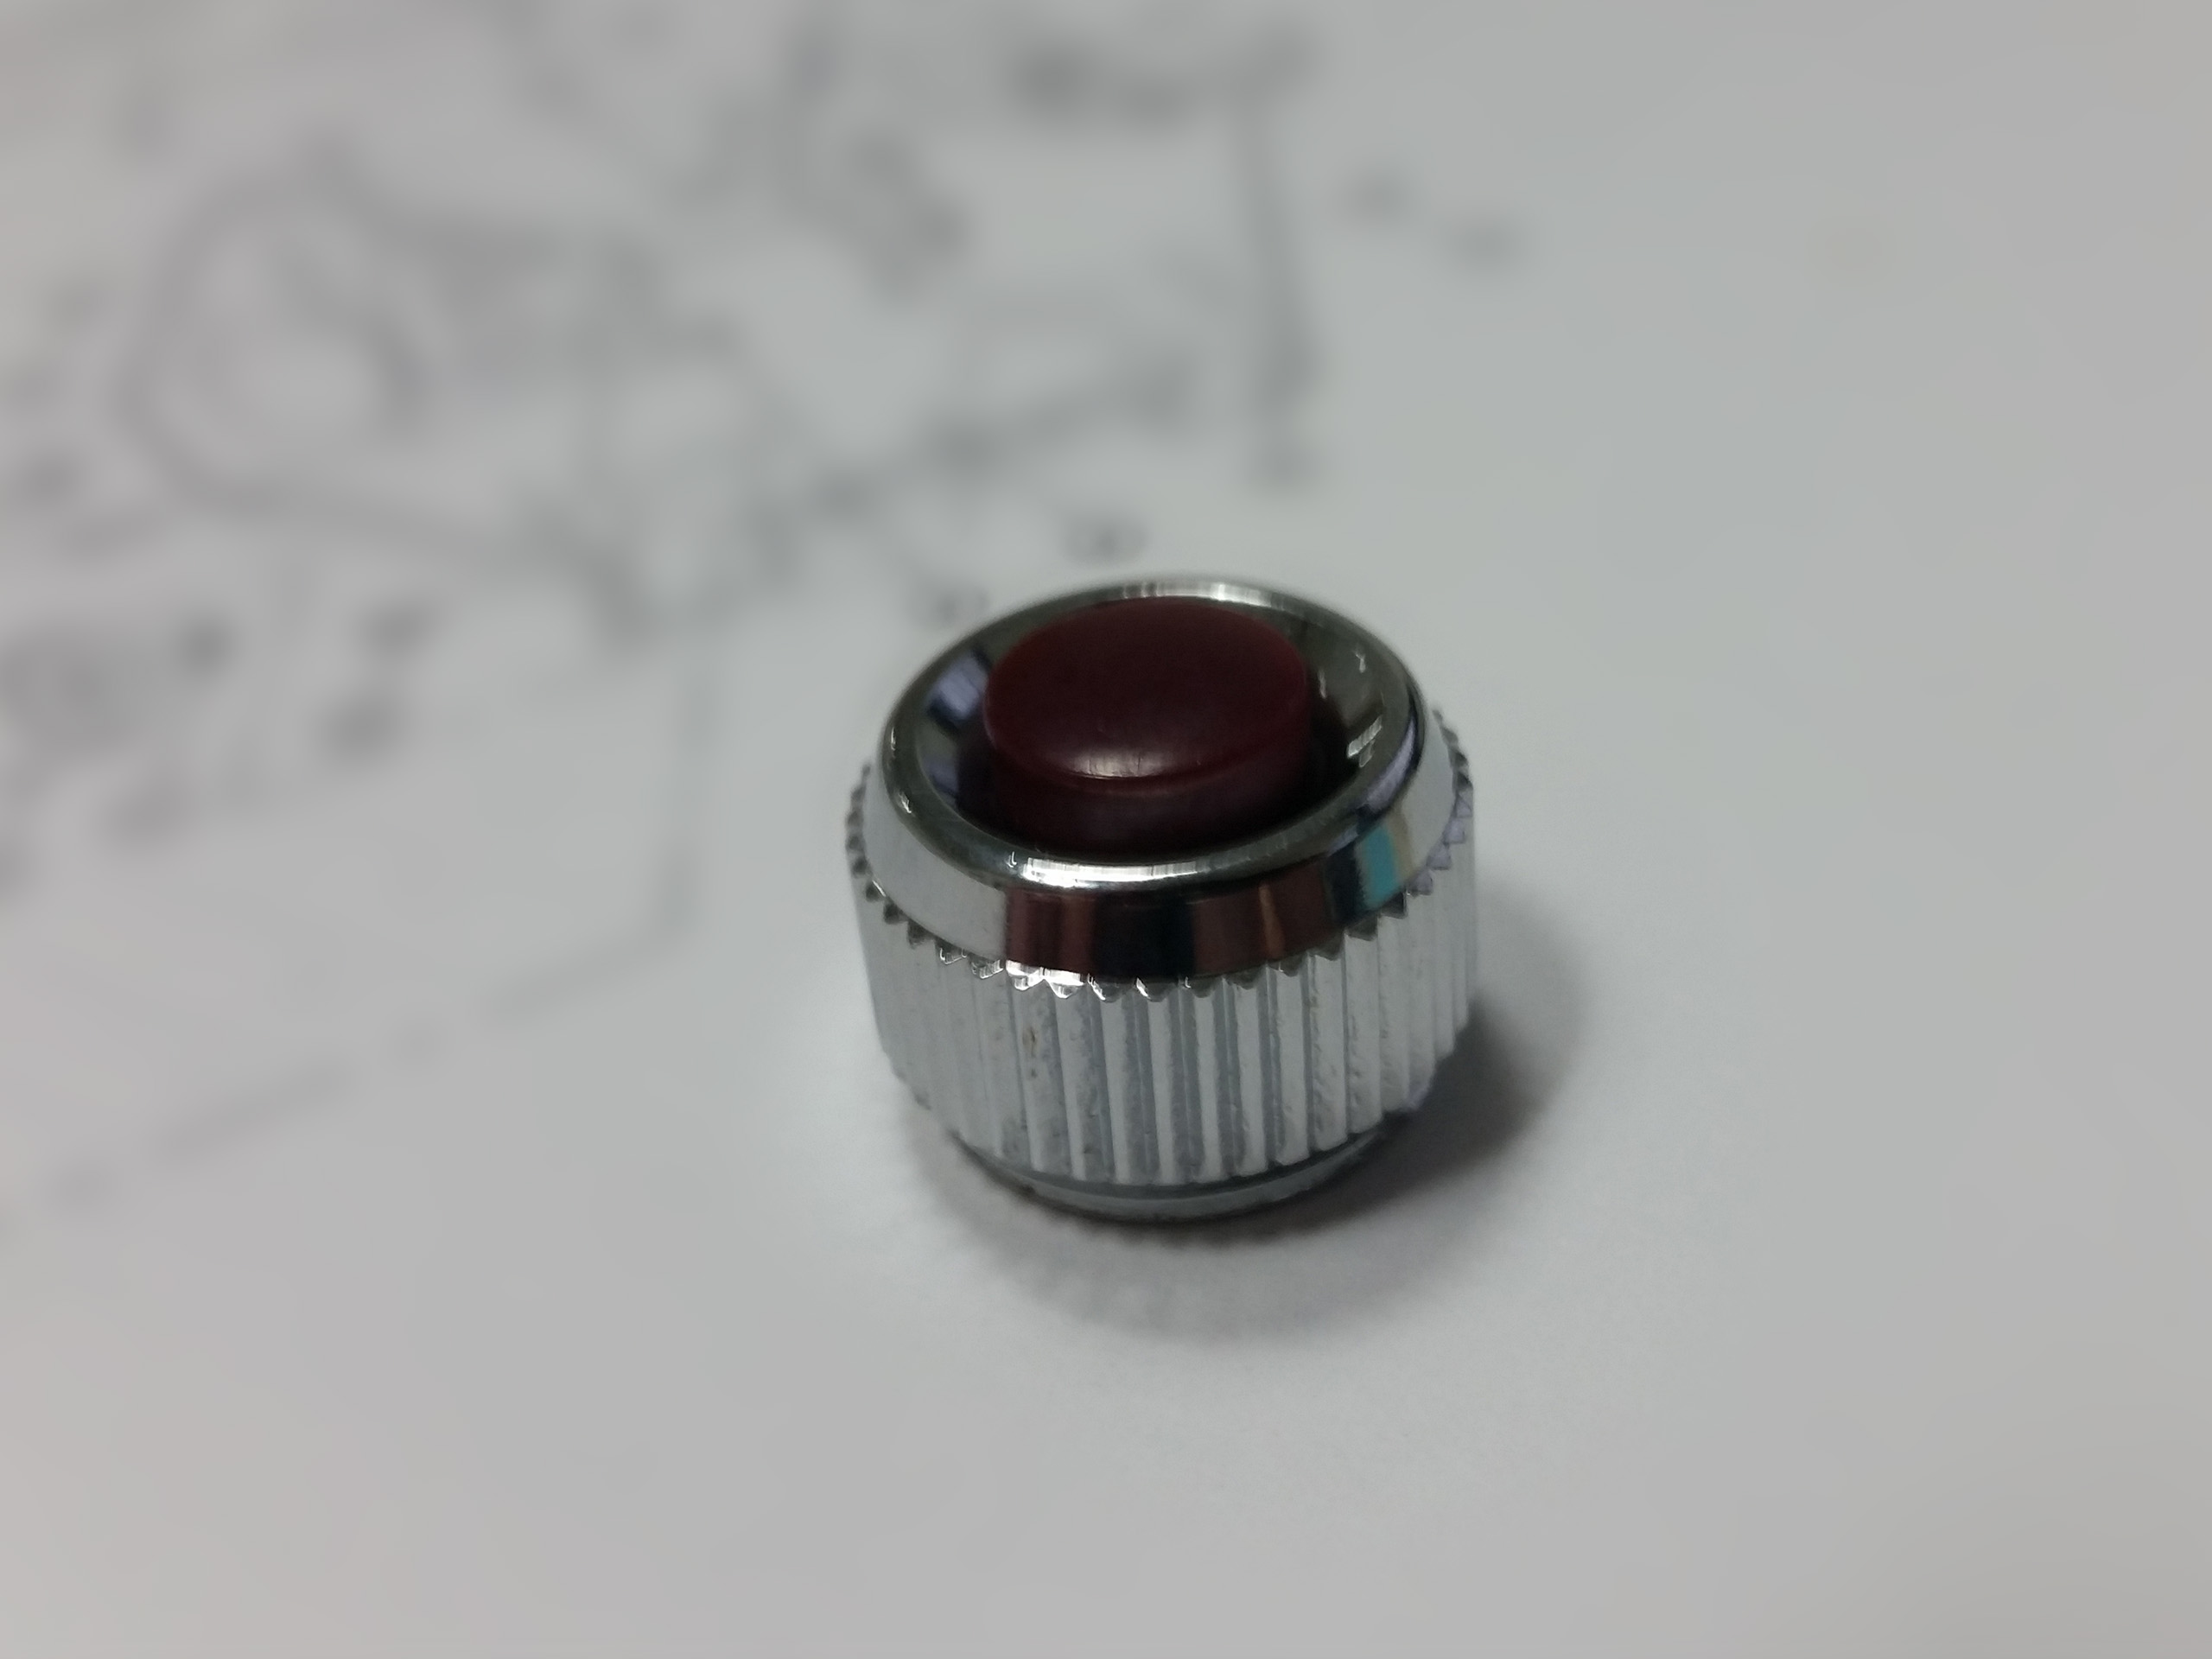
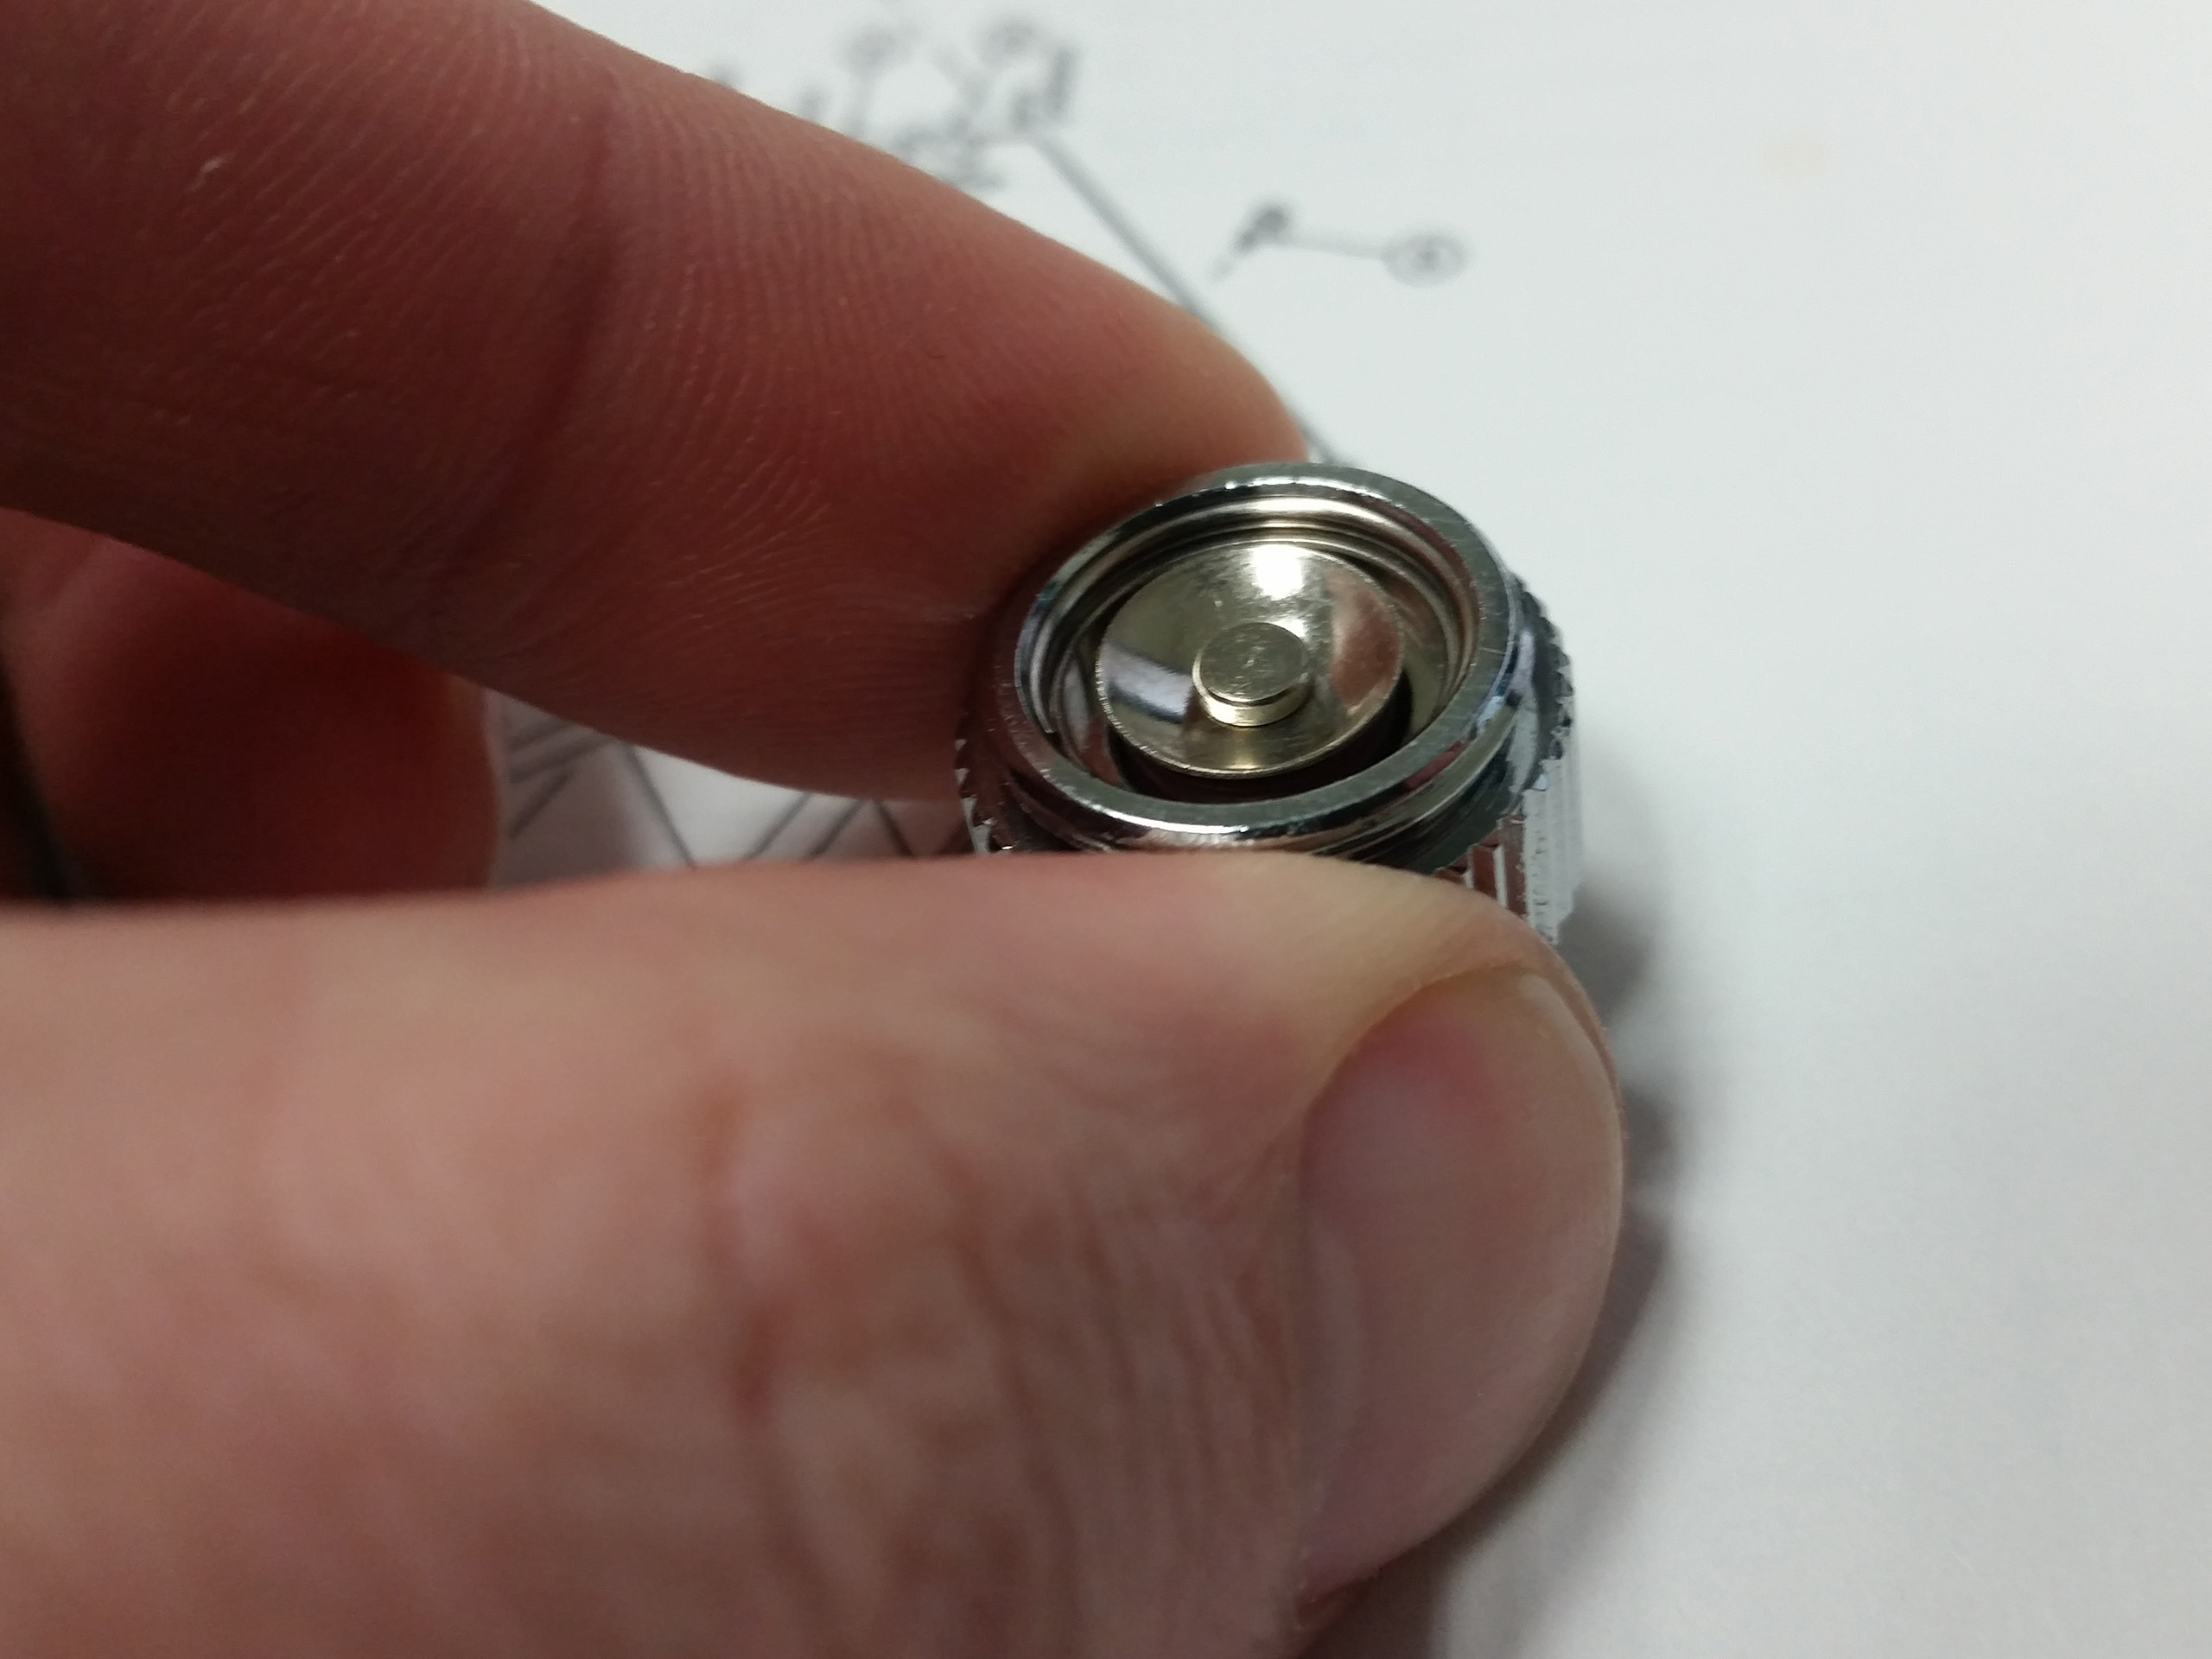
To activate the light saber I purchased a plunger style replica Graflex button. The goal is to fashion something that allows the button plunger to actuate a small Surface mount momentary contact switch on the emitter assembly. On the other side of the saber, I will be using the “glass eye” thumb screw as a blade retainer.
Next I will be finishing the 3D model and attempting to start fabricating the first parts.
Thanks for looking!
Other parts of this project
► Graflex Lightsaber Part 2: More Planning
► Graflex Lightsaber Part 3: Test Assembly
► Graflex Lightsaber Part 4: Fabrication
► Graflex Lightsaber Part 5: Cleanup
► Graflex Lightsaber Part 6: Final


Add a Comment
You must be logged in to post a comment.

That’s looking like an awesome project! I have the same blade adapter, probably how I found your project. Do you have any updates?
Hello,
Thank you for your interest in my lightsaber project. I just uploaded part 2 if you want to check it out.
It can be found here: https://bobsworkshop.com/graflex-lightsaber-part-2-more-planning/
I will try and update everything more regularly. I expect it to run 6 parts.