
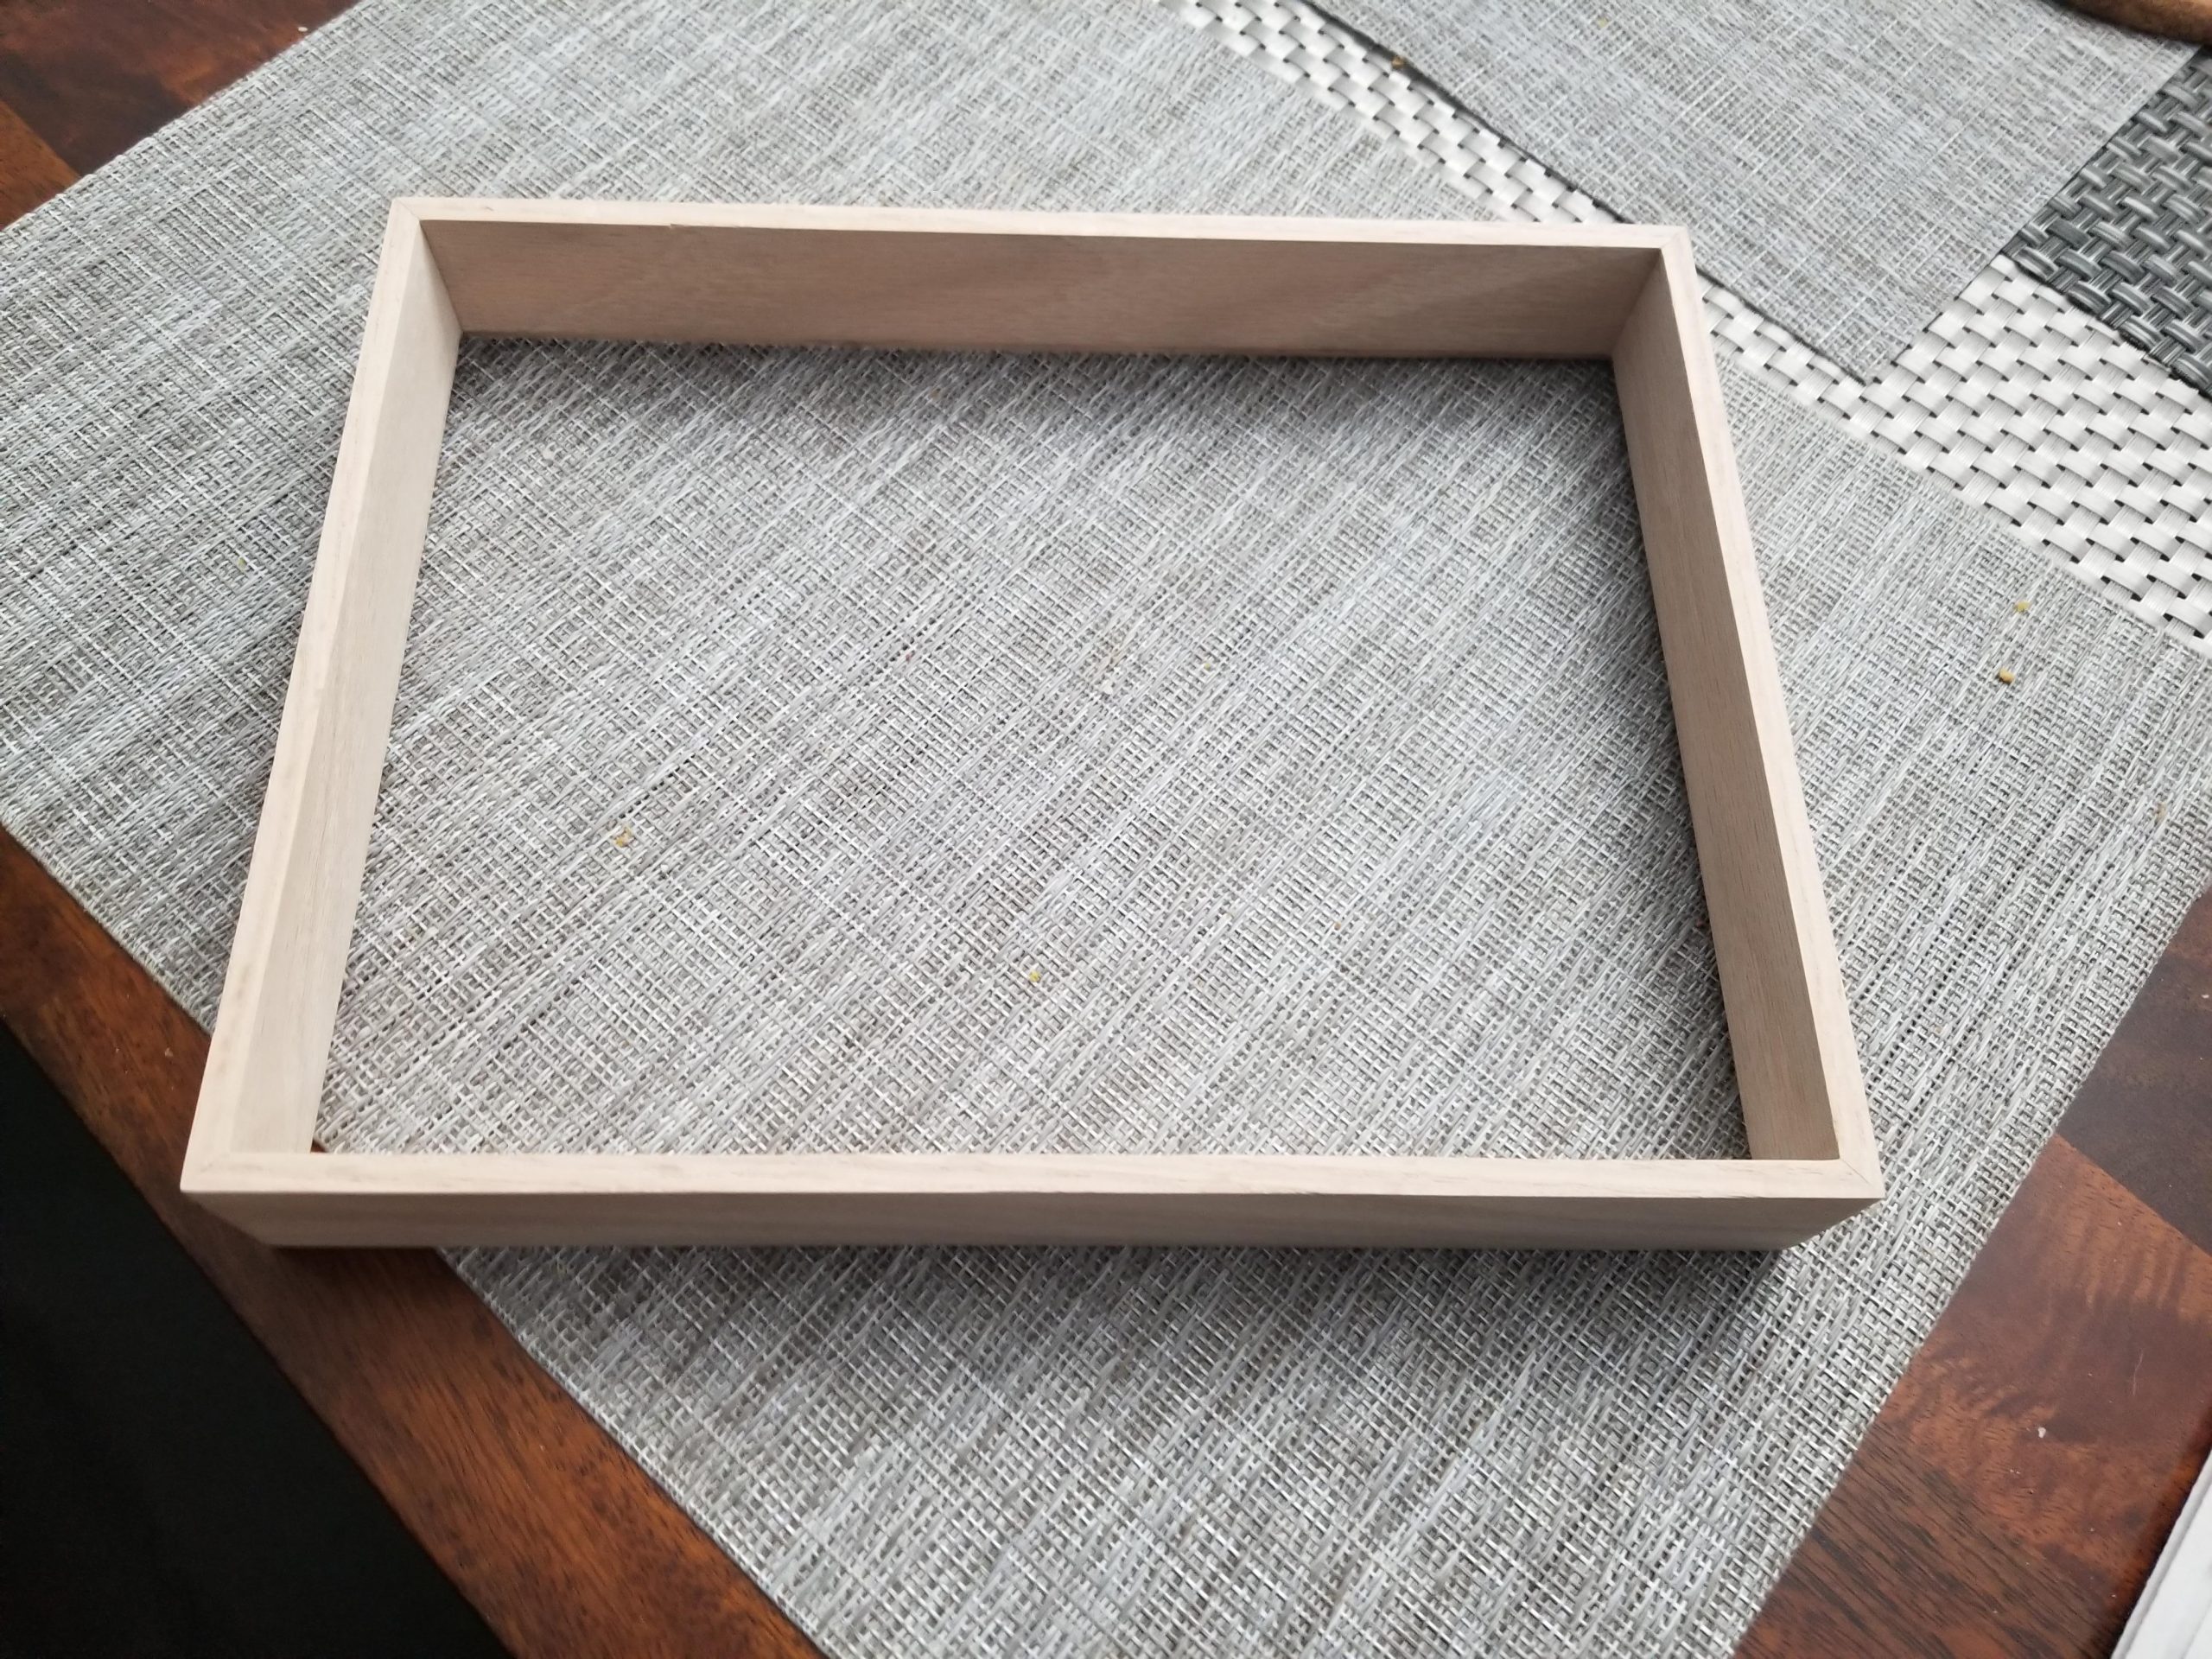
Wooden Dice Tray for Tabletop Gaming

Over the past year or so, my wife has been hosting a Dungeons & Dragons campaign at our house for her and her coworkers. This seemed like a great opportunity to make her a dice tray. A dice tray is something I have always wanted to try making. If done right they can be aesthetically beautiful and personal piece. Making one uses all the same techniques as box making, with the only large shop tool you really need being a table saw.
Pictured above is the completed dice tray. I elected to make it out of red oak as it is what I had readily available and was the closest match to the rest of the wood pieces in my living room. However, this same box can be made out of really any hardwood of your choosing.
Build Process
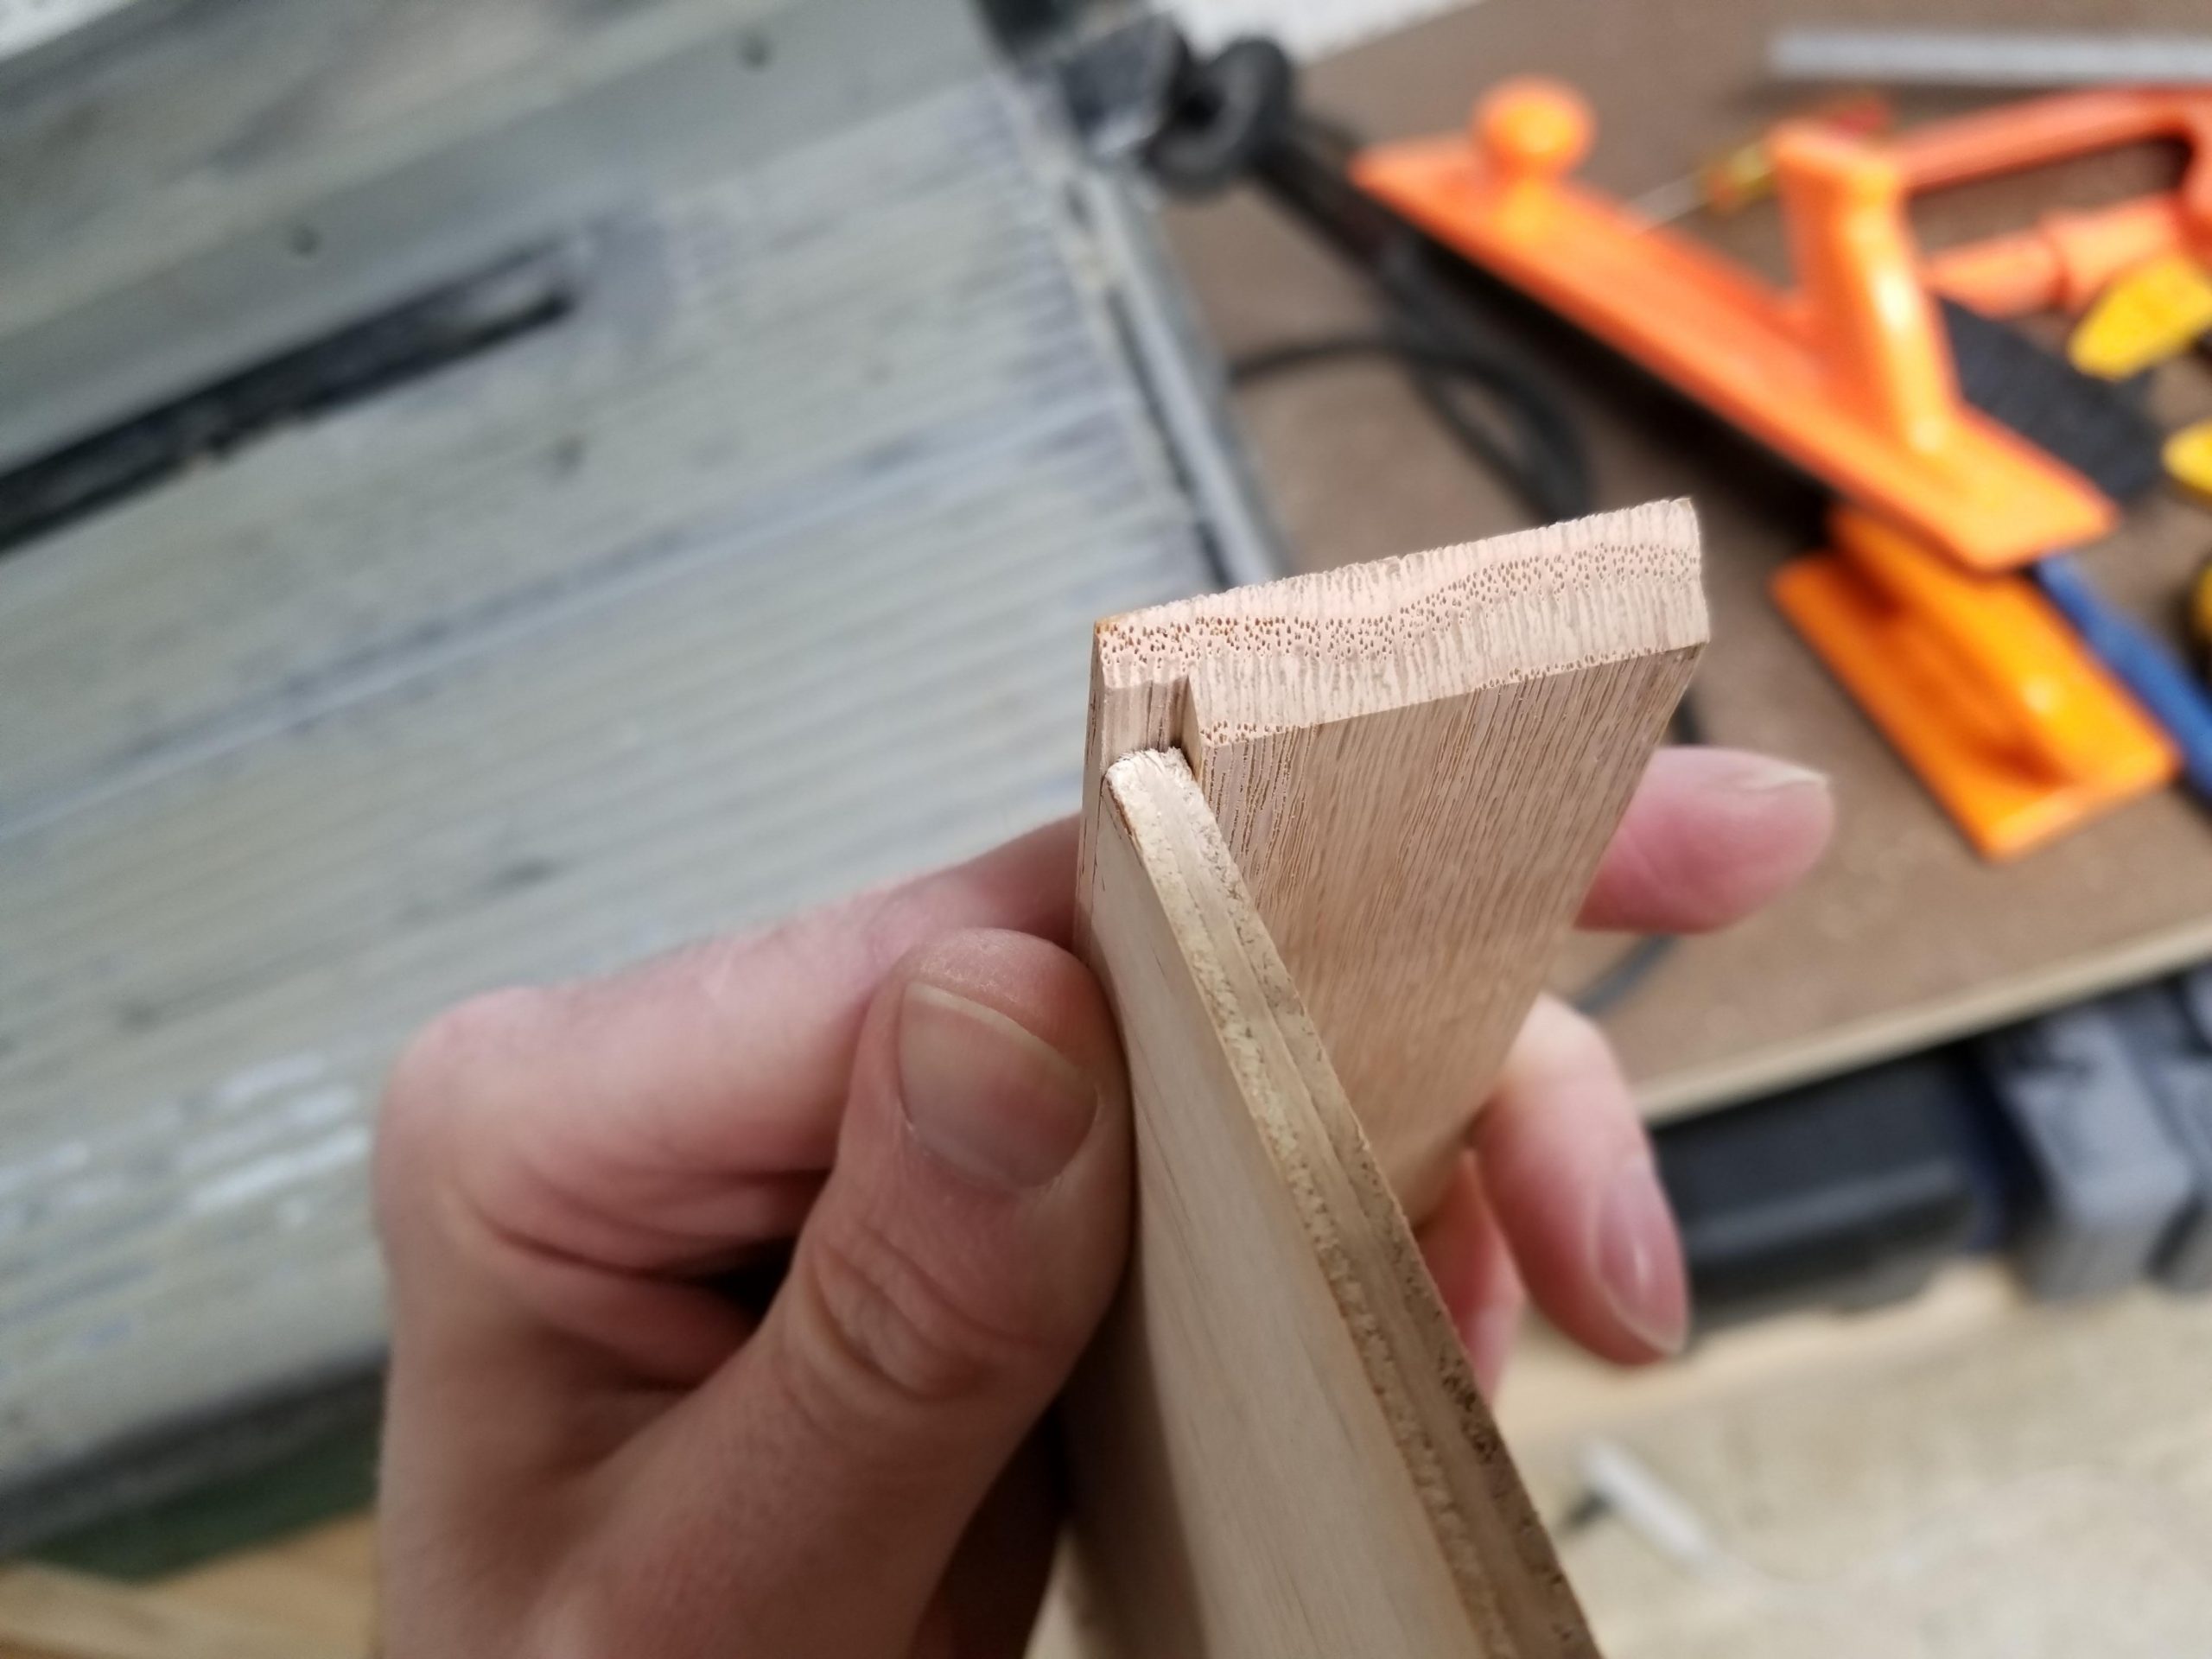
I used my table saw to cut the 4 sides of the tray using 45° mitered edges. I then dialed the blade down a cut a rabbet in the bottom of each piece to accommodate a piece a 5.2mm plywood for the tray bottom. I chose plywood because it would never be seen under the try liner, and it is cheap. In the future, I would probably use a joined wood panel to keep everything uniform.
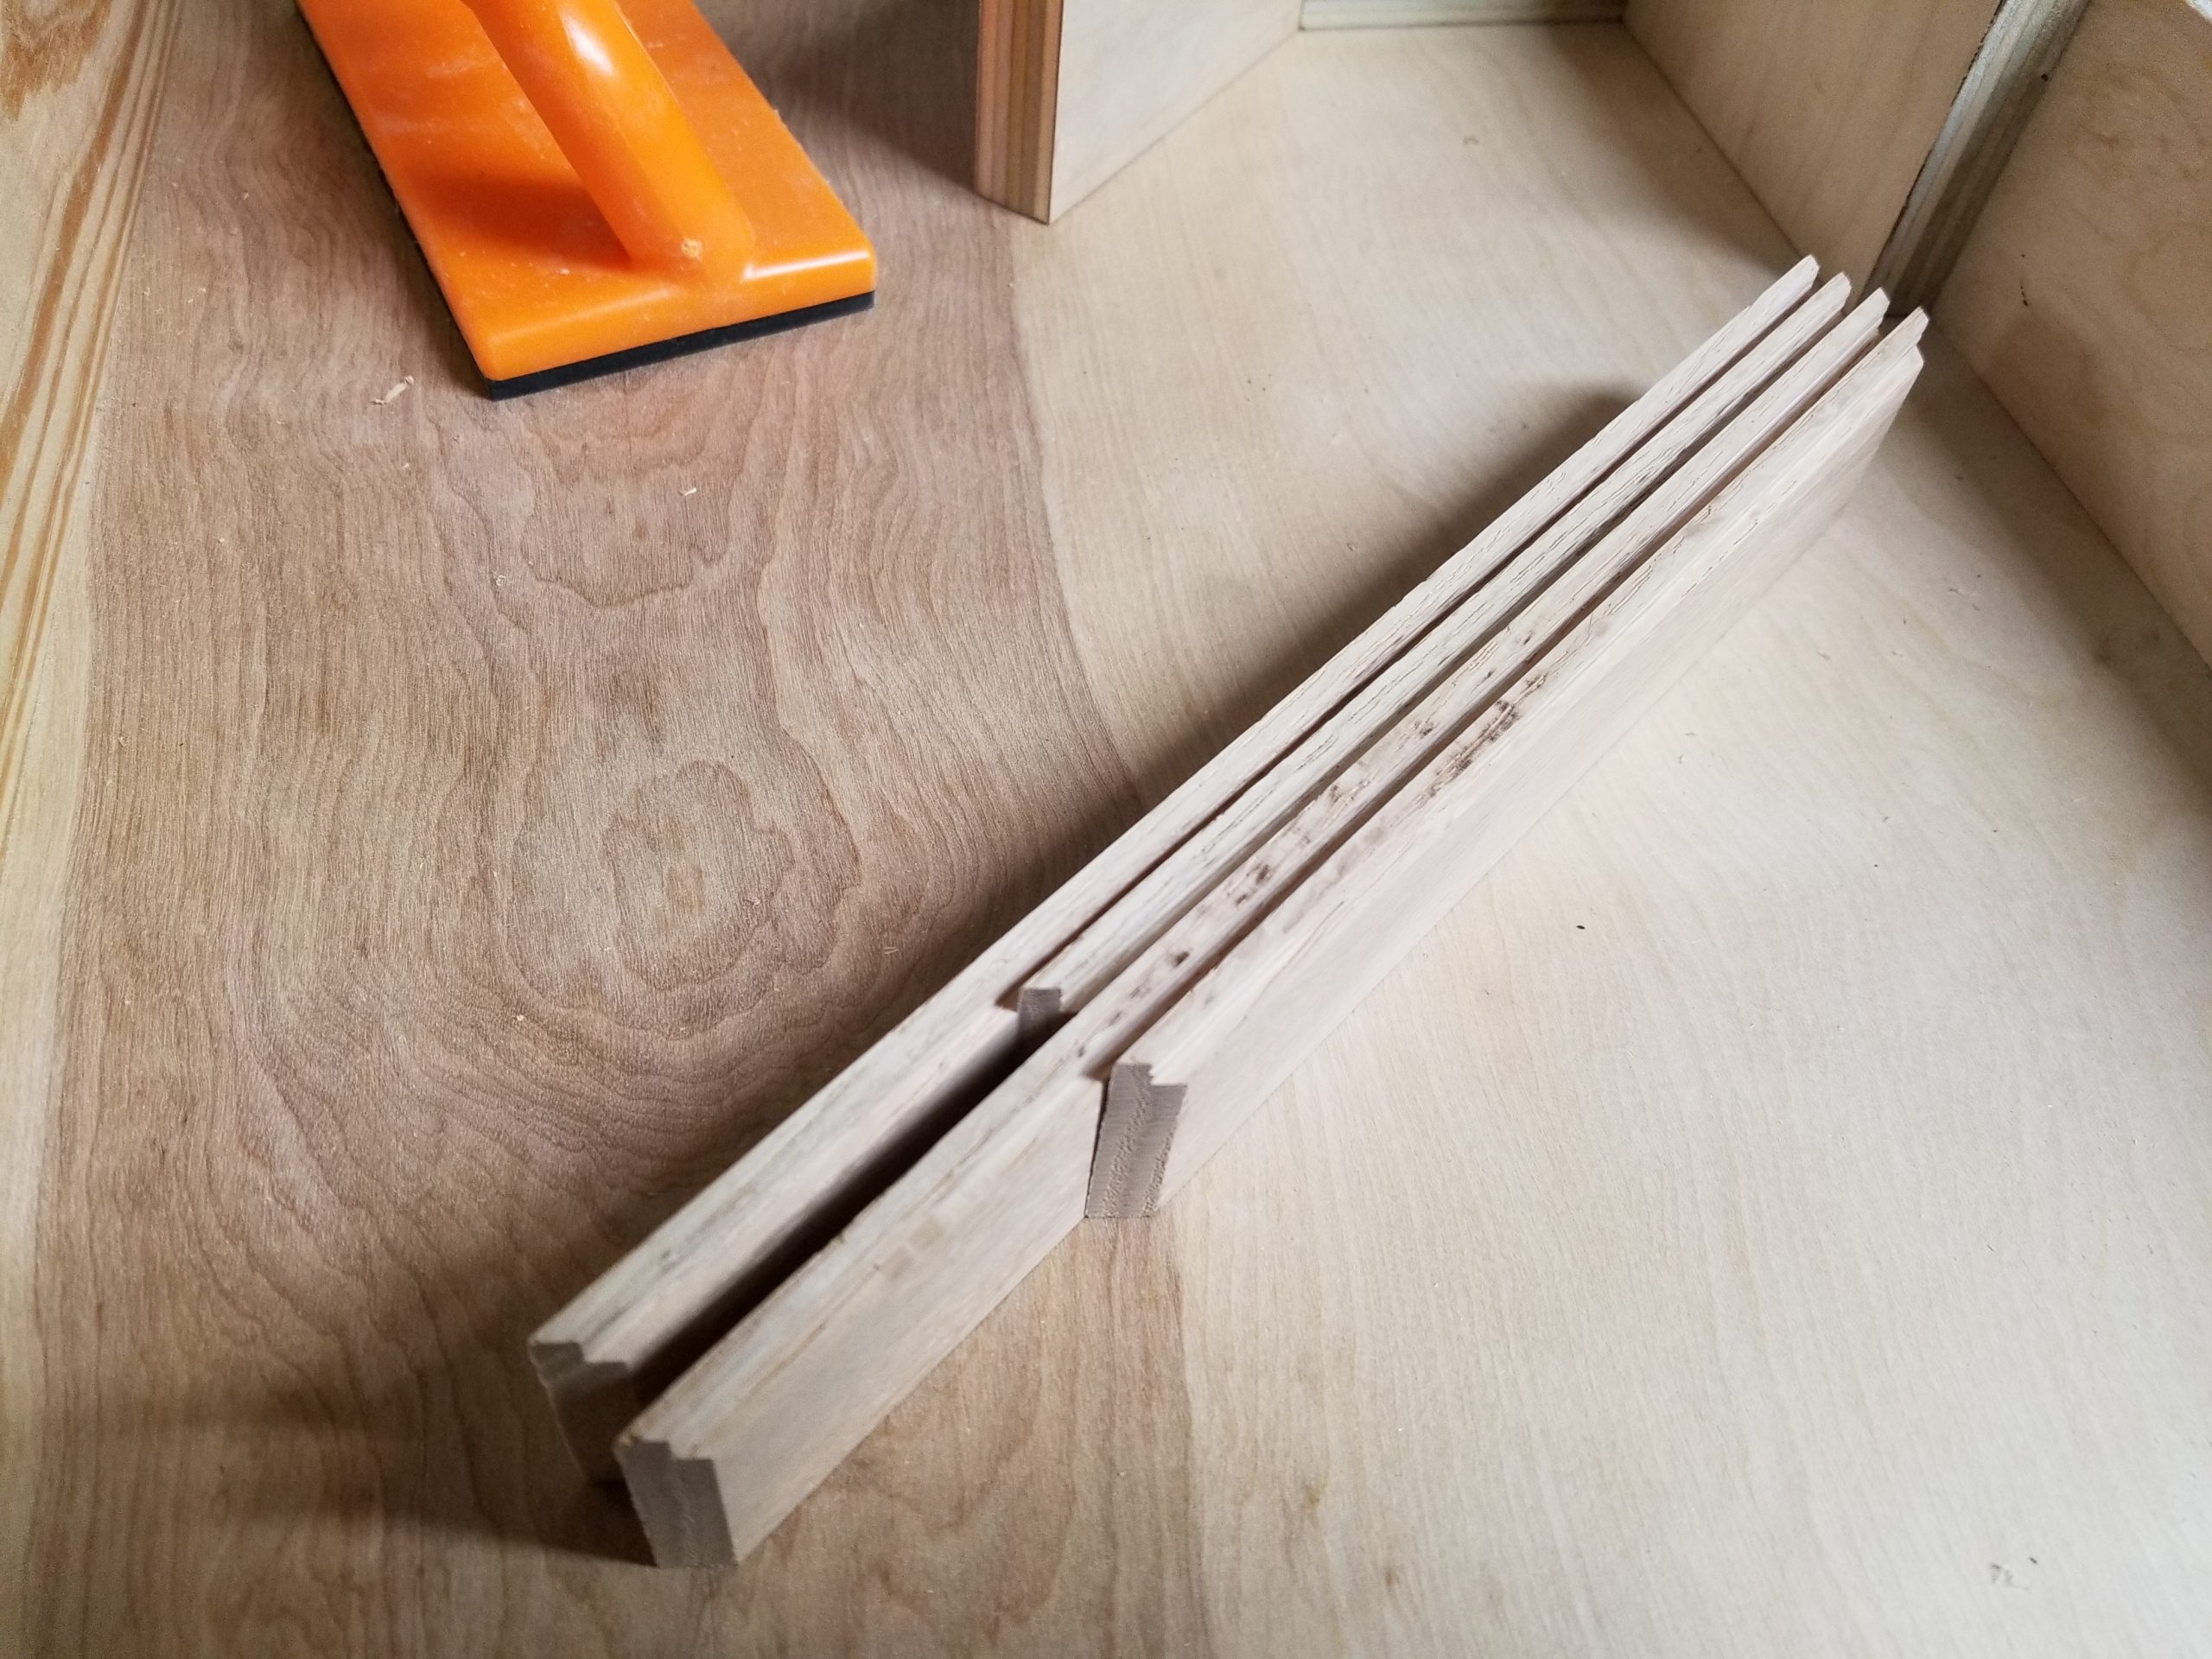
Here are the finished sides for the box.
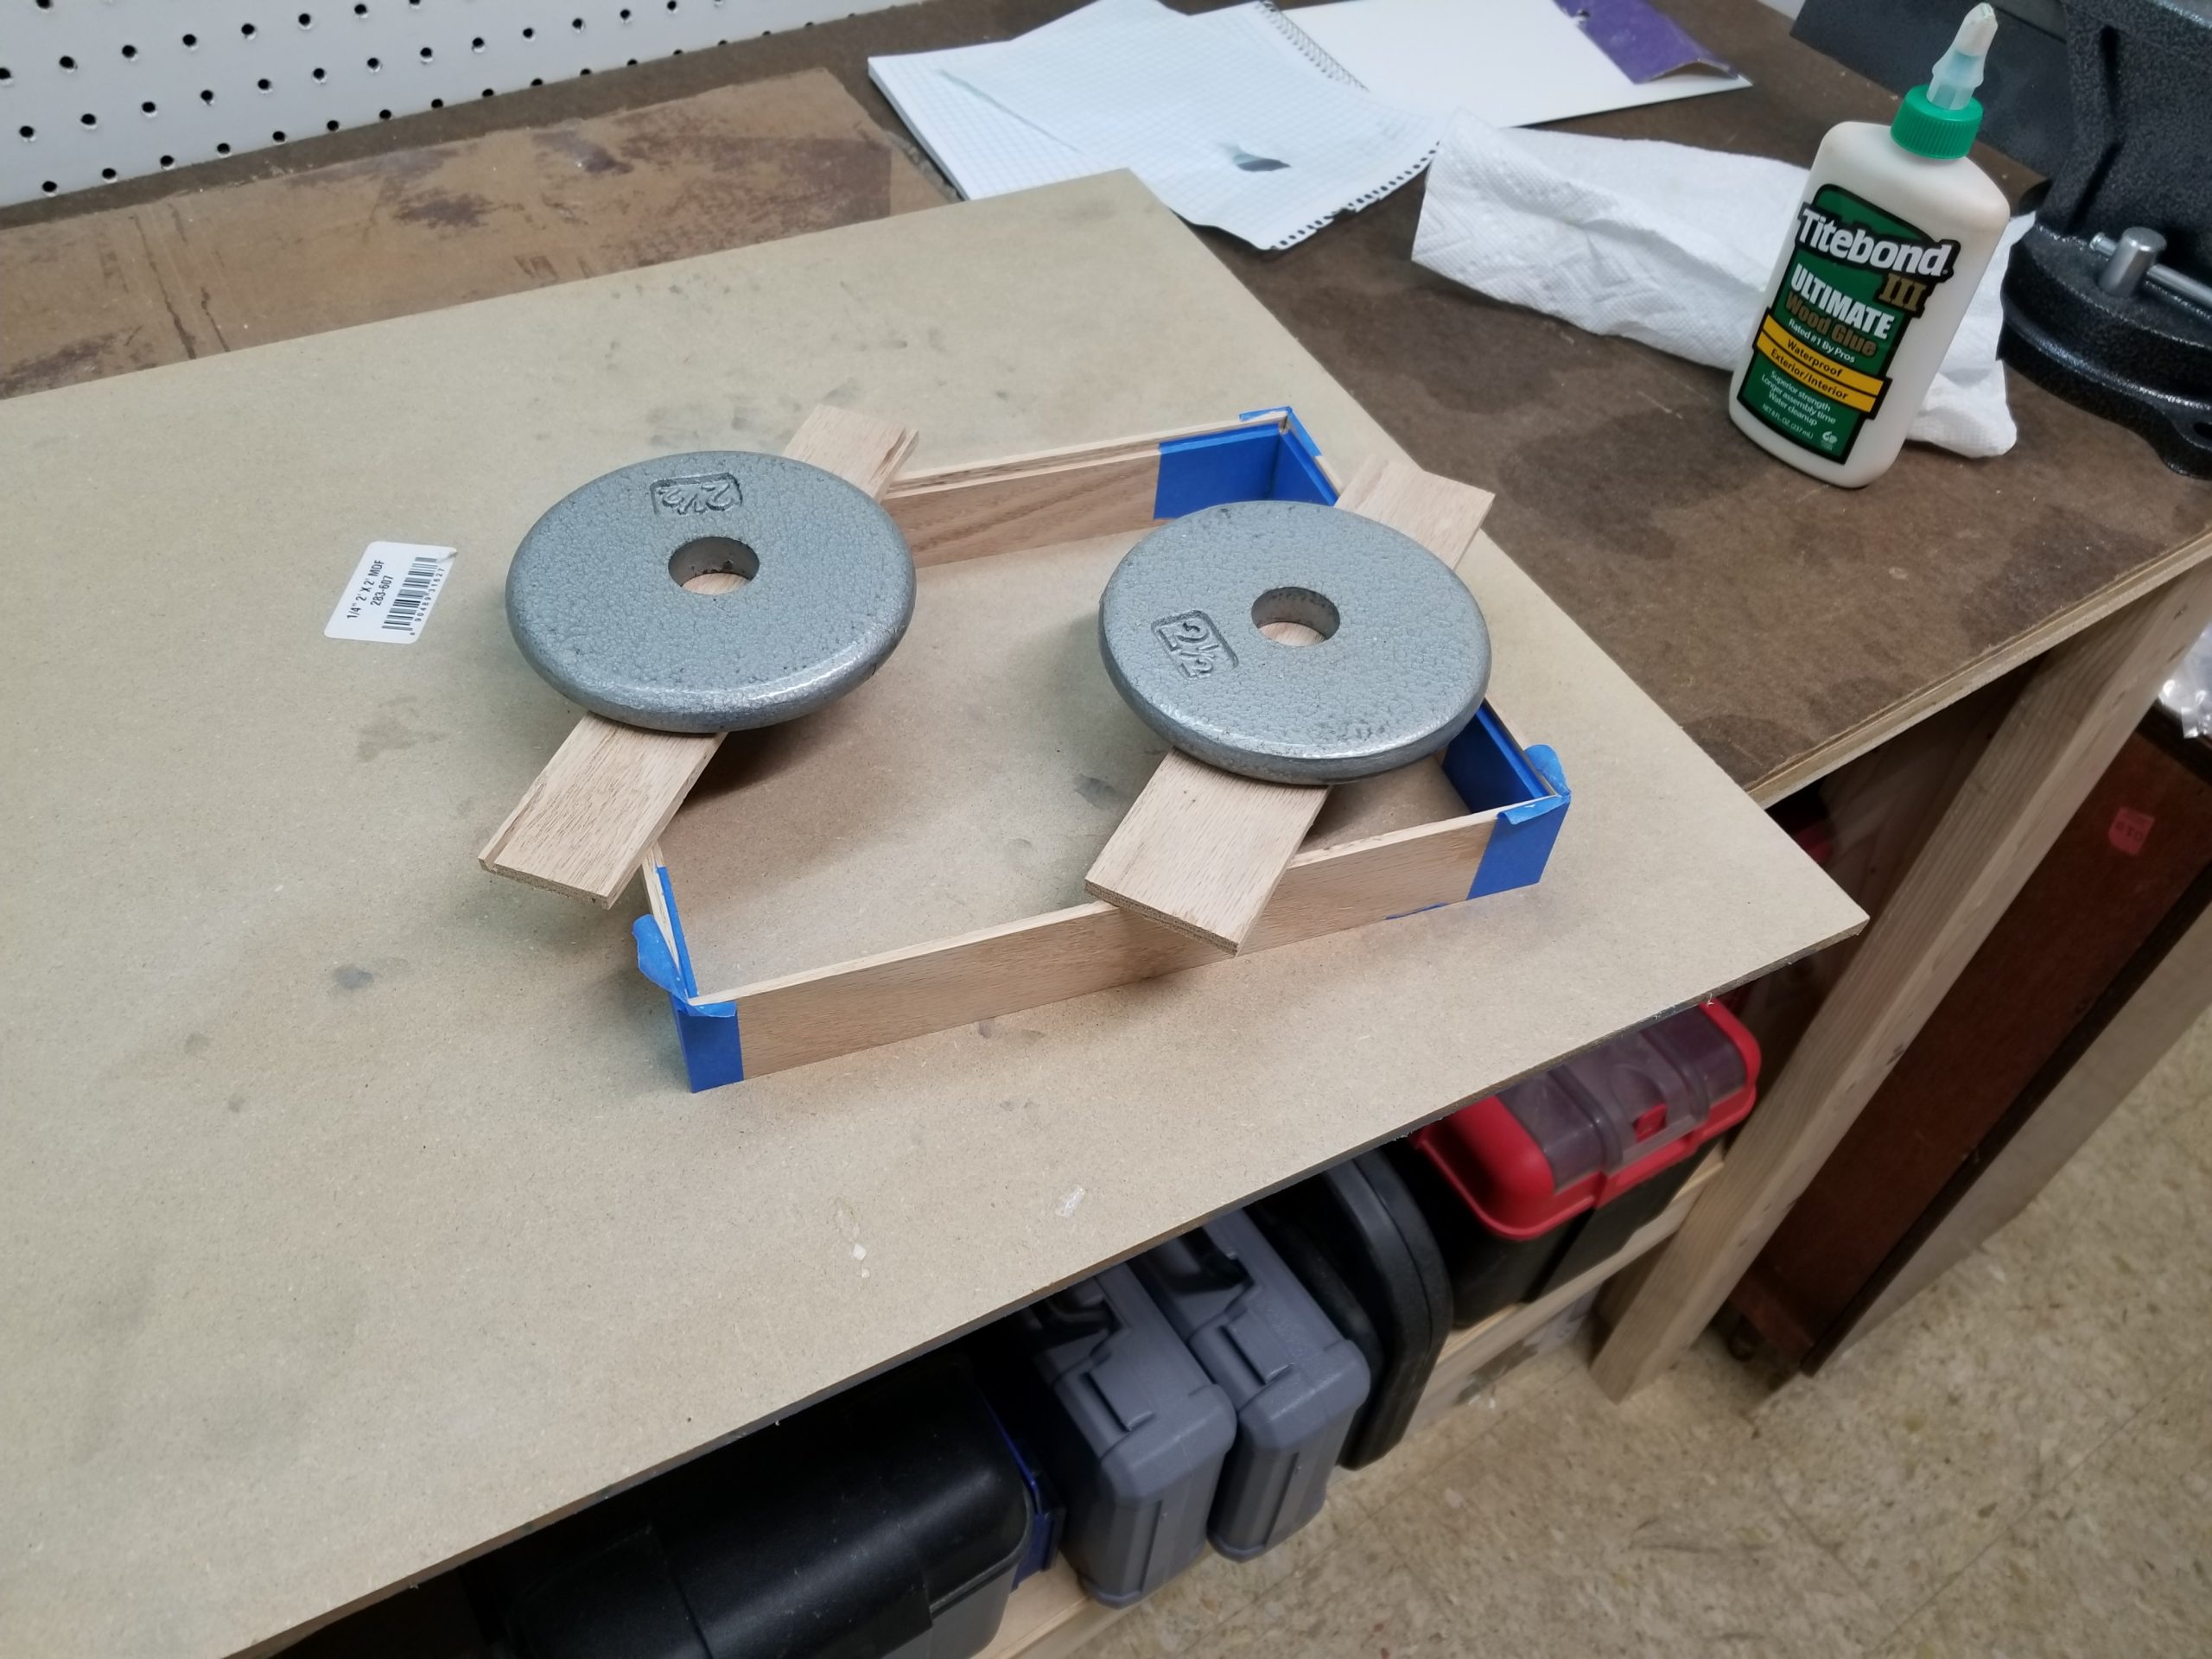
The sides are all glued up and ready to dry. The excessive tape is to prevent glue squeeze out from the joints from getting onto the wood. The weights are an attempt to hold the box from twisting while drying.
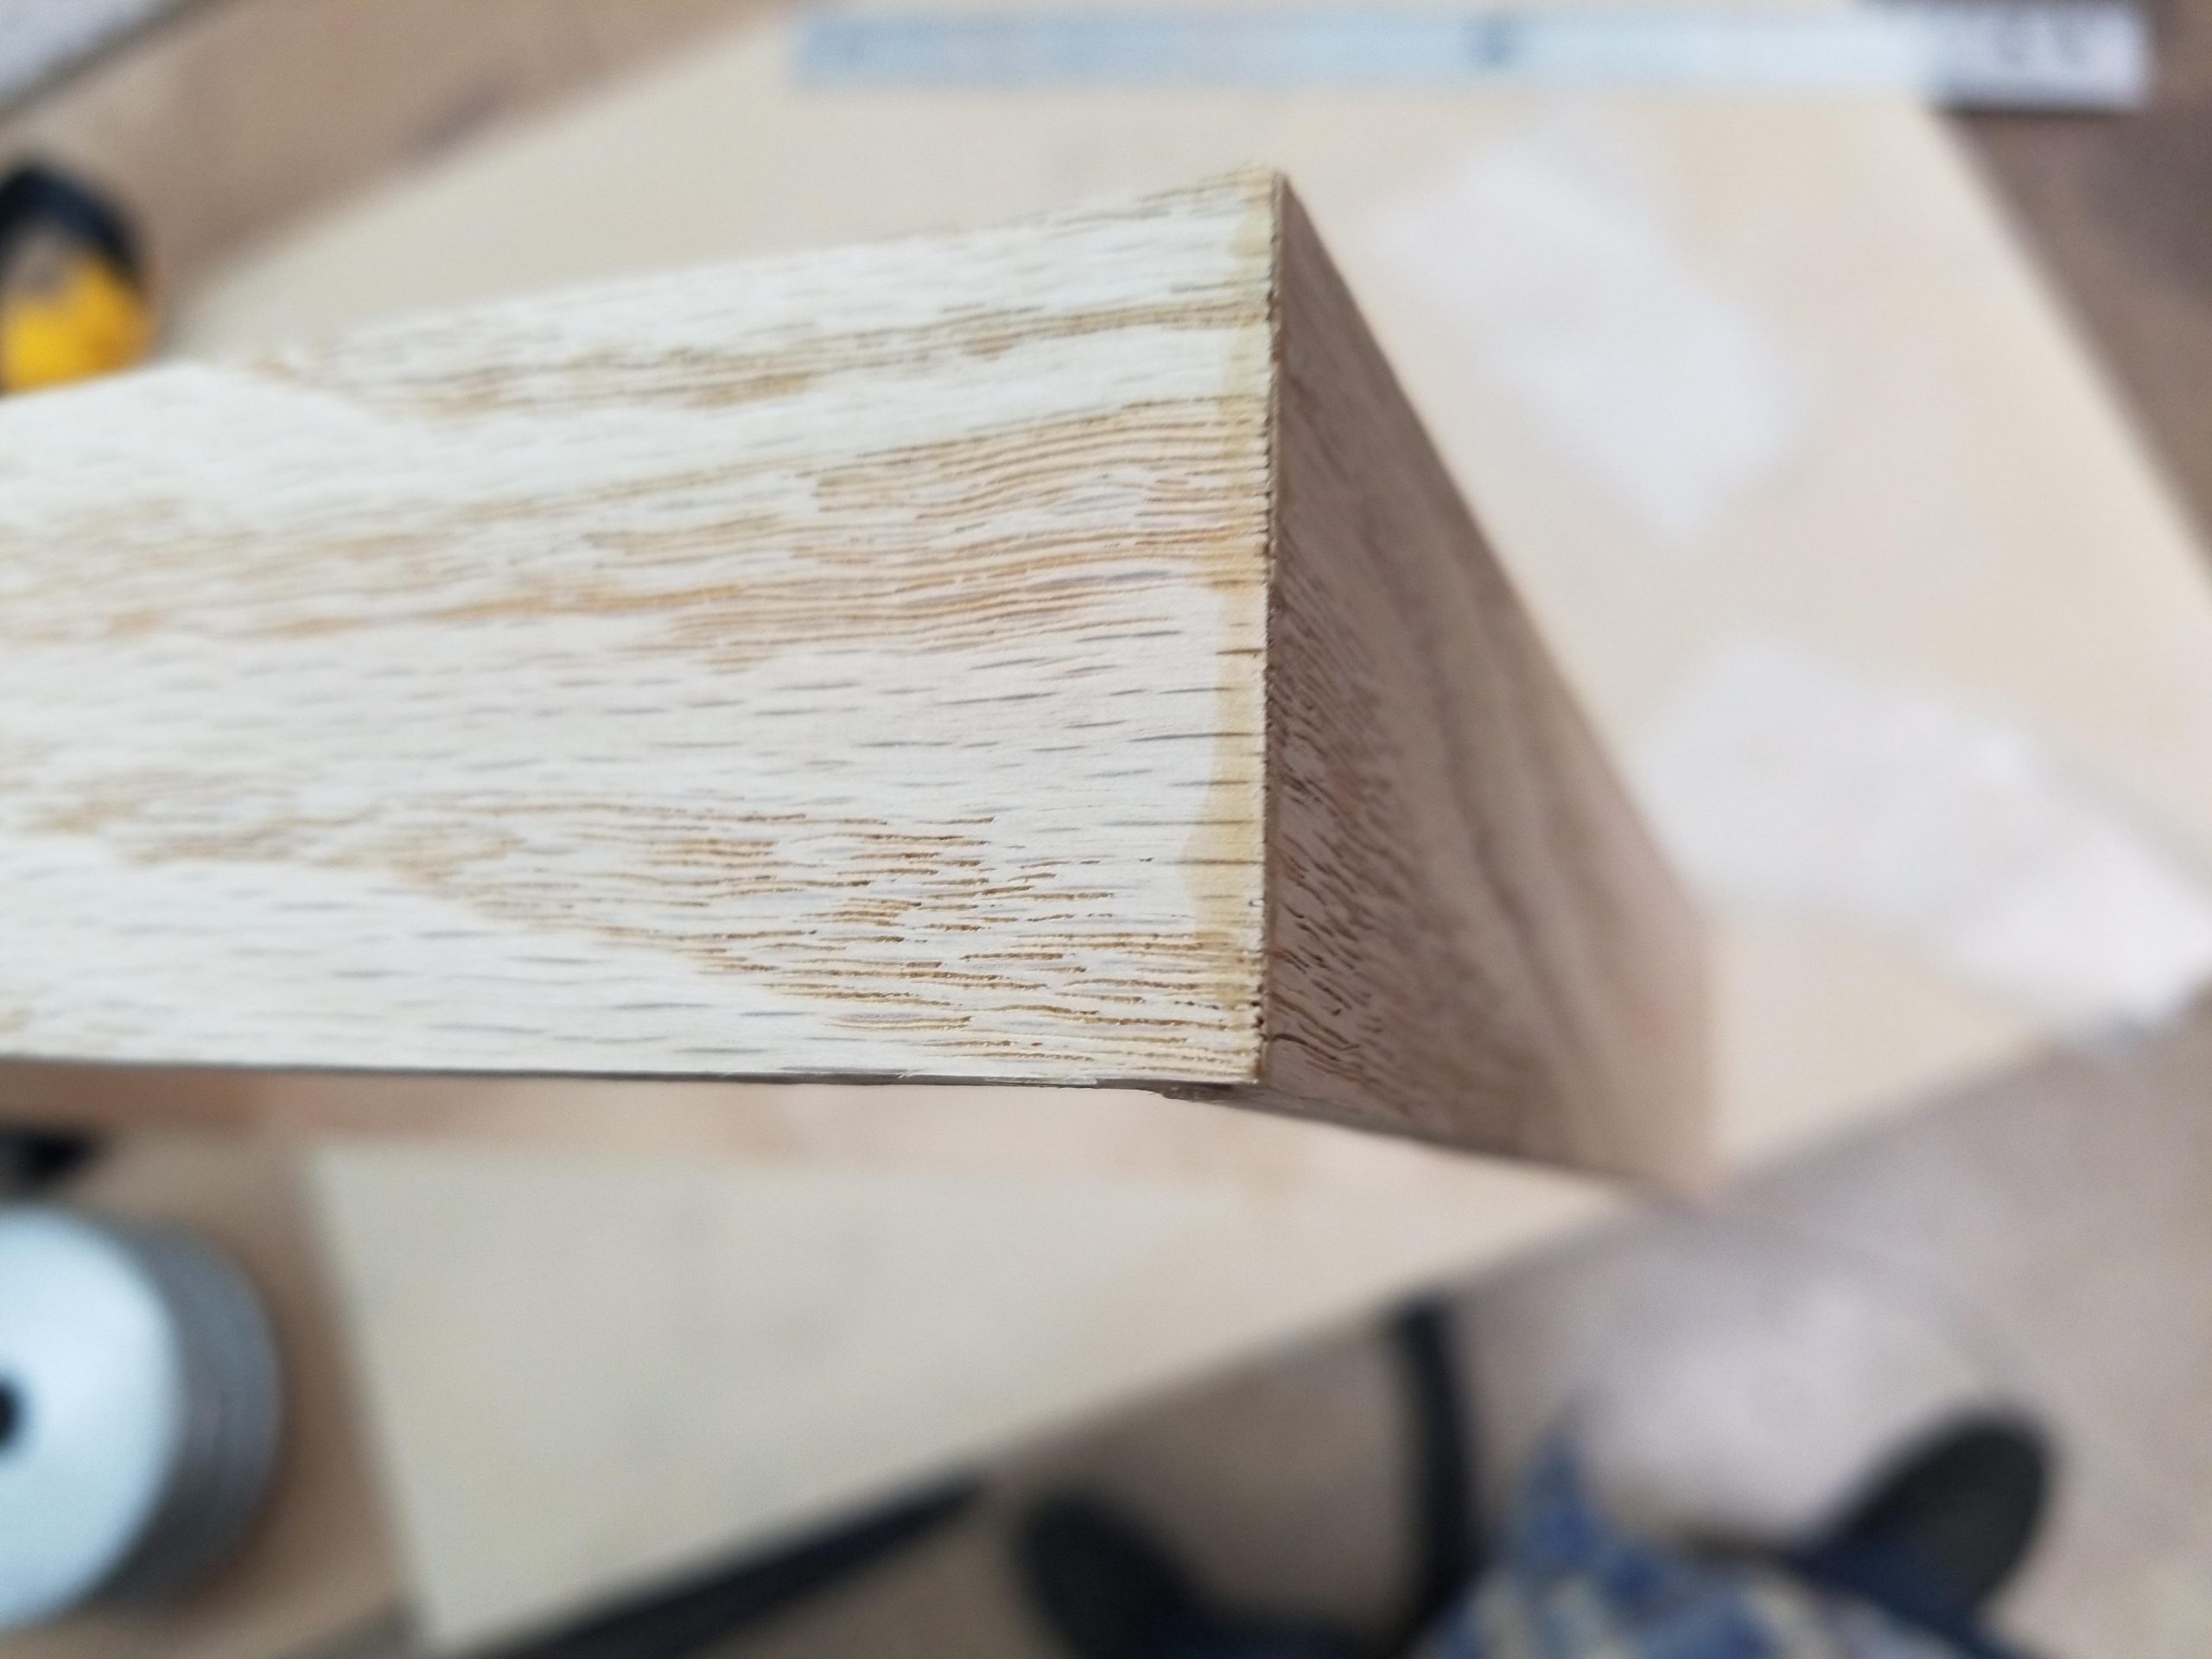
Despite the efforts, there was a little bit of squeeze out. A thorough sanding should prevent it from interfering with the finish.
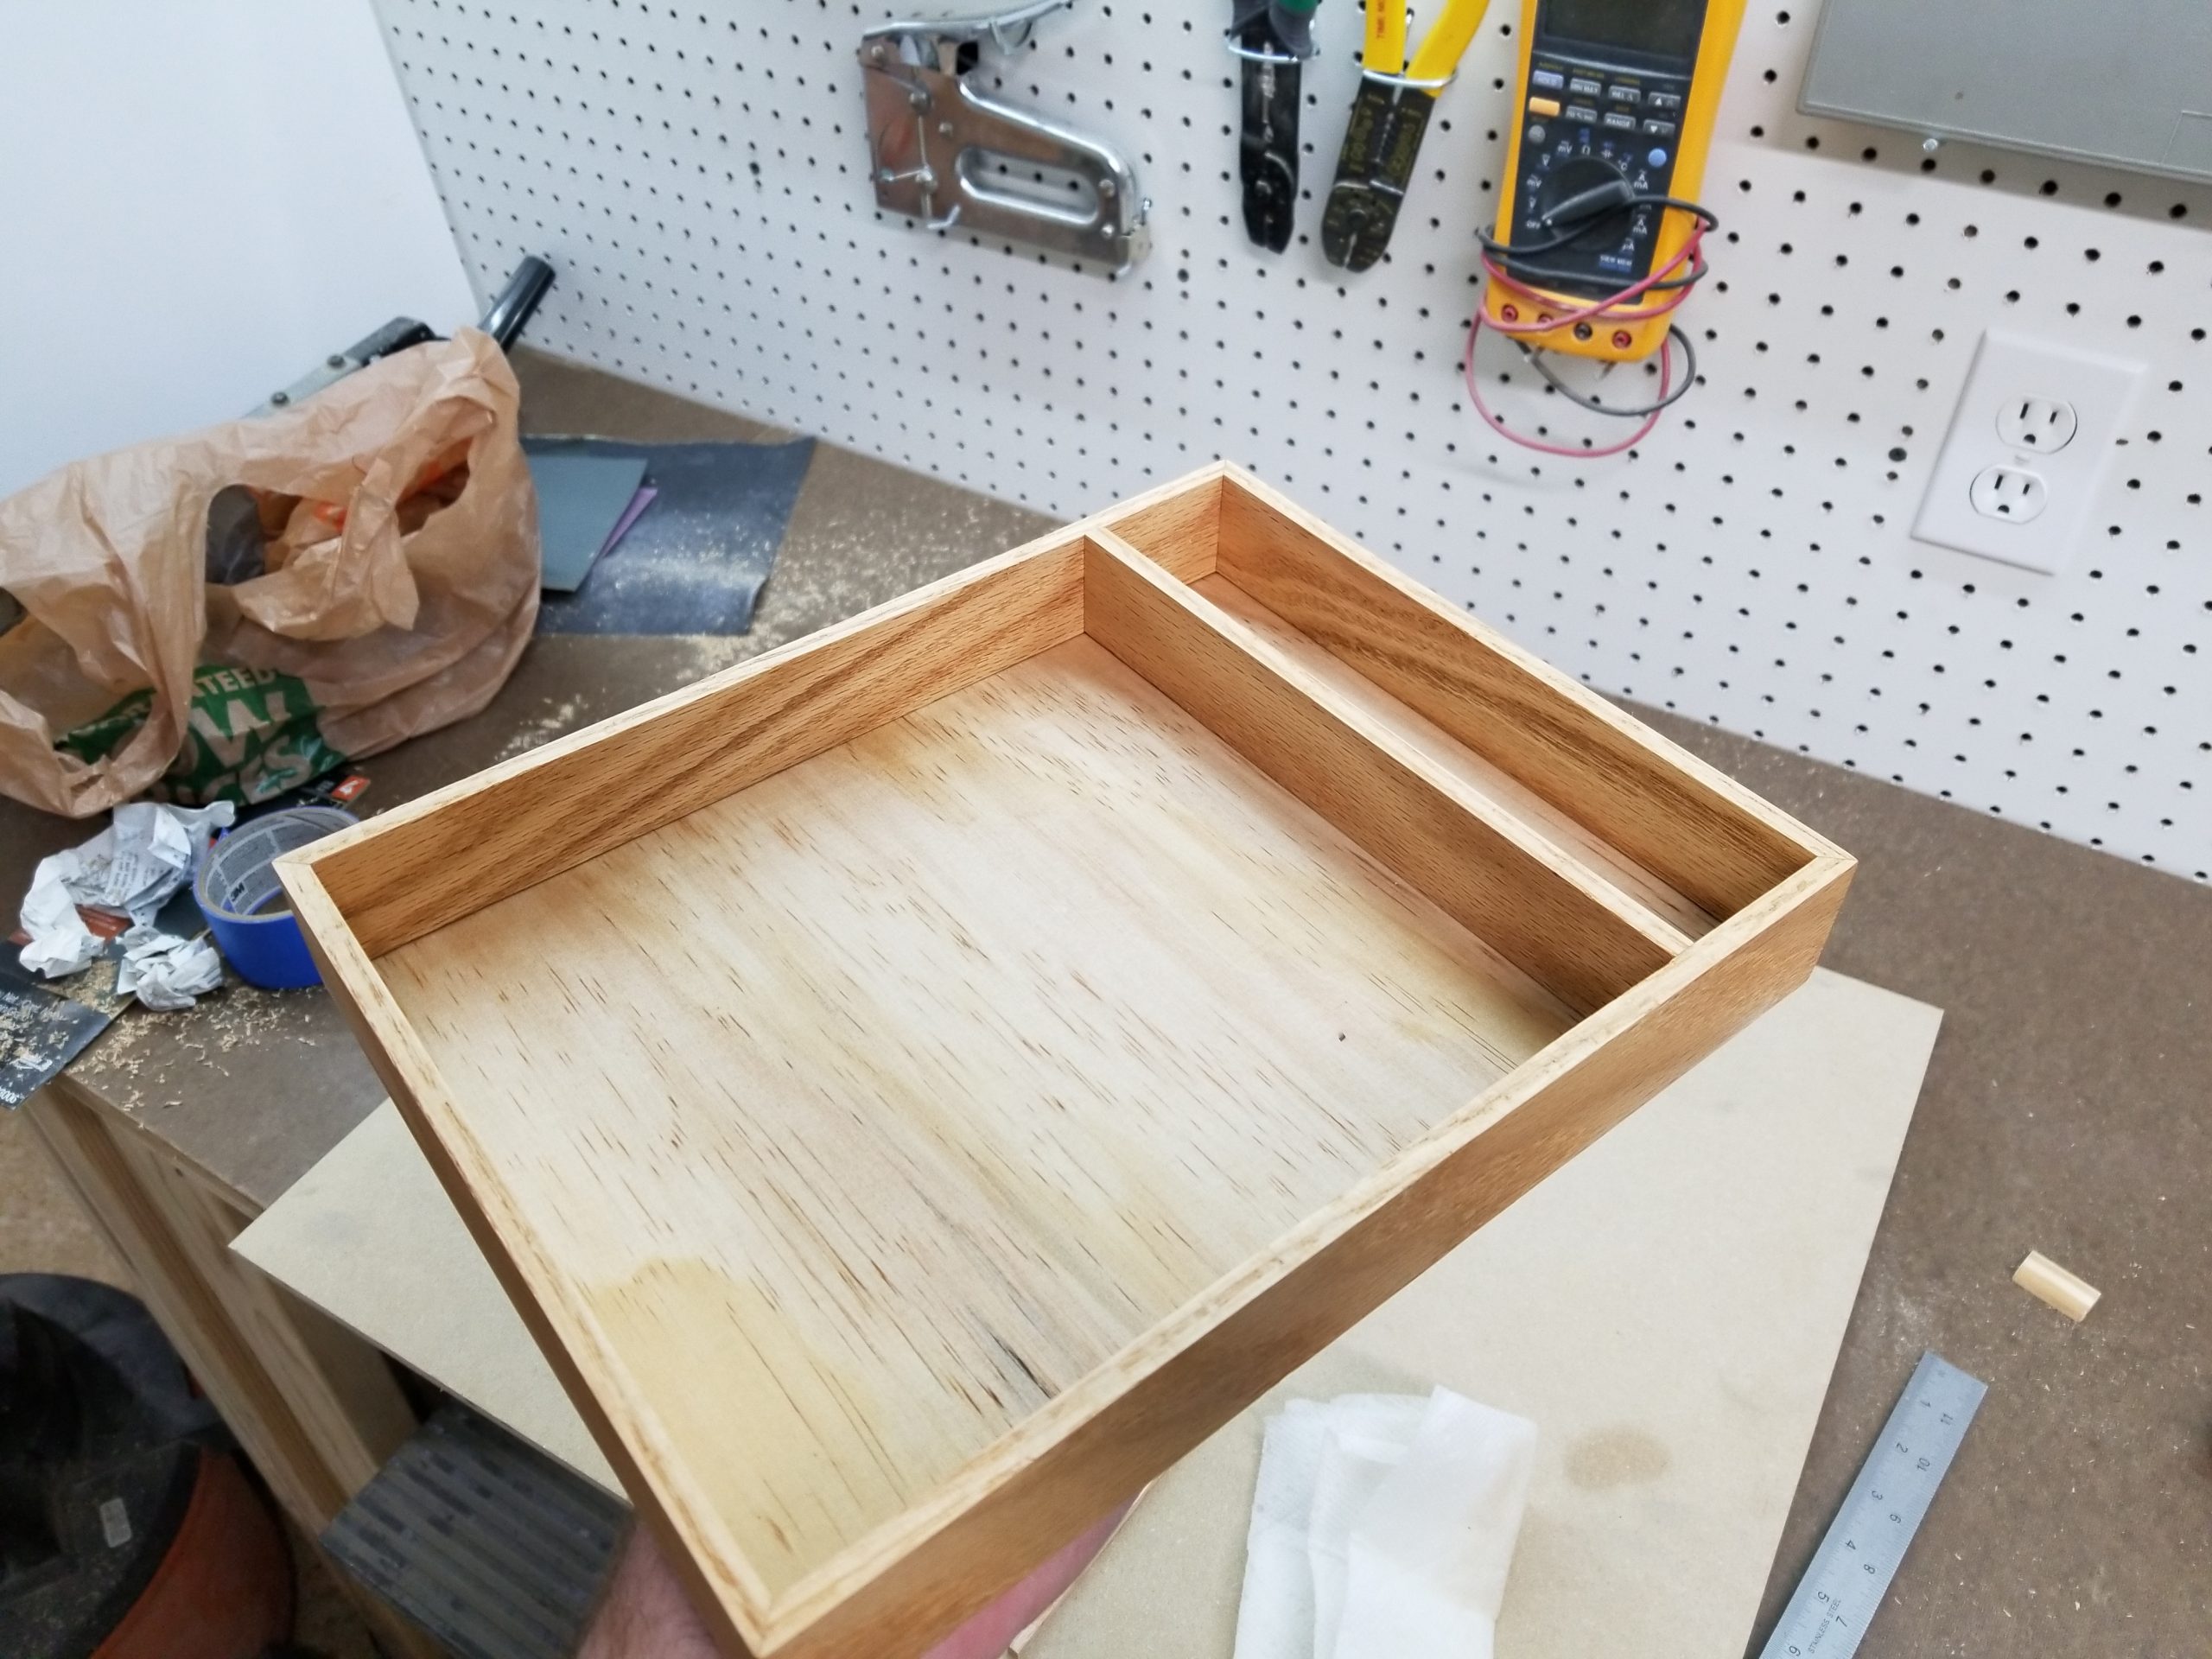
Here is the finished box. I am very content with the finished miter joints.
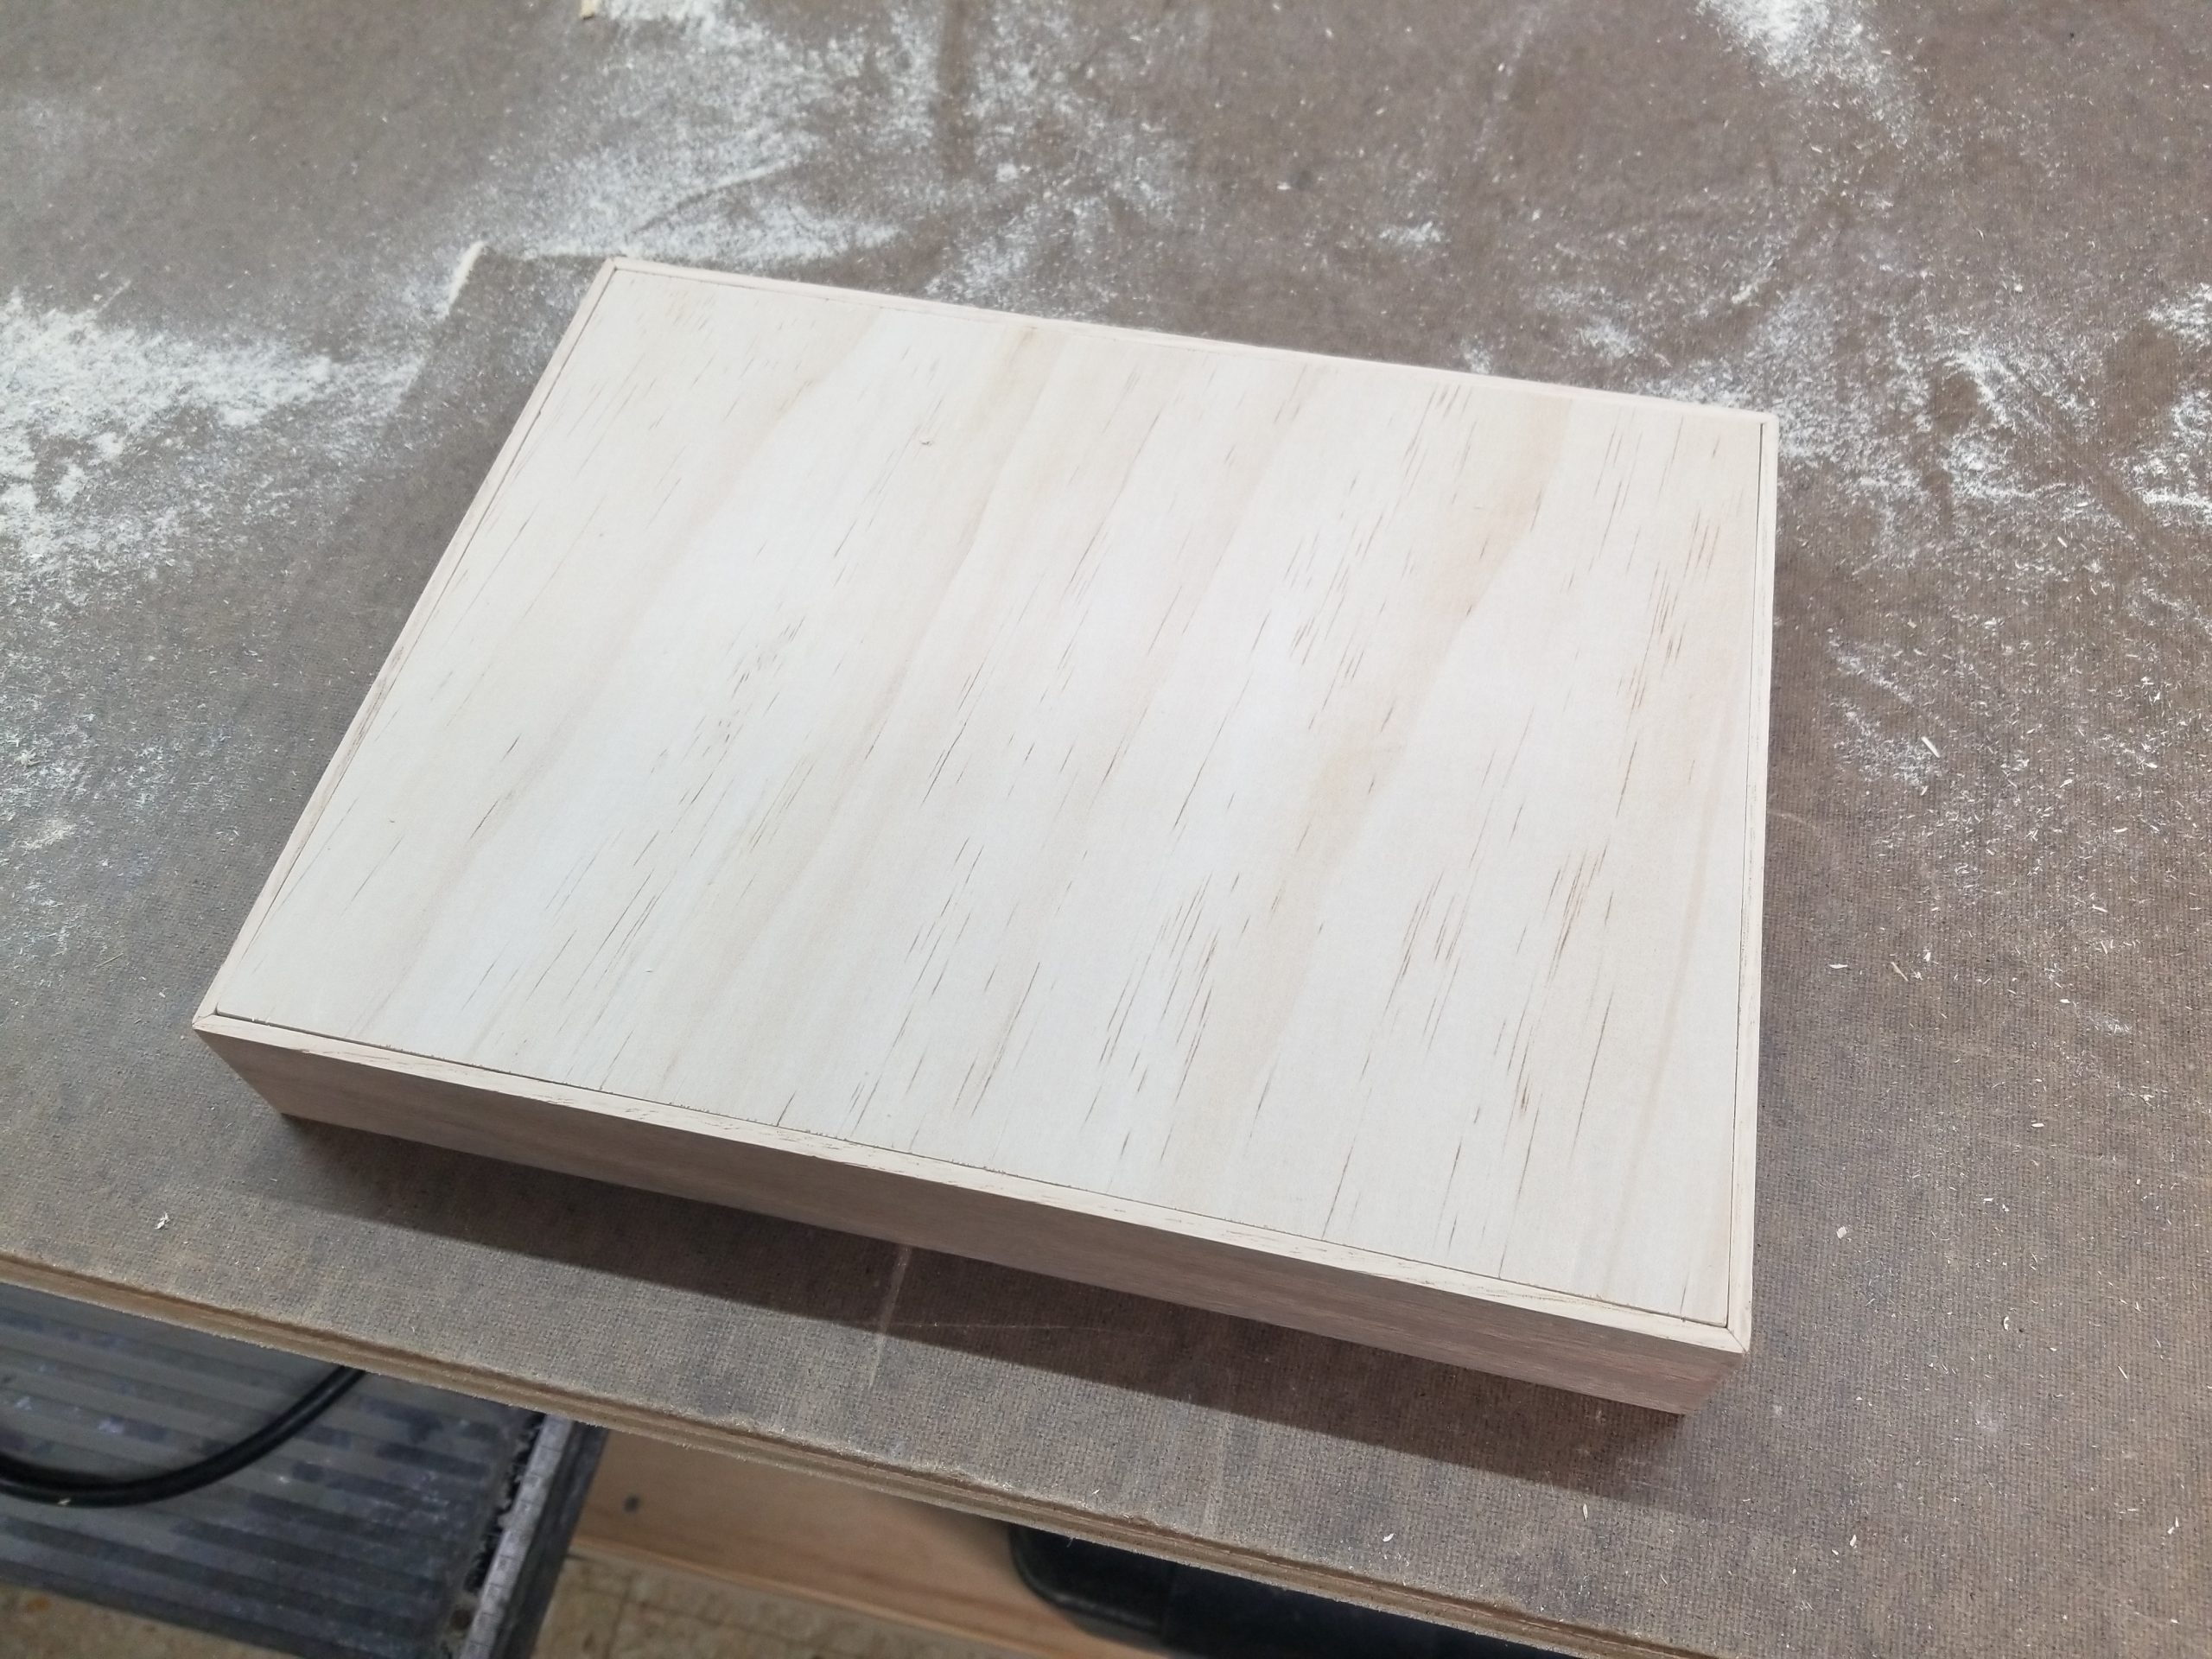
Since the box was perfectly square, I only needed to cut the plywood bottom to size. No shaping or excessive sanding required.
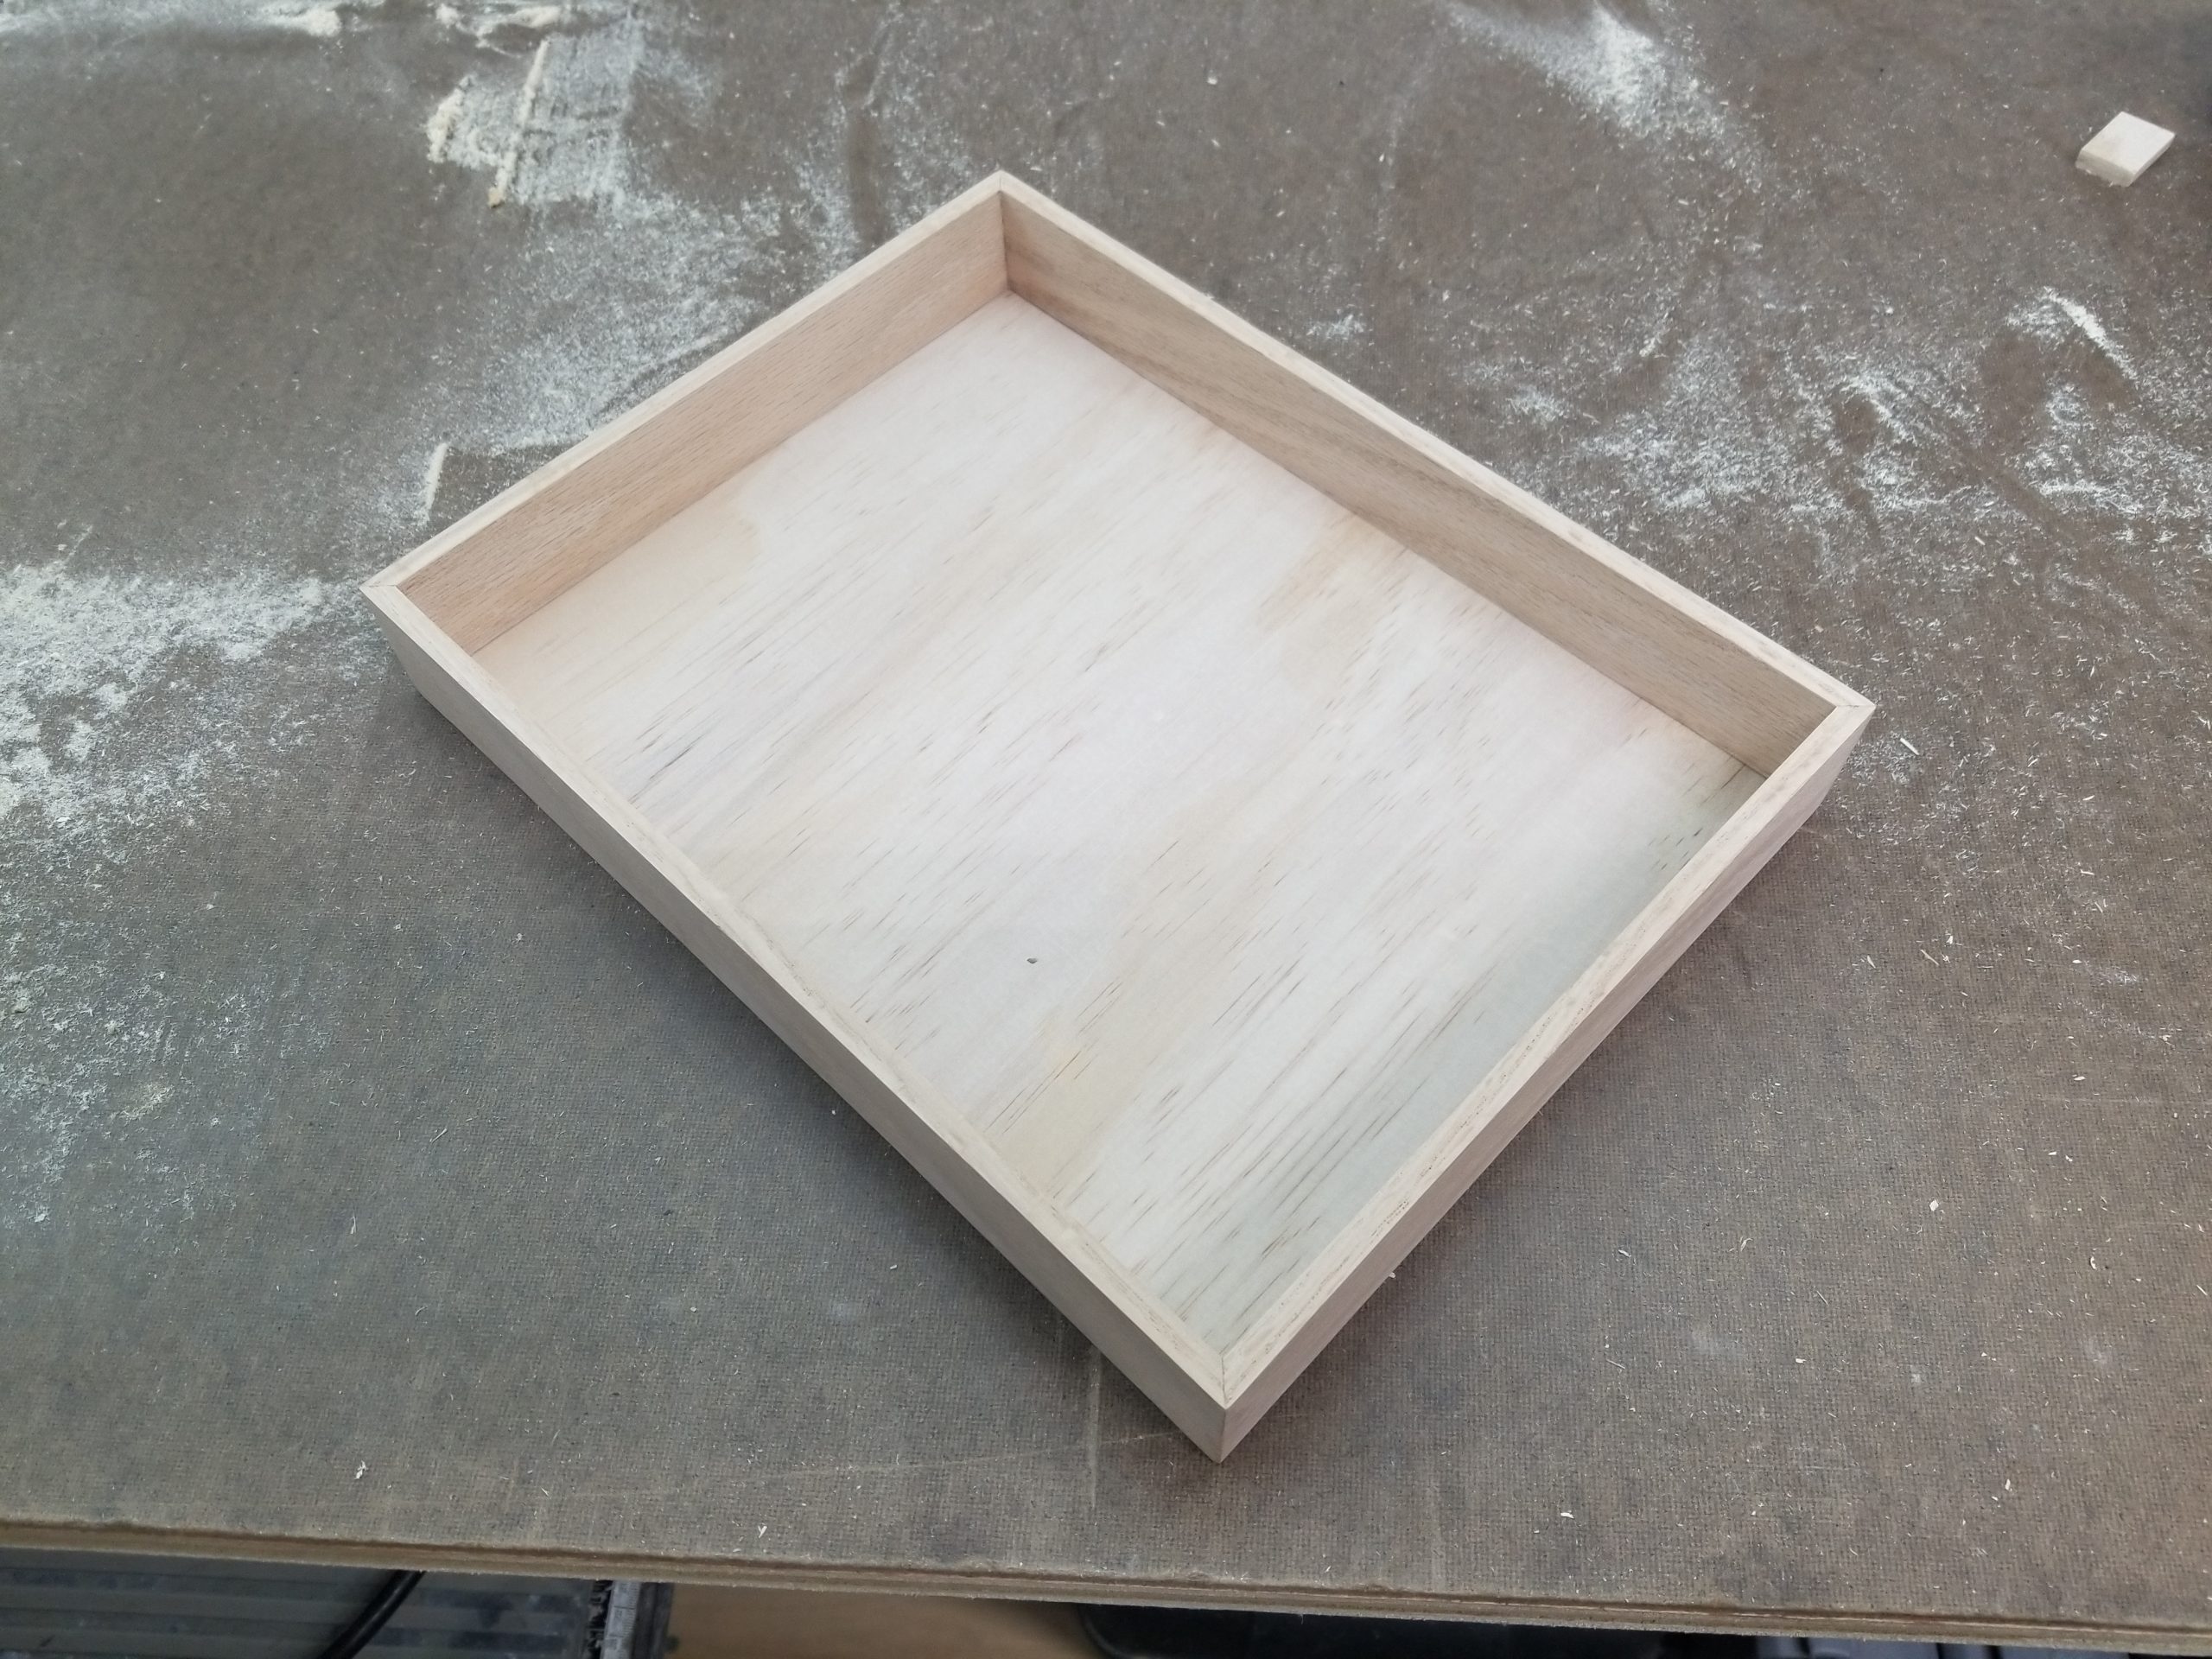
Here is the finished box ready for the divider.
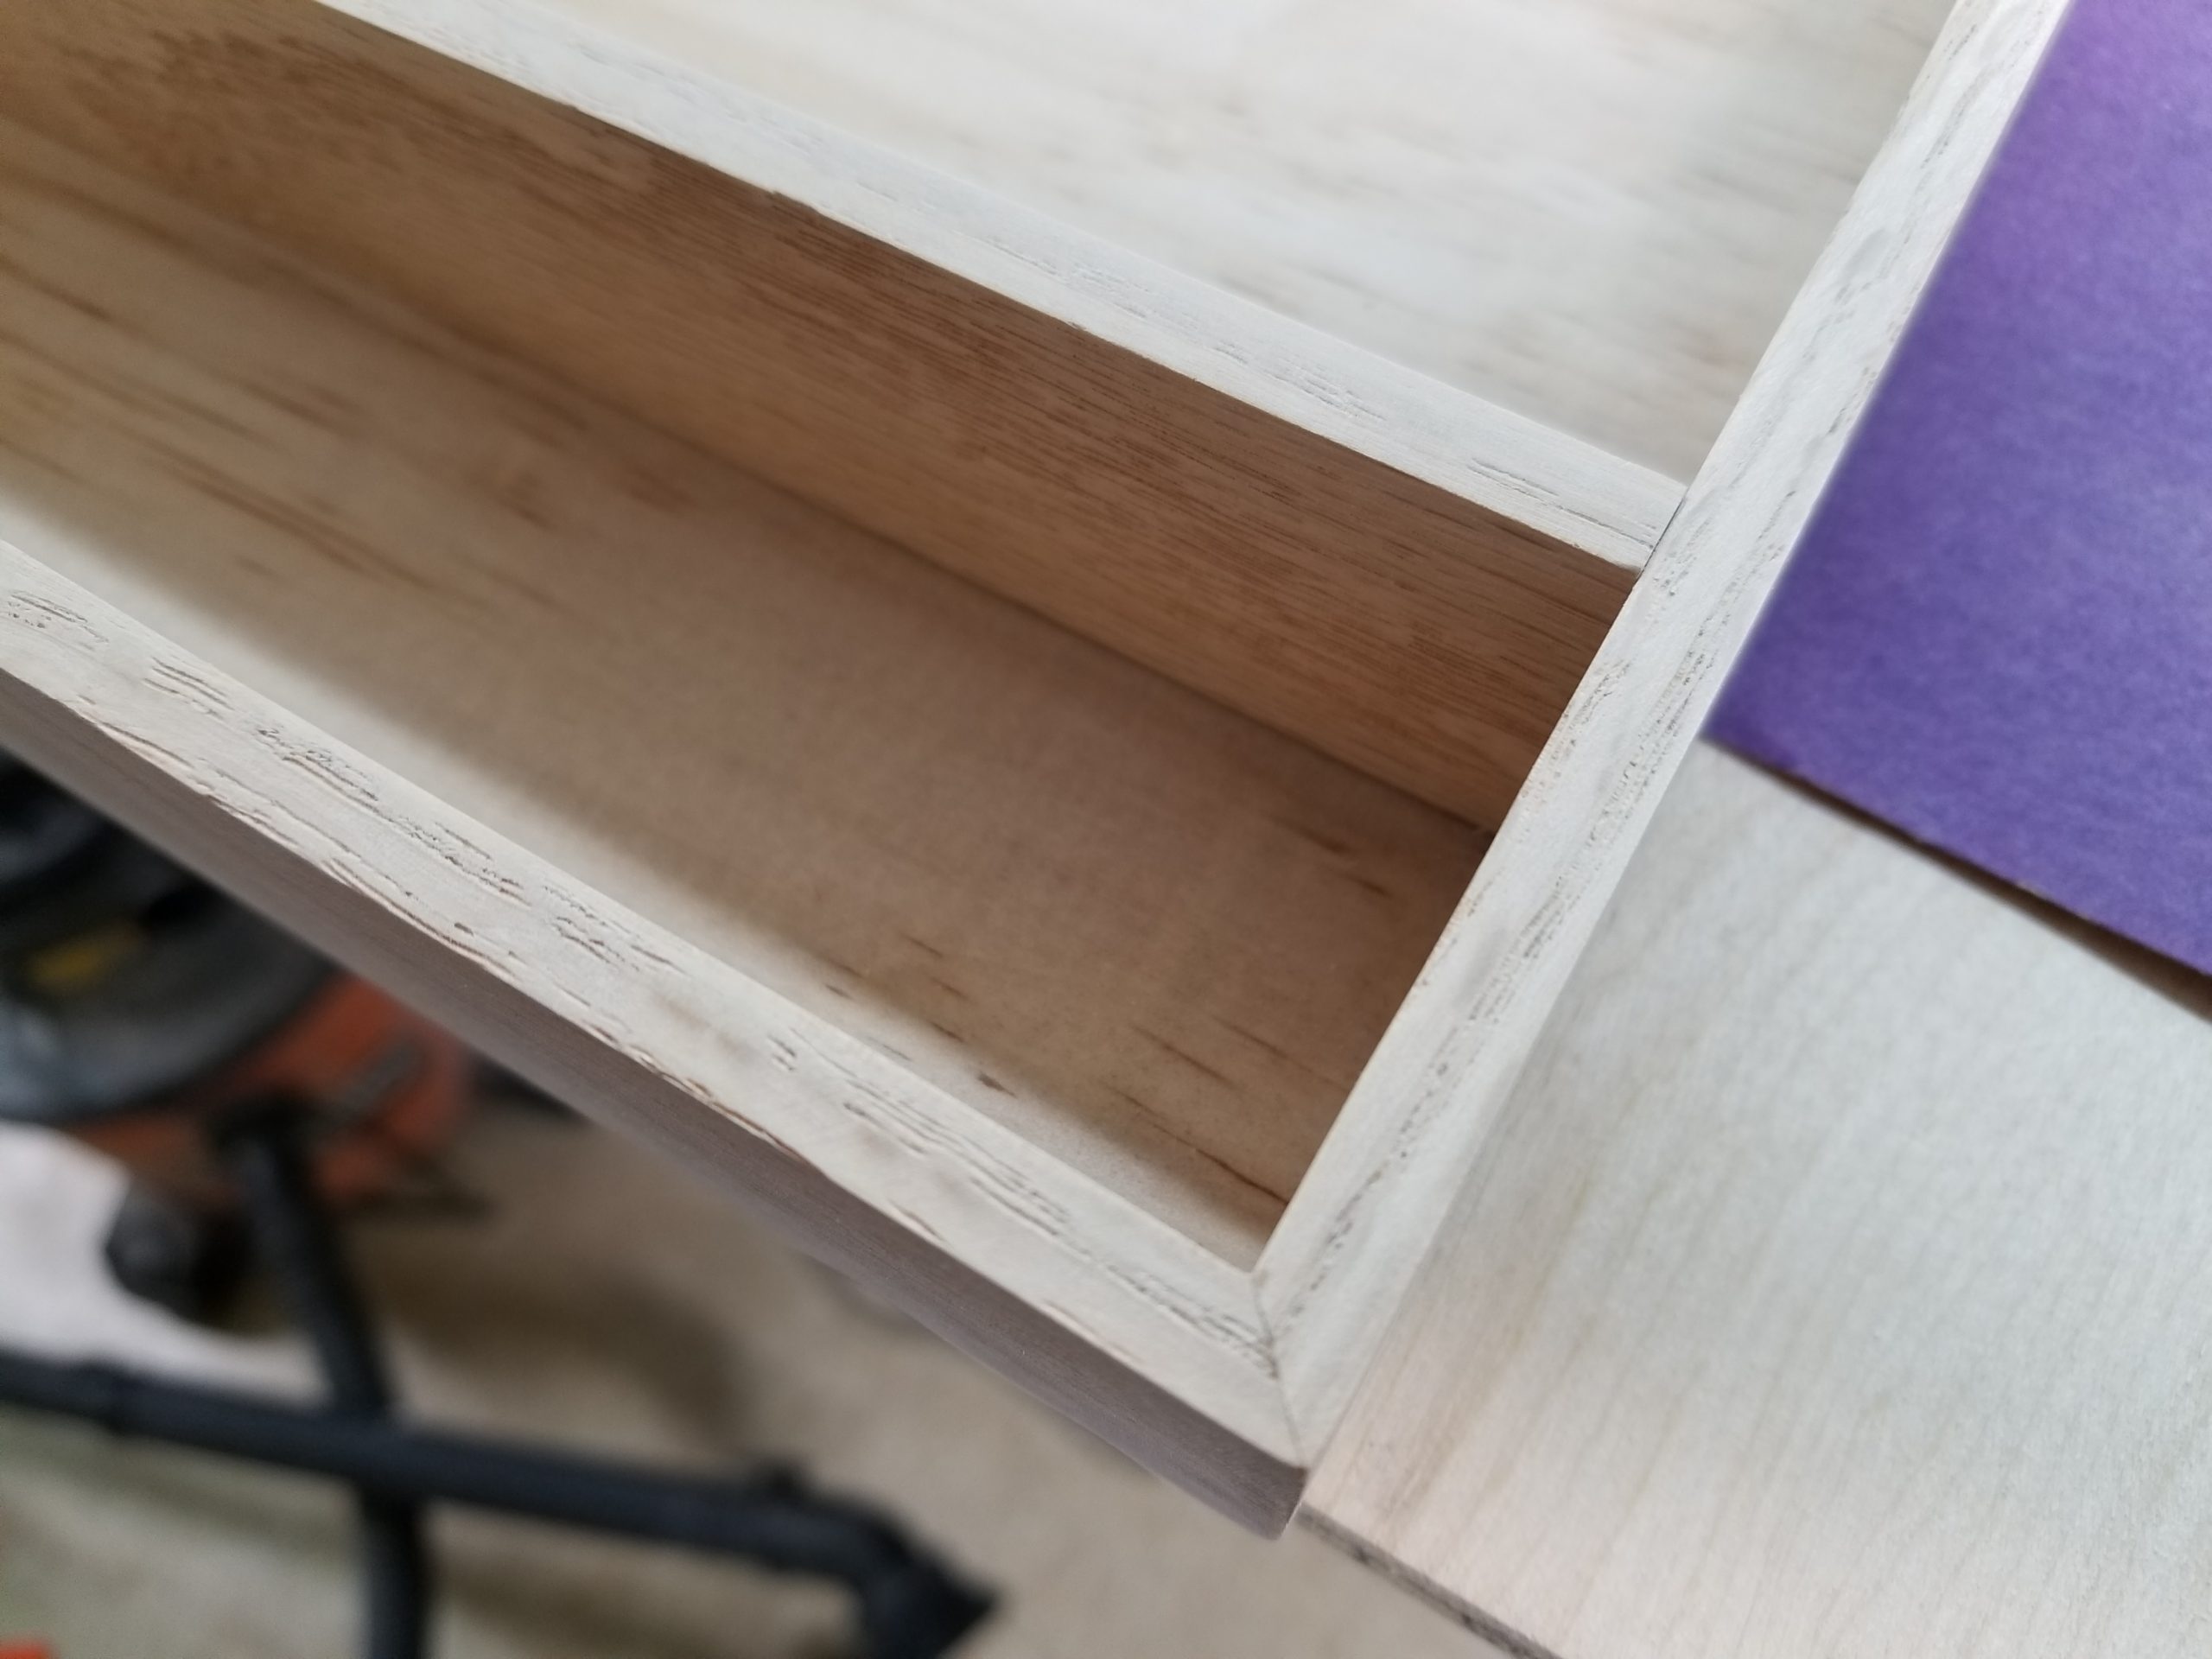
Here is the divider. I thought about cutting a dado joint for it to rest in, but I prefer to look of the butt joint. Since this piece will see little to no force, load, or wear it should be fine.
I gave the whole piece a quick wipe down with some mineral spirits and let it dry.
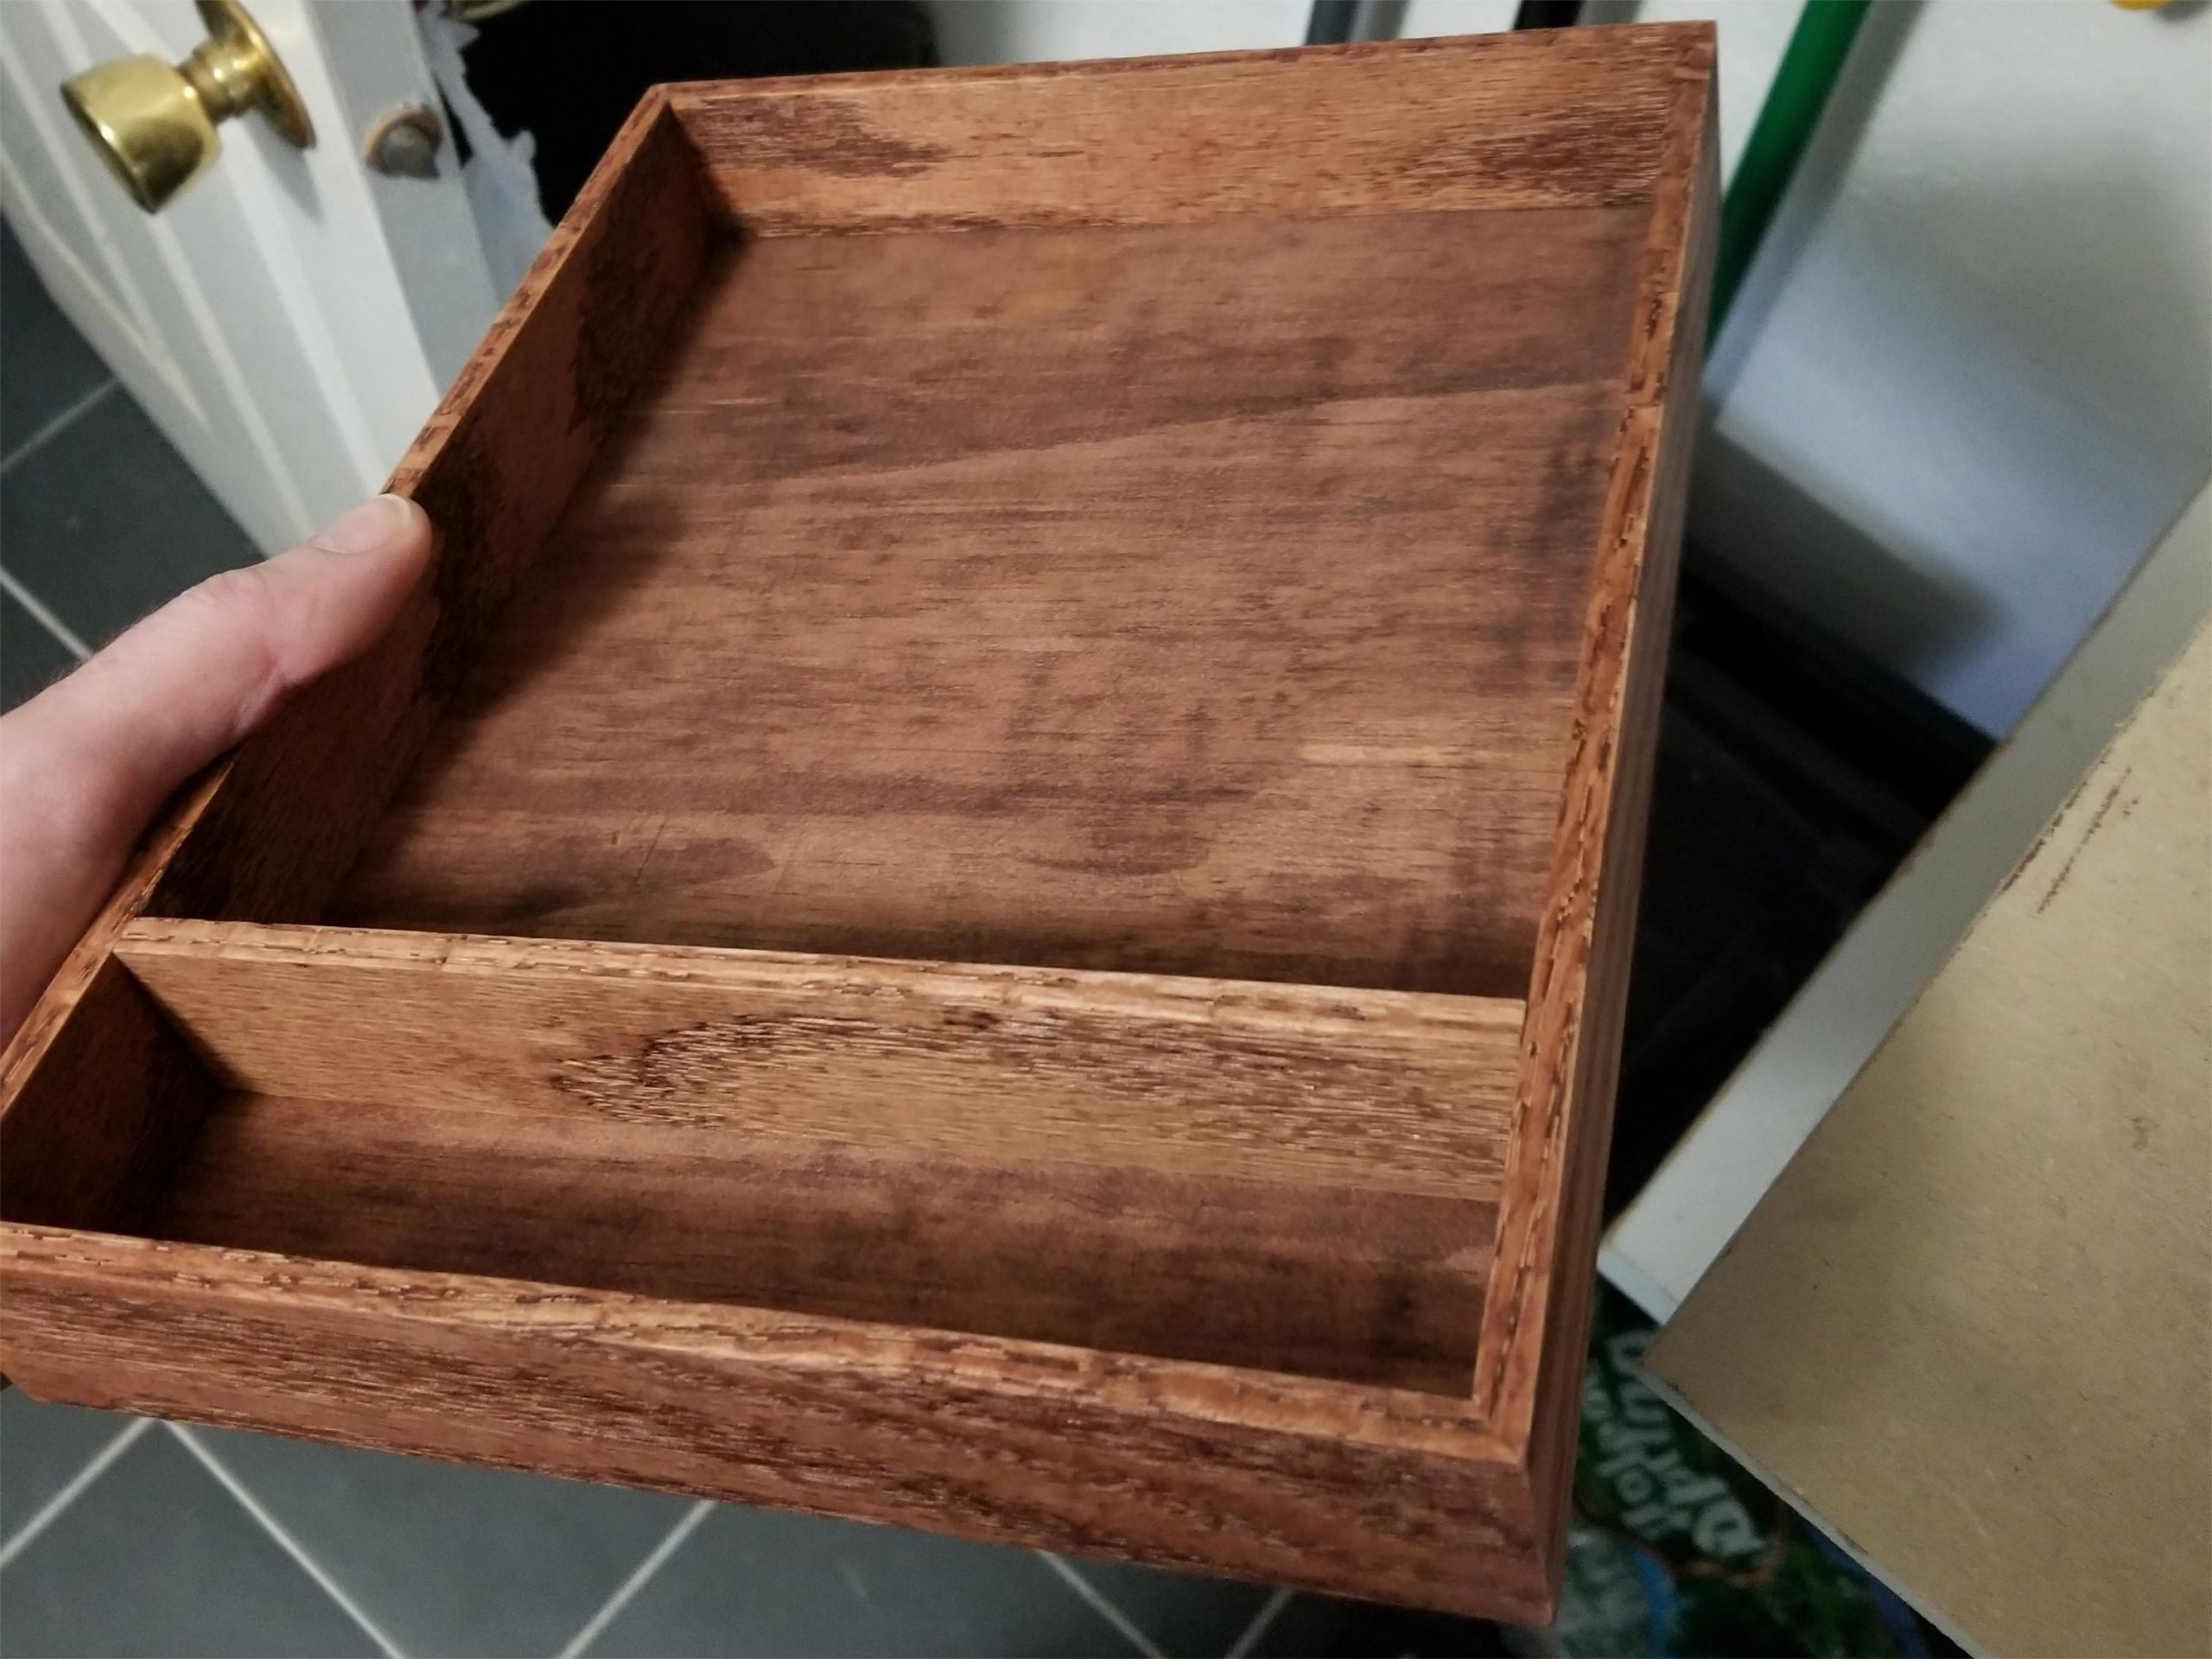
The whole piece was then stained with Minwax Red Oak stain to match the wood in the house, and left for 2 days to dry.
This is an admittedly terrible picture, but shows off the nice mirror finish of the box. It was finished with 5 coats of Danish Oil. The 5th coat was a wet sanding with 600 grit paper.
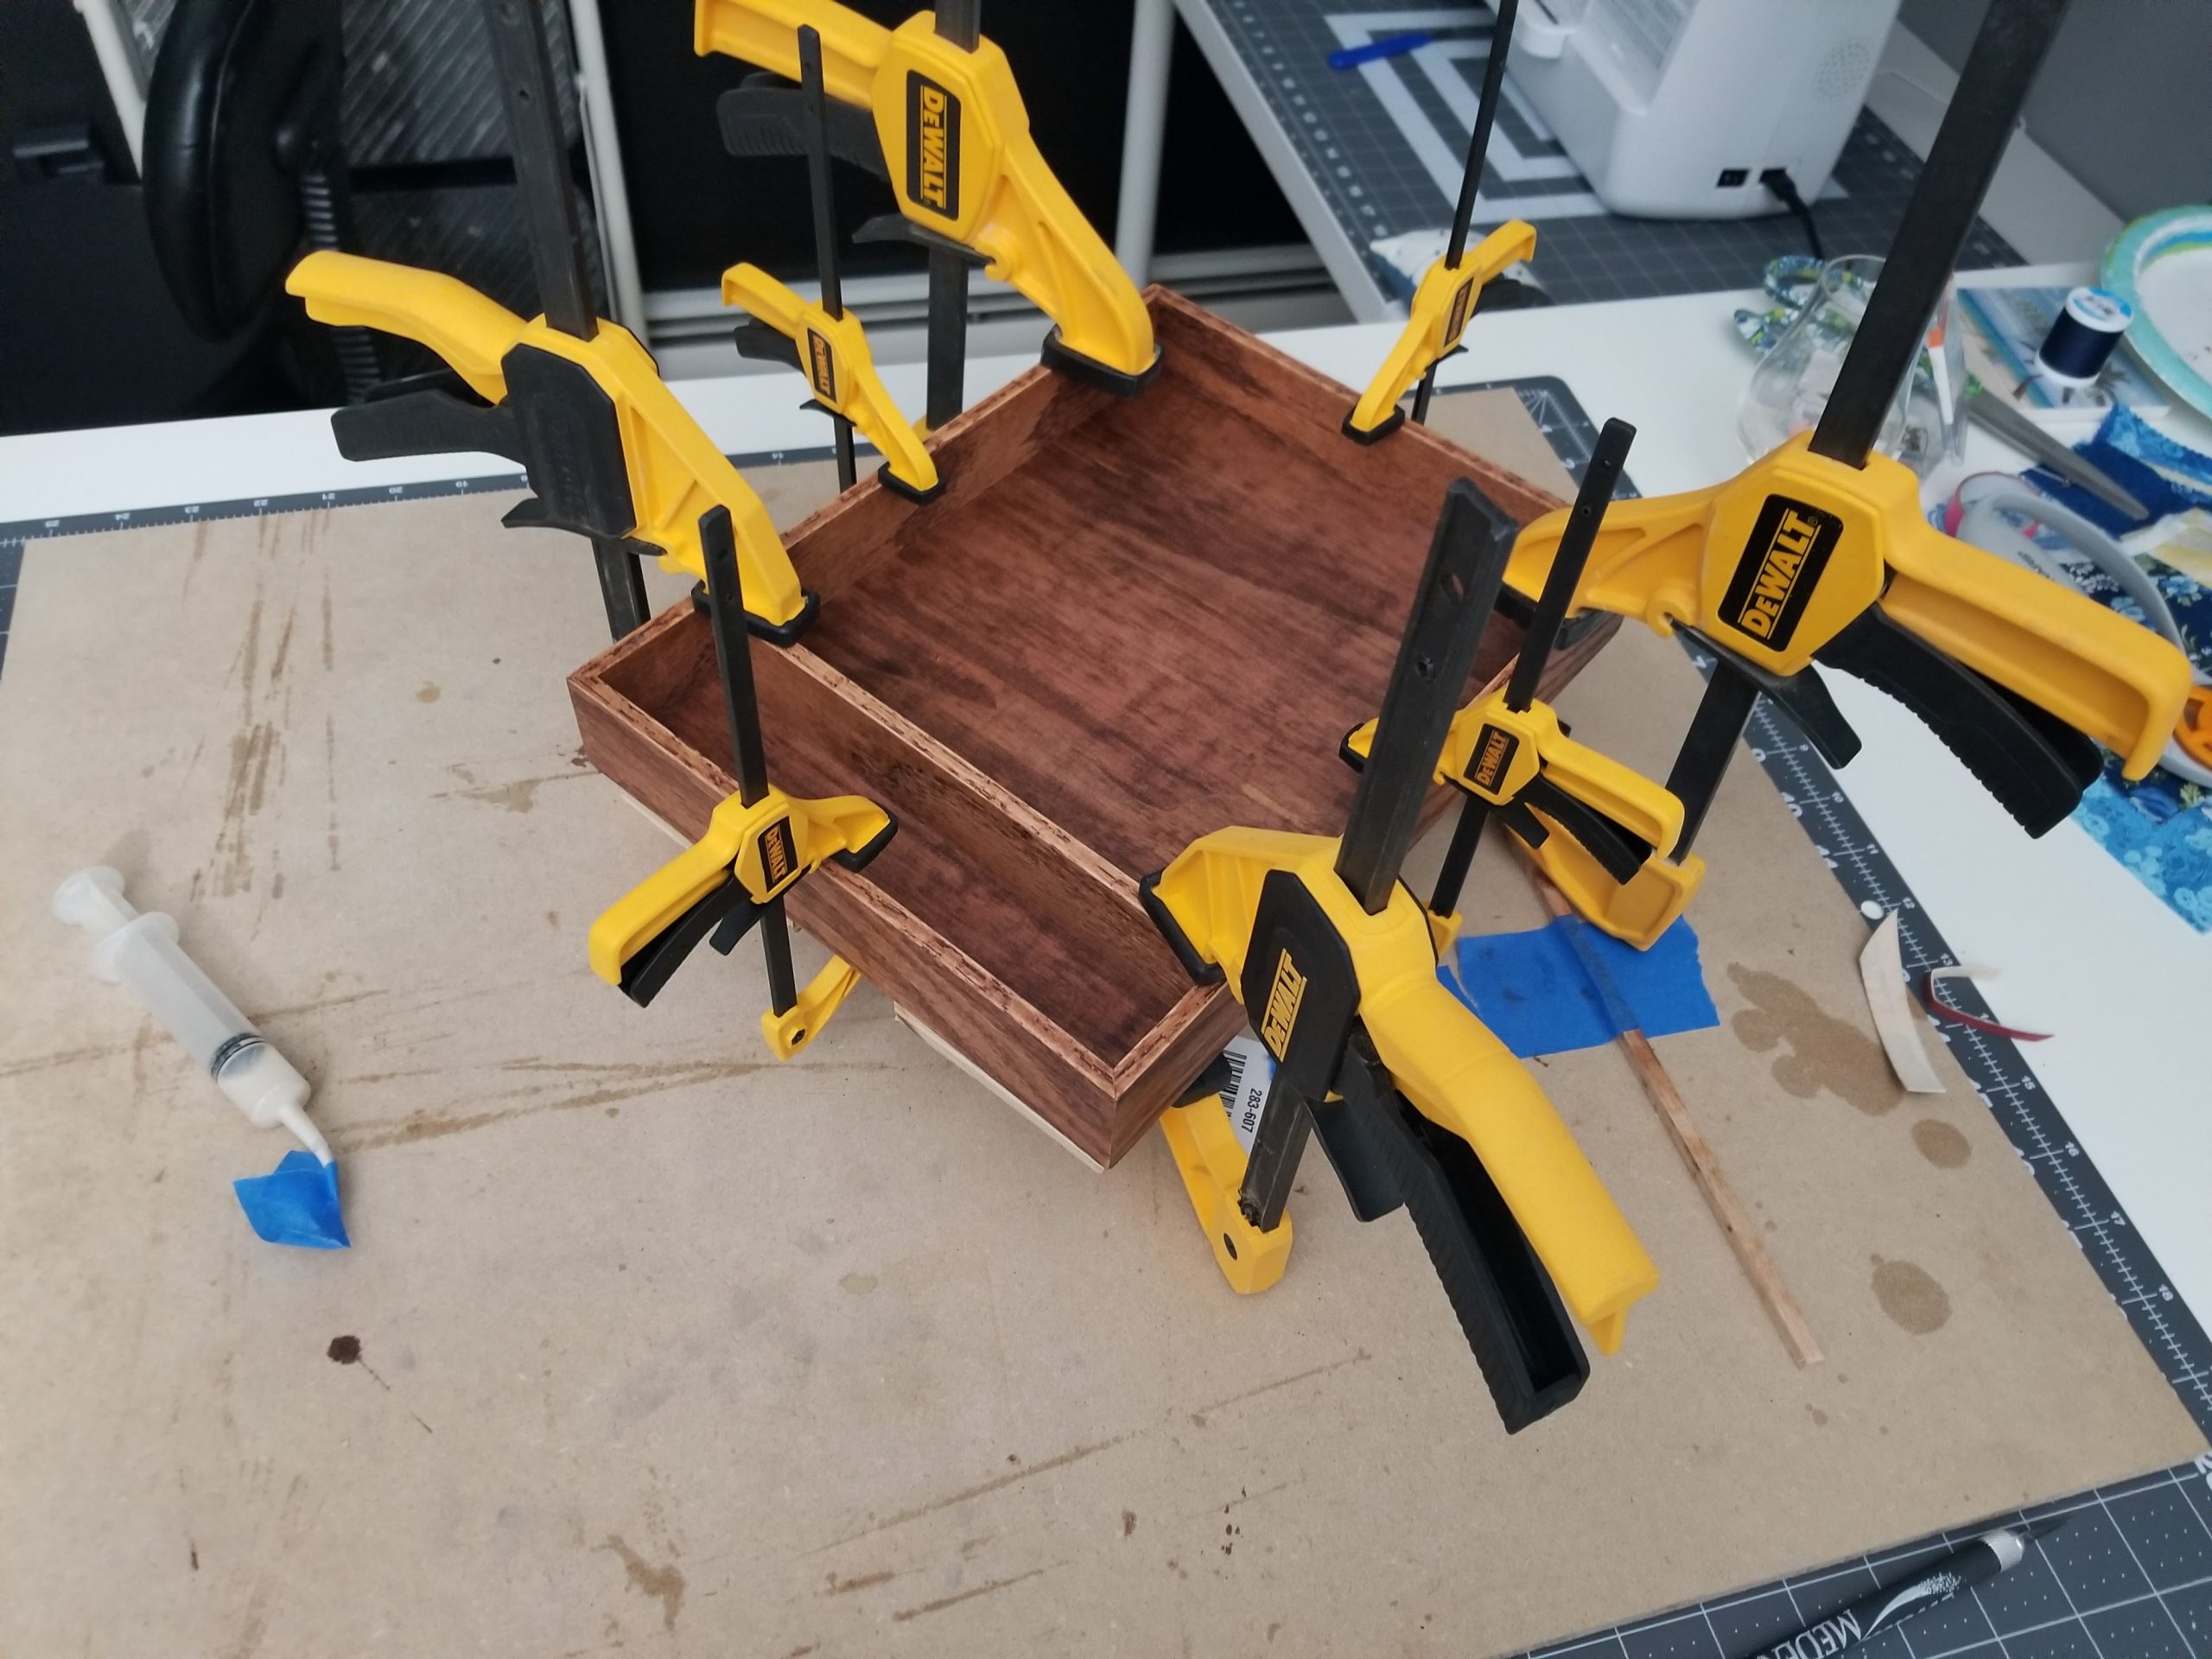
Finally the bottom was glued in and clamped to the bottom of the box. This operation was moved into my wife’s office/sewing room/workshop as mine, in the garage, was entirely too cold.
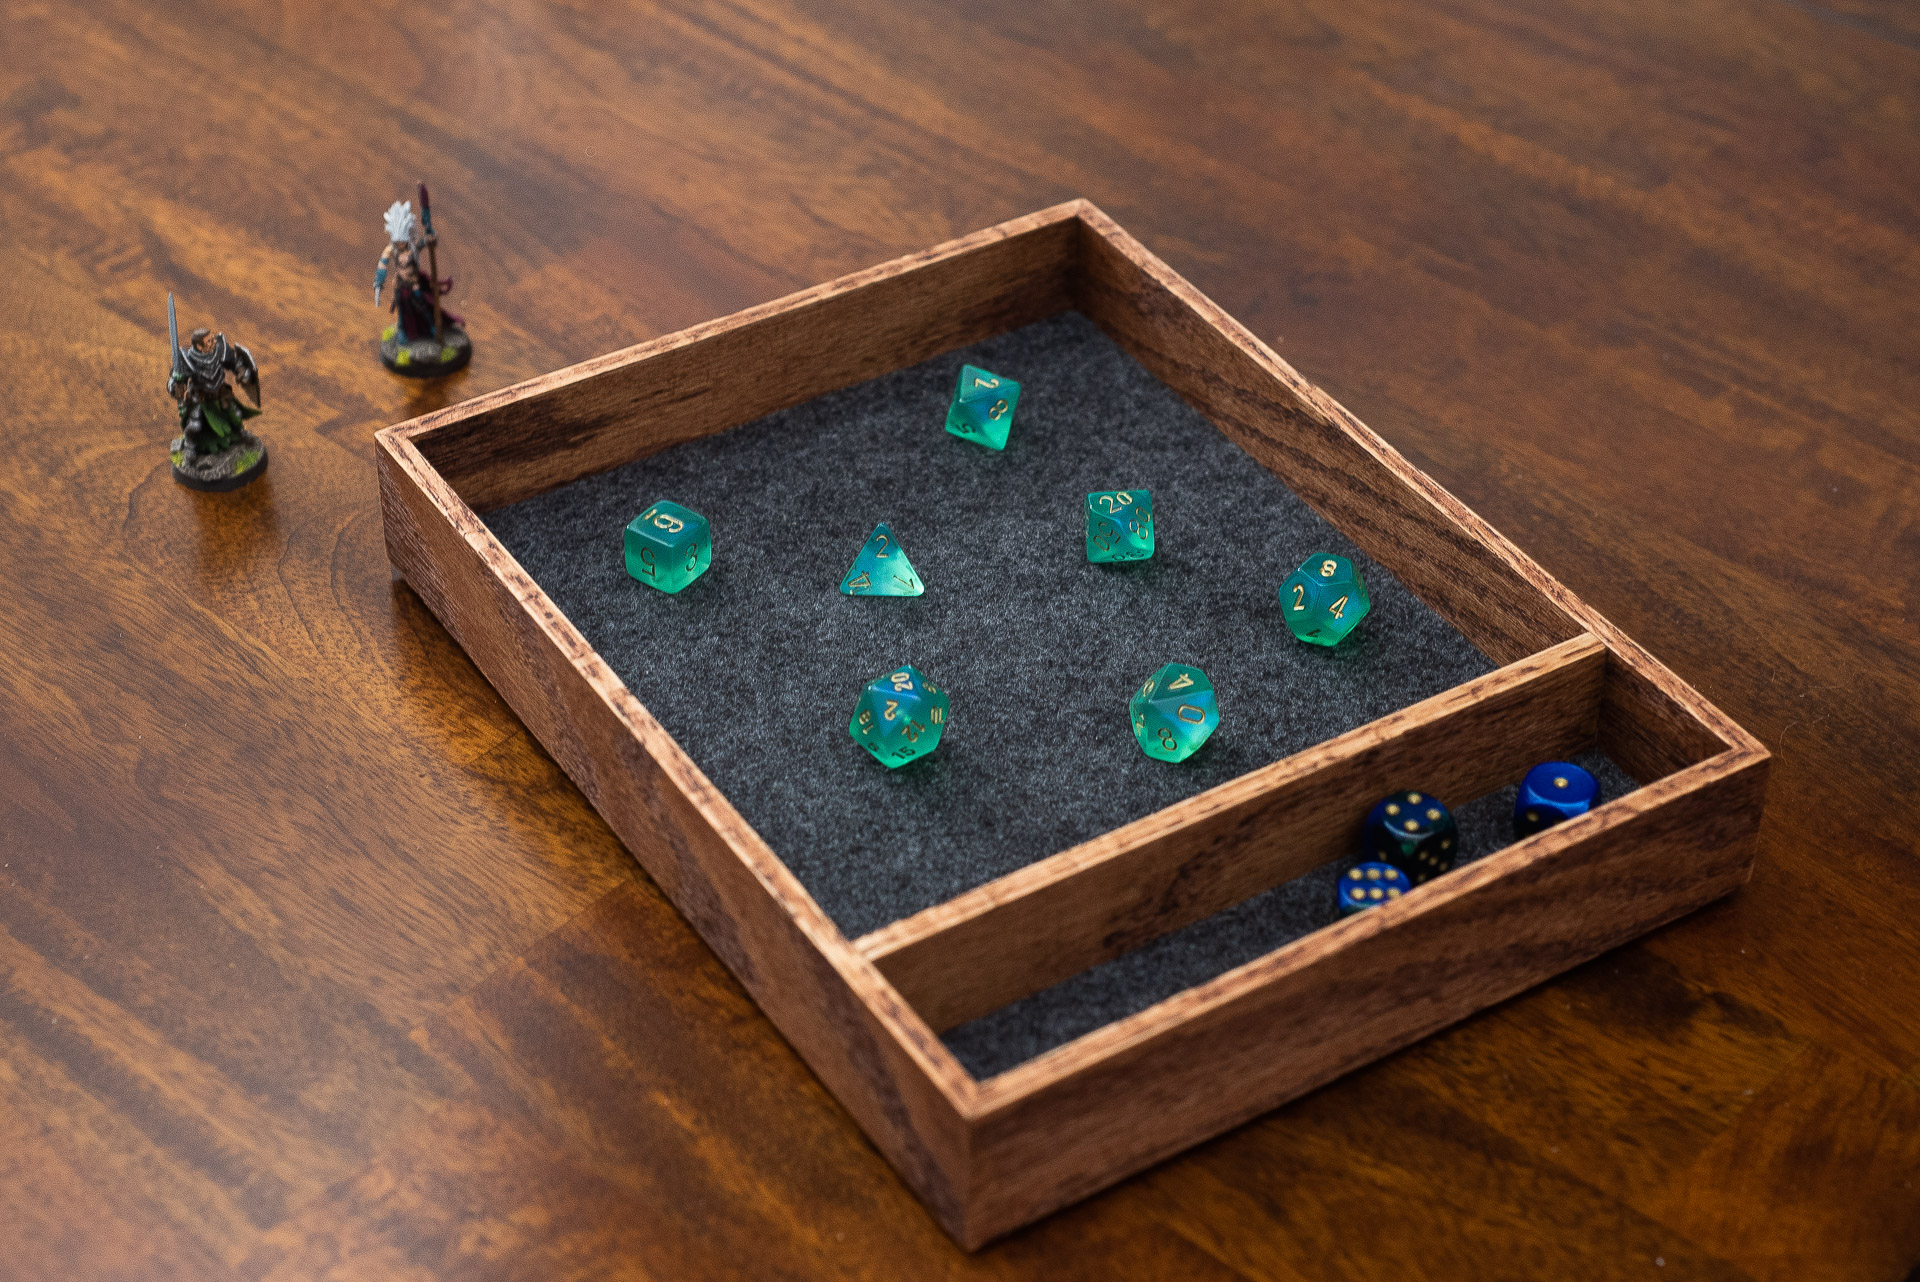
Again, here in the finished box. The liner is a piece of 2mm cork which was then backed with some dark gray felt, adhered with 3M Super 77 spray adhesive. Finally, the felted cork is stuck to the box with 3M double sided tape so it can be replaced in the future if necessary. The box rests on four 4mm clear silicone rubber feet.
Thanks for looking!


