
Graflex Lightsaber Part 2: More Planning
In the previous section, I went through the overall scope of this project and showed off the 3D model of the emitter portion of my lightsaber. Here, I am going to go over the two remaining sub-assemblies. The crystal chamber and the electronics assembly. Once everything is modeled, I am going to start prototyping and fabricating some of the smaller components.
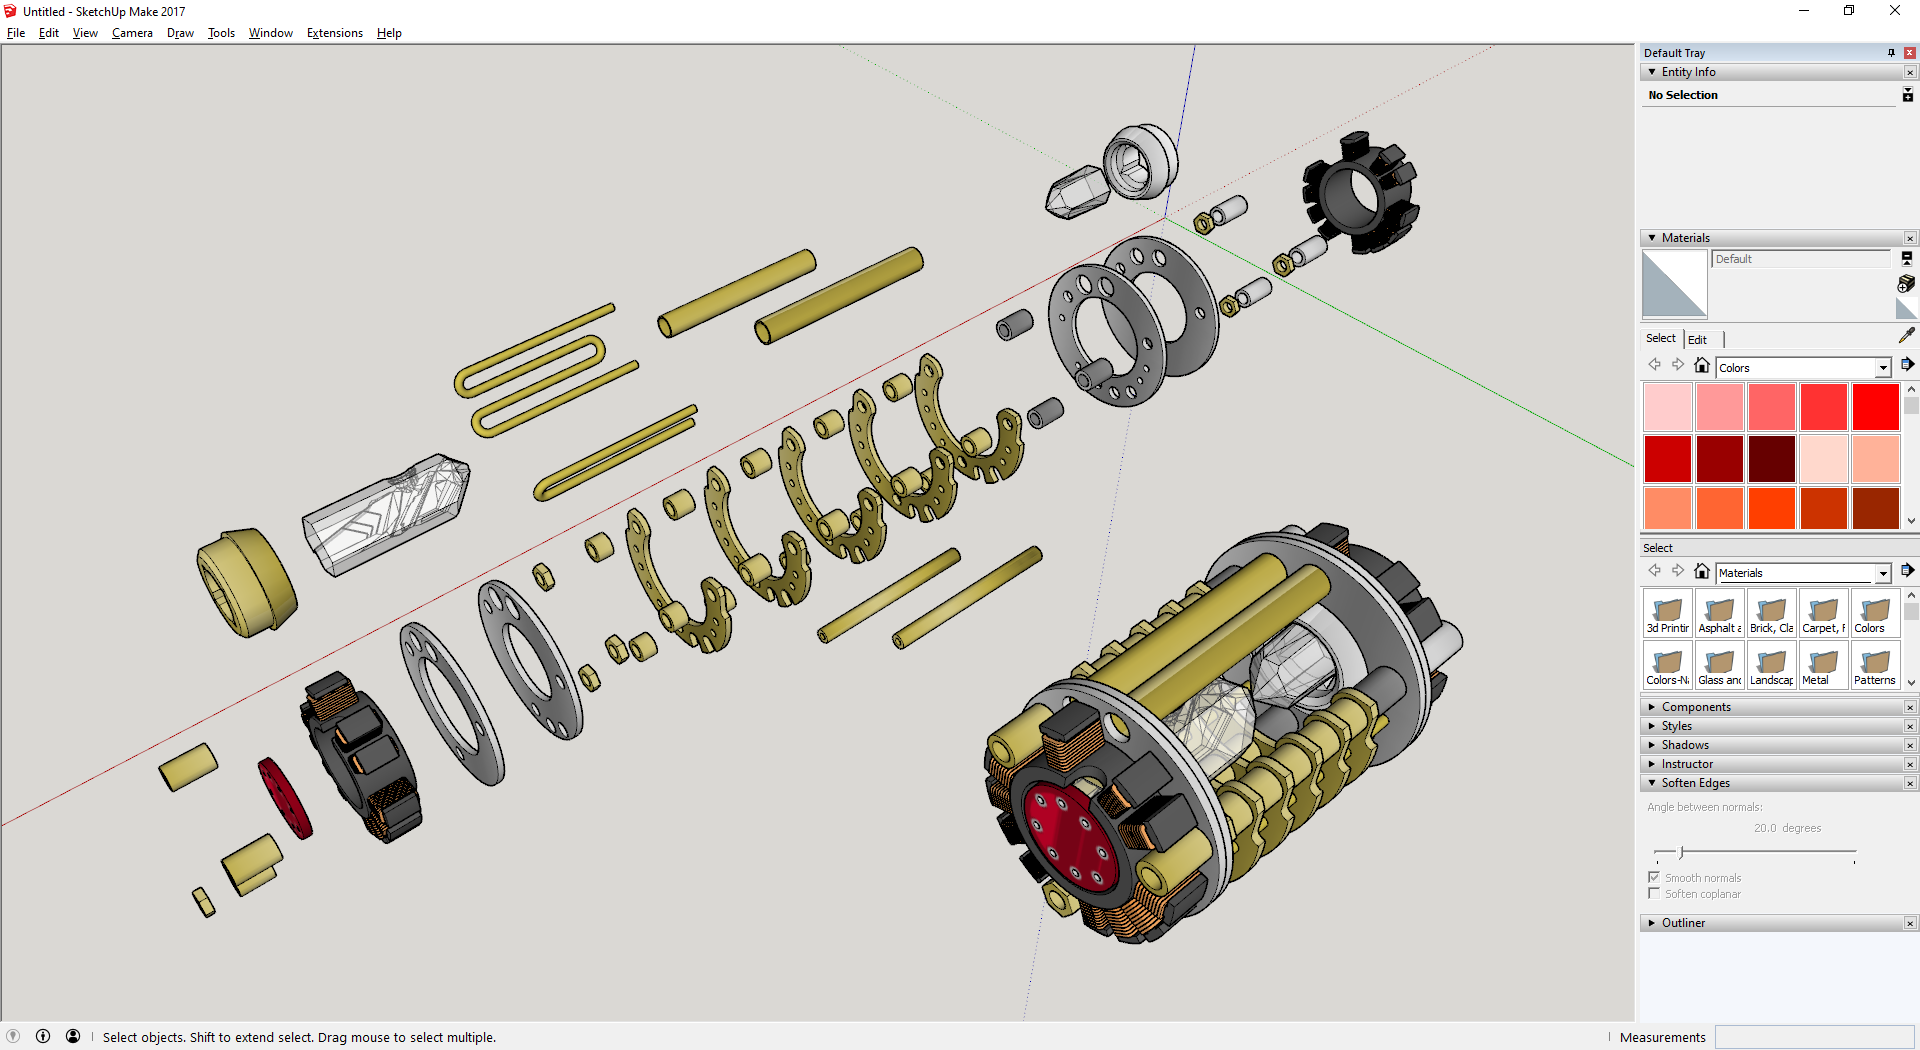
Here is the fully exploded crystal chamber. If you search the internet, you will find tons of independent hobbyists and companies making their own versions of the working internals of a prop lightsaber. For this build, I wanted something that was unique to my personal saber and not an off the shelf build. To make my chamber, I started by combining my favorite aspects from all the various examples I could find. However, I tried to keep in simple enough to stay within my skill level and the tools available to me. Like the emitter, this will be made of various sizes of brass and aluminum rod and tube stock. The chassis disks will be cut from aluminum and all the chamber disks will be cut from brass. For the crystals, I am going to use some small, approximately 10x30mm, quartz points that will be held in place by brass plumbing fittings. Everything will be illuminated by a small surface mount RGB LED.

The sound, lights, and motion are controlled by a Naigon Igniter 2 soundboard, which is powered by a rechargeable 18650 lithium-ion battery. Luckily, the battery and board are small enough to be stacked on top of each other and placed side by side in the hilt saving a ton of room. The battery itself is housed inside an aluminum tube with standard off the shelf battery contacts on each end. This way, the battery can be replaced in the future if ever necessary.

With all the design aspects out of the way, it is time to start building the lightsaber. The first thing I did was 3D print a prototype set of the chamber disks. These are probably the most complicated part of the whole project. I couldn’t wait to see what they looked like in real life.

They are definitely a little bit smaller and more intricate than I expected.

I also took the opportunity to order prototype chassis disks from Ponoko. If you don’t know, Ponoko is a laser cutting service. I redrew all the chassis disks in Adobe Illustrator in 2D, sent them the vector file, and about a week later I had two full sets of disks precision cut from black acrylic to begin prototype assembly.
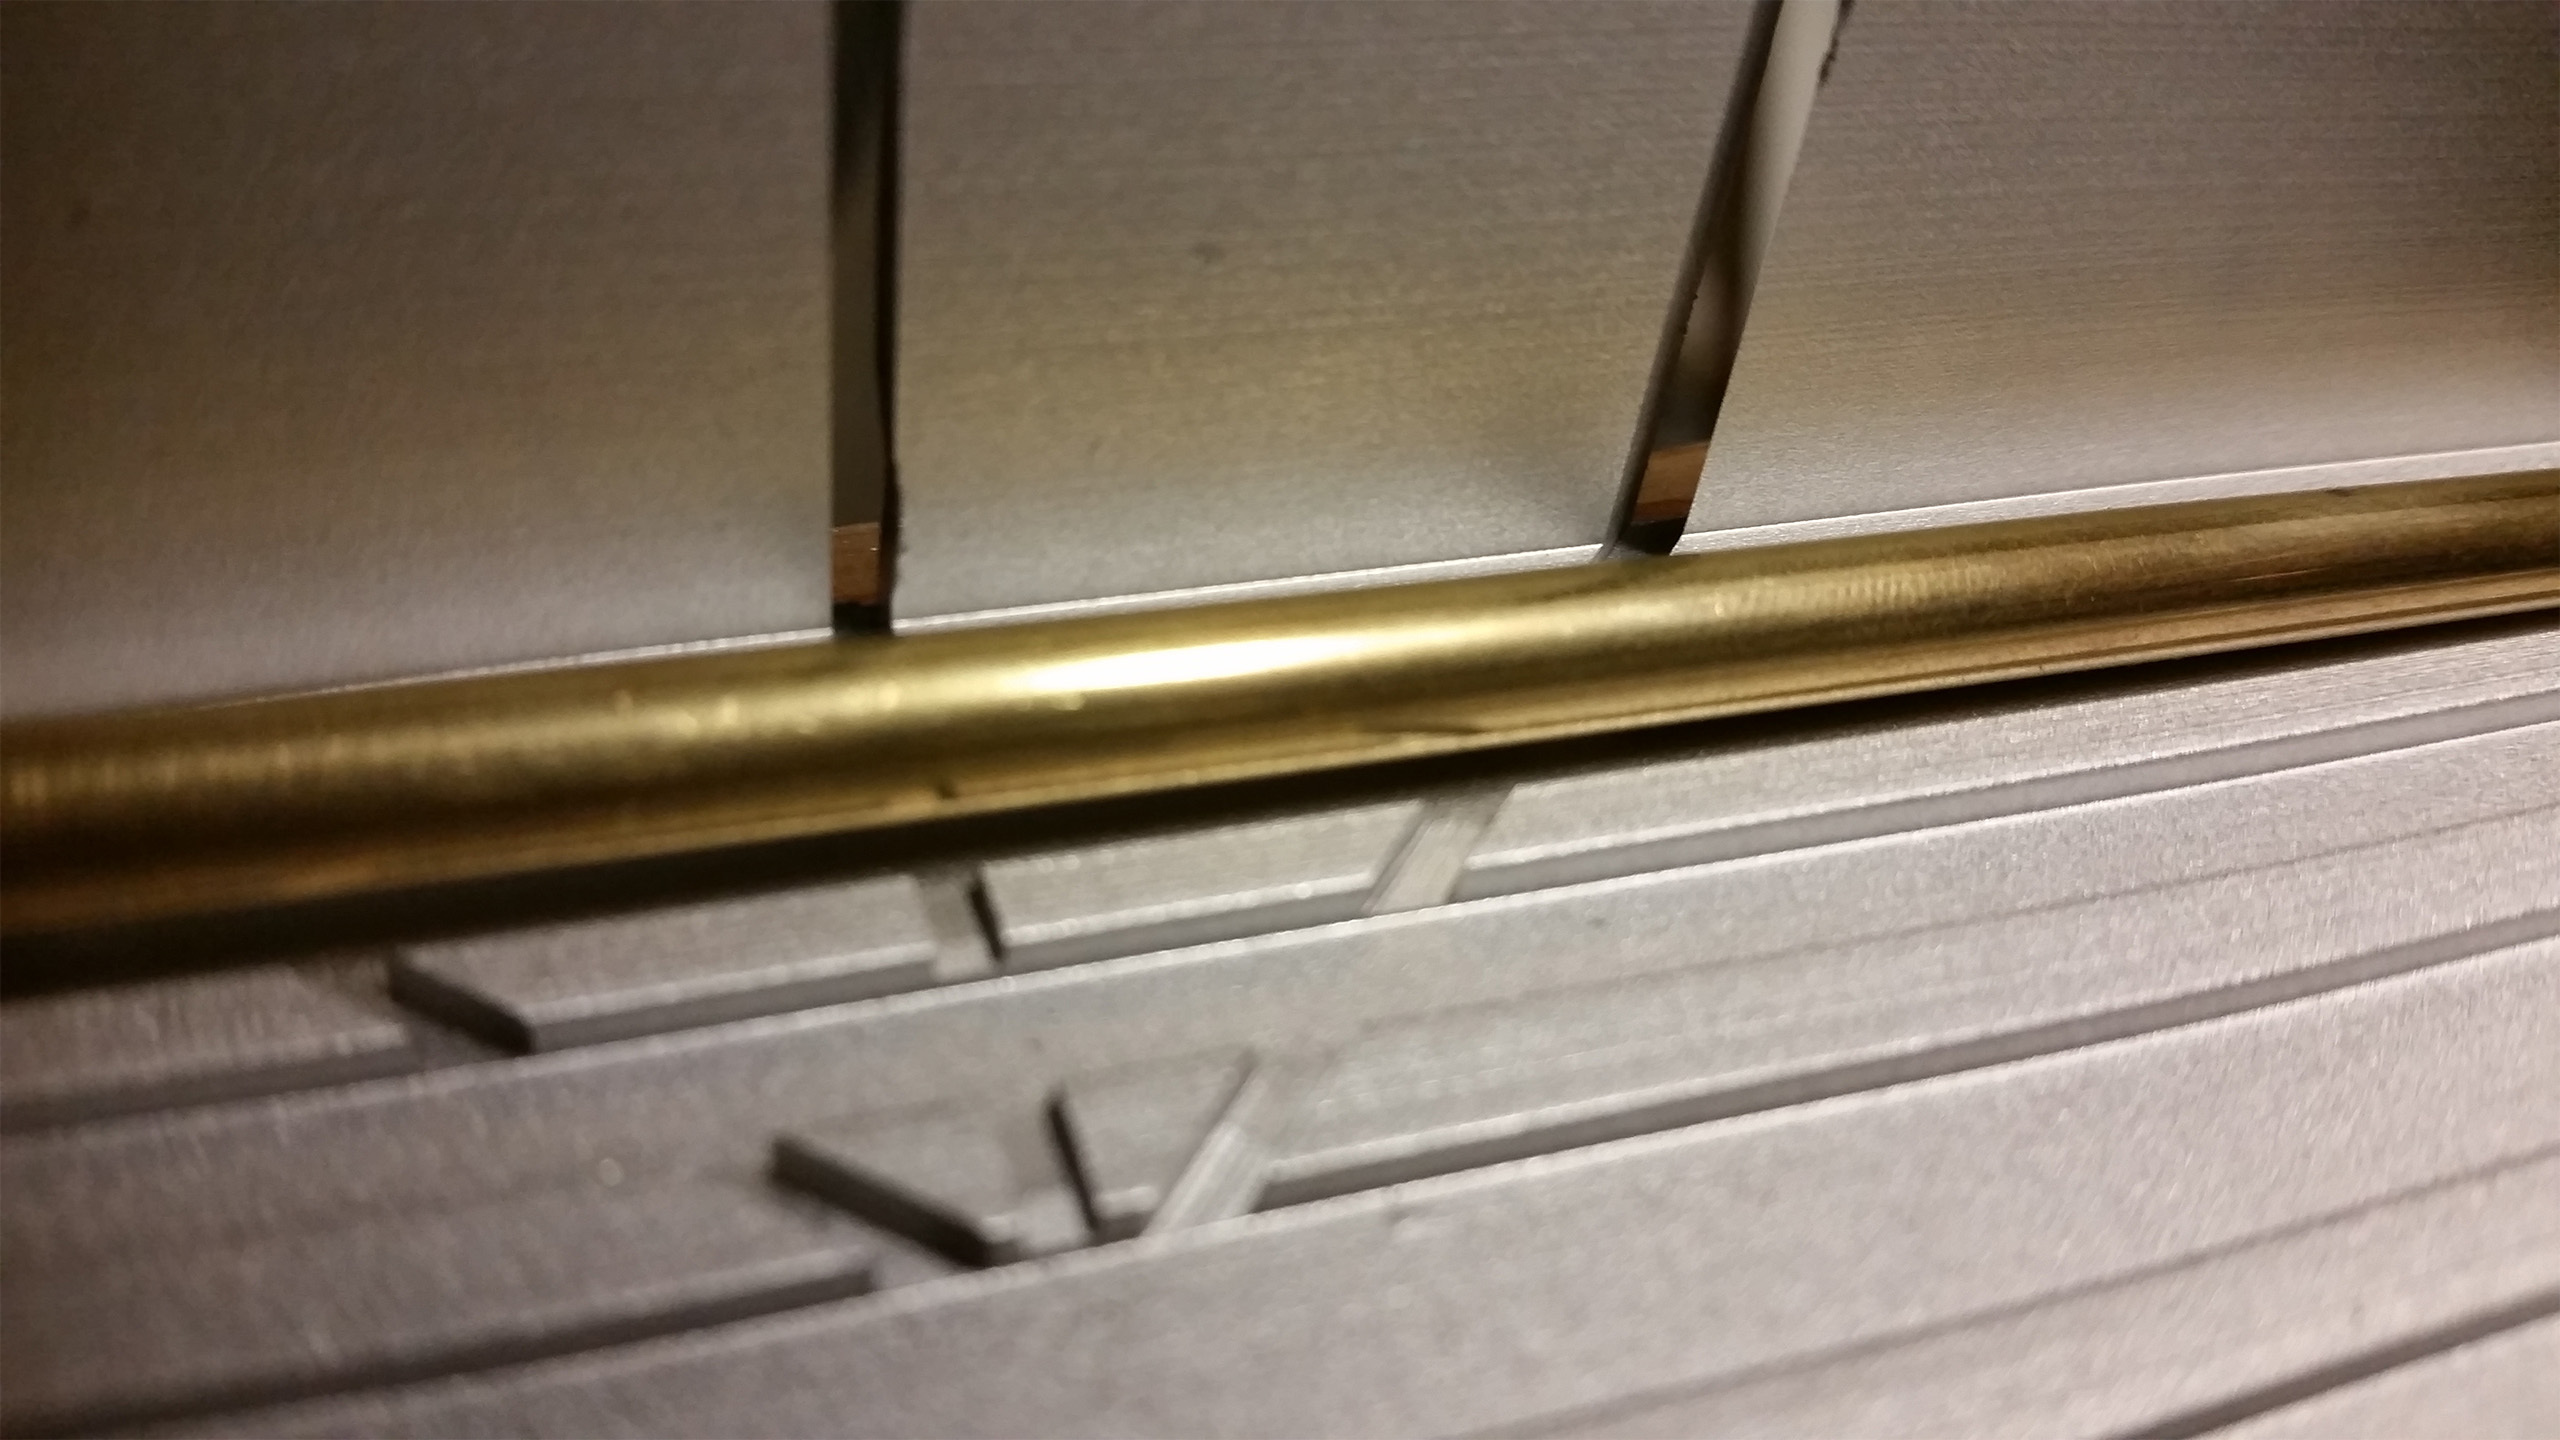
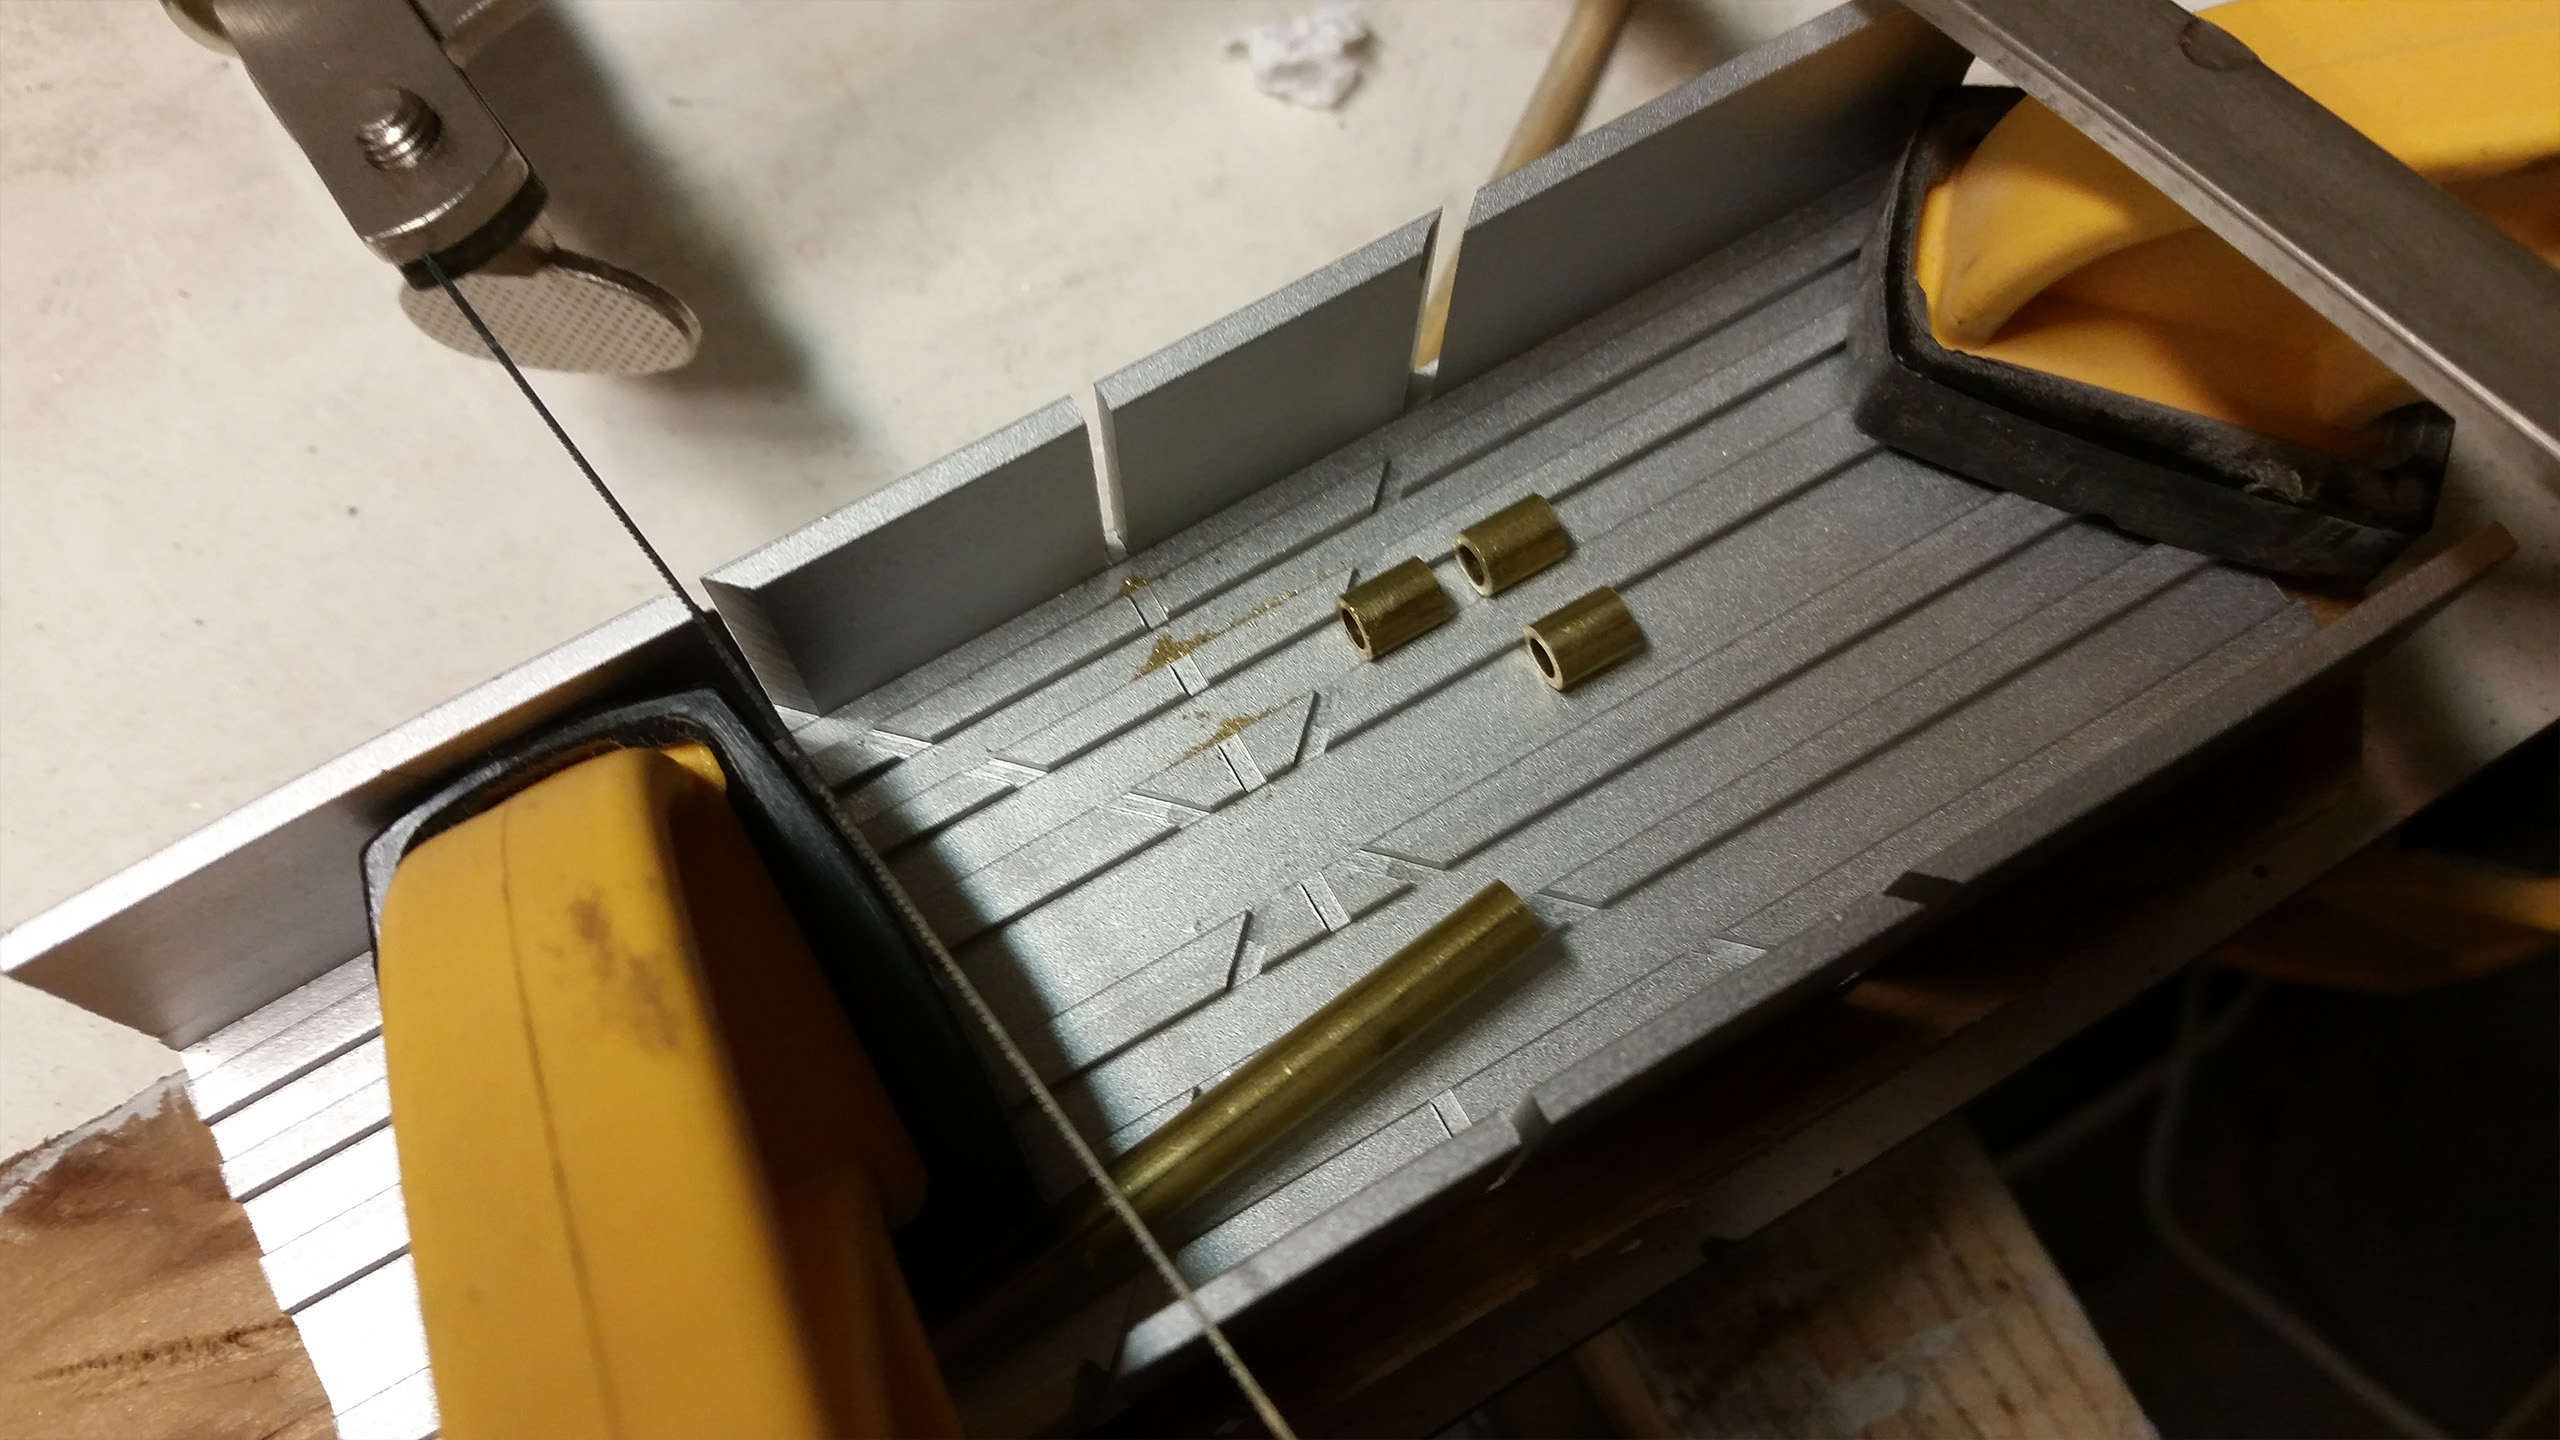
Next, it was time to start making all the little tiny sections of brass and aluminum tubing. These need to be perfect. There are so many used throughout the project that even little inconsistencies will start to add up to big problems. I originally though the best method for making the tube section was going to be using this micro table saw sold by Harbor Freight. That turned out to be either discontinued or completely impossible to find. Next, I tried to make a little DIY chop saw from Dremel and some plans that I found on Thingiverse. That however, ended up making so VERY poor and crooked cuts. In the end I chose to do it the old fashion way. I purchased one of my new favorite tools, a jewelers saw, and cut each piece by hand.
Each piece was cut ever so slightly oversized by about 0.1 – 0.2mm, and were then filed and sanded to their final exact dimensions.
With the tubes all cut and a set of prototype disks/spacers in hand, all that is left to do is 3D print a hand full of parts like the battery tube caps, speaker holder, soundboard tray, etc… Then, I can do an initial assembly and dry fit in the Graflex body.
Thanks for looking!
Other parts of this project
◄ Graflex Lightsaber Part 1: Planning
► Graflex Lightsaber Part 3: Test Assembly
► Graflex Lightsaber Part 4: Fabrication
► Graflex Lightsaber Part 5: Cleanup
► Graflex Lightsaber Part 6: Final


Add a Comment
You must be logged in to post a comment.

Thanks for part 2, this is awesome! I can’t wait to continue seeing the progress!