
Graflex Lightsaber Part 4: Fabrication

In this part I am going to focus on the fabrication of all the metal chassis disk components to replace all the temporary laser cut acrylic and 3D printed parts.
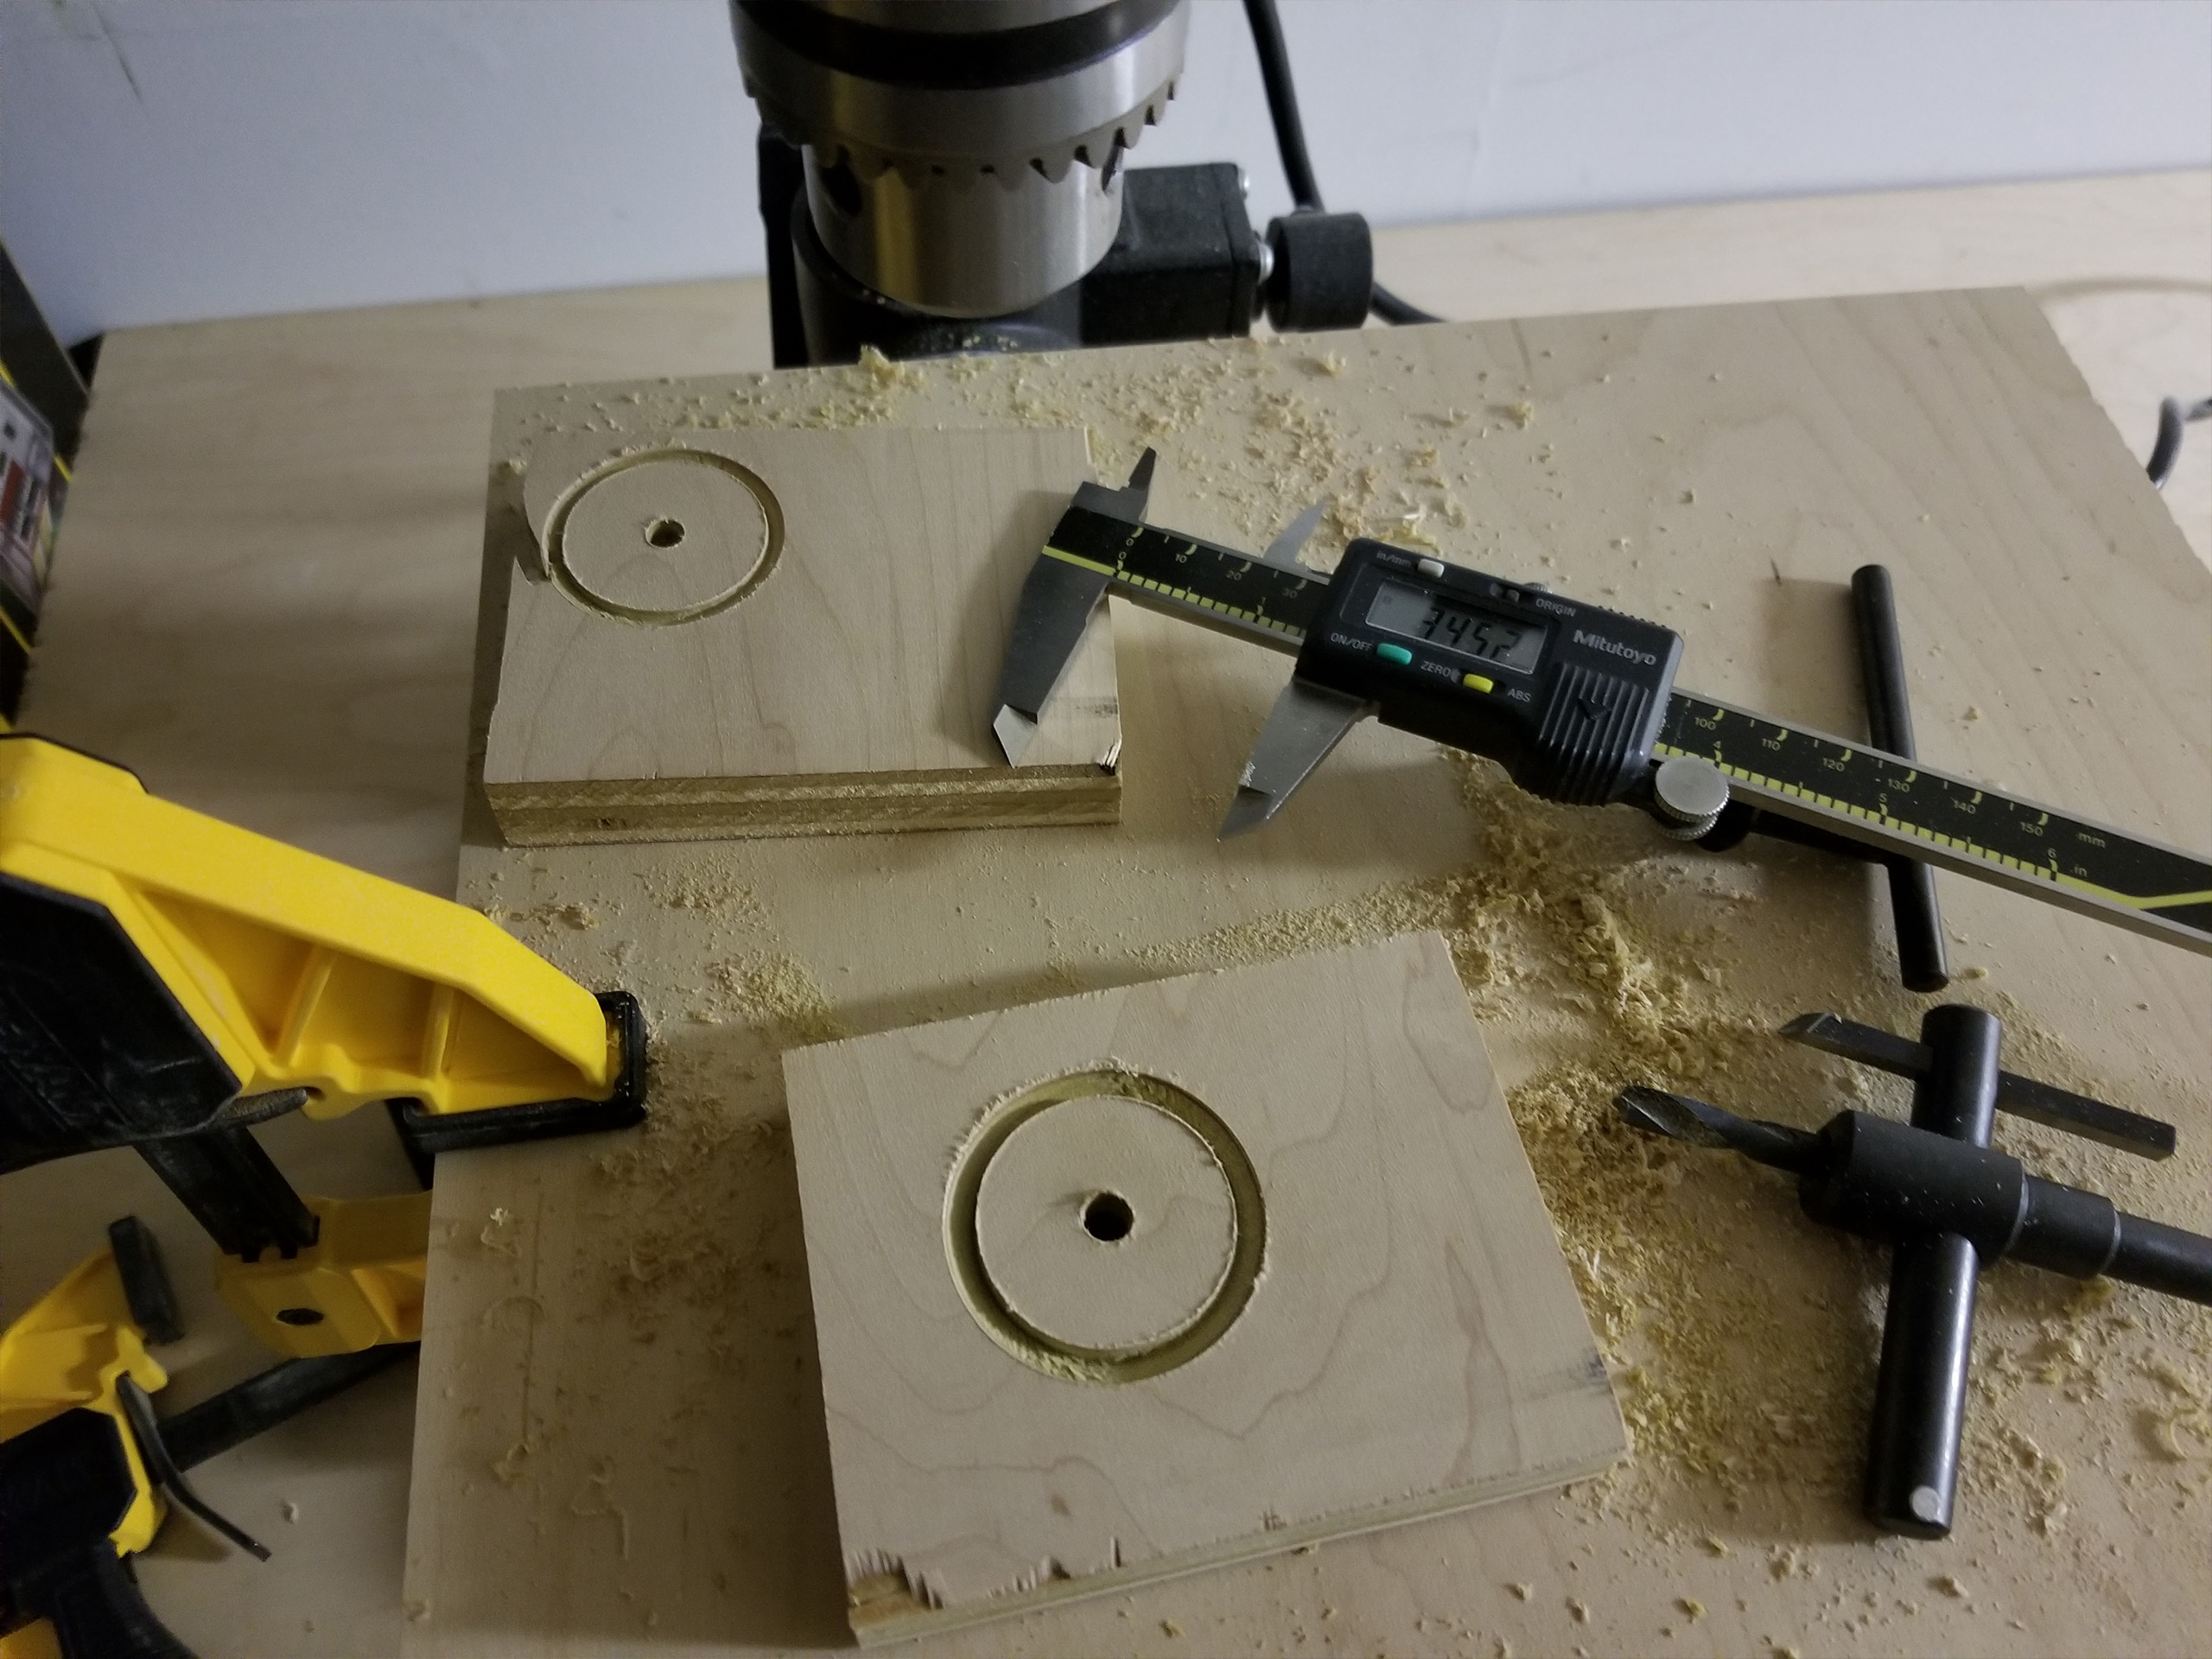
The first order of business was trying to figure out how to cut even/consistent circles out of aluminum and brass. To do this I picked up a machining tool called an adjustable circle cutter. Basically, it spins a cutting tool on the end of an adjustable arm and slowly bores a hole through sheet metal. The version I bought cut 7/8” to 4” holes, and it works with drill presses at low RPM so it is perfect for my application. Before I started messing up my good sheet metal, I did a bunch of test cuts on some scrap plywood.
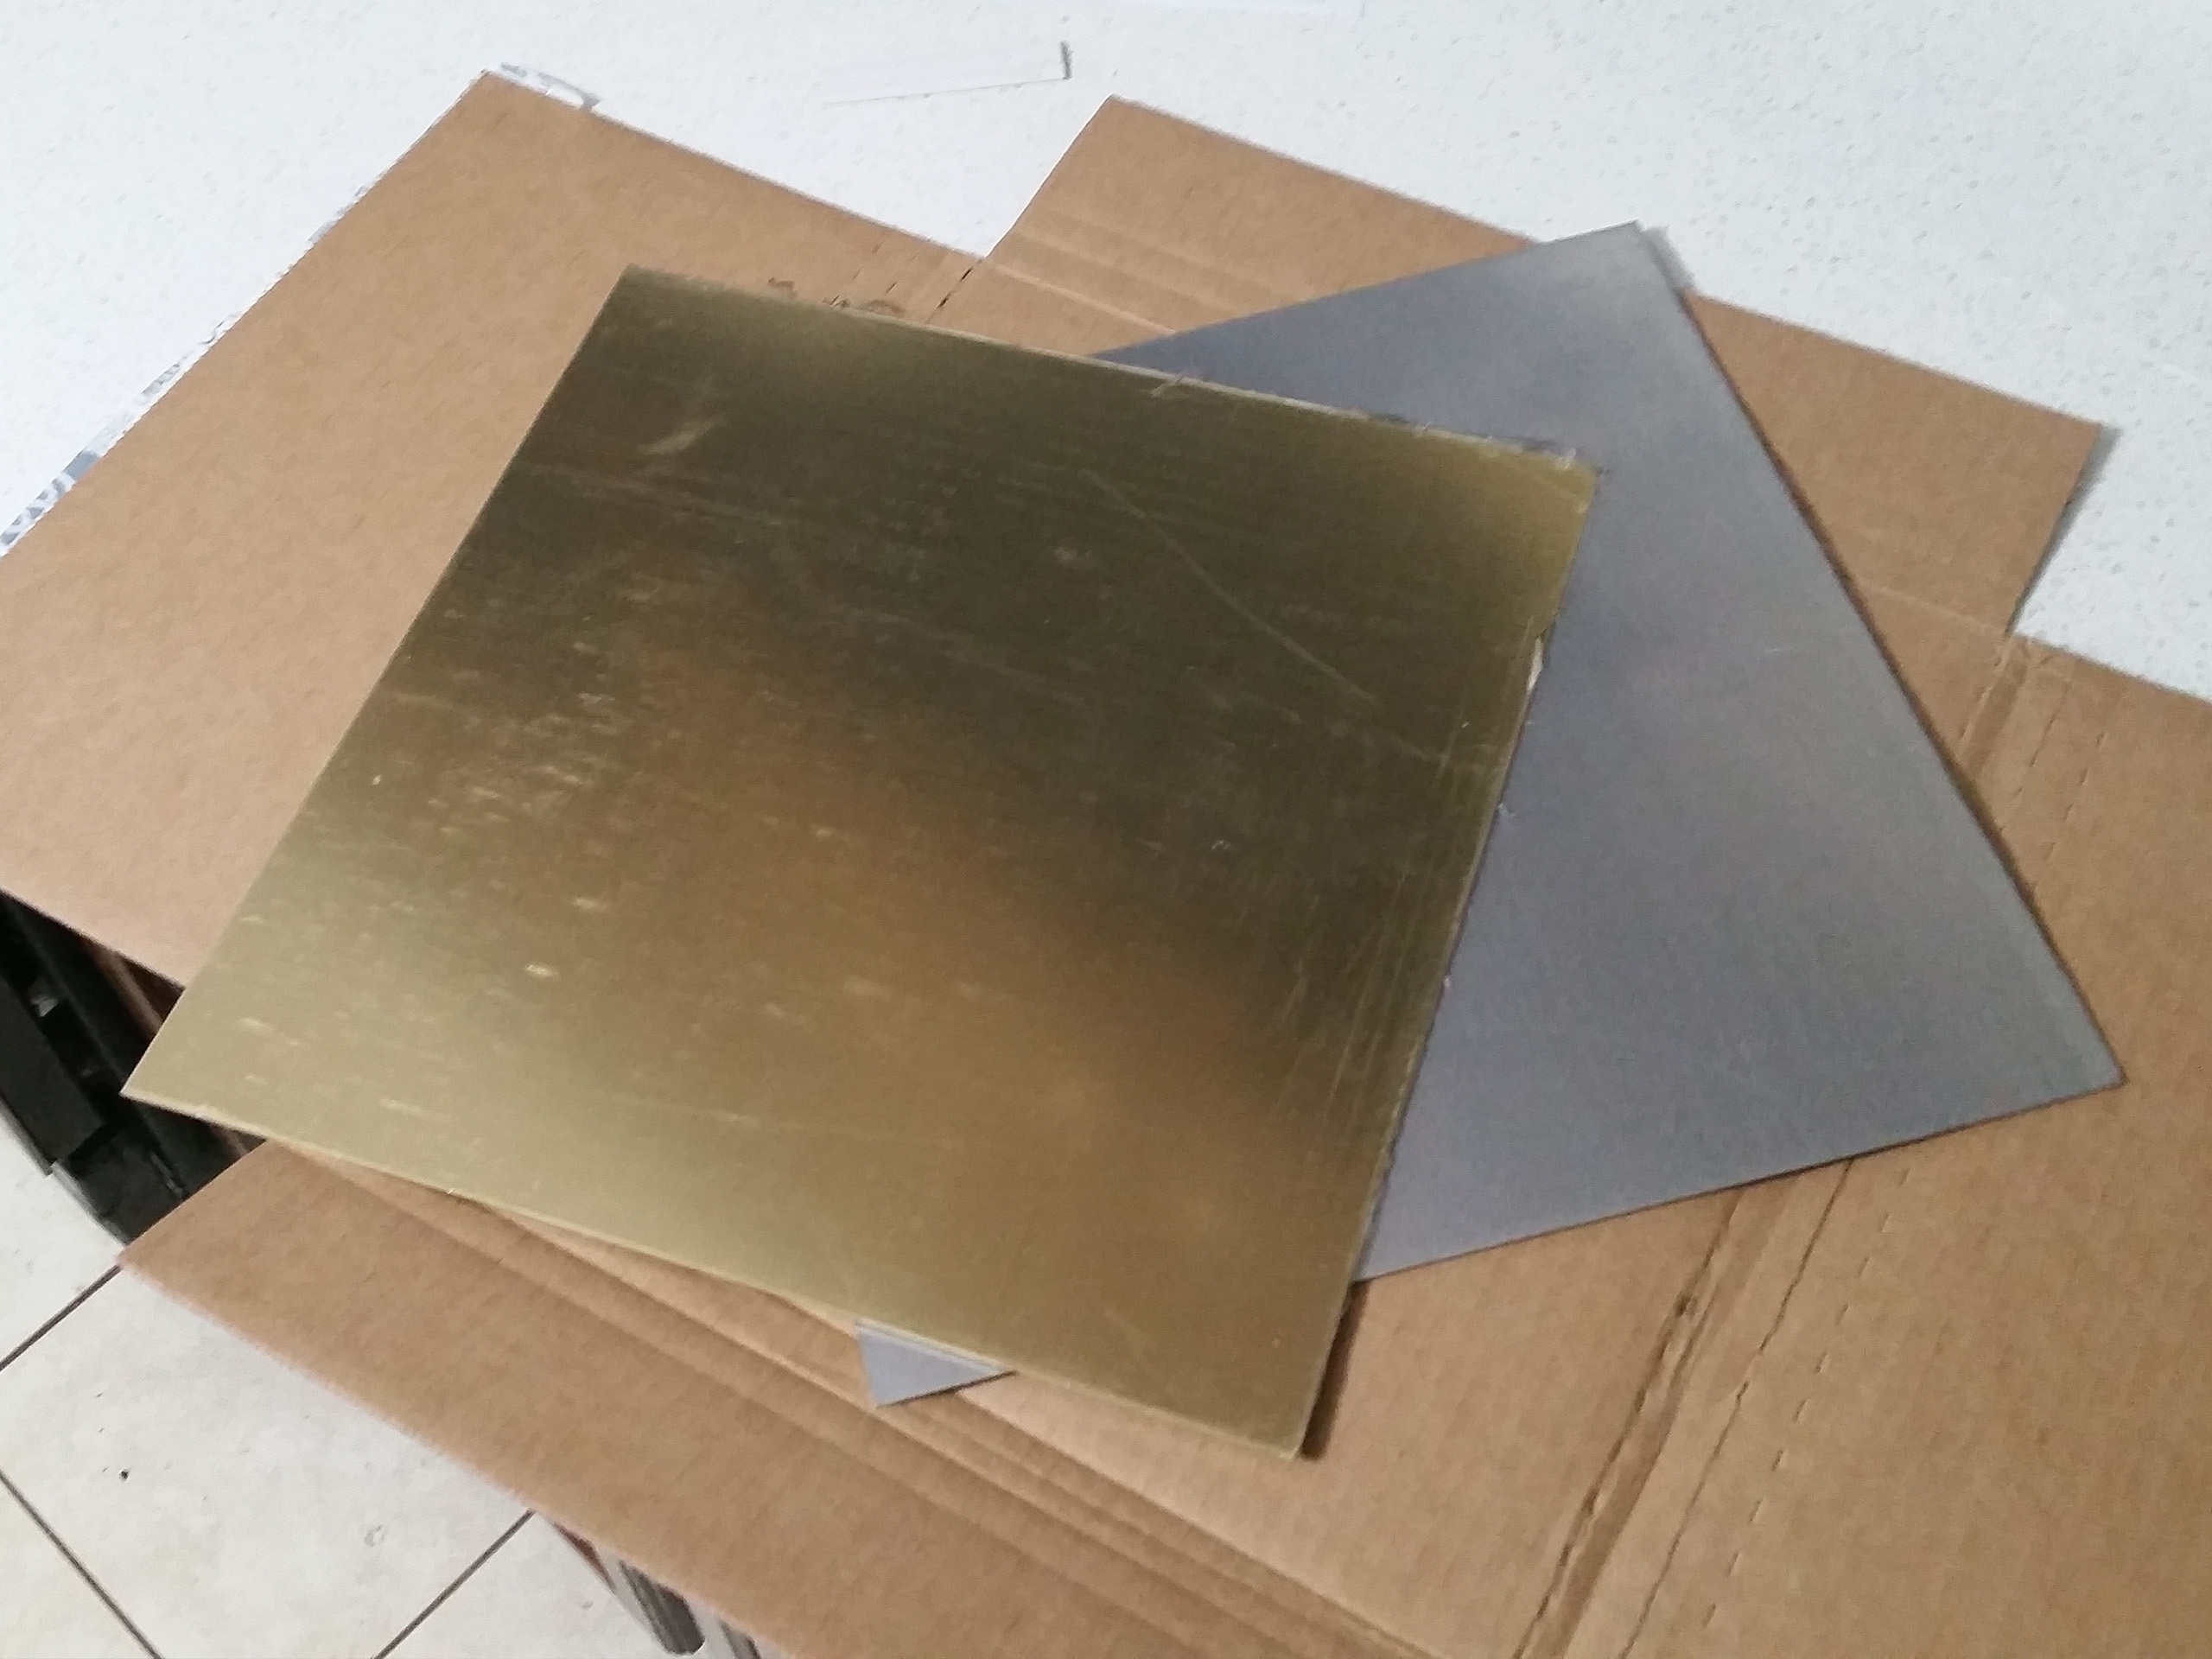
The material I will be using was ordered from OnlineMetals.com. They are 12” x 12” sheets of 0.05” (16 gauge). The aluminum is simple 5052-H32. The brass is 260 Cartridge Brass which crazy hard by comparison, but should cut clean.

This is the result of the circle cutter. It is hard to see in this picture but the edge is a little rough. Overall, not bad. My drill press is admittedly terrible, and the circle cutter is not the most gentle of tools. I was able to achieve decent cuts by running at 370 RPM with a ton of cutting fluid. I cut the disk about 0.75mm oversize in radius so I can clean it up by hand later and hone it to final dimensions. I should also note that the cutter leaves a very big burr on the edge of the disk in the form of a raised lip. This was taken care of by a quick pass with some sand paper.

To hone the disks down to their final dimension I 3D printed myself this little jig. It sandwiches the part between two 3D printed cylinders that are the exact final diameter of the disk. I chucked the jig into my drill press on a low speed and just started carefully running small hand files along the edge slowly removing material until I hit the final dimension. The above image shows a very small file. I used those towards the end when I had only a few thousandths of material to remove. For the majority of the work I used a large 1” single cut hand file.
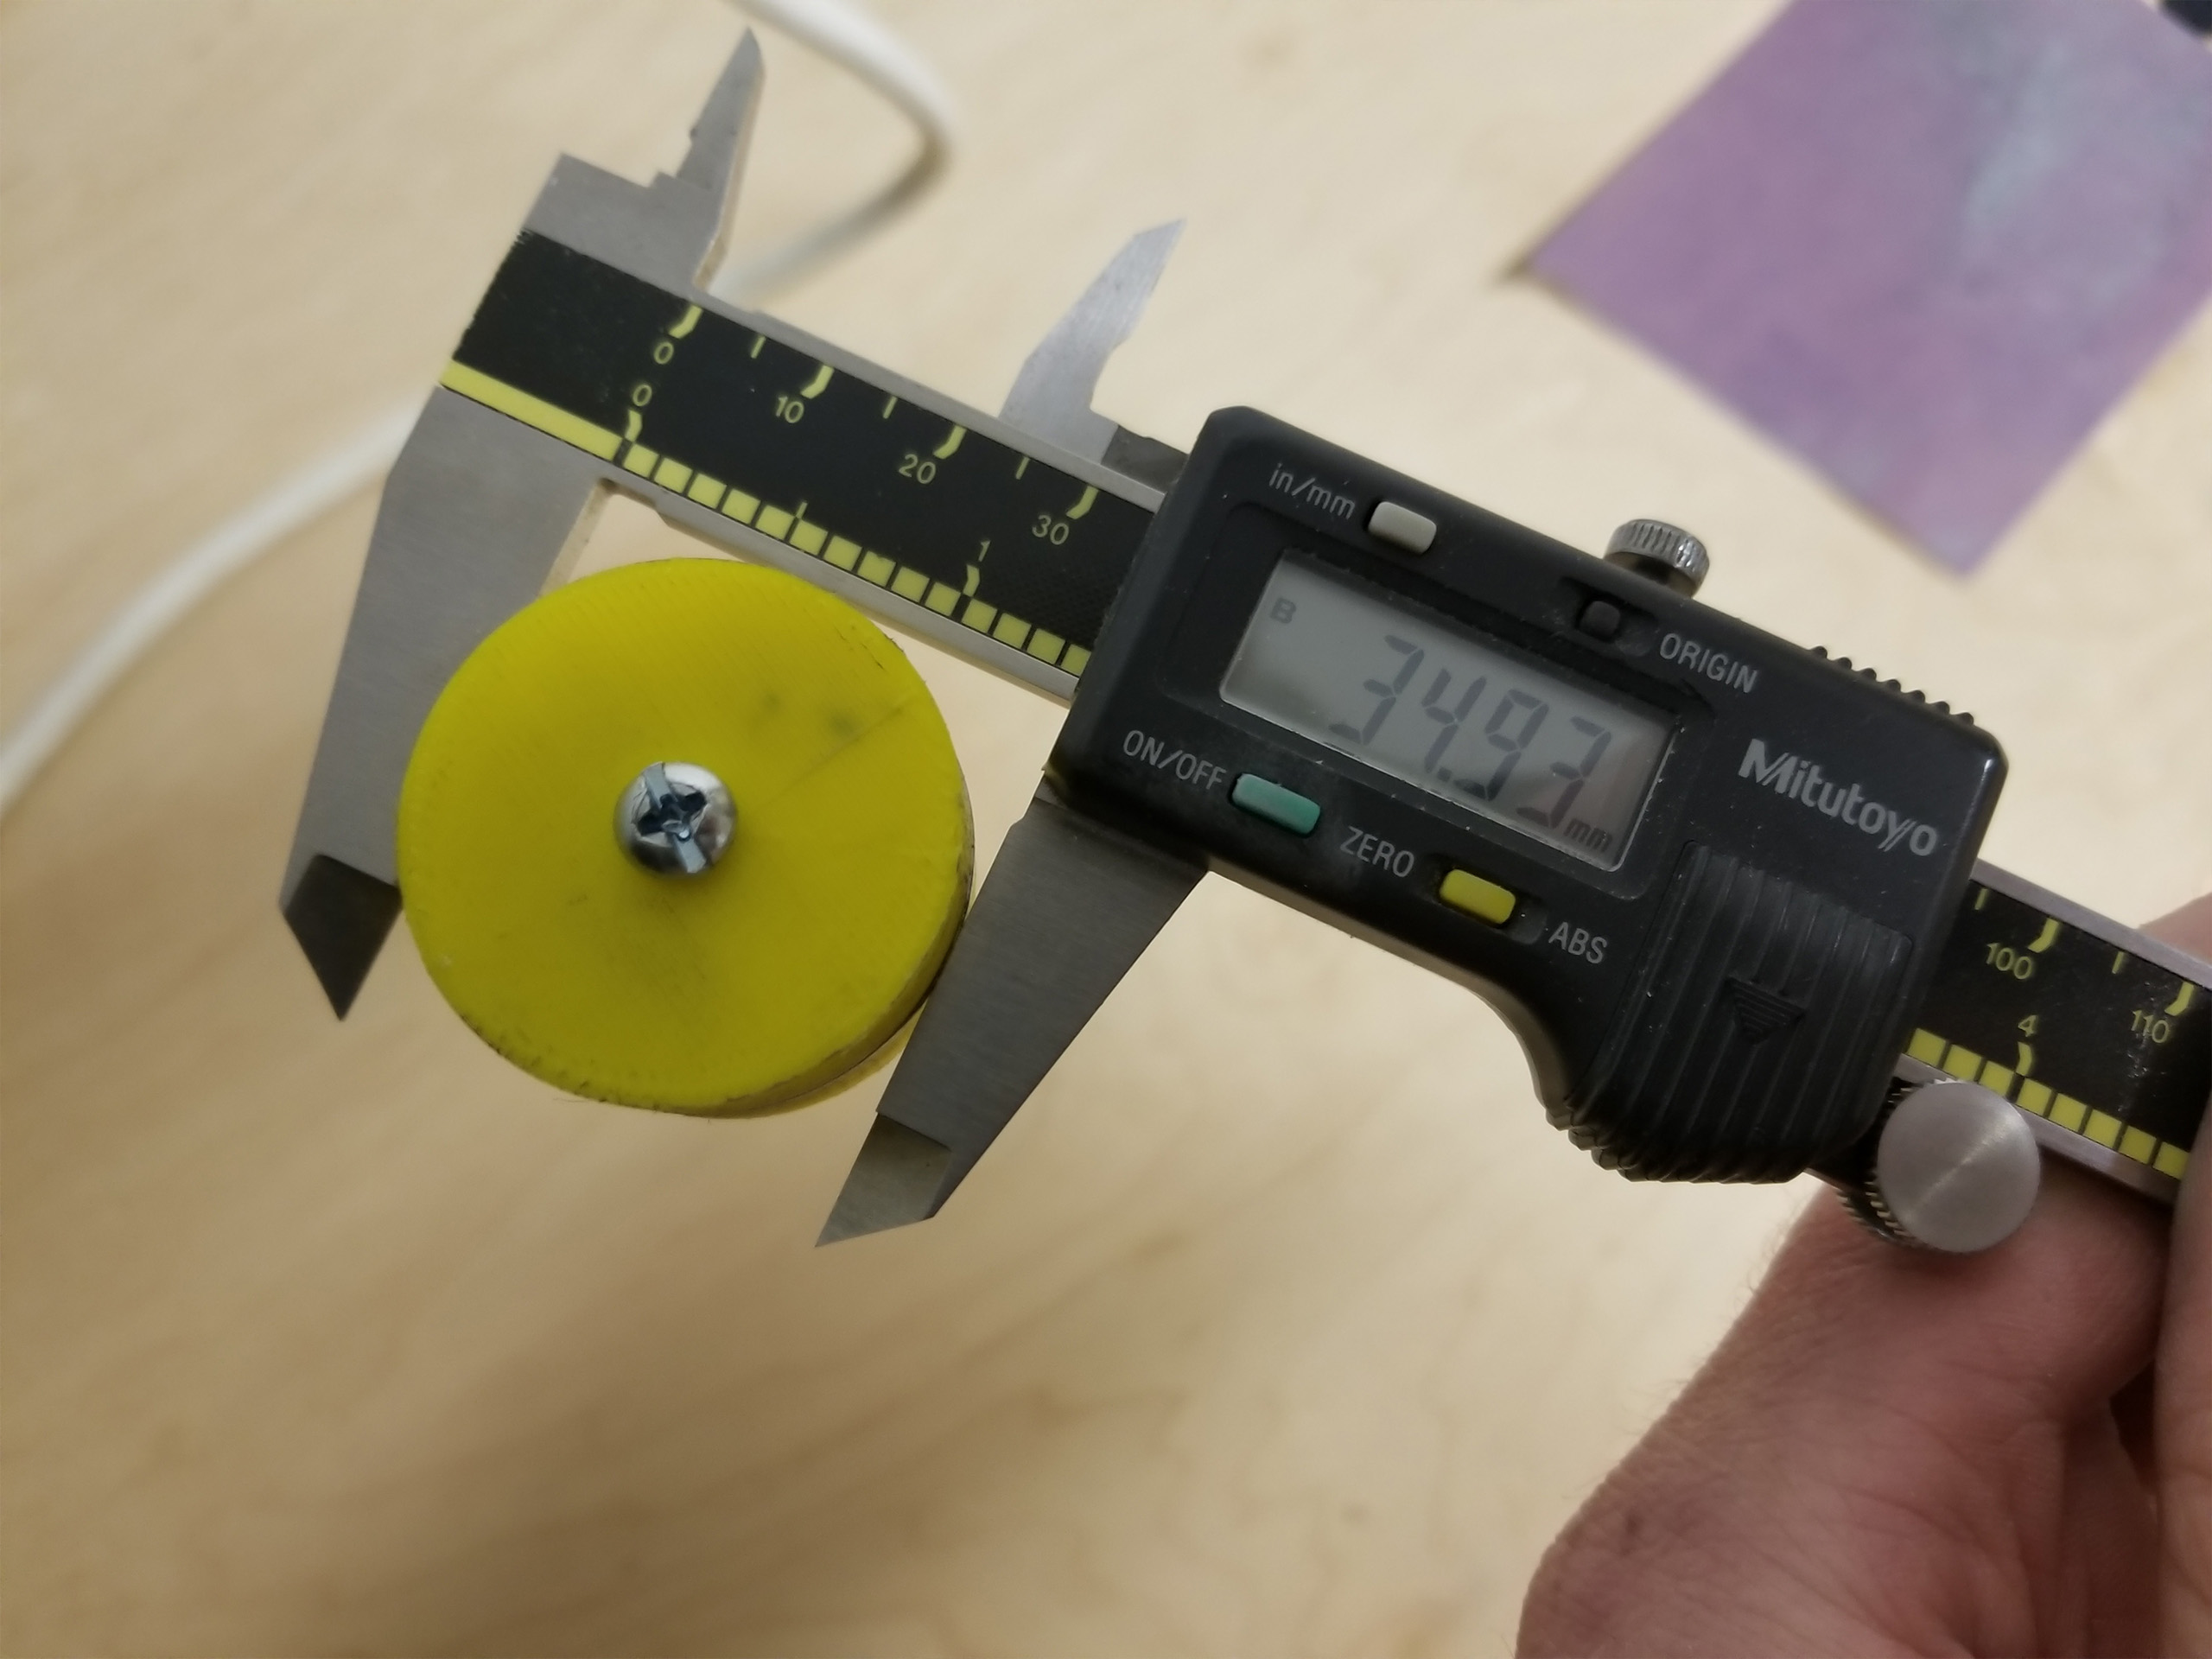
Here you can see my final measurements. The dimensions I was shooting for was 1-3/8” or 34.925mm.

Happy with the results of my process it was time to move on to making the rest of the disks. There are 17 disks in total, in 3 different diameters. Here is the first set of disks all nice and cleaned of cutting oil and metal chips. You can really see the raised lip I was talking about earlier.
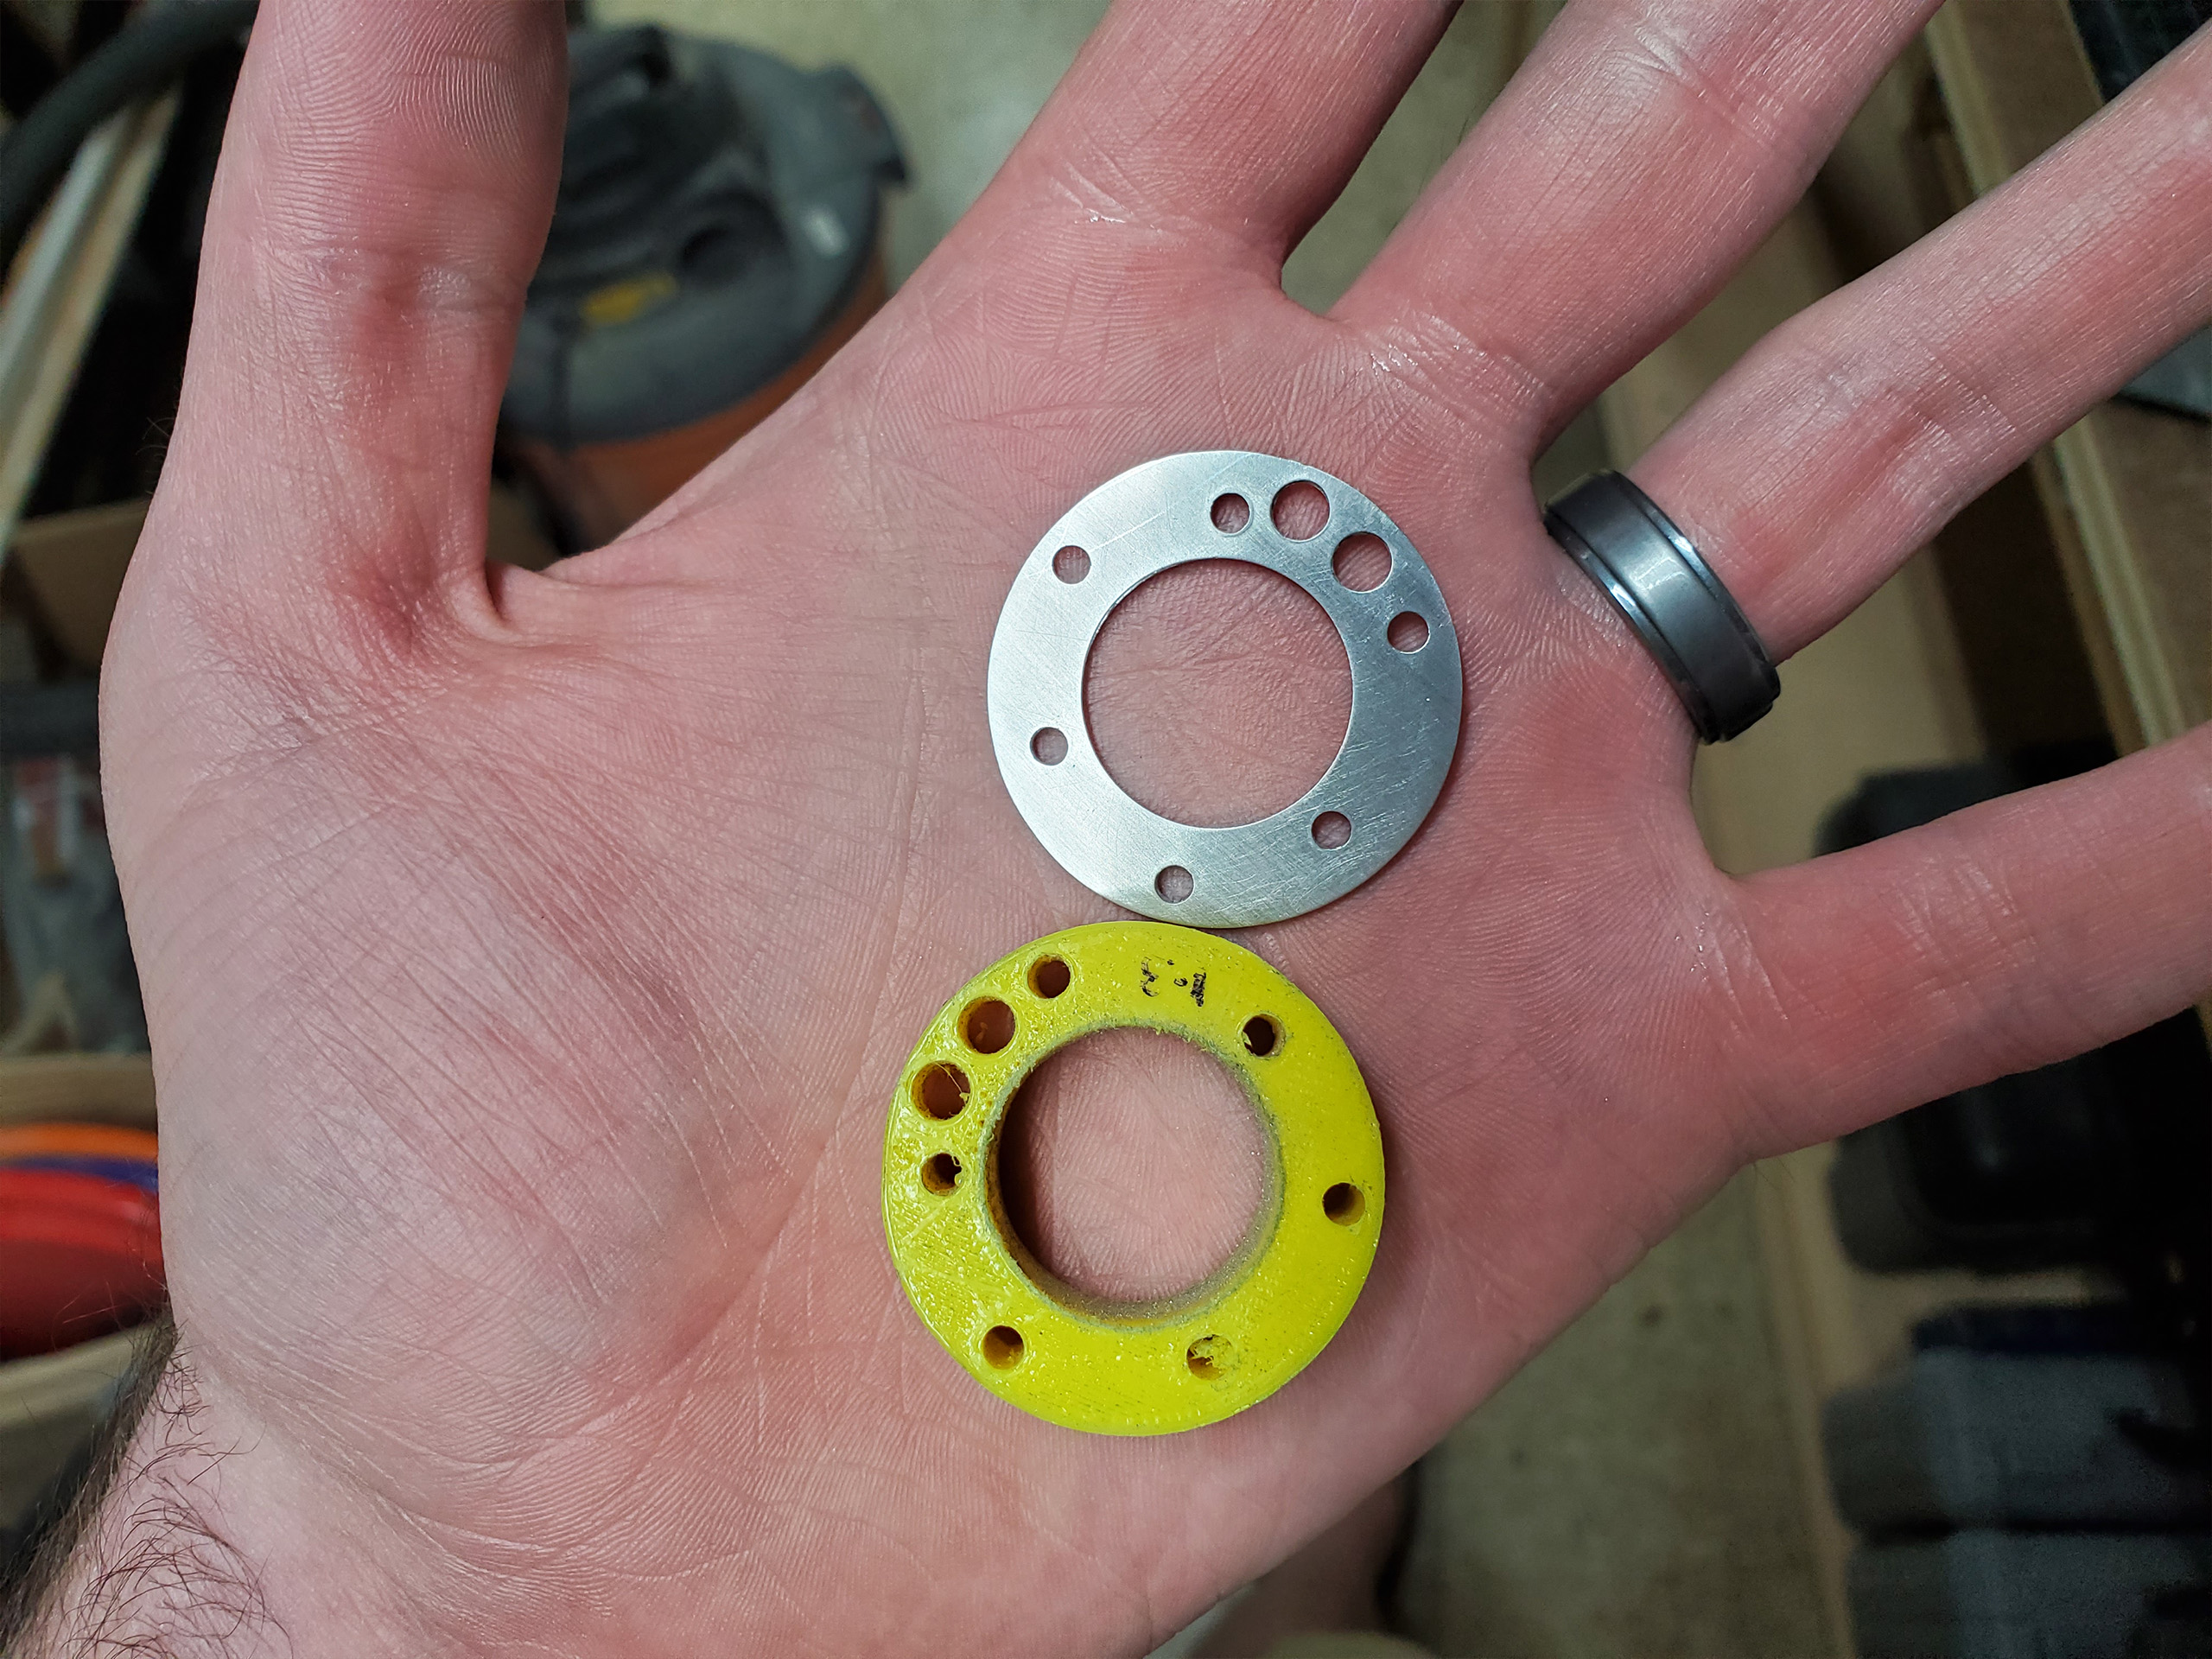
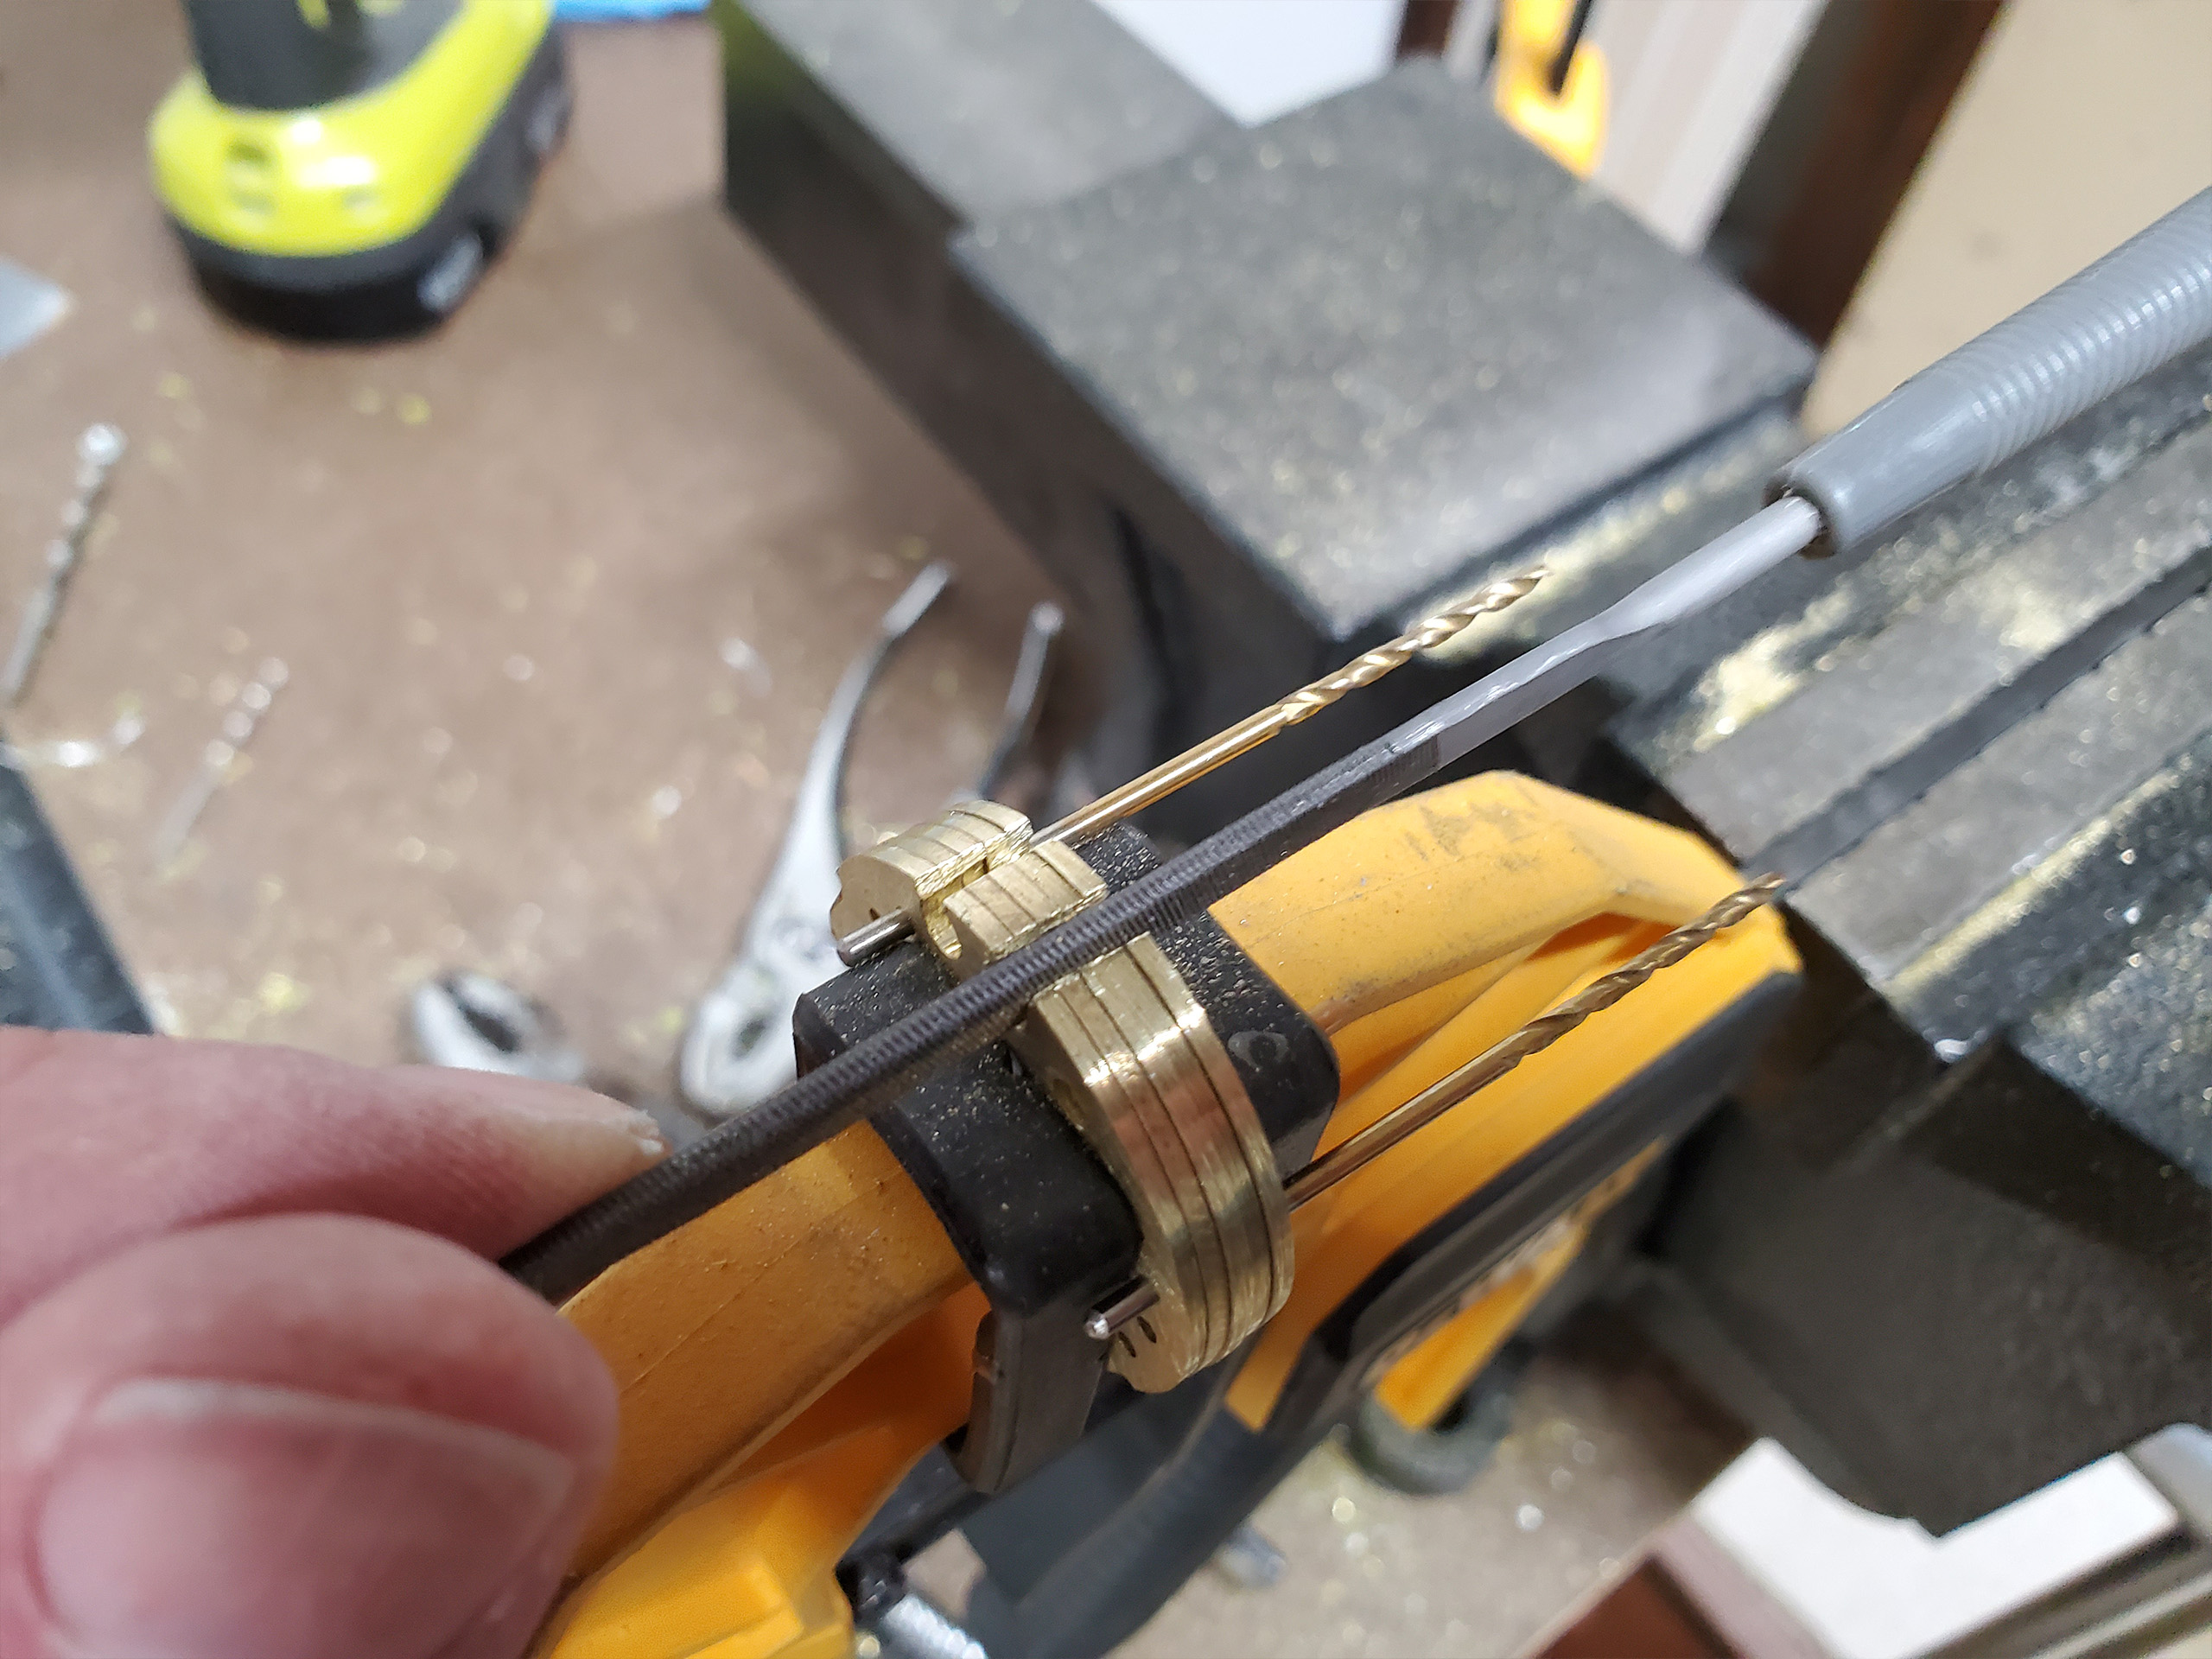
To get all the holes in the disks I again resorted to 3D printed jigs. This time I printed a set of disks, but 5/8” thick. This allowed me to use the jig as a drill guide. I simply clamped the 3D printed jig to the metal disk, and carefully use a hand drill to follow each hole.

Here is a nice picture of a completed disk sanded up to 2400 grit paper and polished with 000 steel wool.
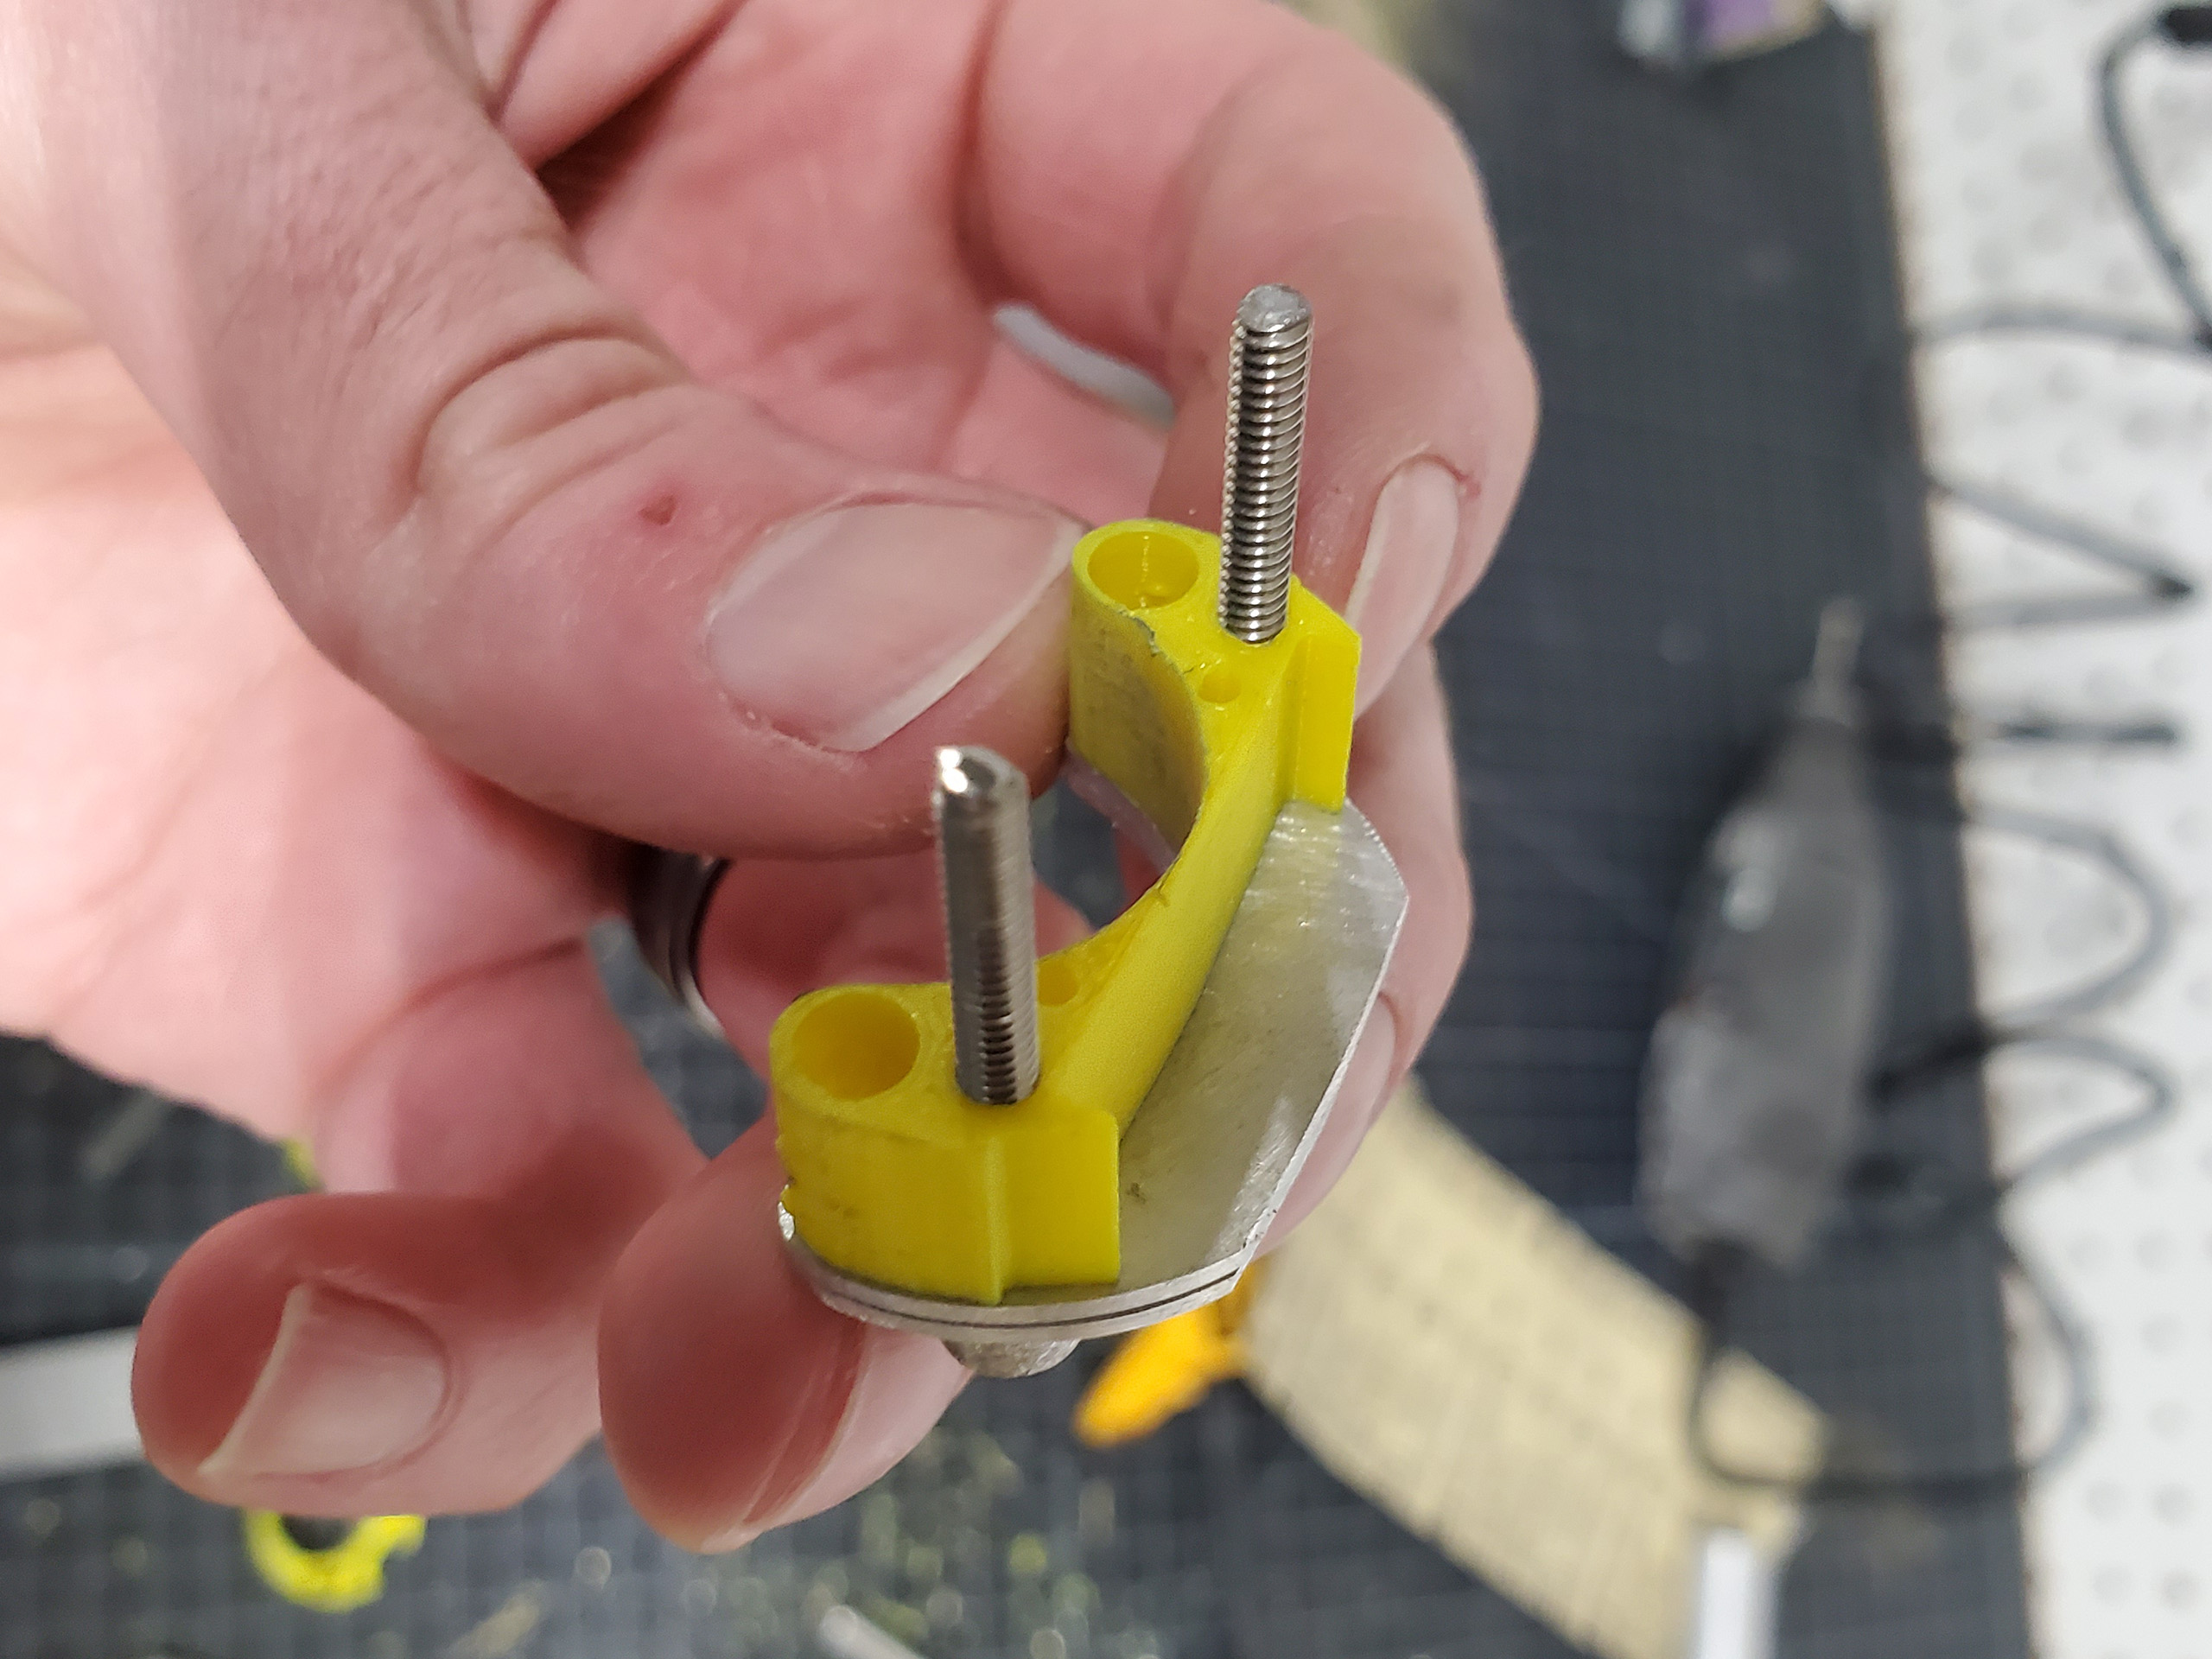
For some of the more irregular shaped piece I had to get more creative with my use of jigs.
These ended up being the hardest pieces to make, but were the most rewarding. I think they look real cool as well.
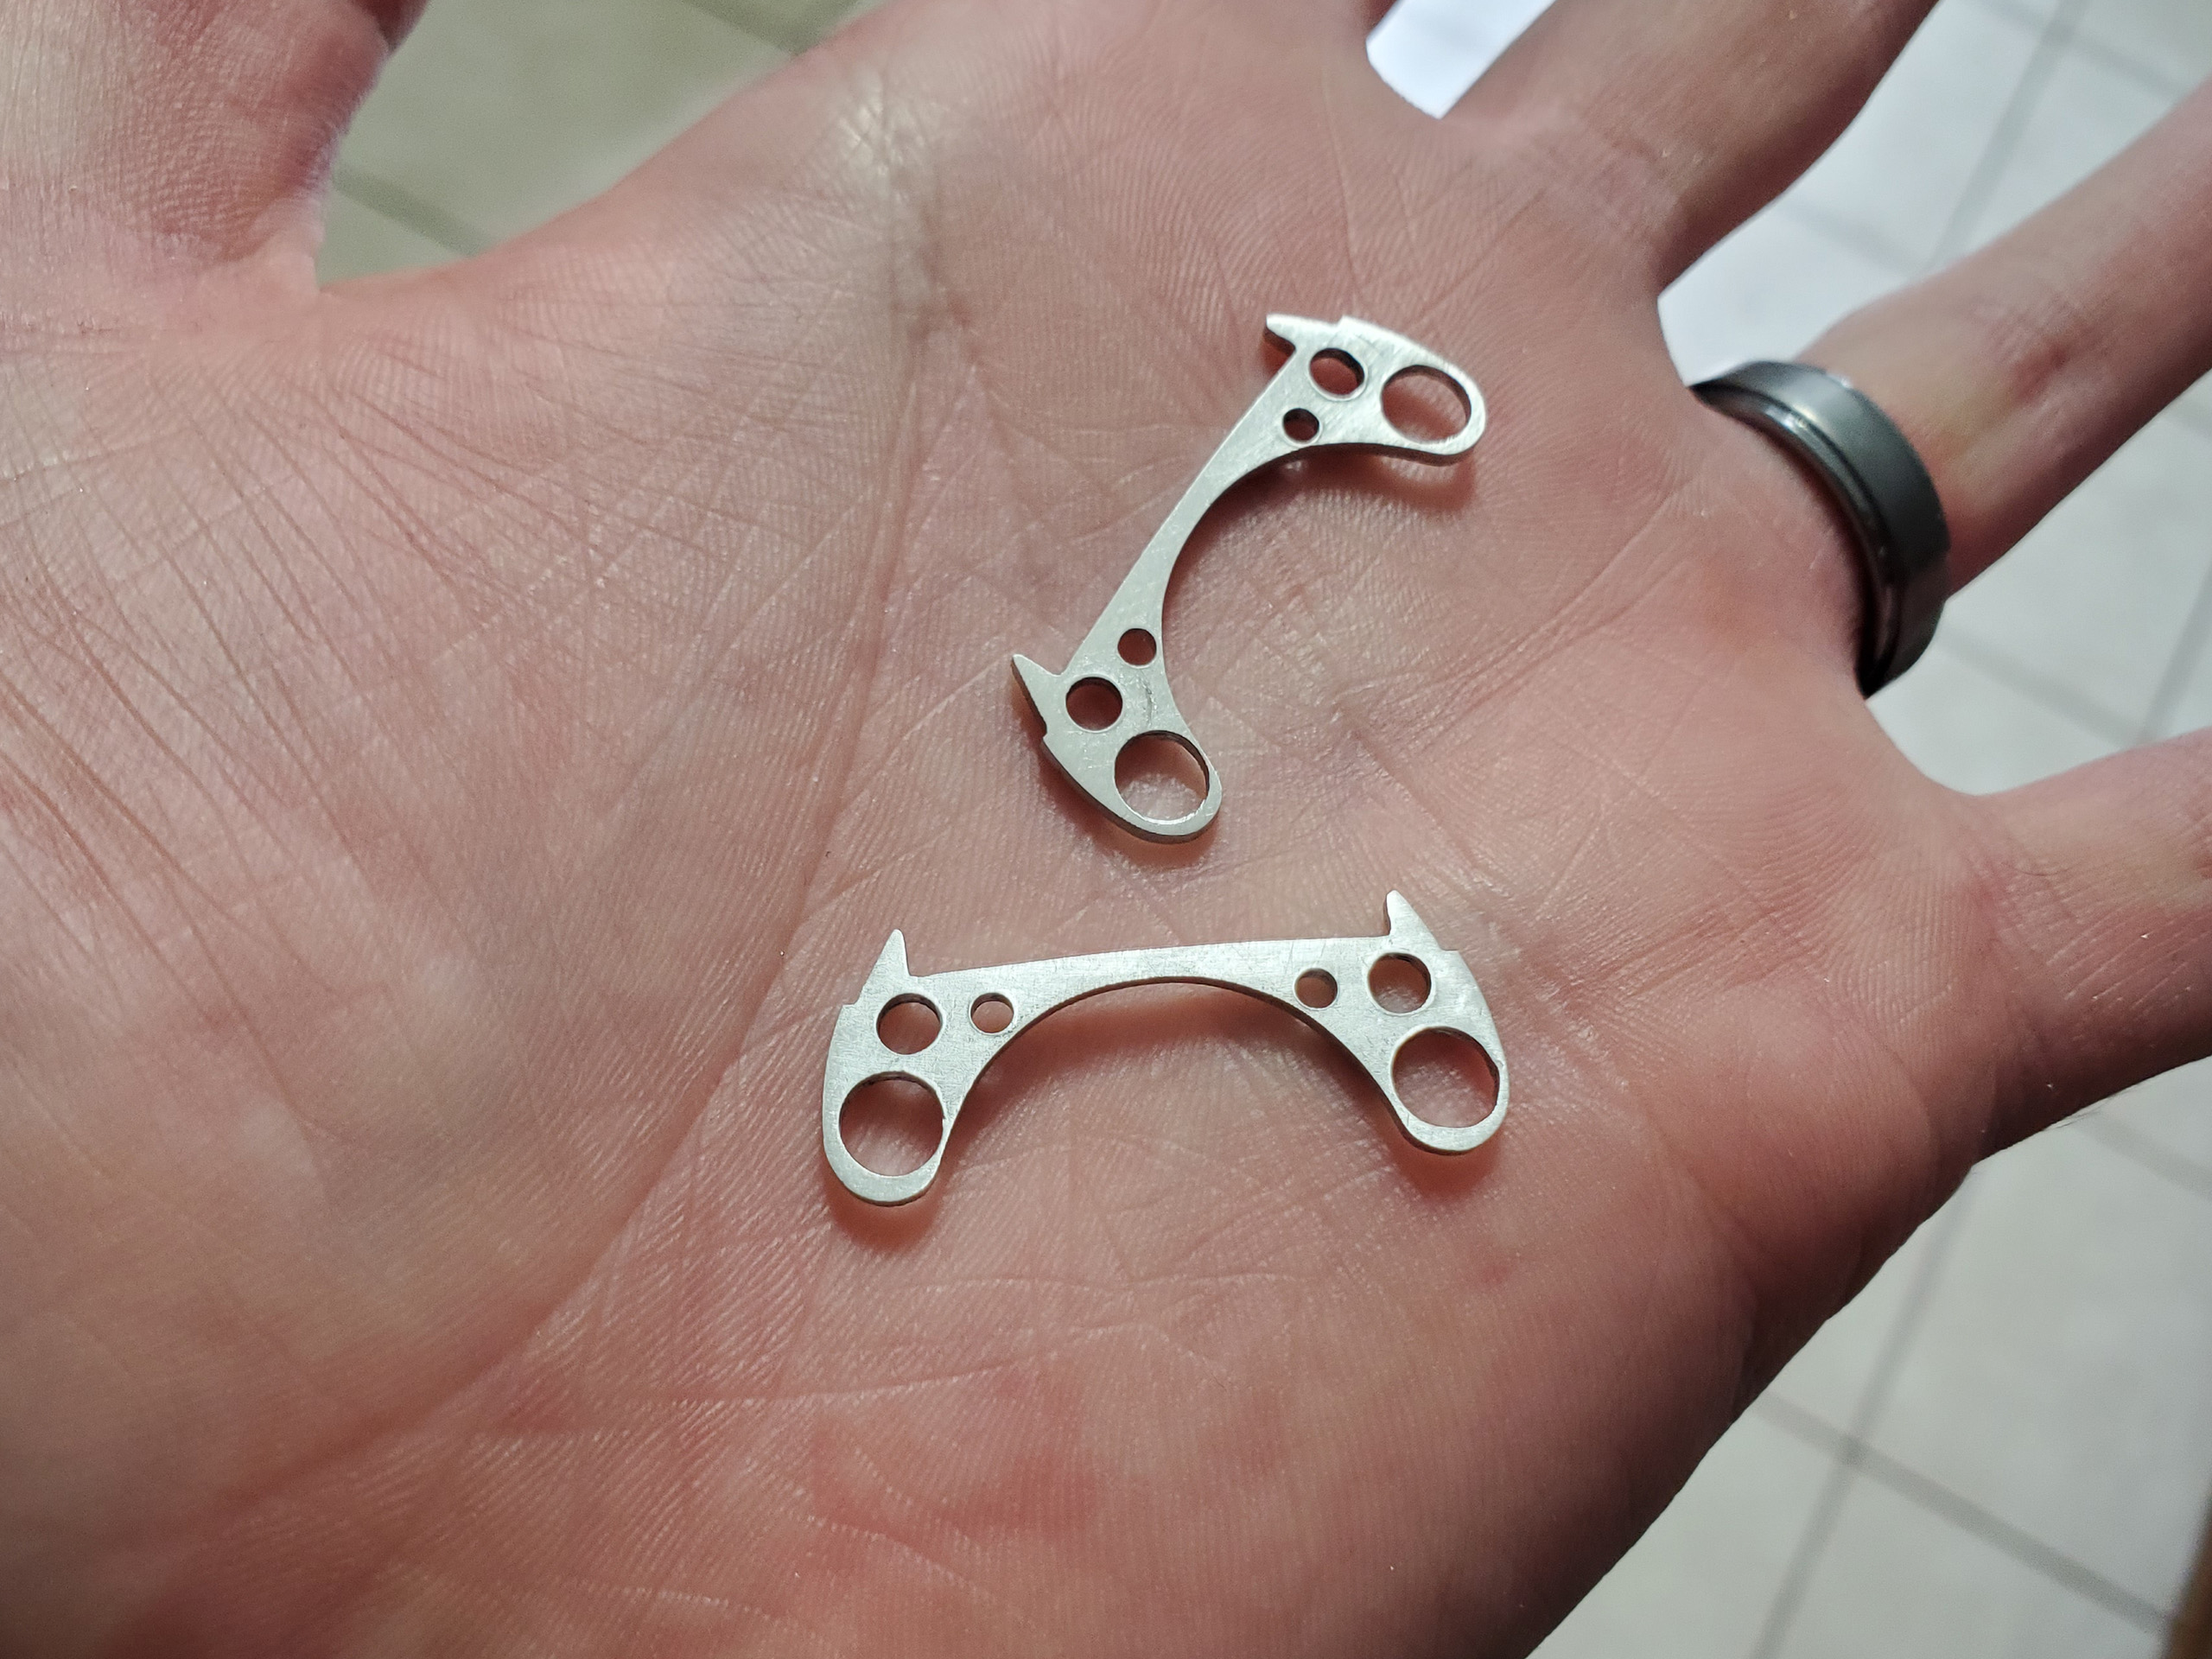
The brass crystal chamber disks were surprisingly easy to make from a skill standpoint. However, they were literally harder than the aluminum disks. A lot more time and elbow grease went into them. To keep all the parts symmetrical, I worked on all 5 at the same time. I used two 1/16” drill bits to keep everything perfectly aligned. I would not recommend doing this though. I definitely stabbed myself while filing.

Here are the brass disks all completed. They are way heavier than I thought they would be in my head.

Here are some final glamour shots of the completed disks. I couldn’t have asked for better results.
Now it is time to start fitting all these parts together.
Thanks for looking!
Other parts of this project
◄ Graflex Lightsaber Part 1: Planning
◄ Graflex Lightsaber Part 2: More Planning
◄ Graflex Lightsaber Part 3: Test Assembly
► Graflex Lightsaber Part 5: Cleanup
► Graflex Lightsaber Part 6: Final


