
The Mandalorian Helmet Part 4: Painting
Just a note up front, this is going to be a very picture heavy post. I am going to go over each step of the process I used to make my Mandalorian Helmet silver and explain what I did, what I could have done better, and the lessons I learned along the way. For those that don’t want to read everything, I essentially painted the helmet black, then chrome, then a clear gloss to smooth the surface, then polished the surface with graphite to give it a metallic finish, and finally sealed the surface with lacquer. With that out of the way, let’s start with the step by step breakdown.
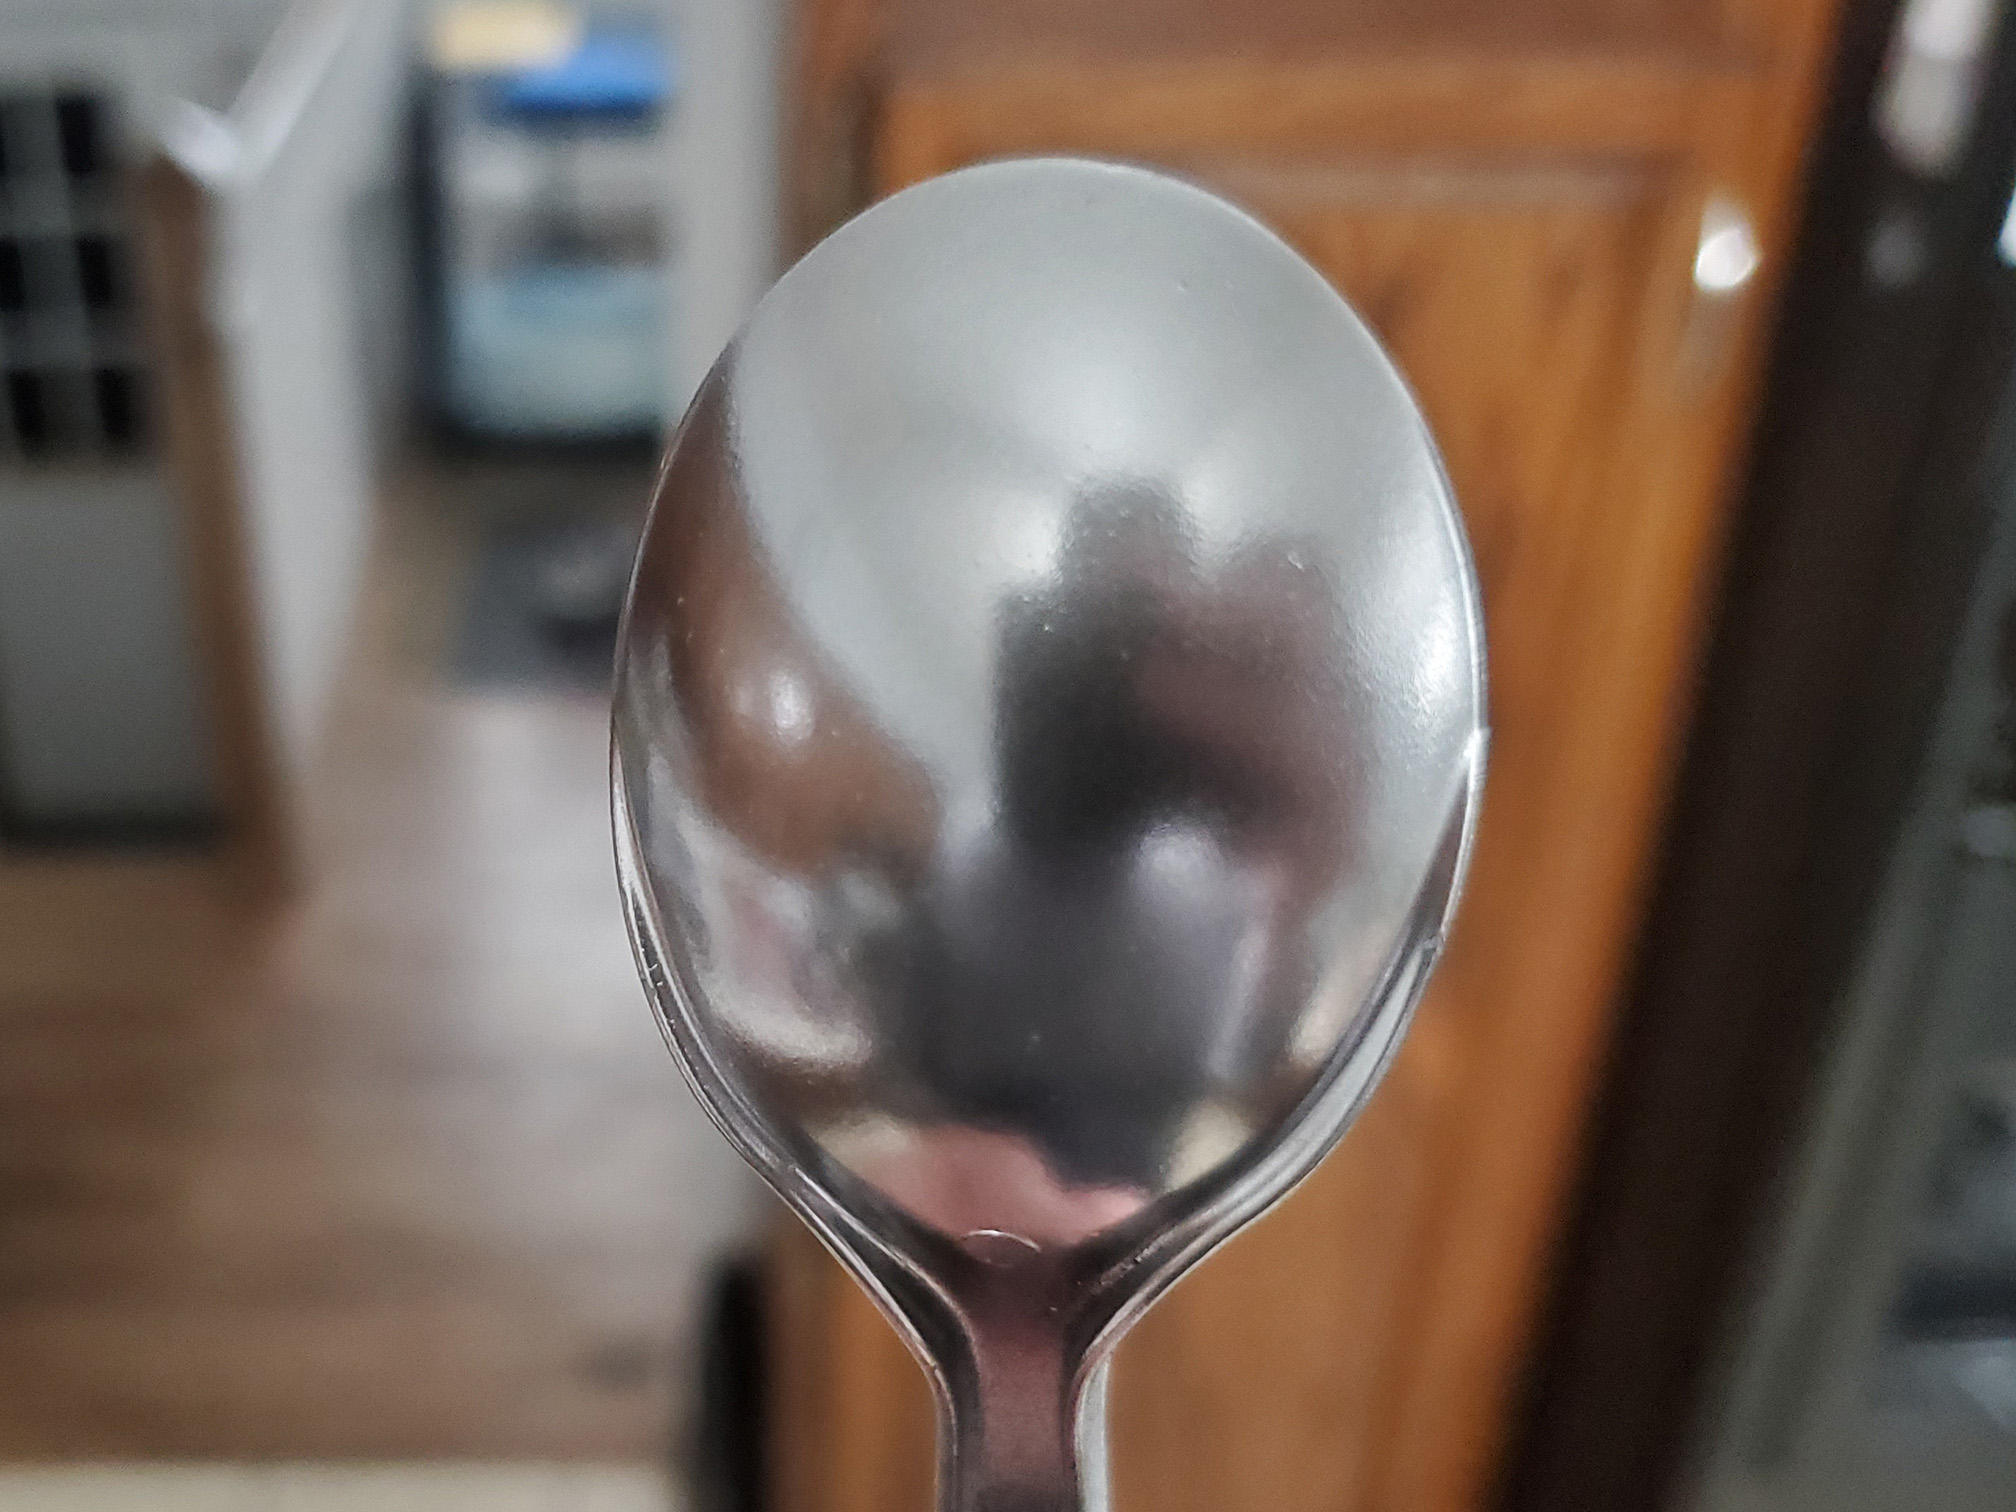
Before I put any paint to my helmet I wanted to test out the finishes. To do this I used plastic spoons as test pieces as well as a failed print section from earlier to see how everything looked on a larger surface. This sample is gloss black with chrome paint over it which has been hand buffed with a cotton rag. Very shiny in person.
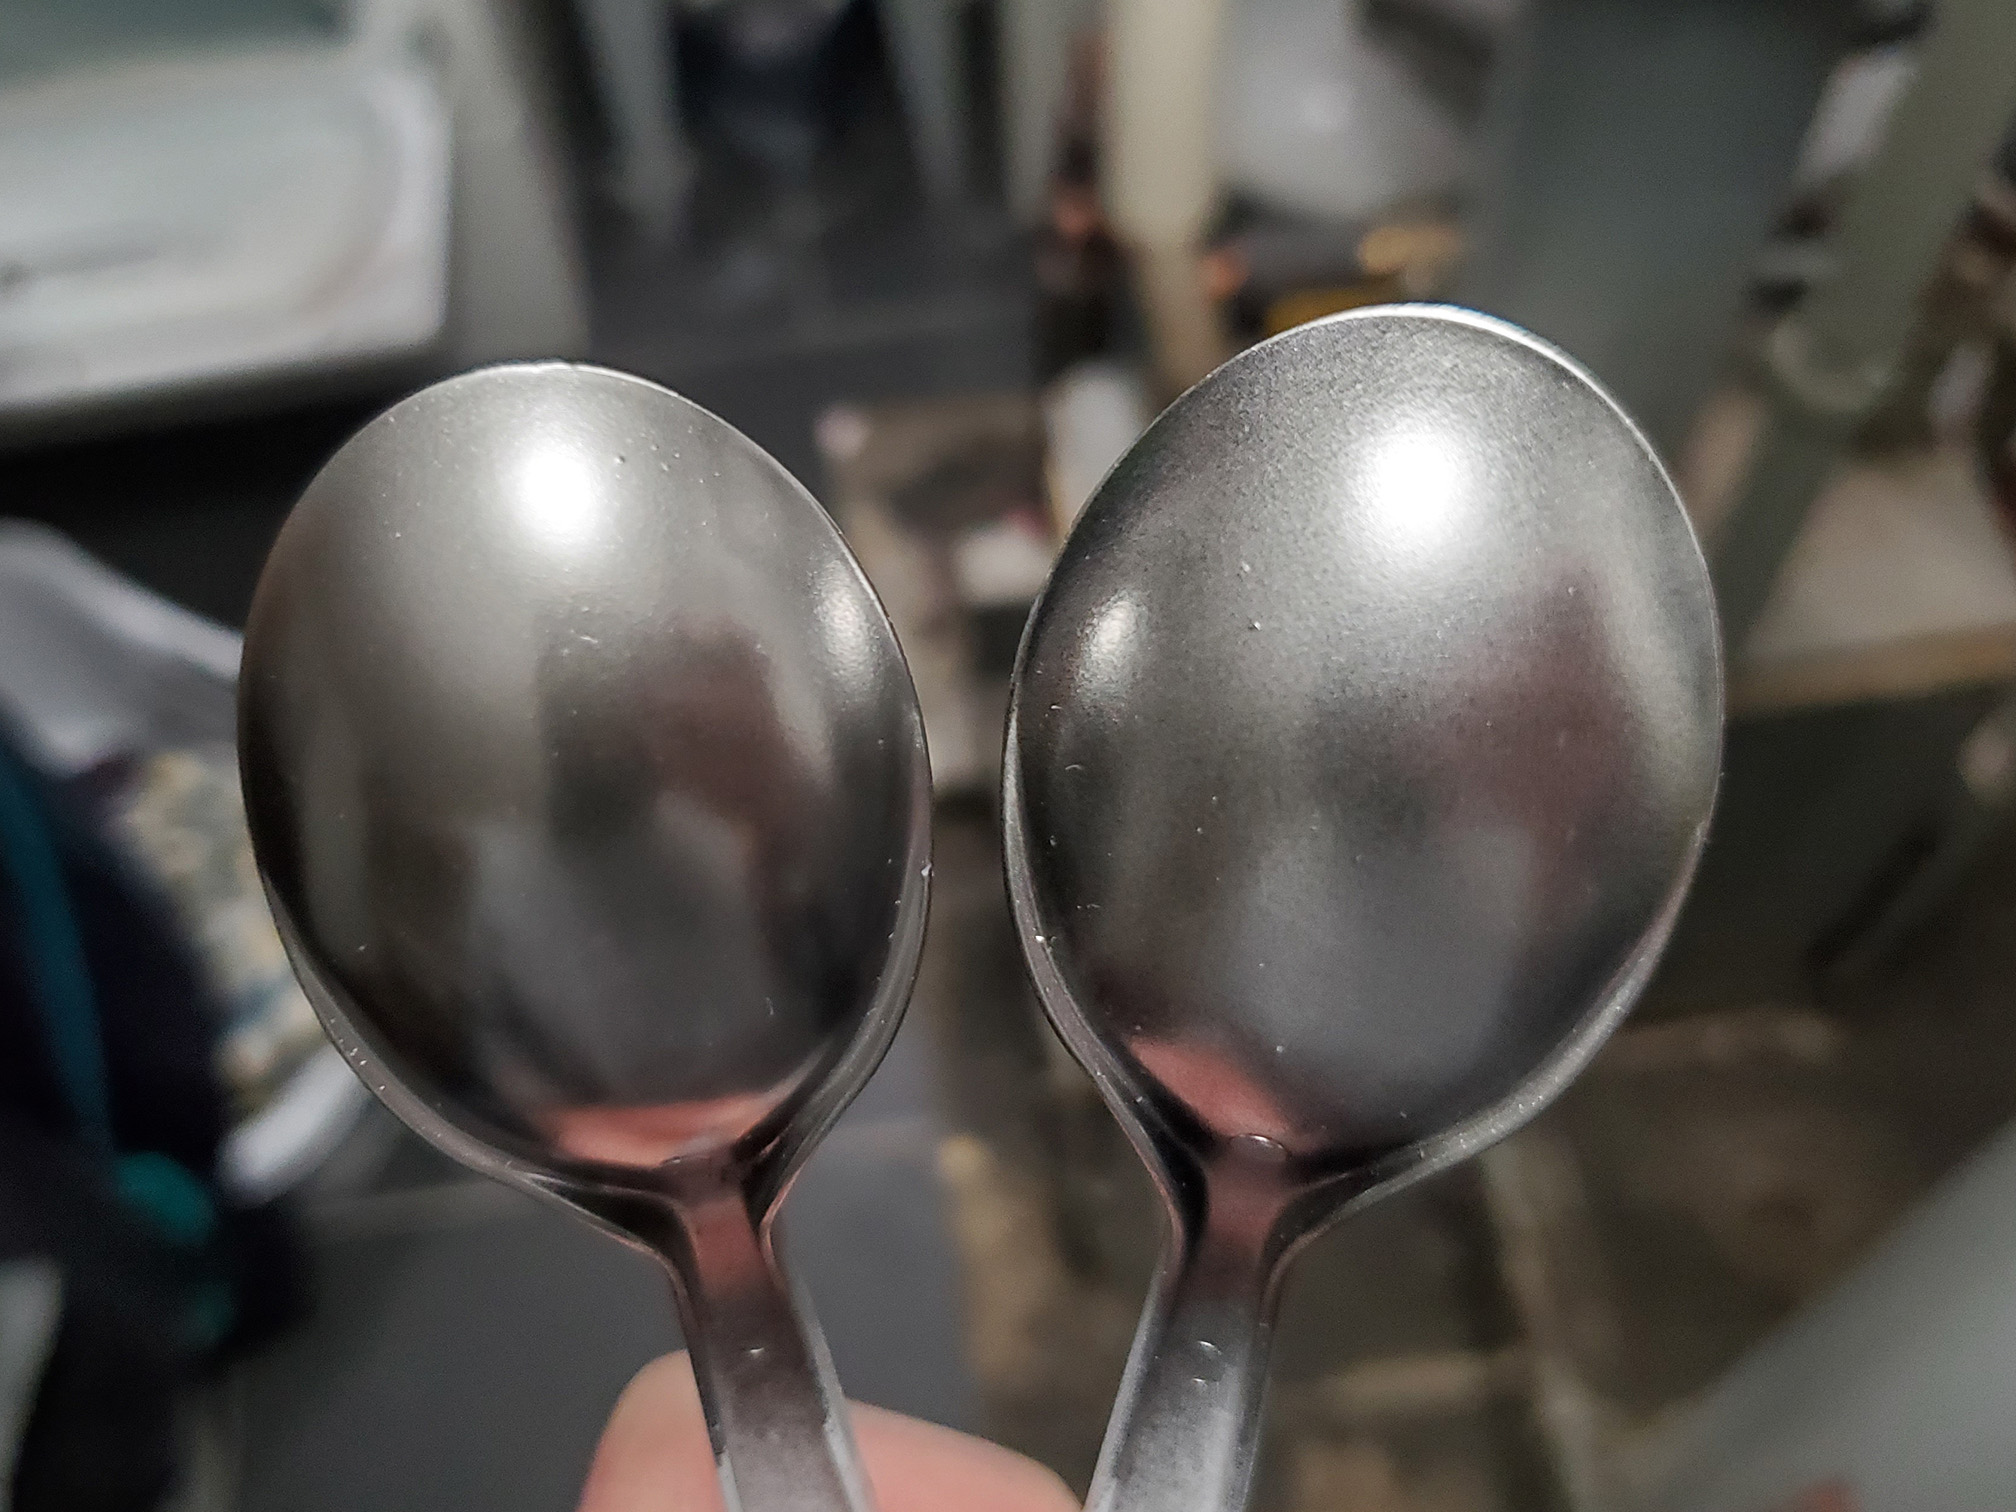
I wanted more of a gray gunmetal finish for the helmet and not so much a white silver or chrome. To achieve this I use a graphite powder rub. Here you can see the difference. The left is graphite coated, the right is just the chrome paint (note, I did not buff the sample on the right in this picture which is why it looks a little dusty by comparison to above).

Happy with everything came out on the samples, I started the painting process on the helmet. Also, I think here is the first place I screwed up. In order to use chrome lacquers you are supposed to start with a base of gloss black. The chrome I chose was “Spaz Stix Ultimate Mirror Chrome 10000”, so I chose to use “Spaz Stix Ultimate Black Backer 10209” as my base black layer. The reason I say this is why I screwed up is because the black went down with a good deal of orange peel. That is the term for that slightly bumpy texture left behind by the paint. If feels real smooth, buy reflects light a little odd.
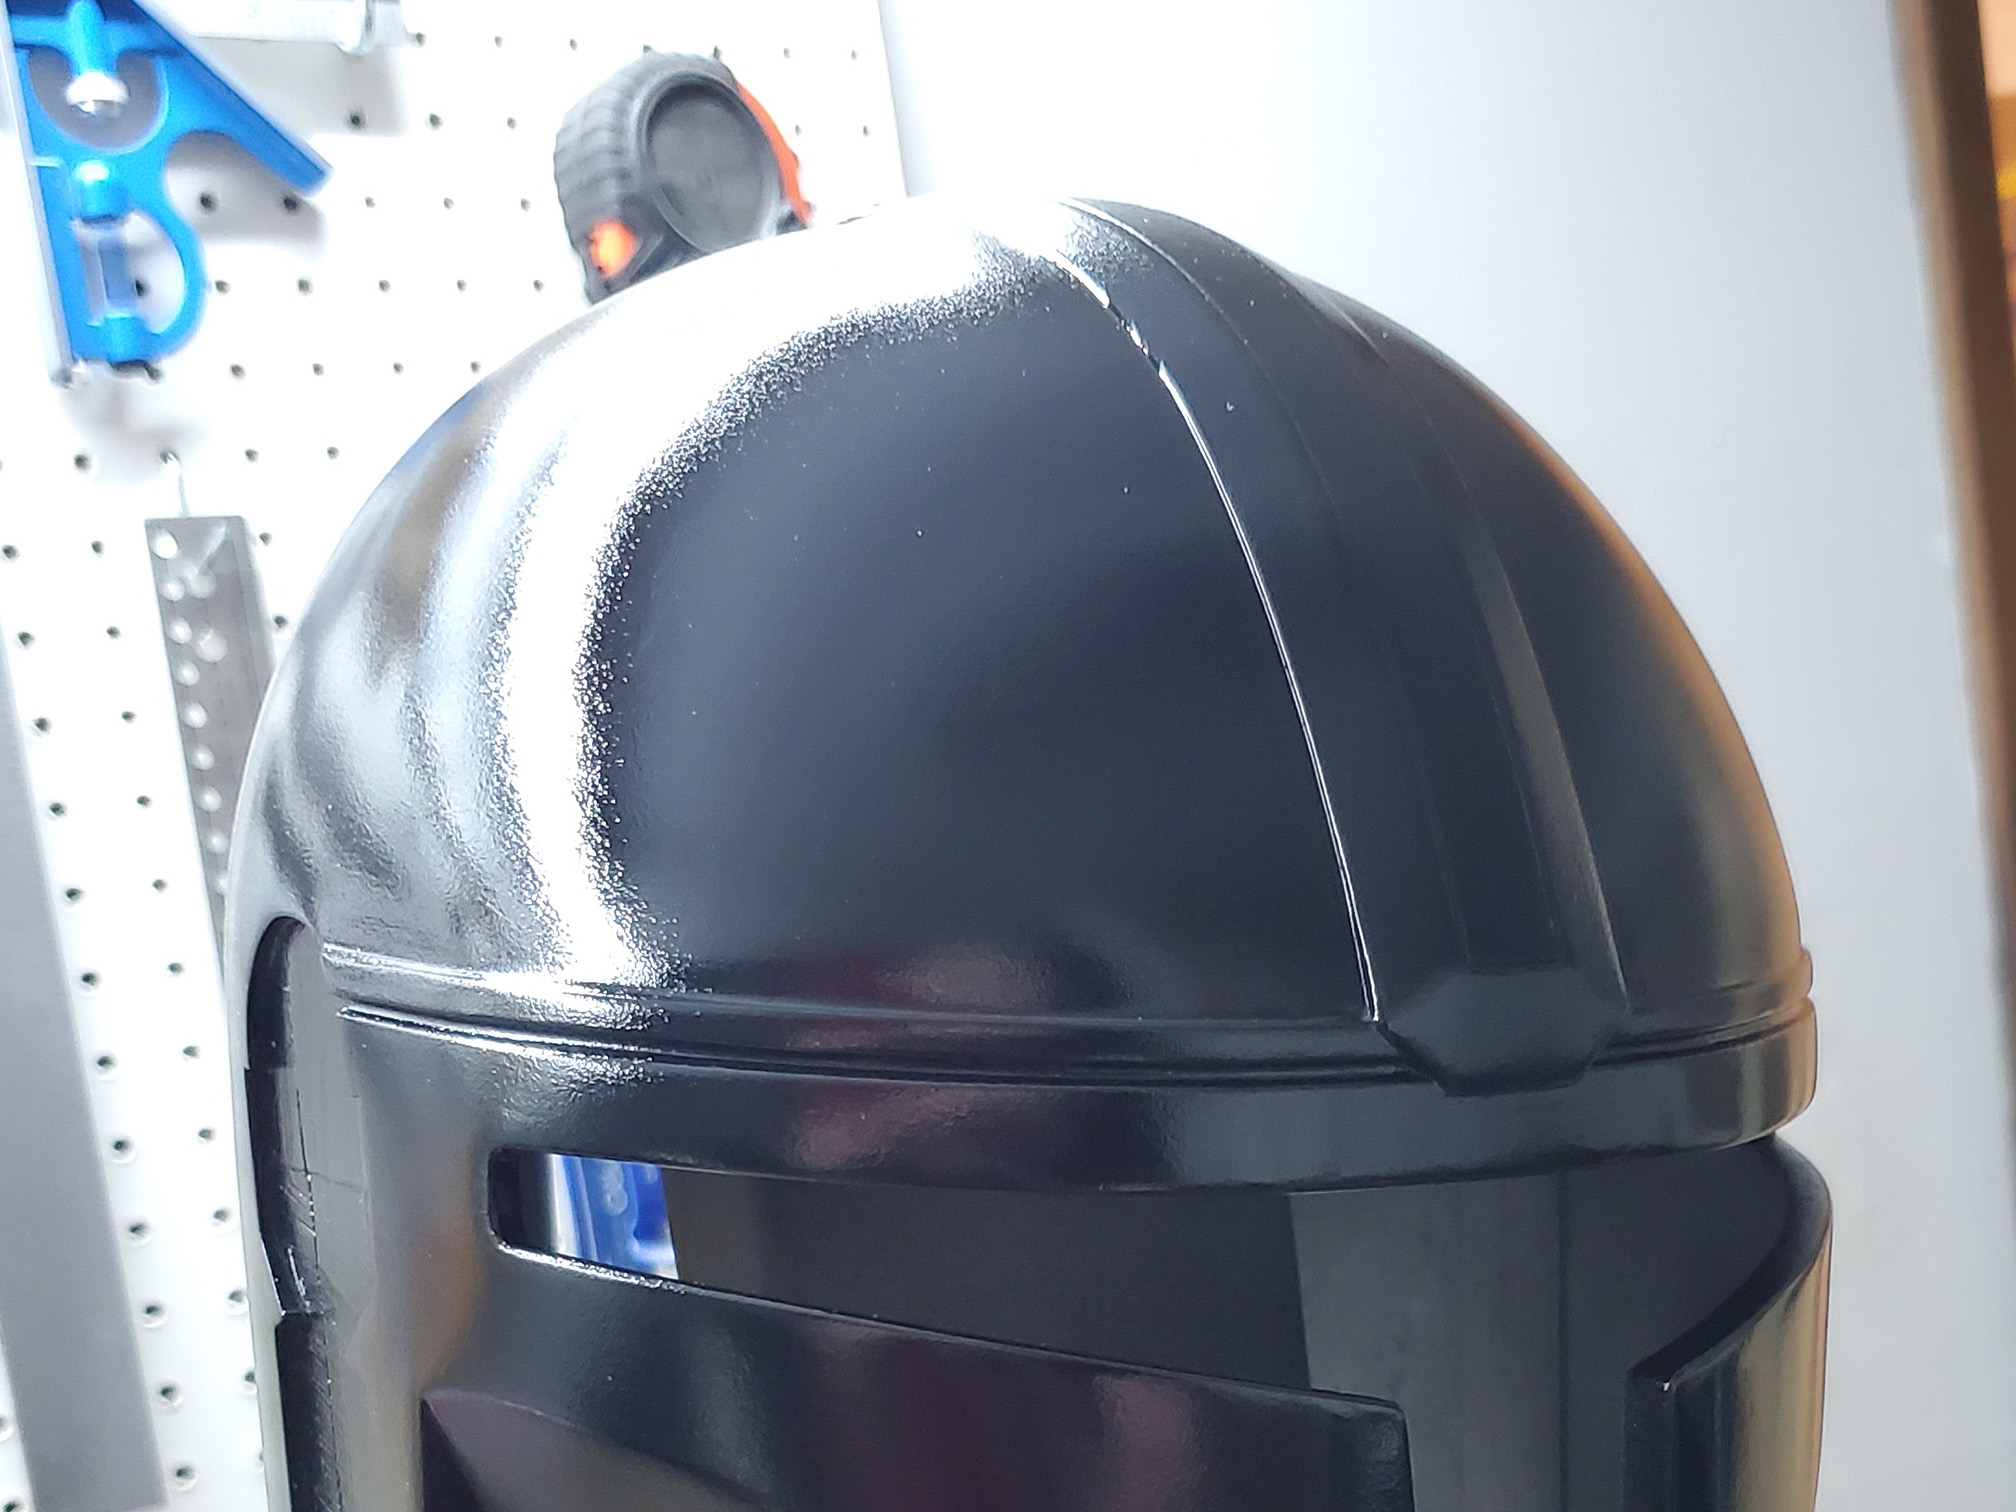
Here is a picture with my brighter shop lights on the helmet. You can more clearly see the slight speckle pattern to the black. In retrospect I probably should have used a better airbrush gloss like “Ceatex Opaque Black”. Basically, something I could have run faster and finer through my airbrush.
I decided to just roll with it, and move onto the silver. The “Spaz Stix Ultimate Mirror Chrome 10000” went on great, but as I feared you can see the orange peel through the finish. Regardless, it still came out great. If this was the last step I would have almost been happy with the helmet as it is in this phase.
The next thing I did was apply a very heavy clear coat using “Krylon Crystal Clear Acrylic”. I did this because I know this stuff coats like glass. I was hoping that it would smooth out some of the orange peel from before. Also, the more smooth the surface the better for the graphite application. You can really see the difference. Most of the speckling is gone.
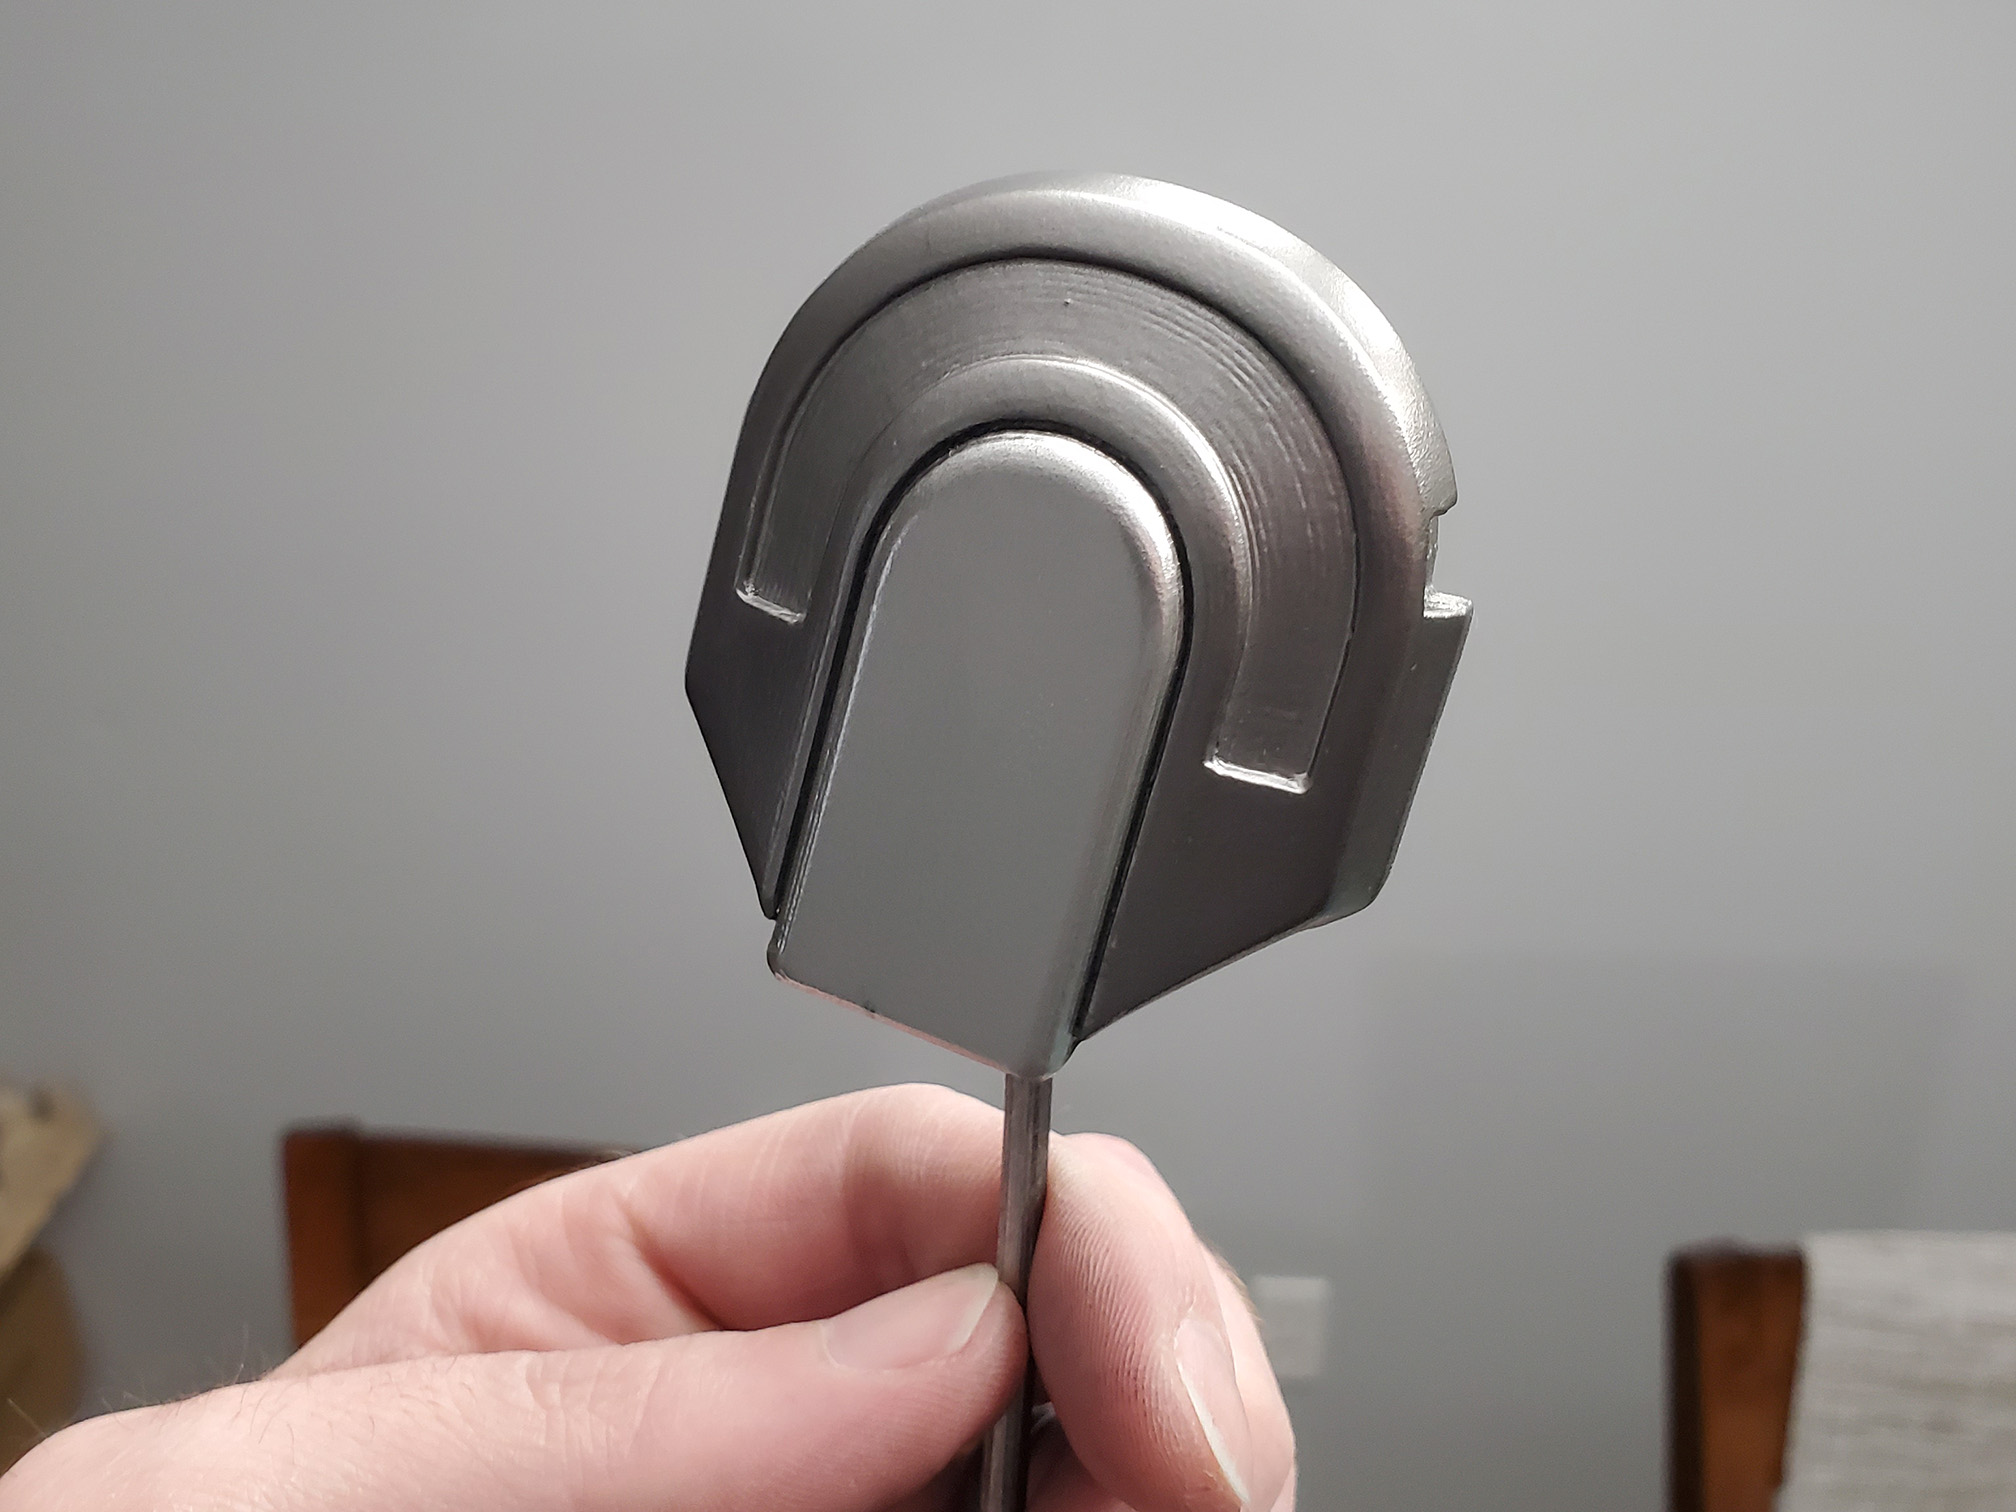
I mentioned a few times that I am using graphite for the final coating. I bought a tub of <5 Micron Graphite Powder, and gently polished it into the surface of the entire helmet using cotton balls. The camera doesn’t pick it up well, especially because this picture is back lit, but this finish is super shiny in person and looks a lot more like steel than chrome. In the above picture is one of the ear details. You can see the difference between the chrome paint in the center, and the graphite finish on the outside portion. (Yes, I know there are print lines but those will be hidden later by paint.)
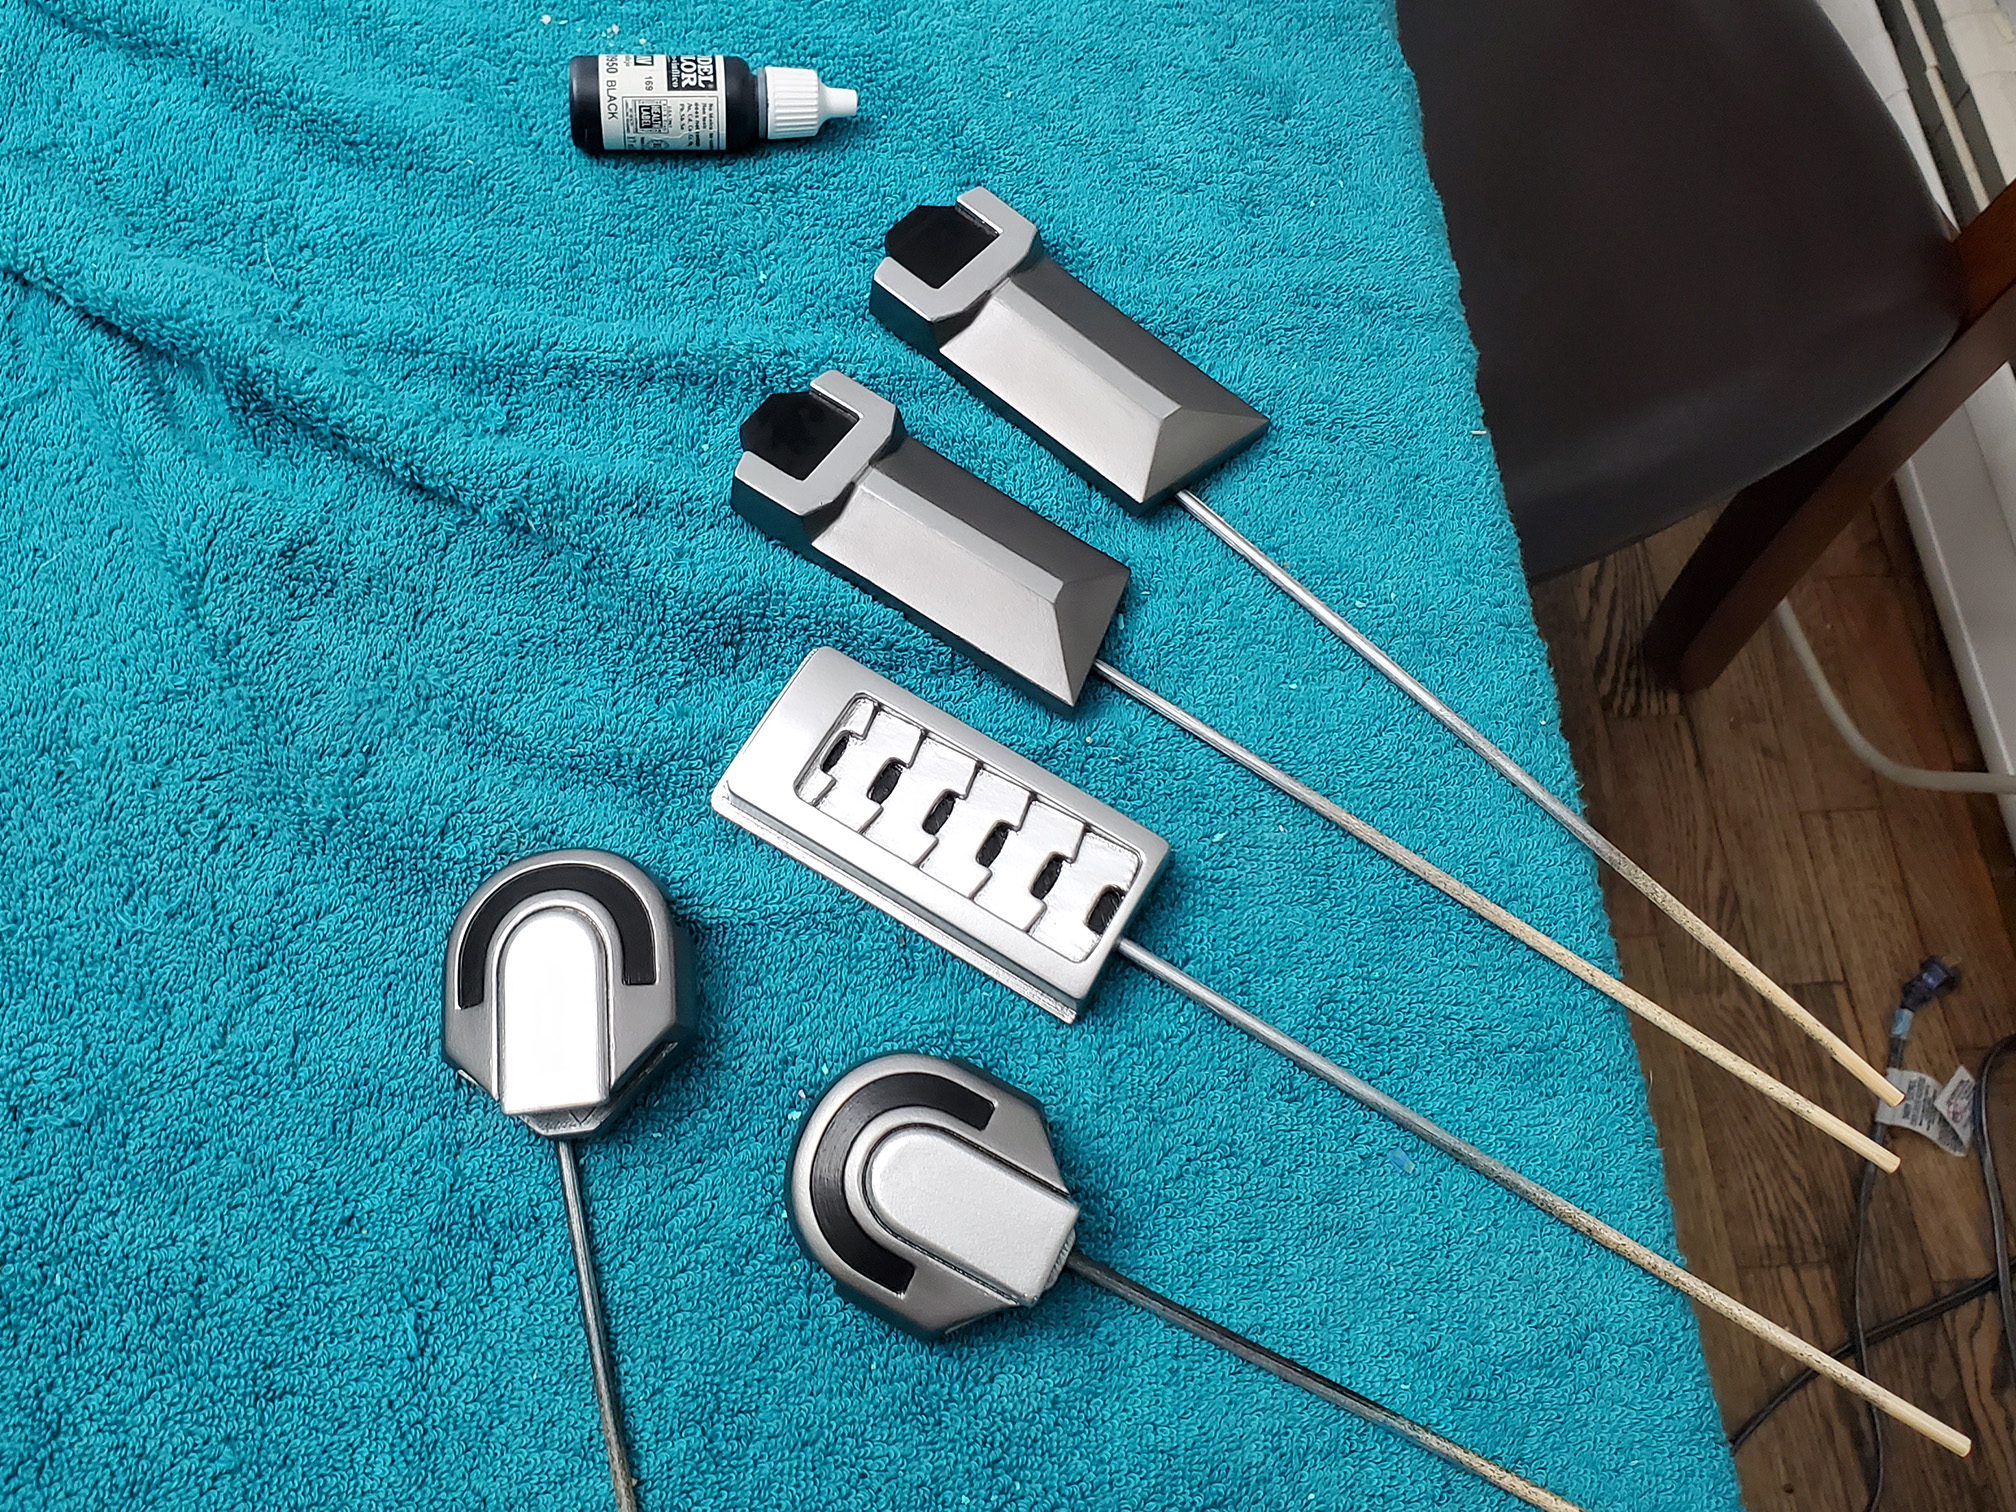
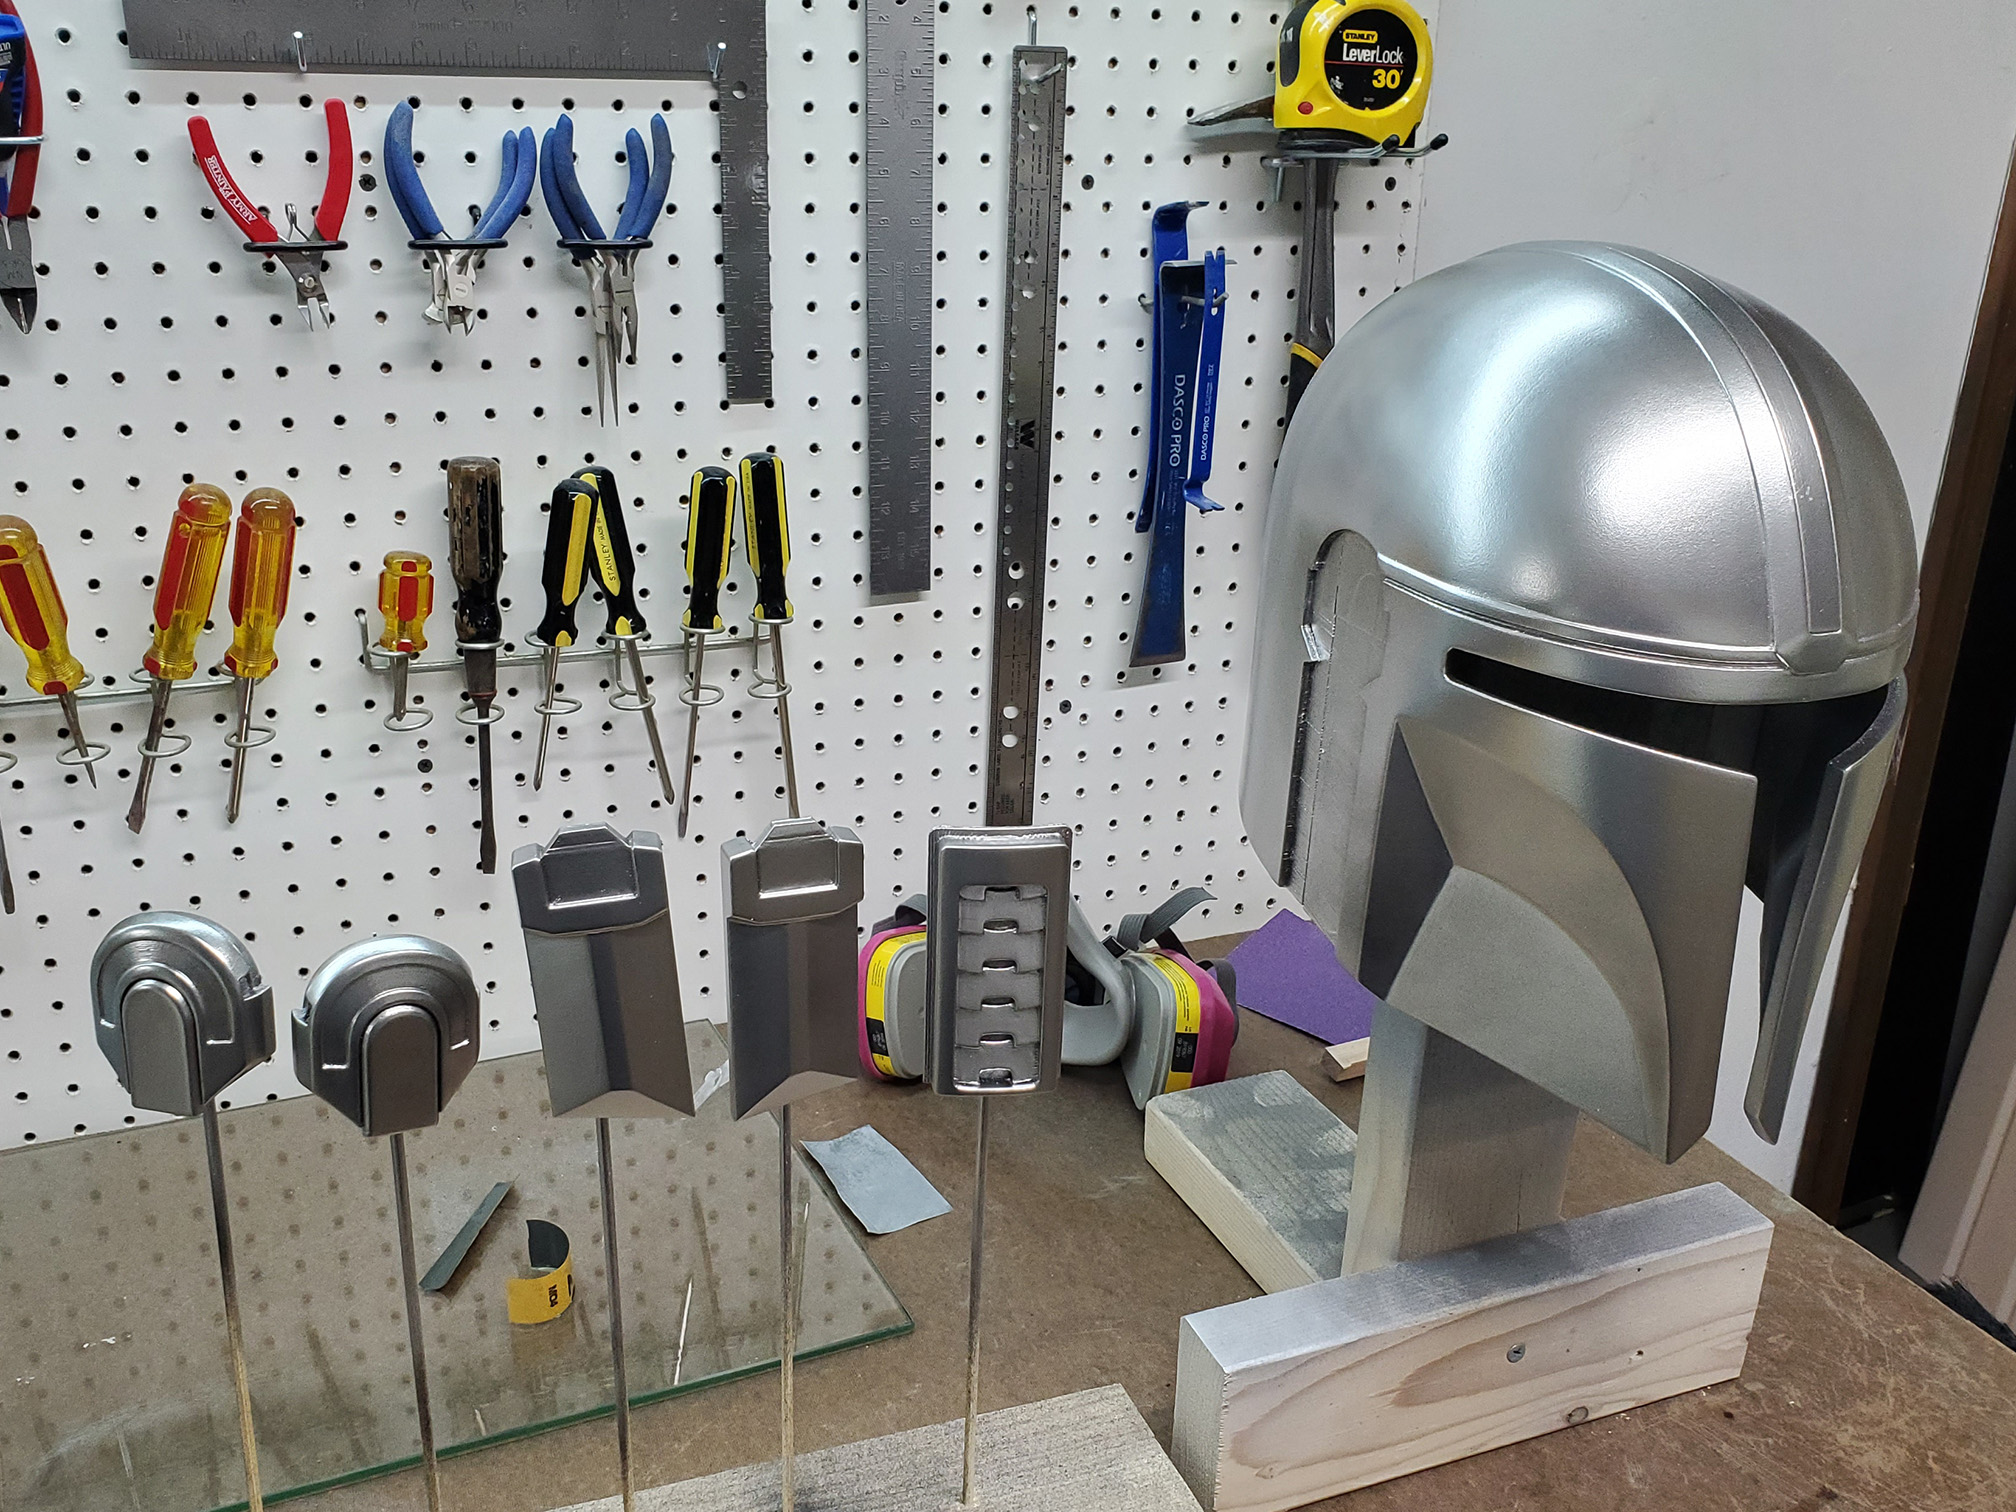
Here are all the detail pieces chromed, graphited, painted and ready to go. The 4 ear pieces are graphite with chrome detailing, and the back vent is completely chrome to get an idea of the difference in finishes.
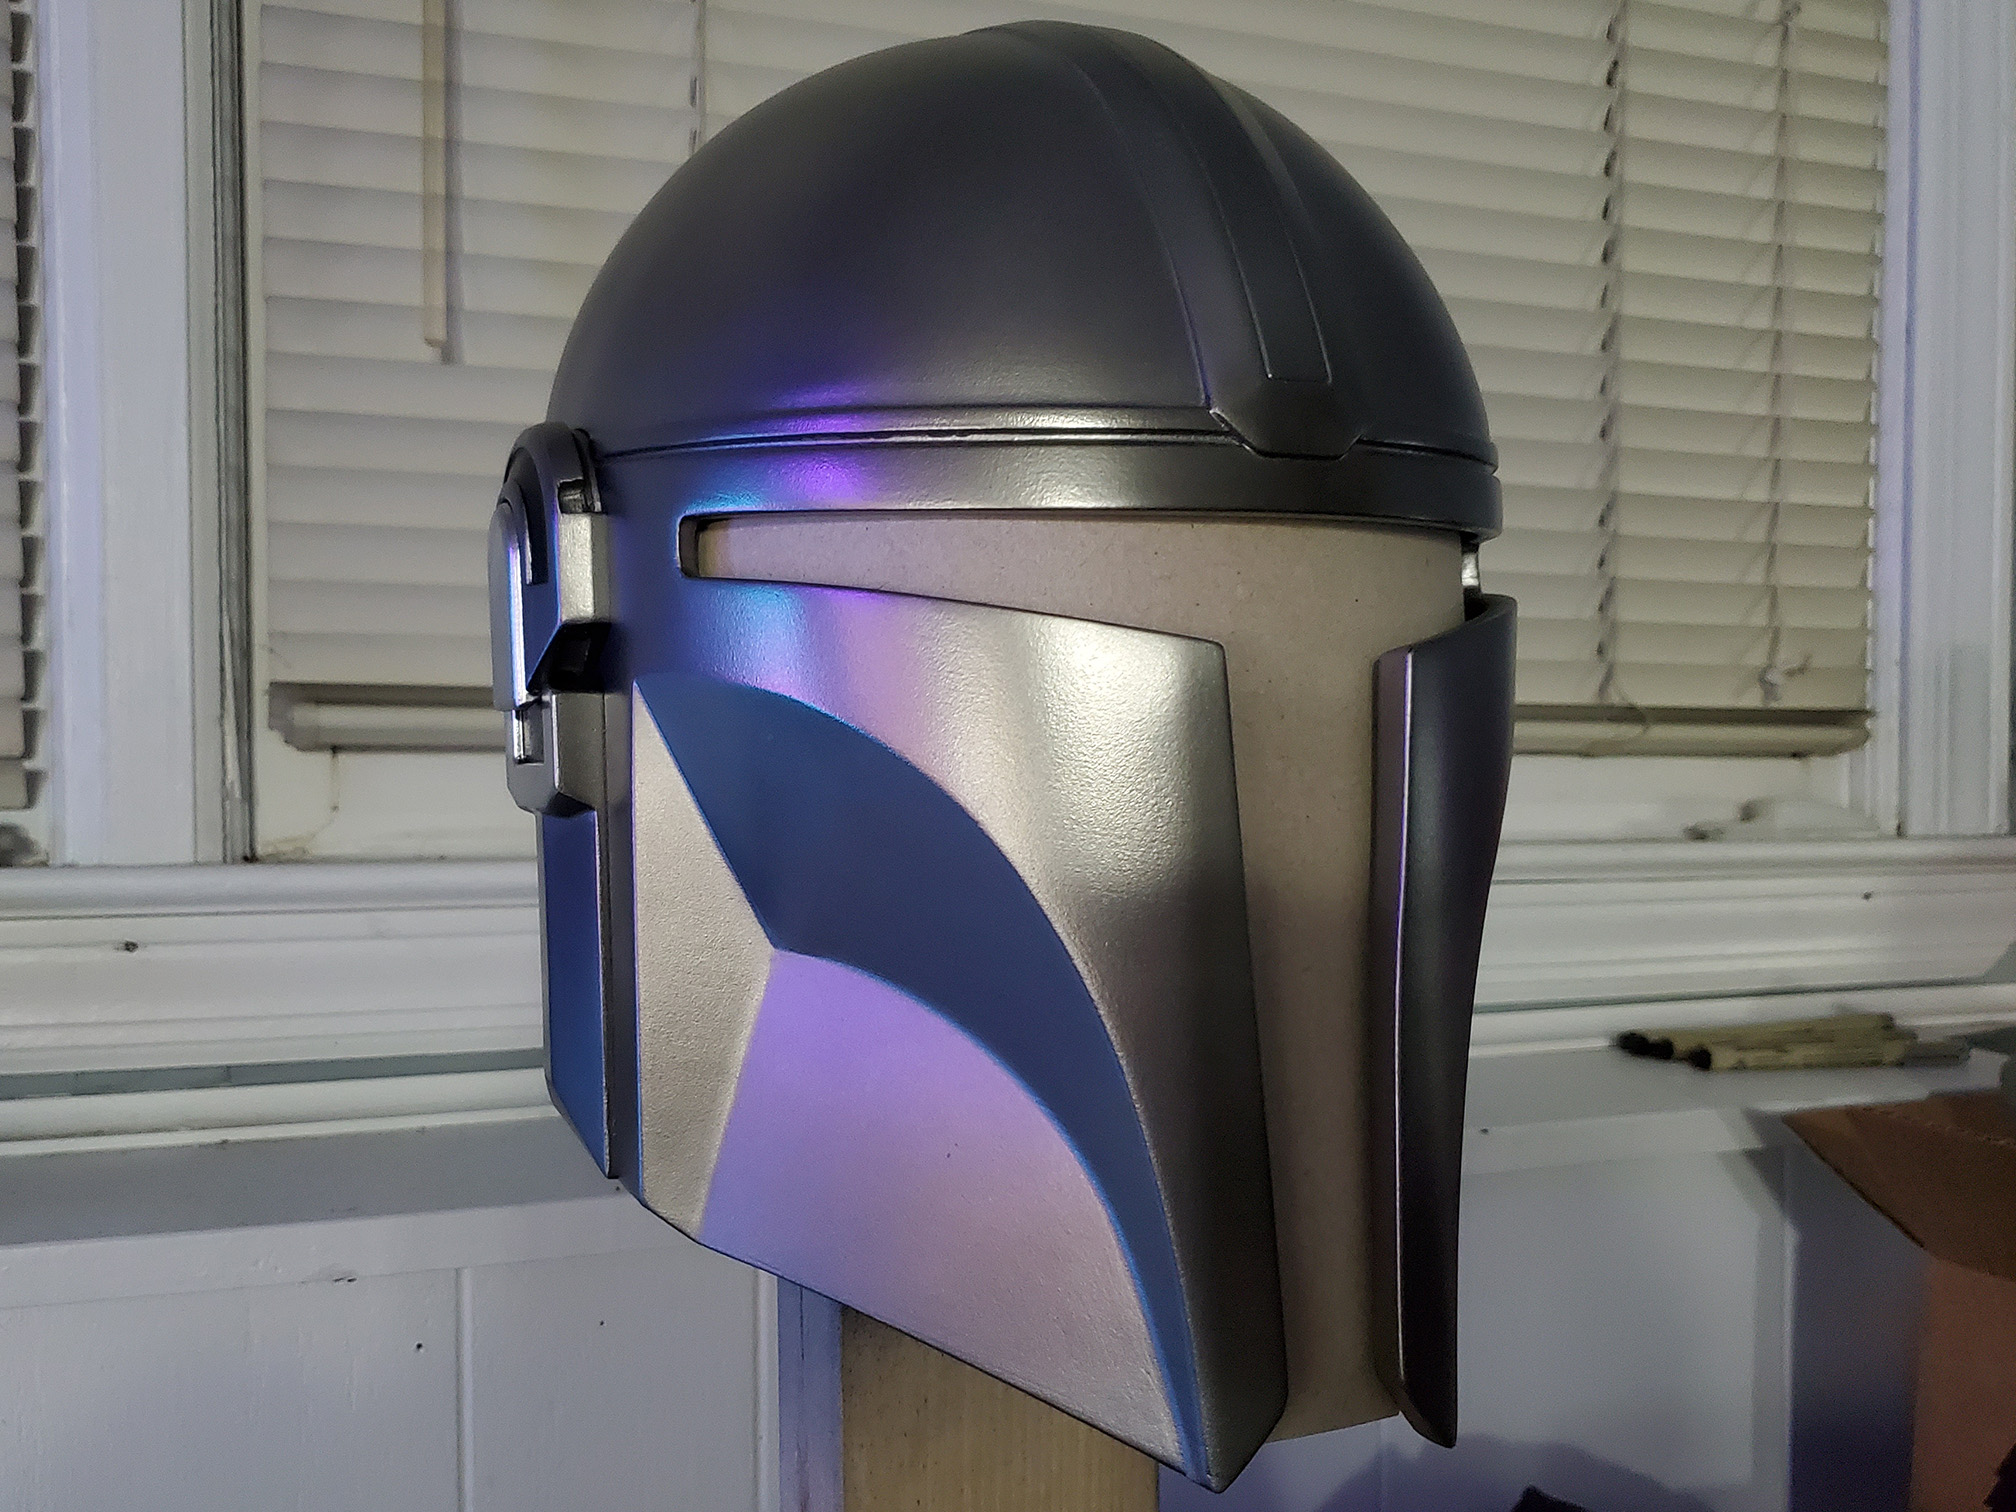
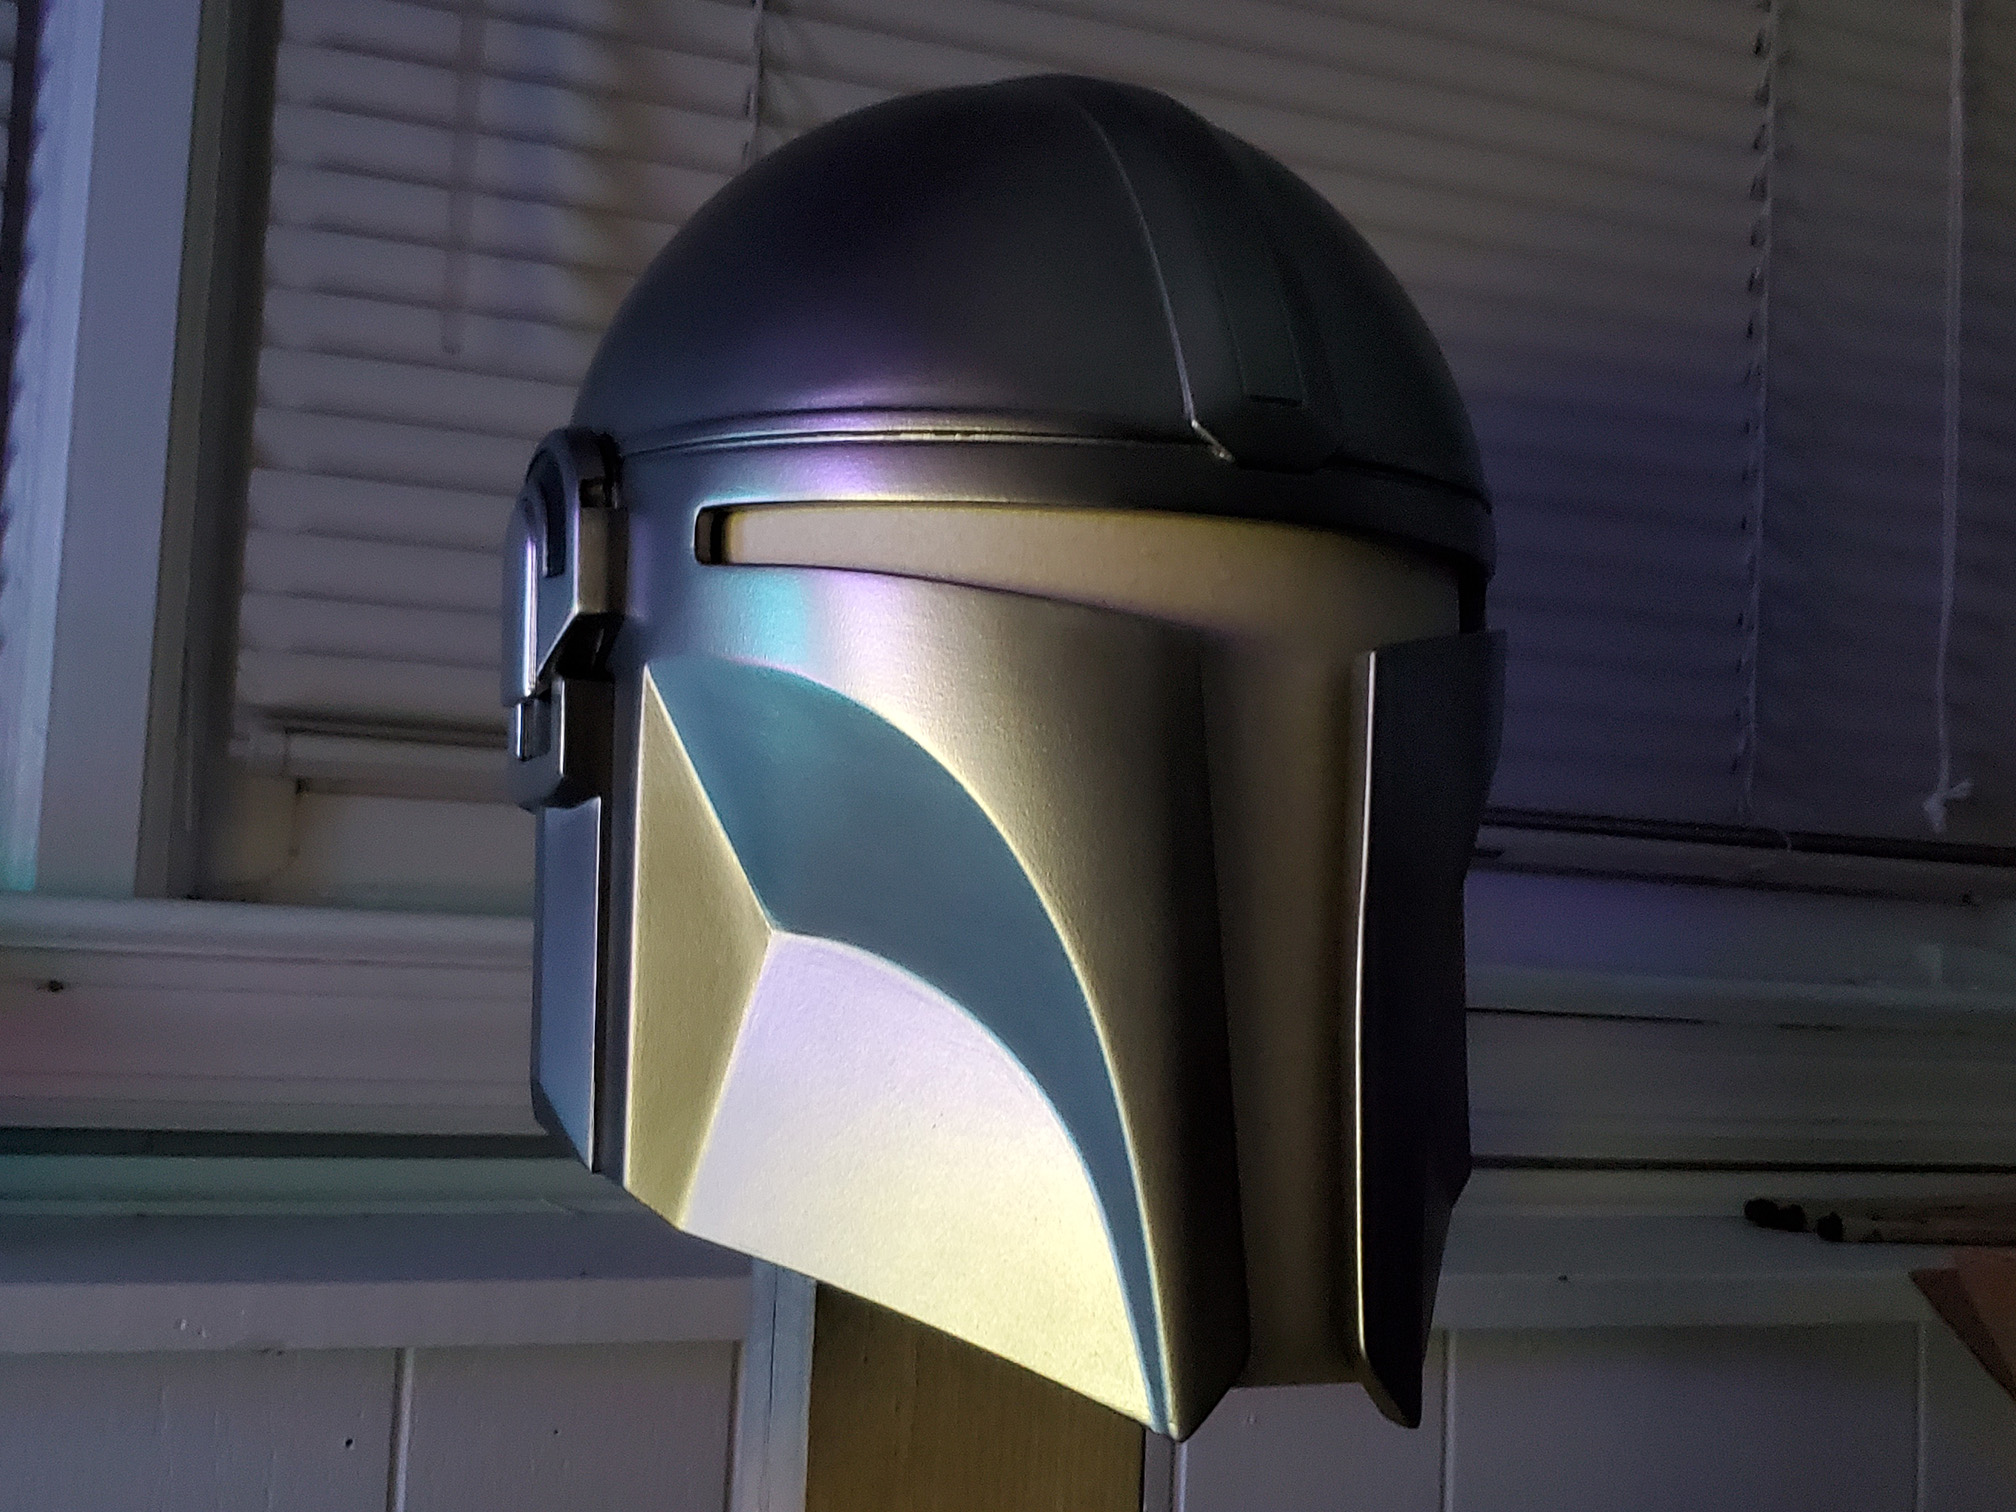
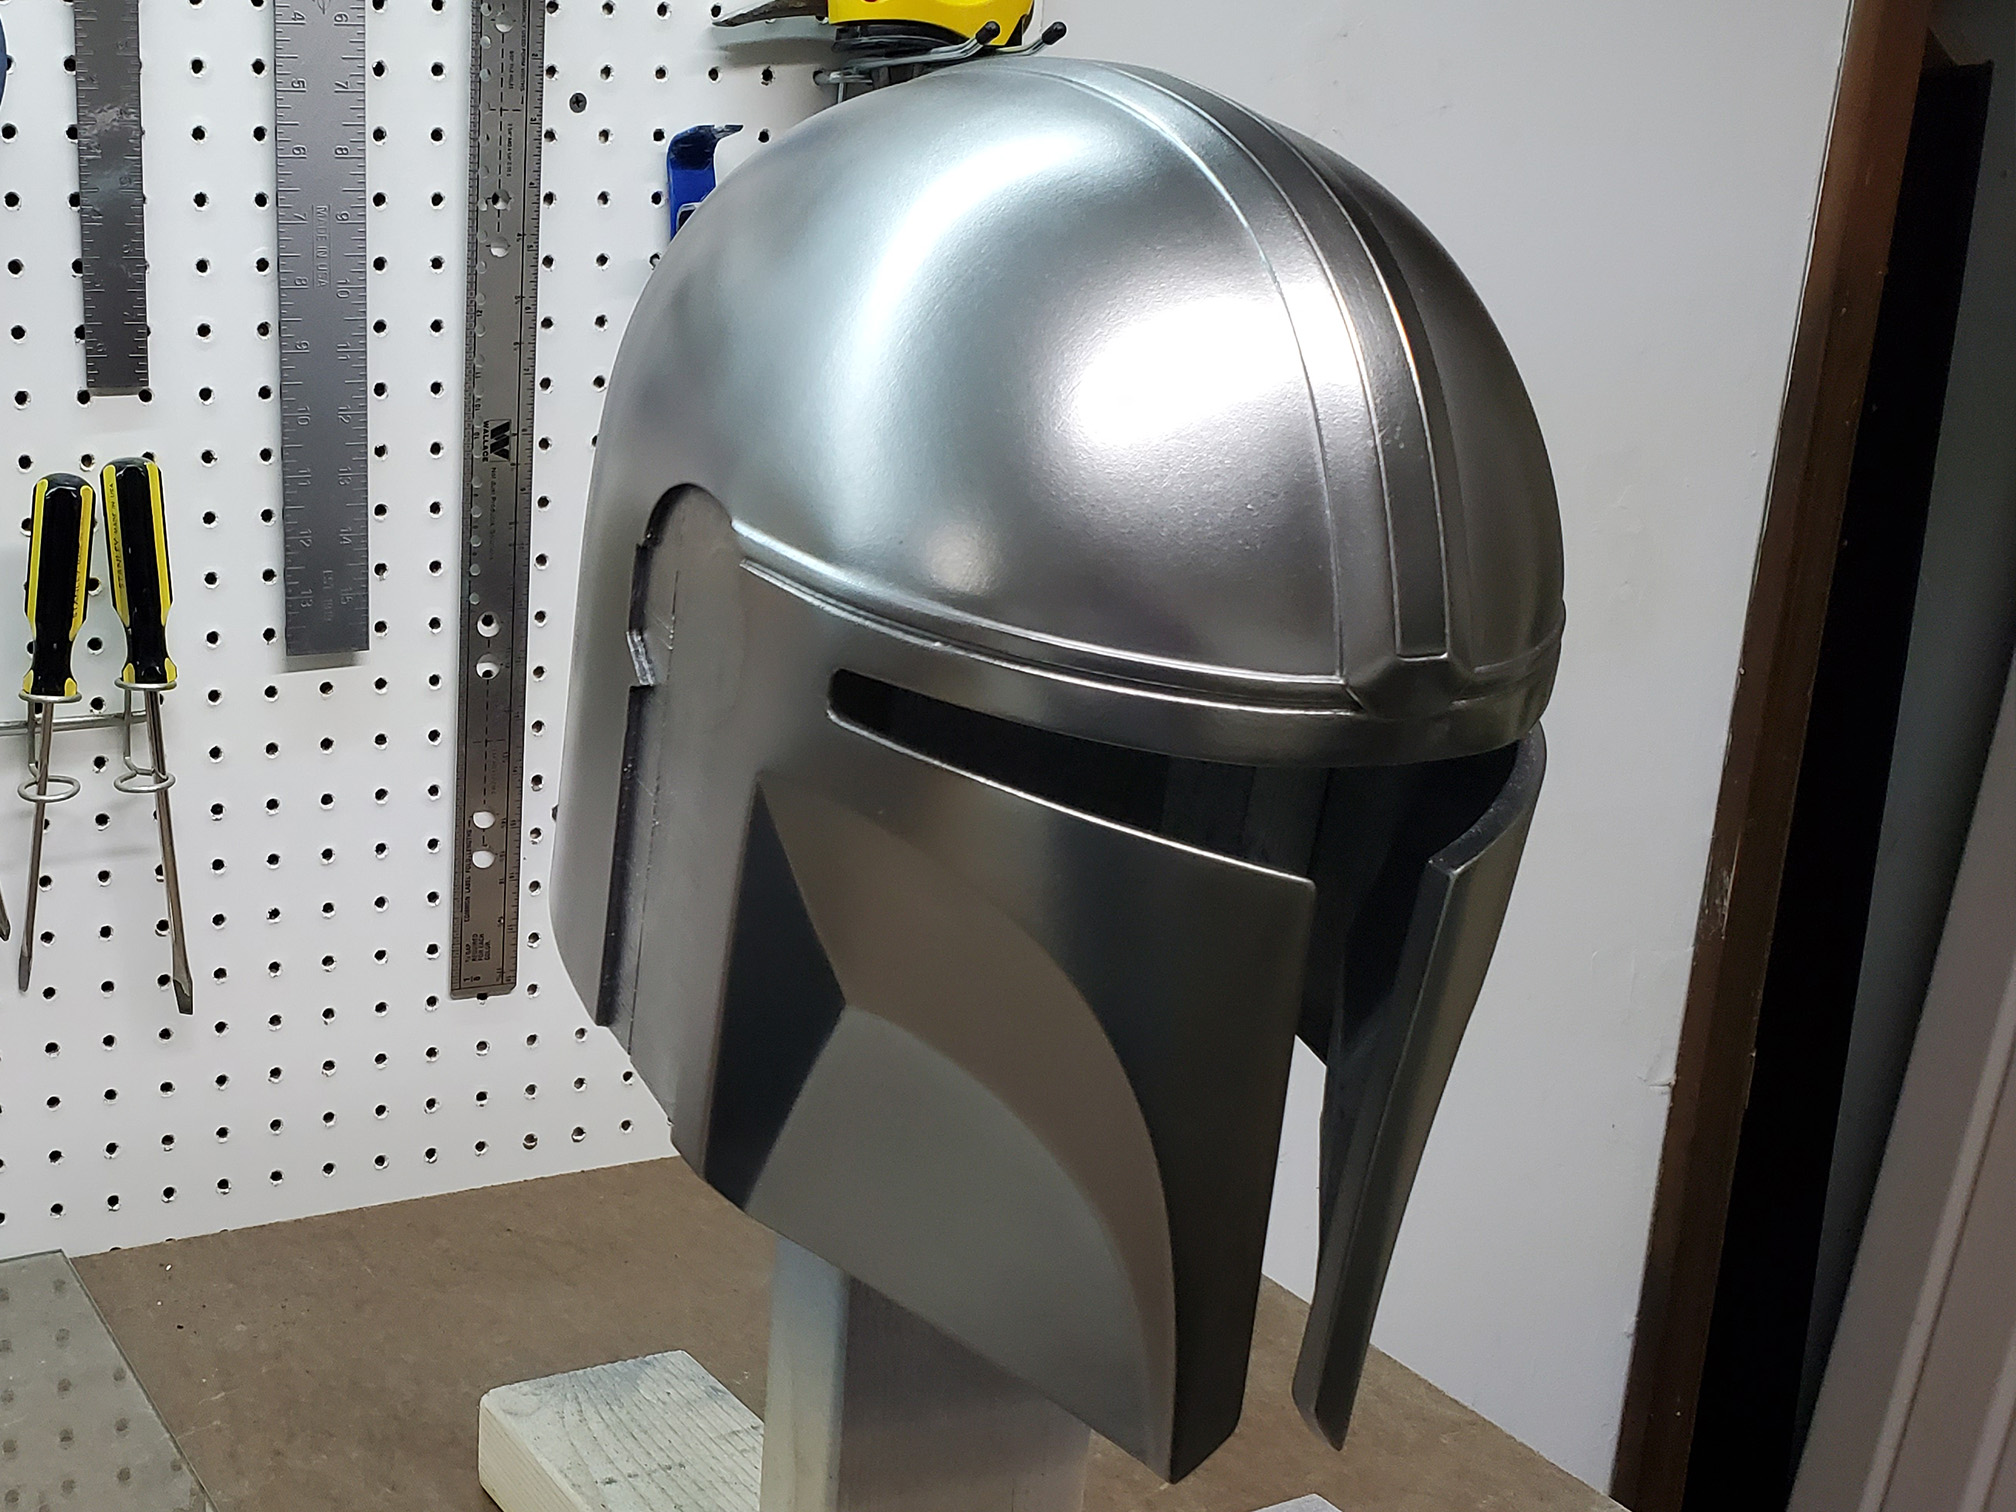
Here is the fully assembled and painted helmet. It has 3 coats of “Alclad II Aqua Gloss Lacquer” to seal the graphite. I am currently waiting for my grinding mask visor to arrive, so in the meantime I cut a cardboard template as a place holder while I wait.
Next up is the final part of this project, installing the visor and weathering. I can’t wait to be done.
Thanks for looking!
Other parts of this project
◄ The Mandalorian Helmet Part 1: Printing
◄ The Mandalorian Helmet Part 2: Assembly
◄ The Mandalorian Helmet Part 3: Priming
► The Mandalorian Helmet Part 5: Final


Add a Comment
You must be logged in to post a comment.

Awesome post! Keep up the great work! 🙂