
The Mandalorian Helmet Part 2: Assembly
With all the printing finished it is time to start cleaning up the parts and sanding away those layer lines so I can get everything assembled. I have to say I was more or less impressed with the quality of the prints from my Robo 3d R1. Aside from a few artifacts here and there everything seems fairly clean so I don’t think initial sanding is going to be too terrible.
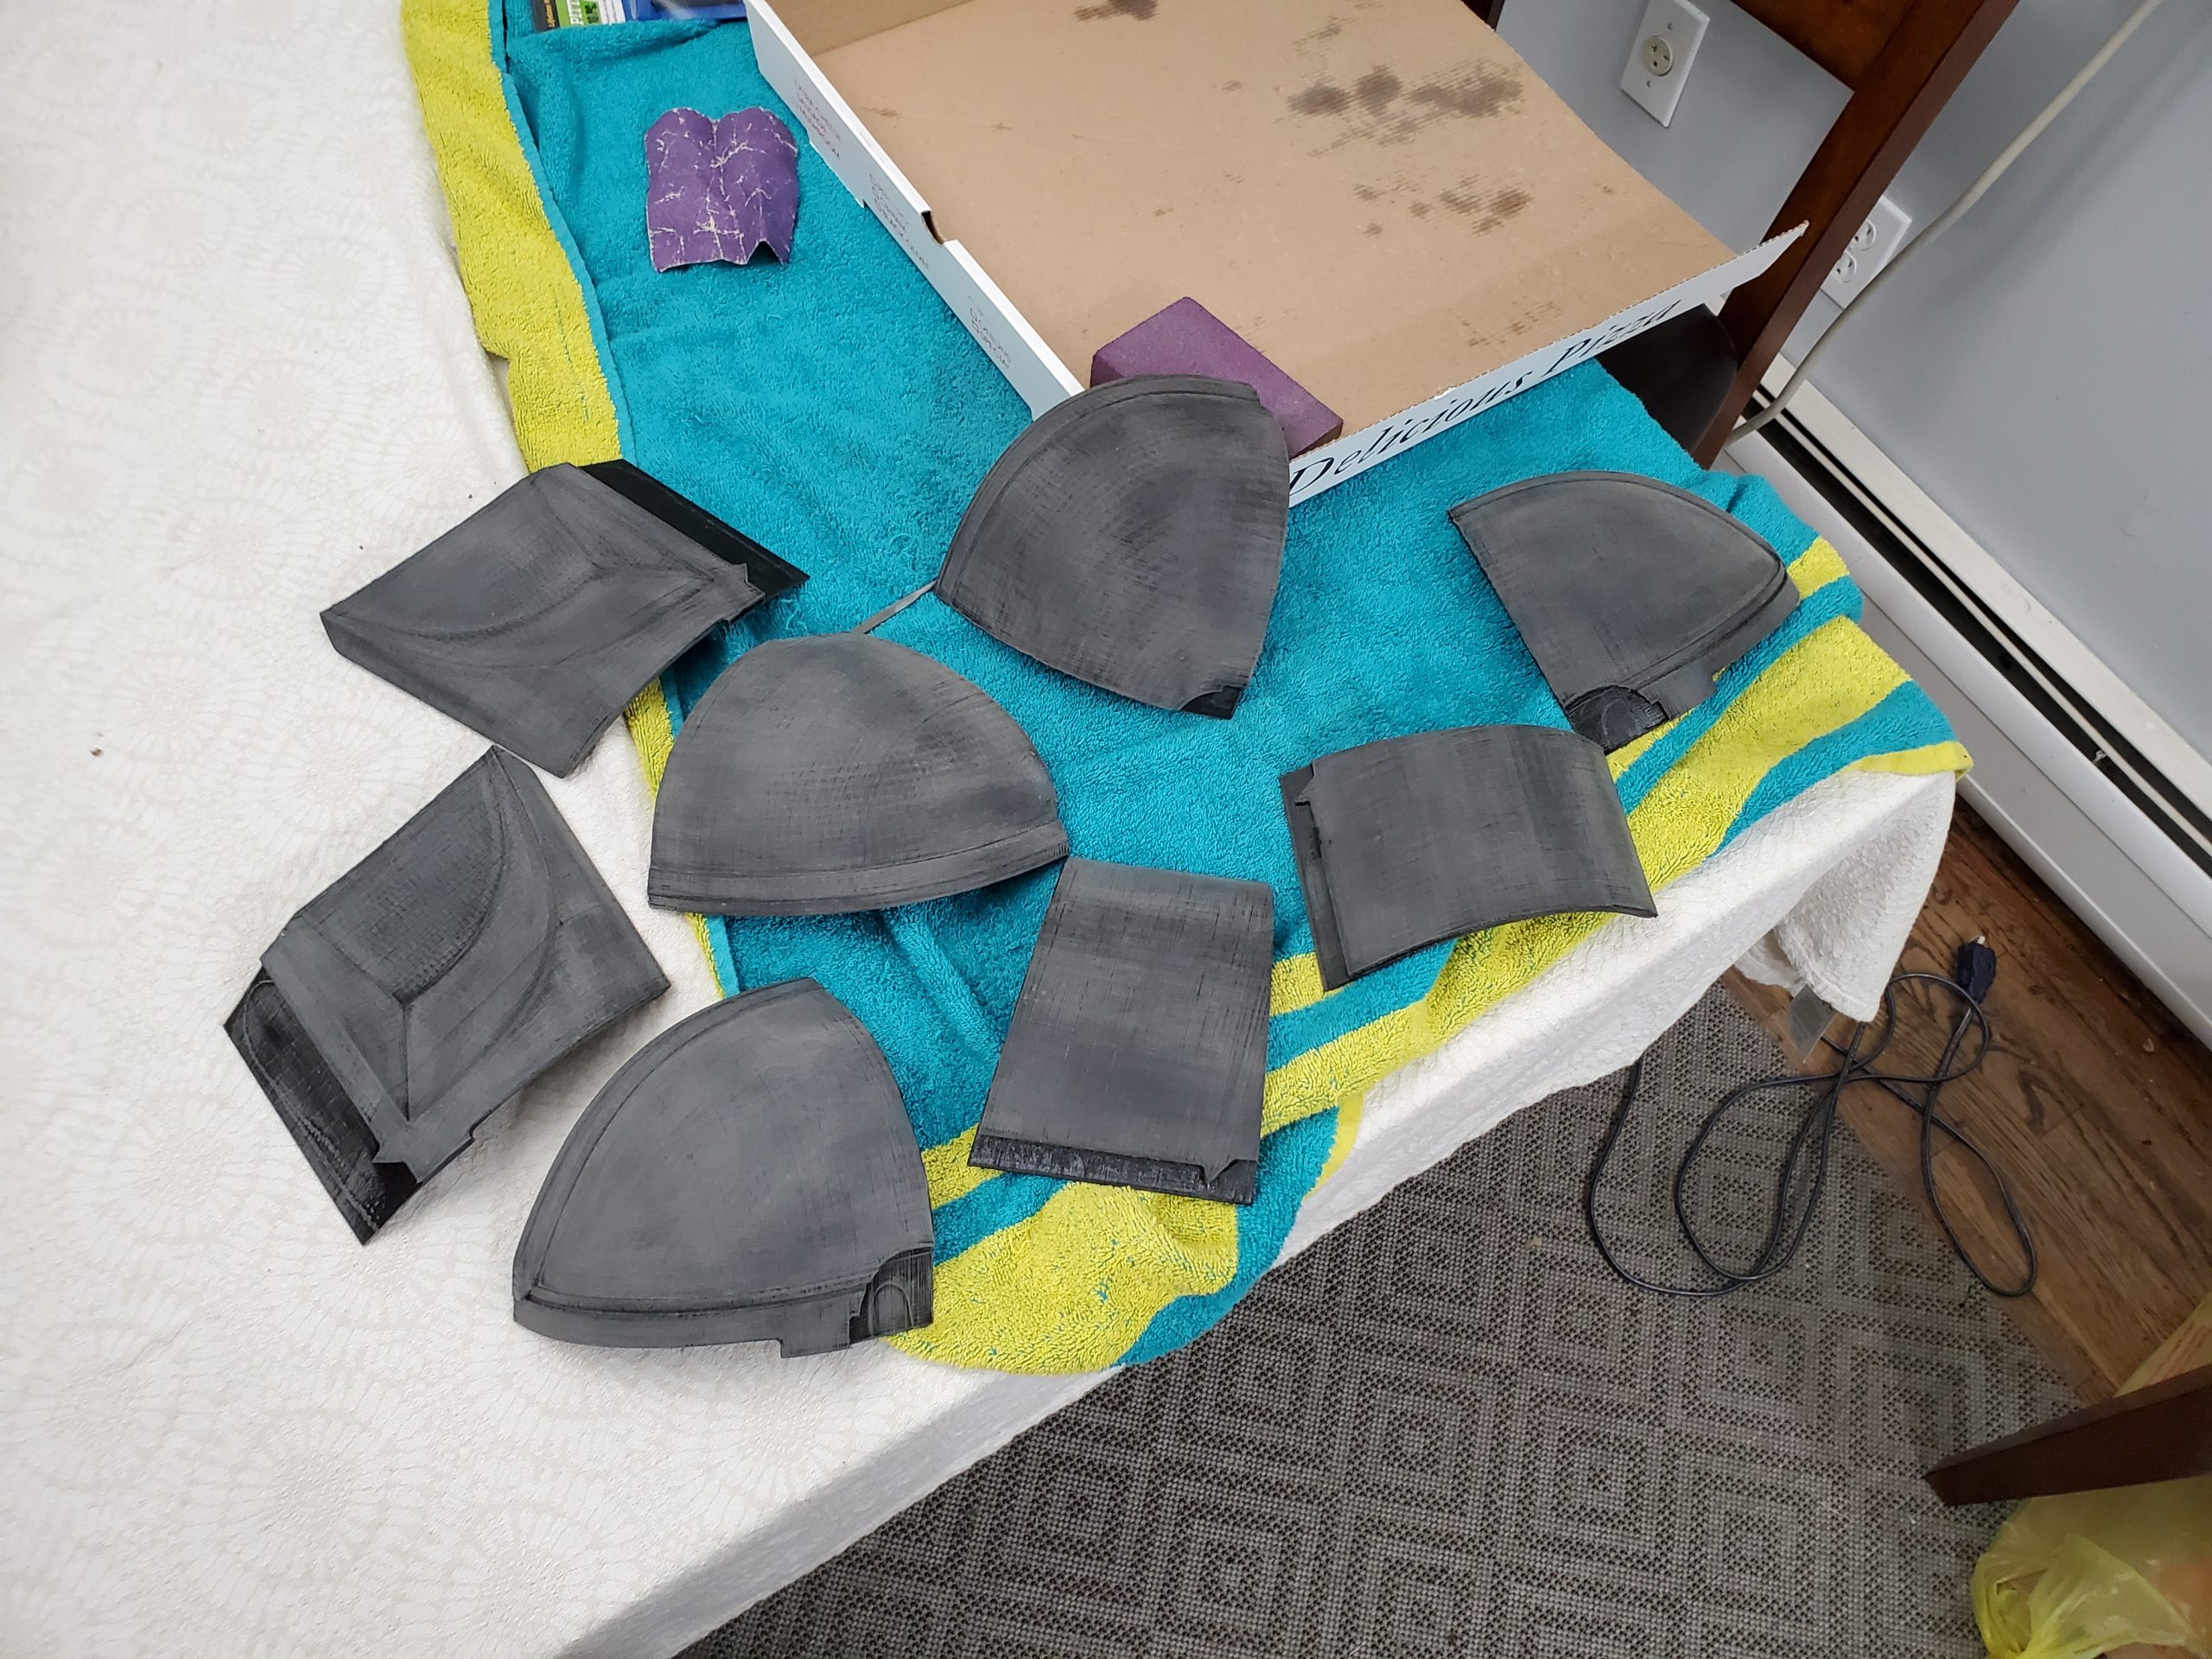
I decided that I should sand the pieces individually before assembling them. I did this because I knew I was going to have to use some real elbow grease to get the parts smooth and I didn’t want to put that much pressure and stress on glued seams. I also thought smaller pieces would be easier to handle while vigorously sanding, rather than trying to balance a full sized helmet.
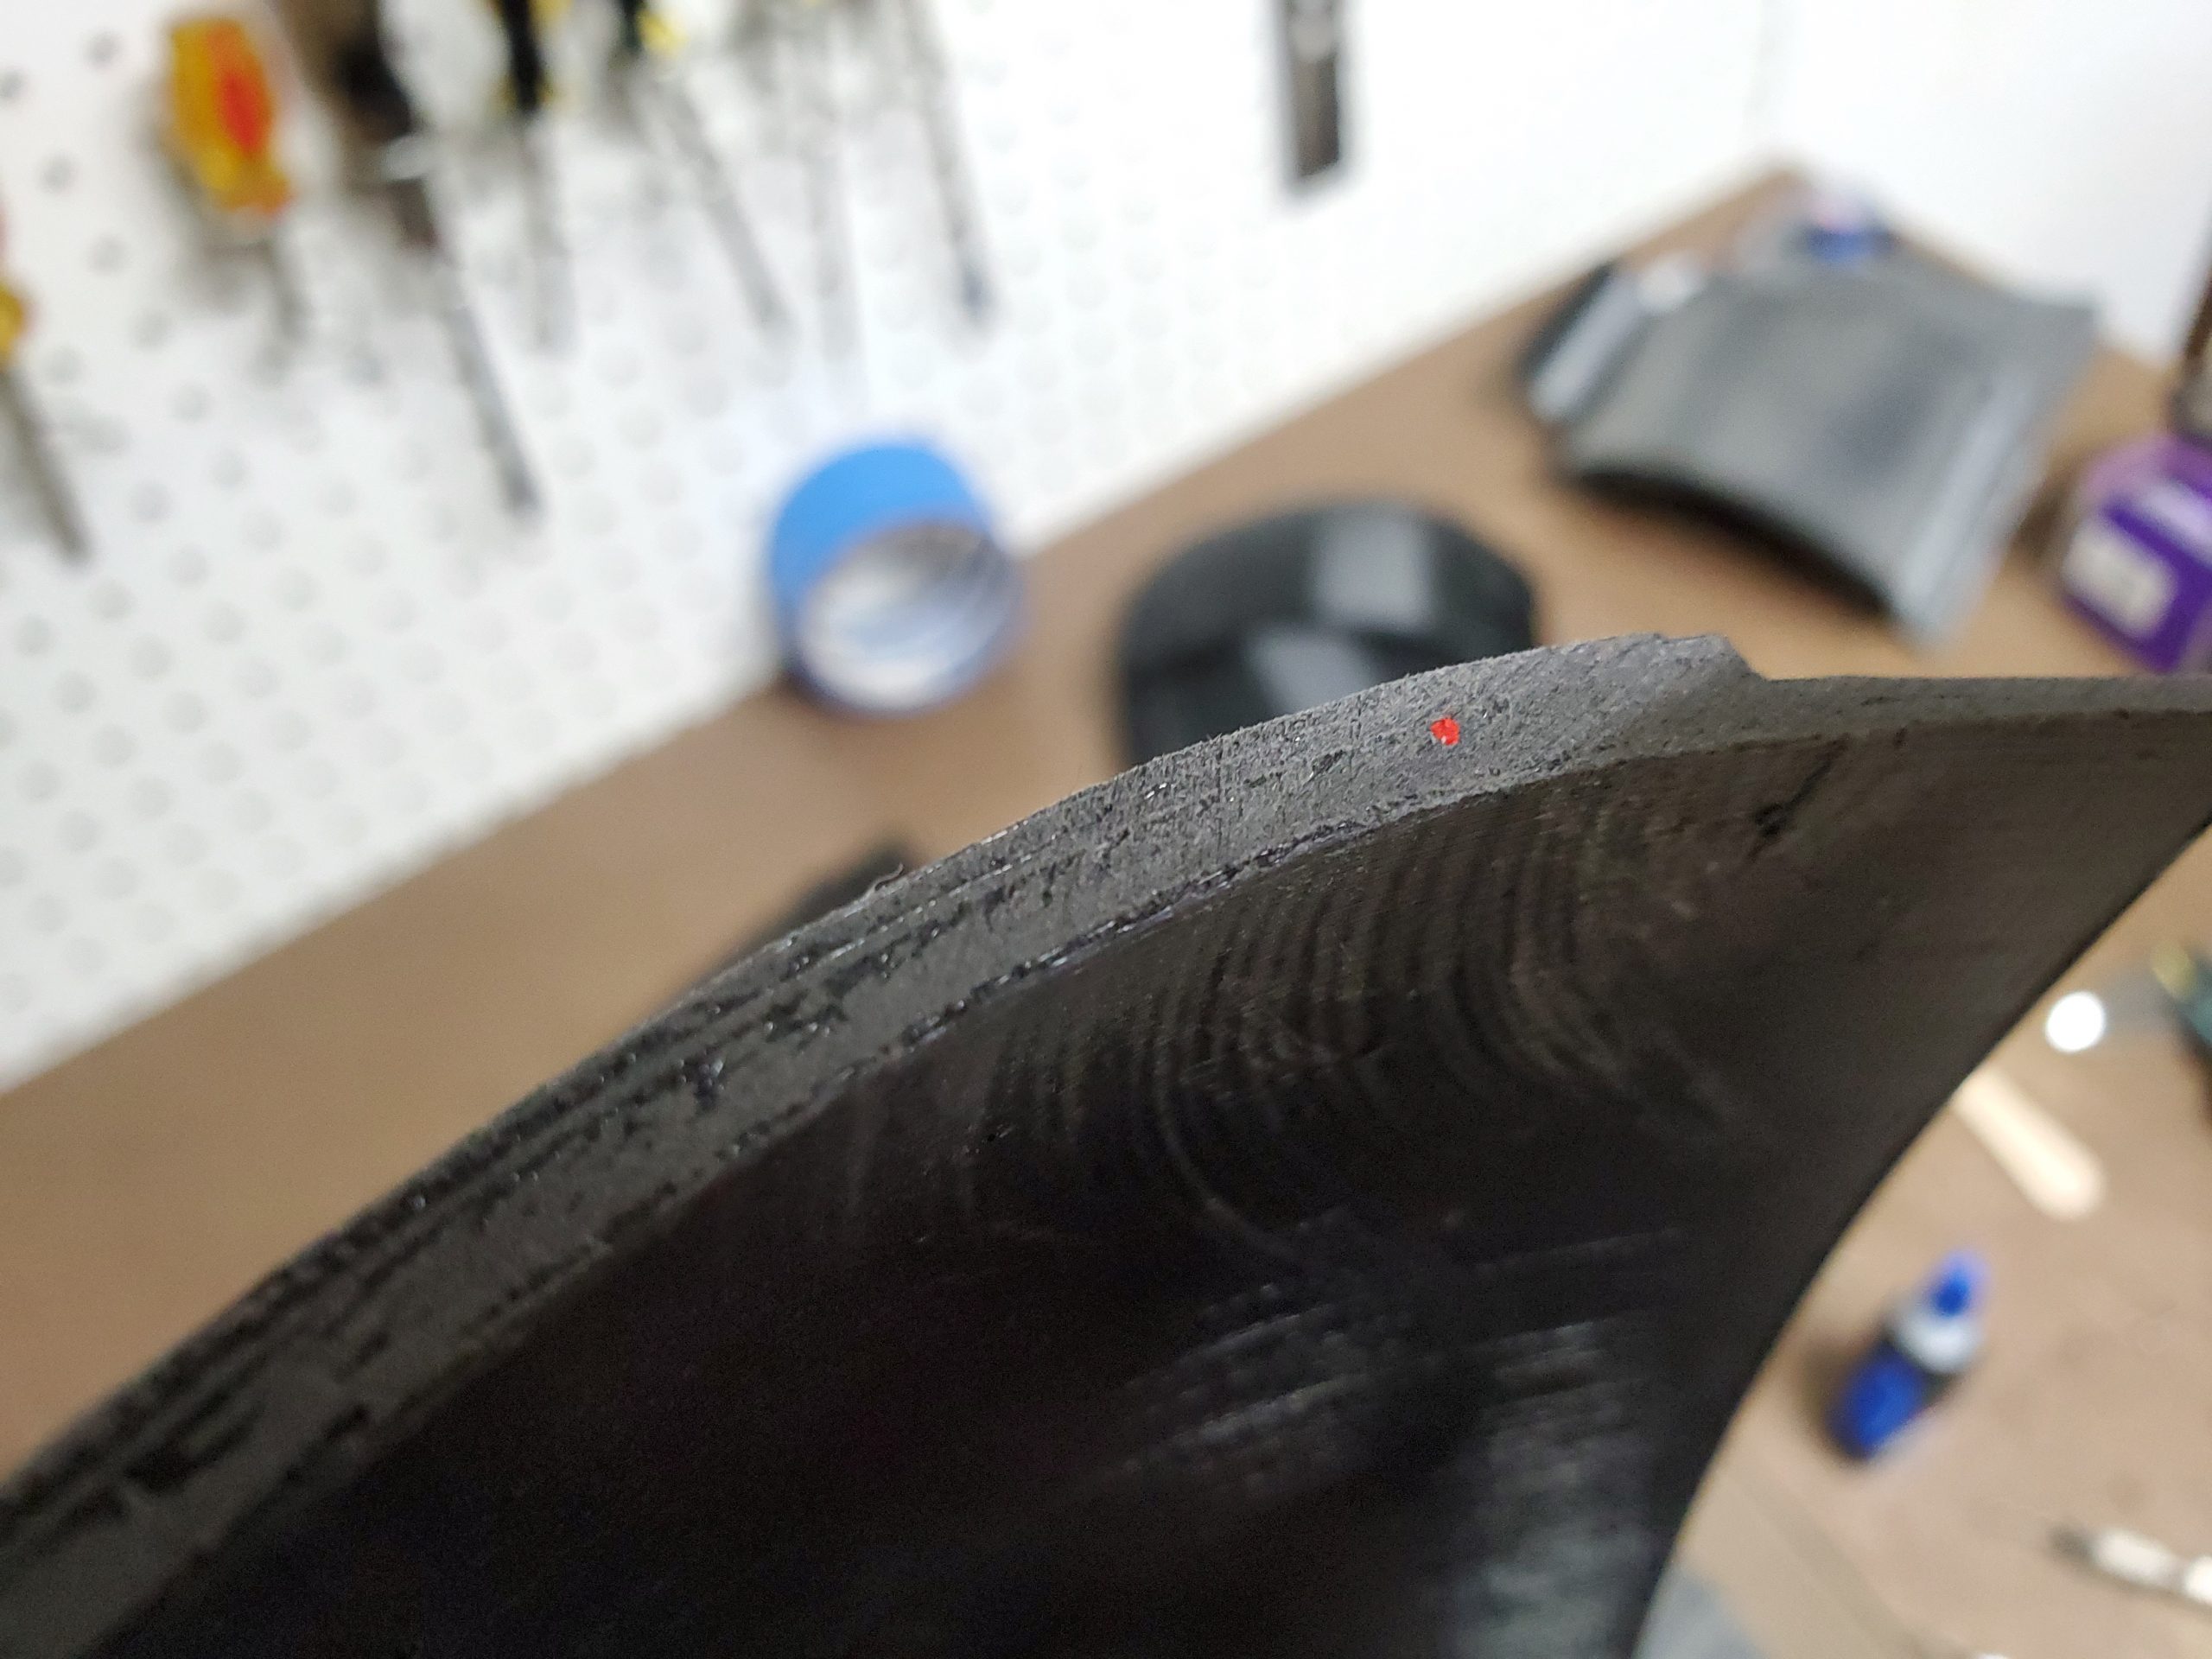
To assemble the pieces I used an old miniature building technique, pinning. This would add a lot more strength to the seams than edge gluing alone would provide. To do this, I painted a small dot on the edge of one piece. While the paint was still wet, I aligned and pressed the edge of its mating piece to it. This left a paint mark on the edge of both pieces. This dot marks exactly where to drill and place a pin in to connect both pieces.
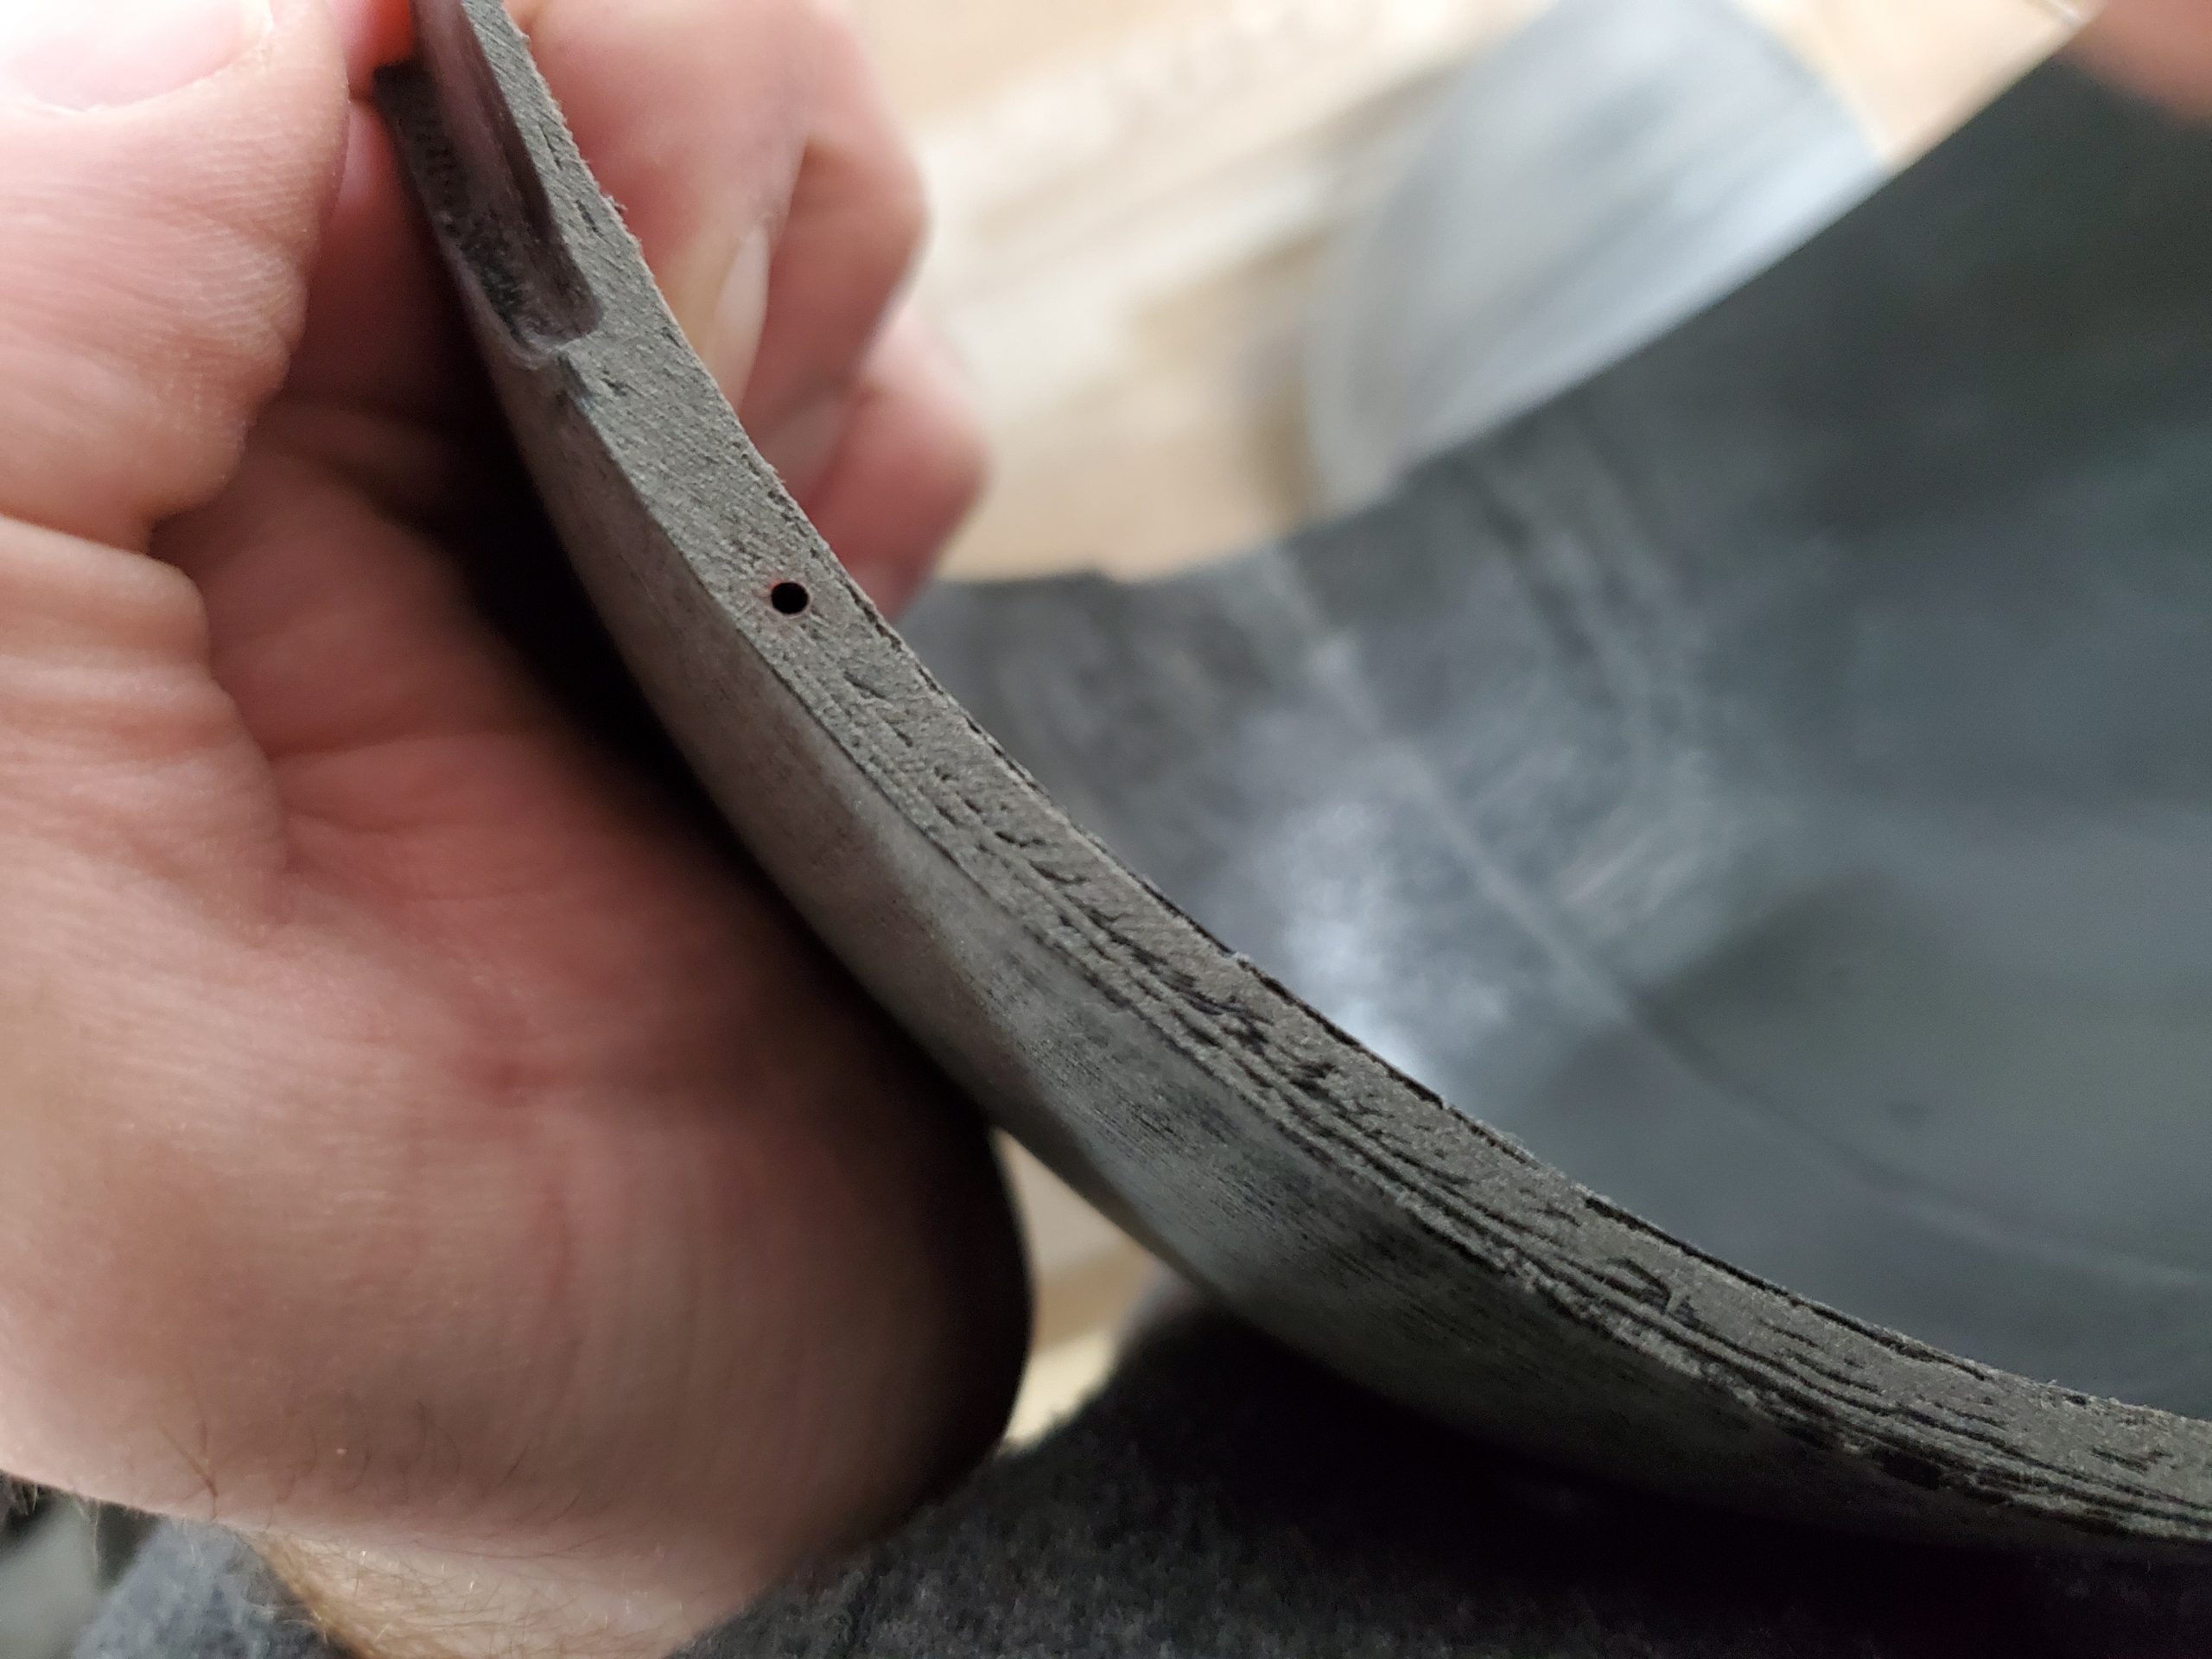
With the location marked I was able to drill a very small hole with my pin vice.
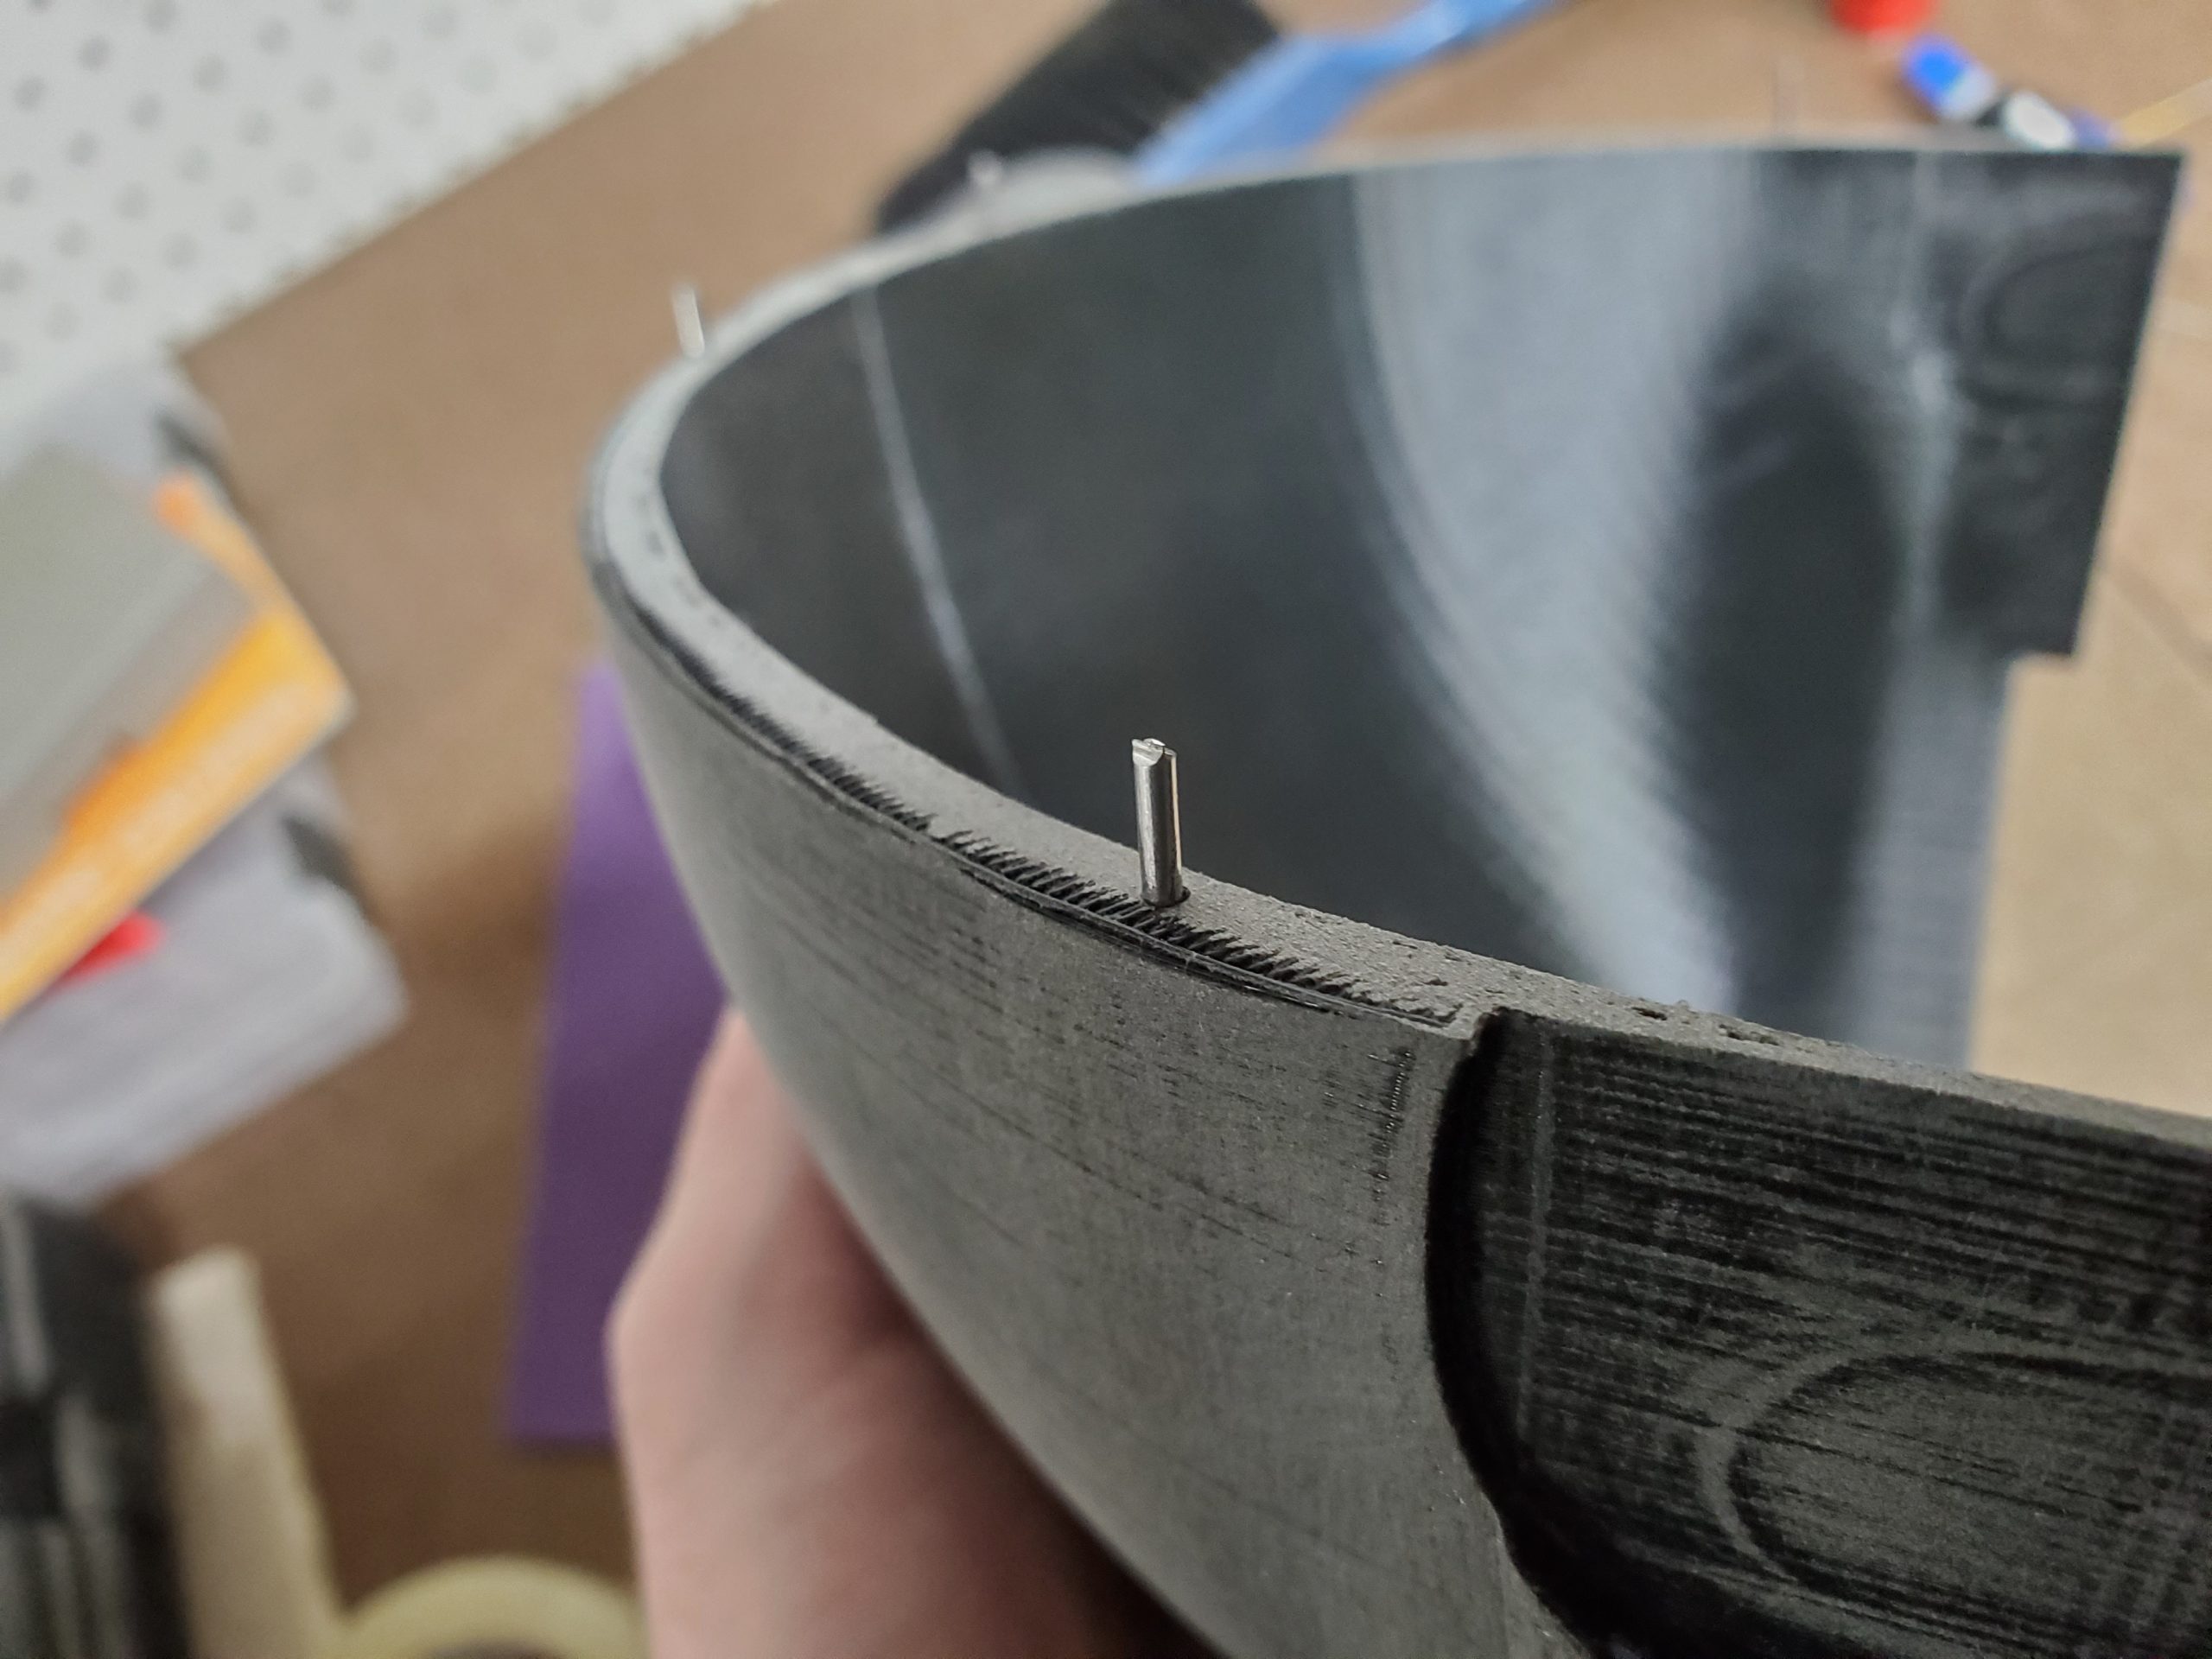
For larger surfaces I used pins cut into roughly 5/8” lengths made from a 10d finishing nail. For the thinner surfaces, like those shown above, a used a smaller 6d finishing nail cut to roughly the same length. I used this technique for every seam on the helmet. To hold all the pieces together, I used Loctite Ultra Gel Control Super Glue. This is a type of CA (Cyanoacrylate) glue. In doing some research online, I found this glue makes the best bond with PLA prints. So far, so good…
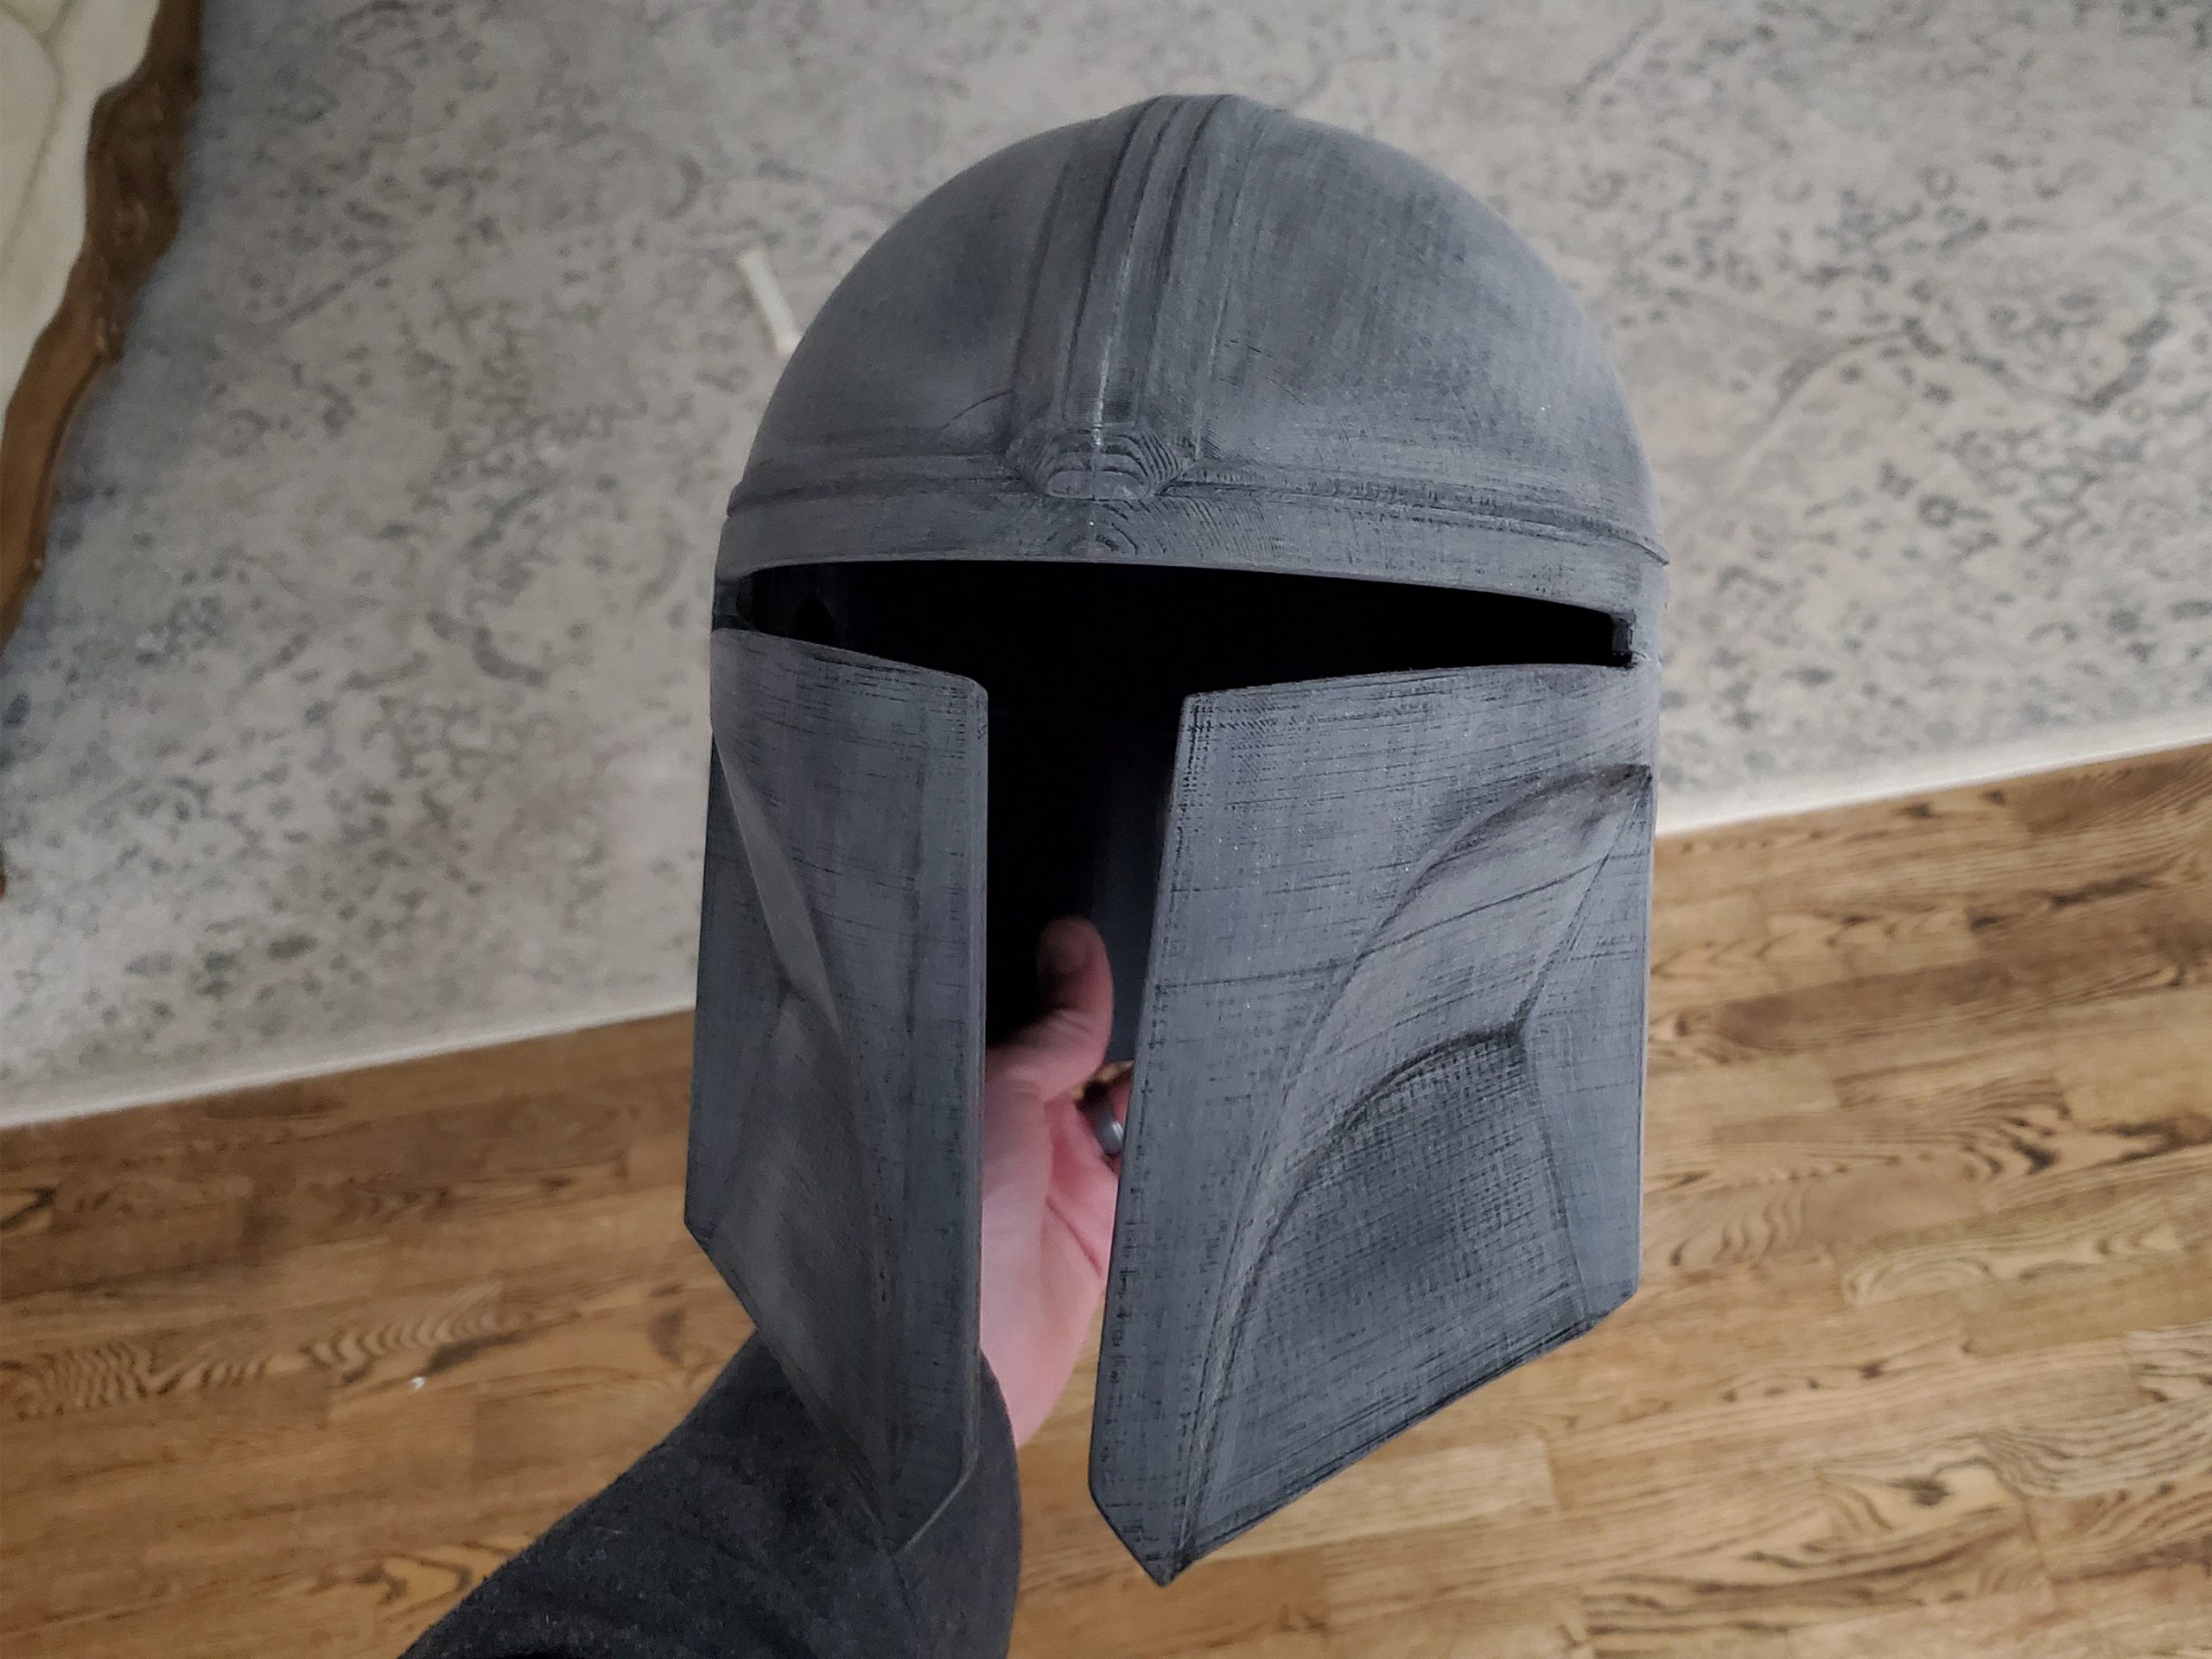
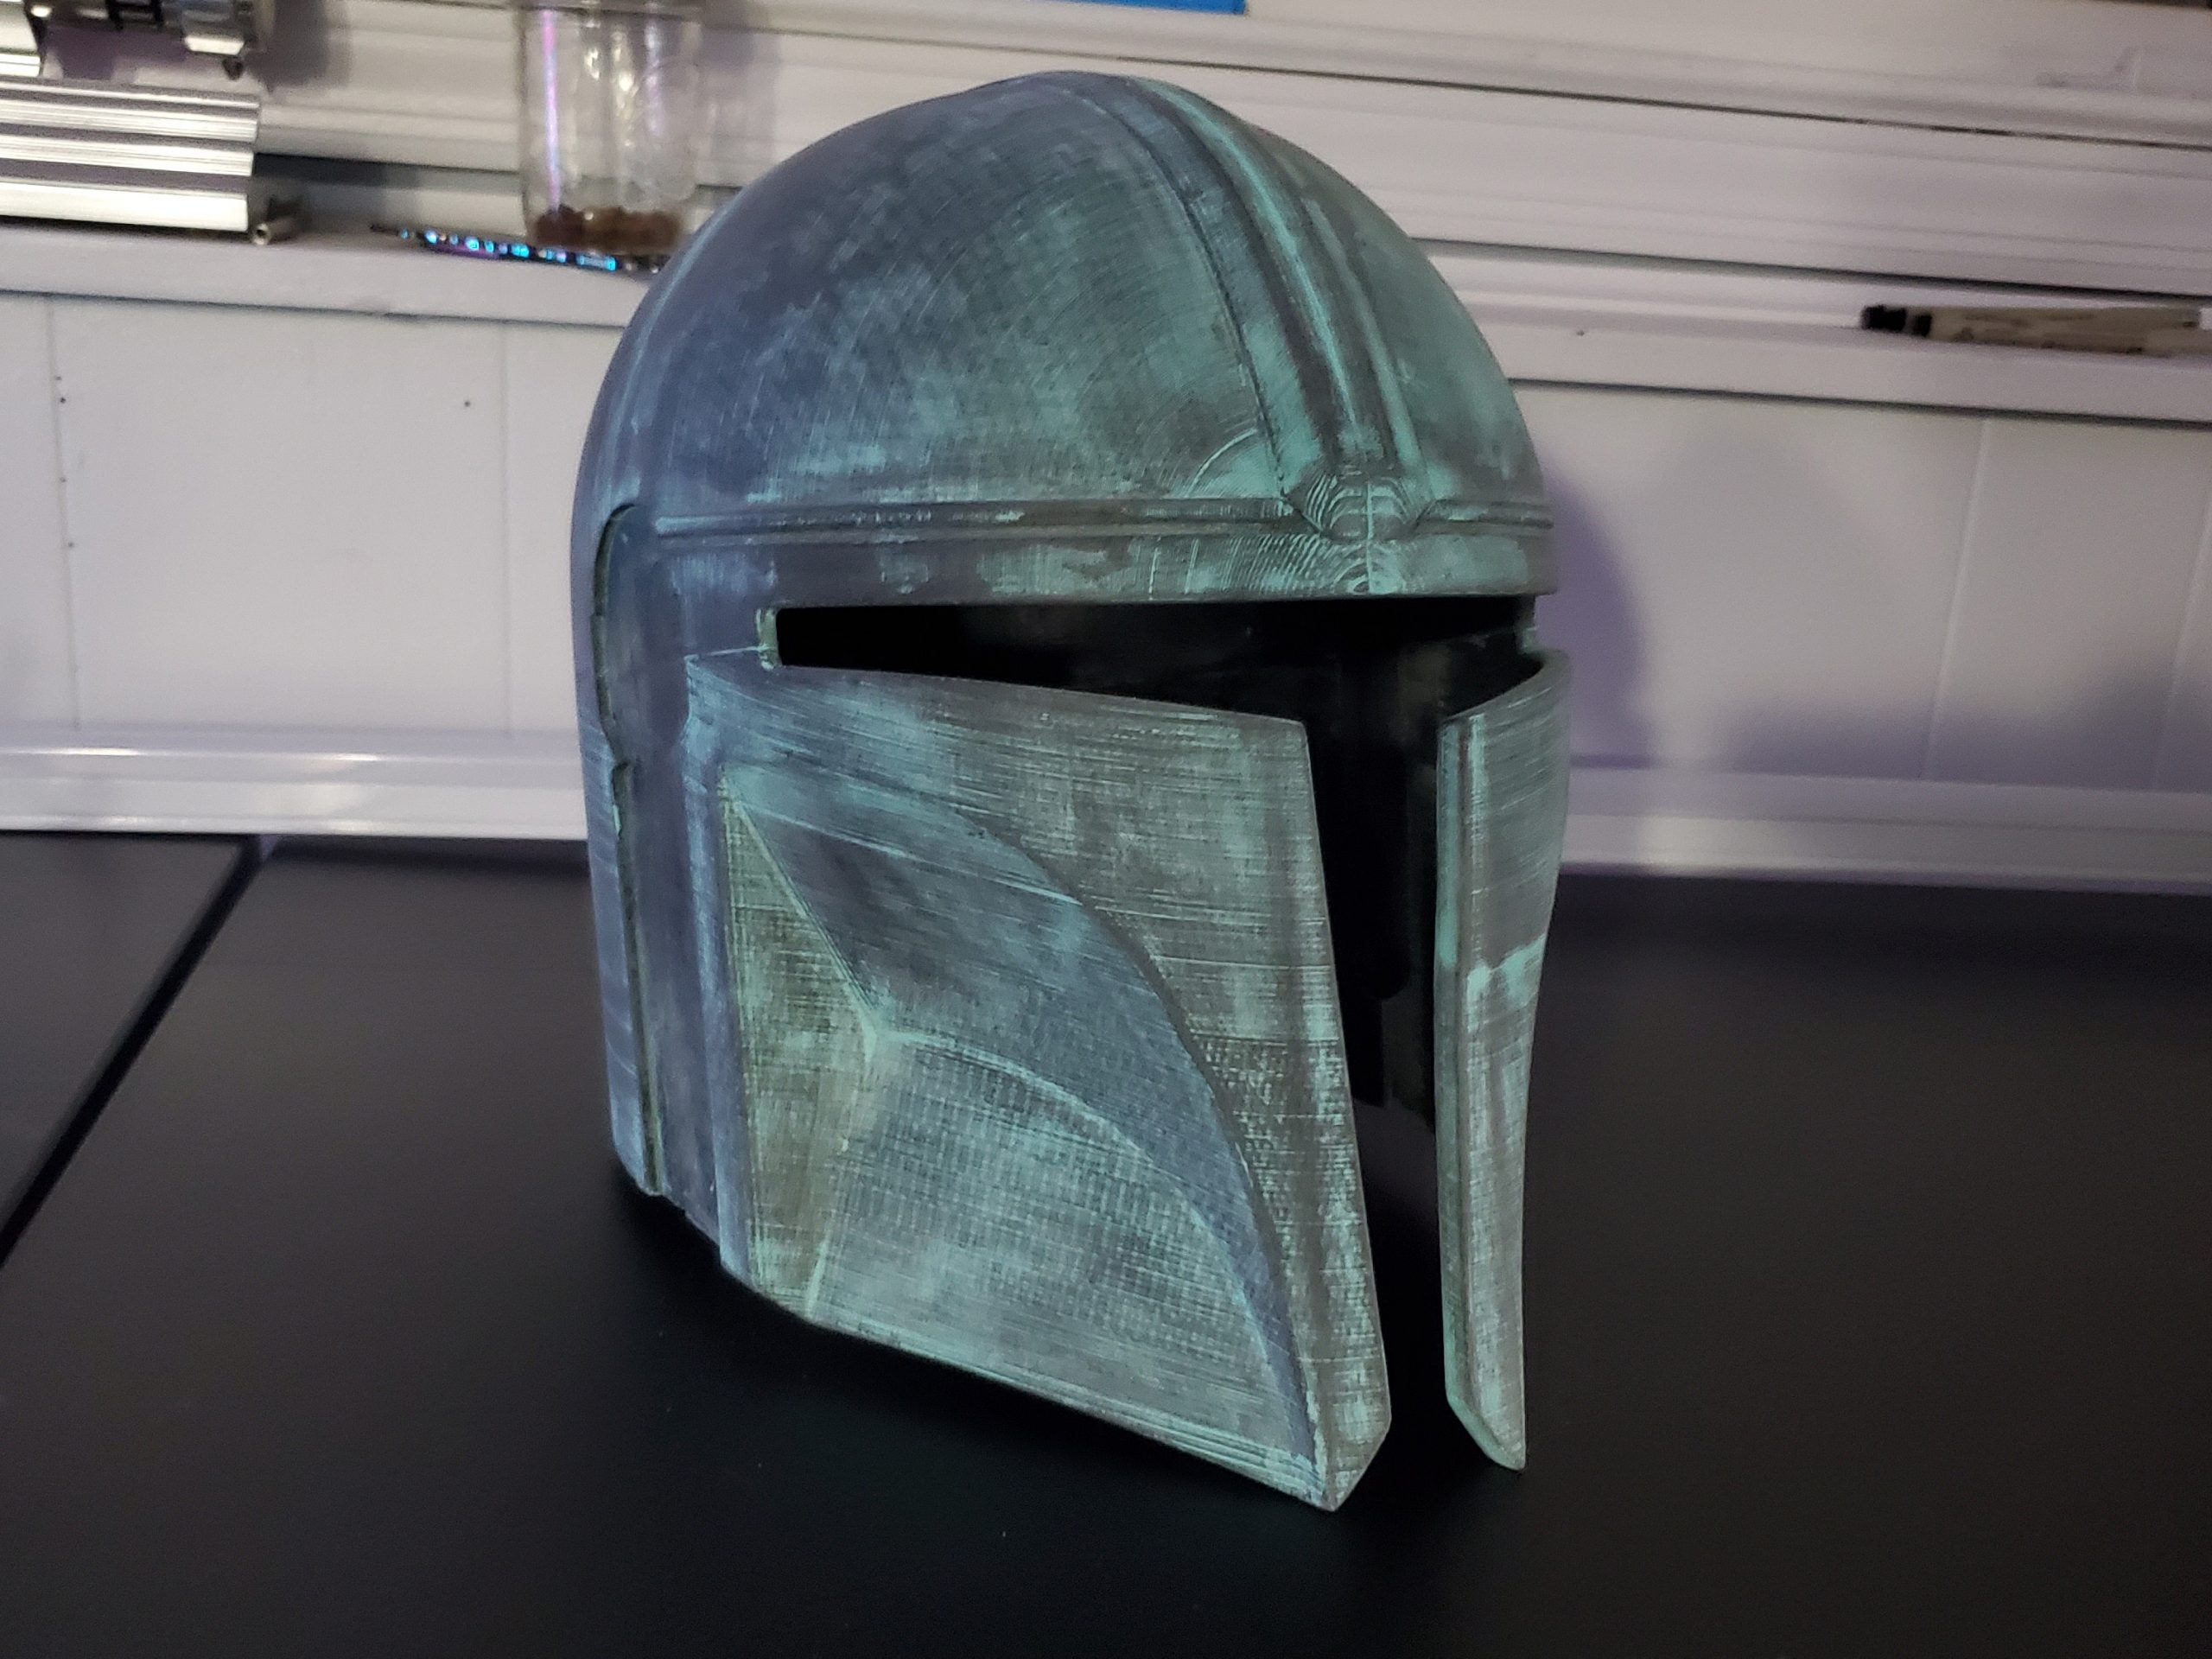
Here is the helmet fully assembled. Seeing it like this makes me really motivated to continue.
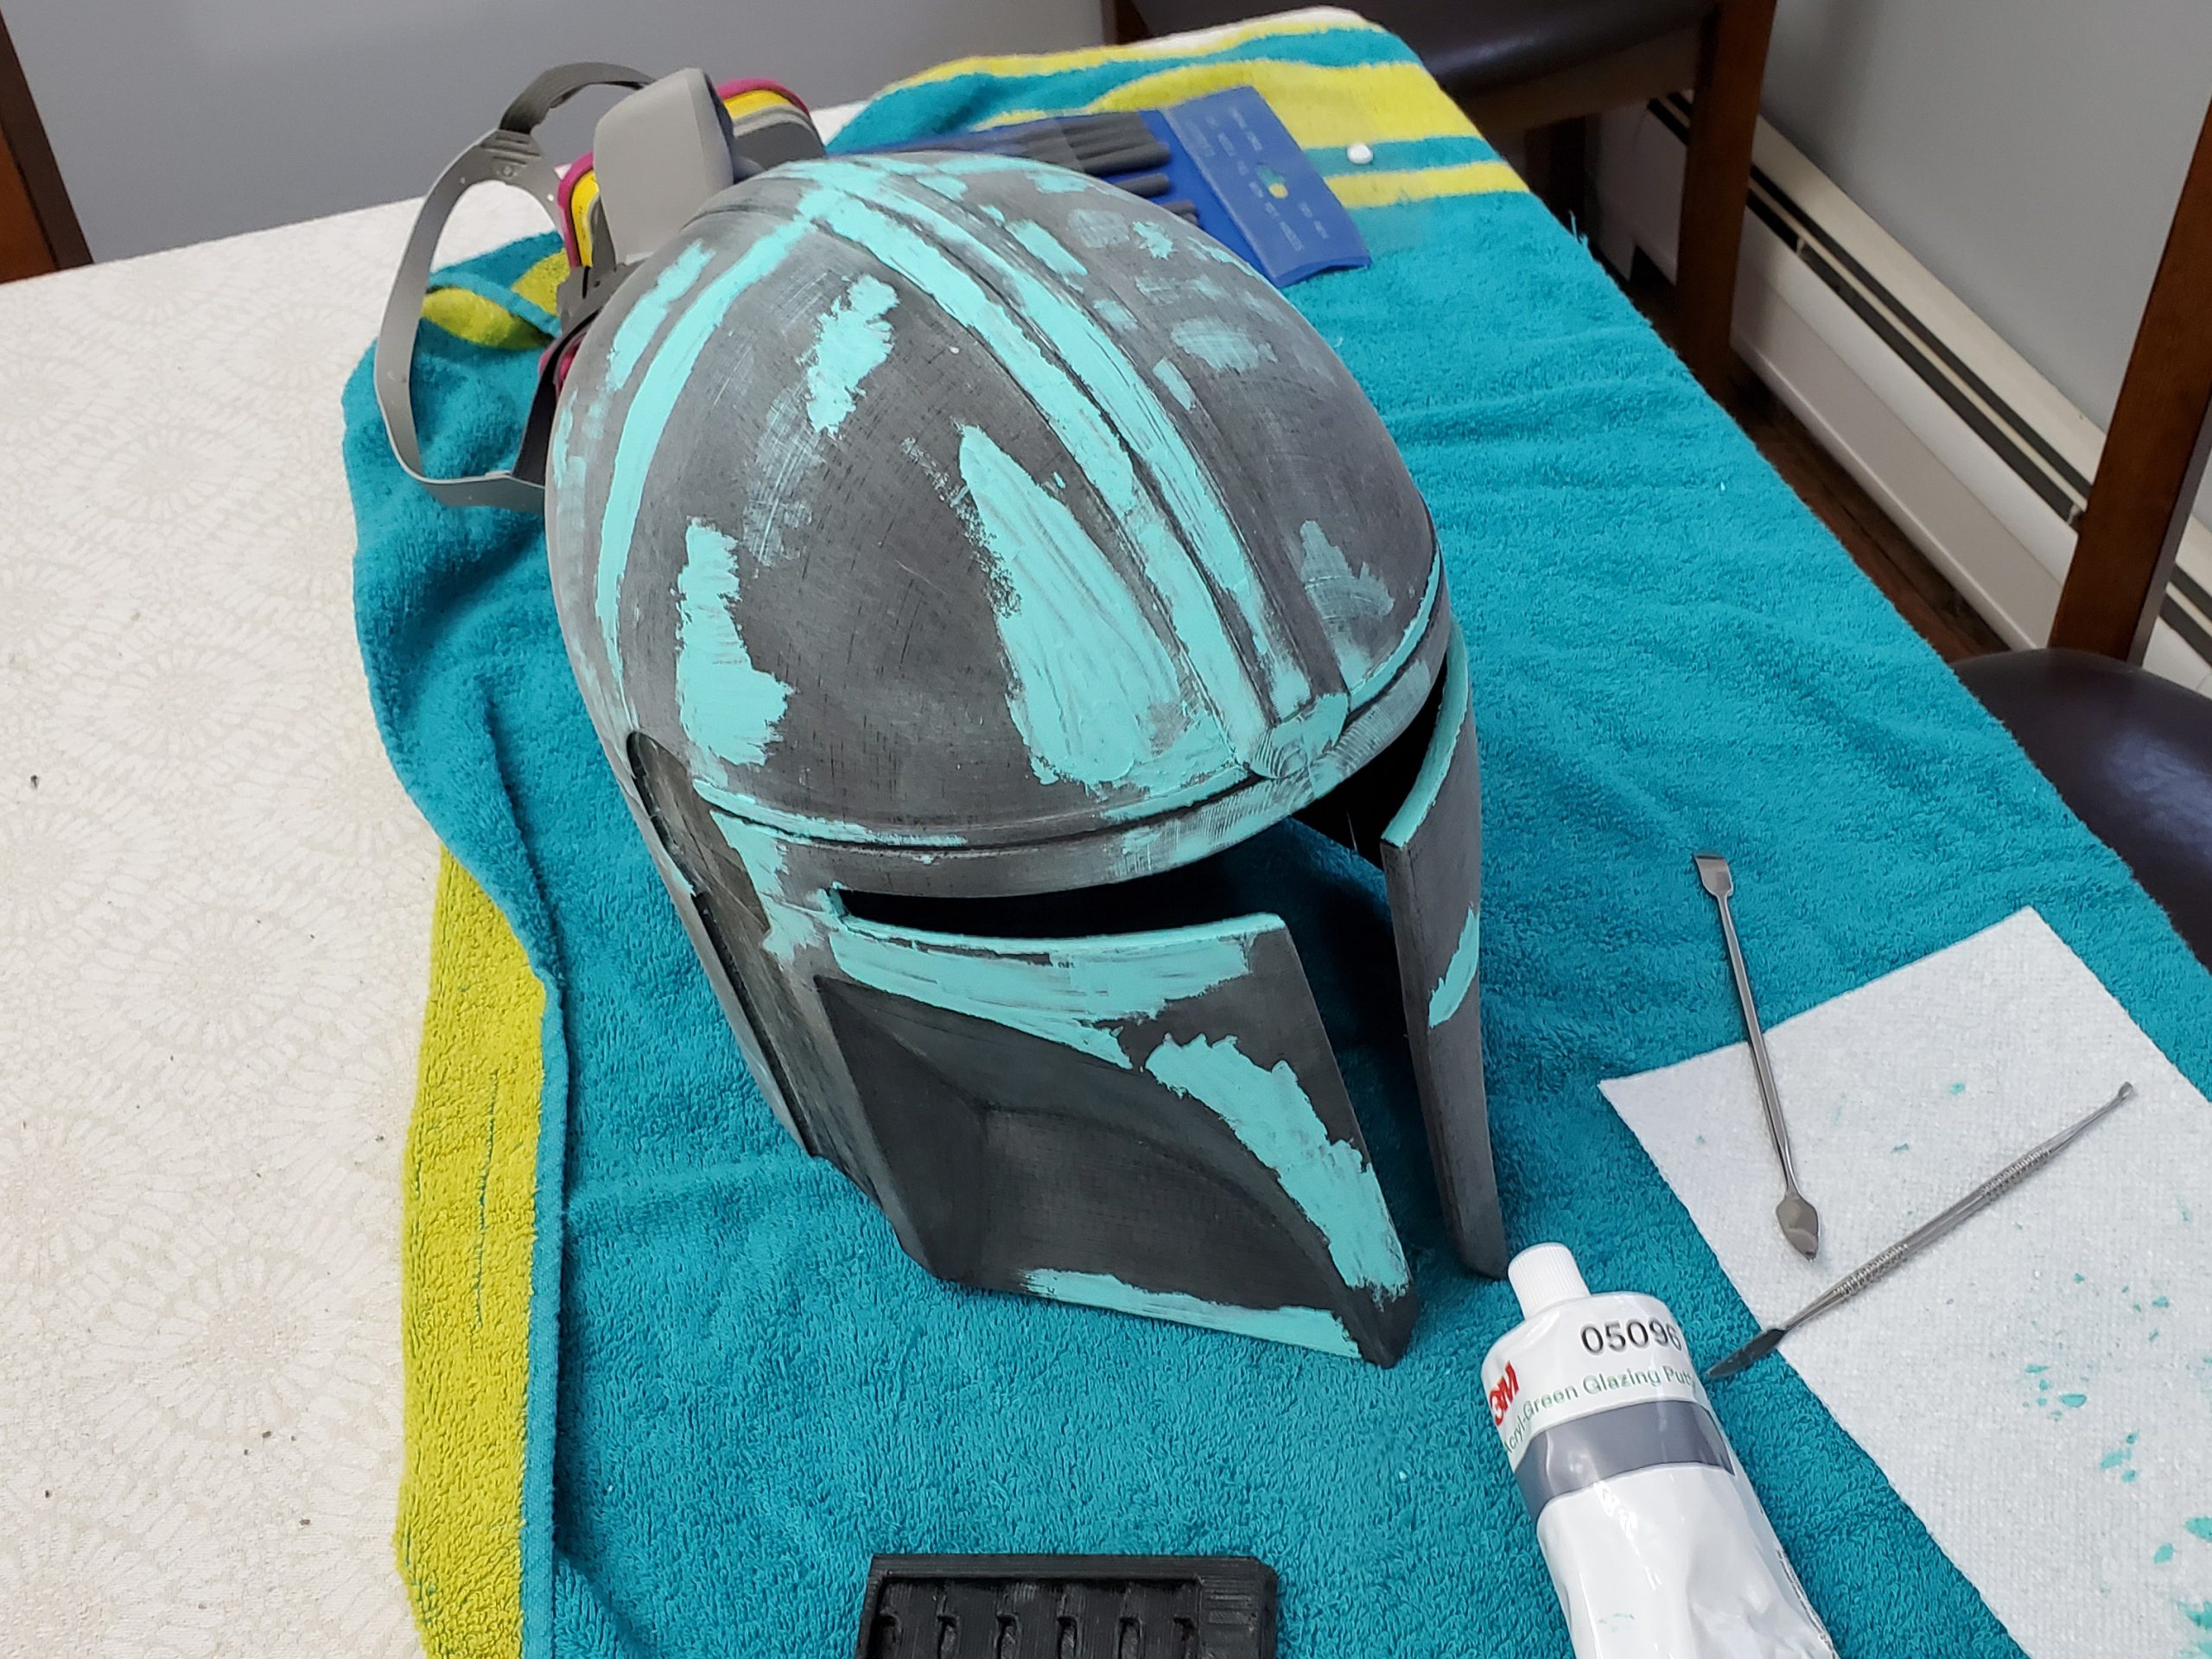
I decided to start trying to fill the seams and layer lines. To do this I used 3M 05096 Acryl-Green Spot Putty. This stuff works just like Bondo except it is air drying and not catalyzed. Therefor there is not mixing required, it is ready to use right out of the tube. It also dries in literal minutes, 2-10 depending on how thick you apply it.
Here is the helmet after filling. I don’t have pictures of the process, but I hard to repeat the filling steps about 4 times to get rid of all the visible lines. It was a constant process of fill, sand, wipe down with a wet rag, hold the part under a light to see the imperfections, fill, sand, wipe down, etc… As it is right now, I feel it is ready for primer. This is when I will really get to see how smooth I got the surface.
Side note, I really like the way the helmet looks at this stage. It looks like someone recovered it from a 200 year old ship wreck.
Anyway, more to come. Thanks for looking!
Other parts of this project
◄ The Mandalorian Helmet Part 1: Printing
► The Mandalorian Helmet Part 3: Priming
► The Mandalorian Helmet Part 4: Painting
► The Mandalorian Helmet Part 5: Final


Hey there 🙂
Your wordpress site is very sleek – hope you don’t mind me asking what theme you’re using?
(and don’t mind if I steal it? :P)
I just launched my site –also built in wordpress like
yours– but the theme slows (!) the site down quite a bit.
In case you have a minute, you can find it by searching for “royal cbd” on Google (would appreciate any feedback) – it’s still in the works.
Keep up the good work– and hope you all take care of yourself during
the coronavirus scare!
The theme is “Point” it is heavily modified by me though. For example the post sider at the top is customer along with a lot of the margins and colors.