The Mandalorian Helmet Part 3: Priming
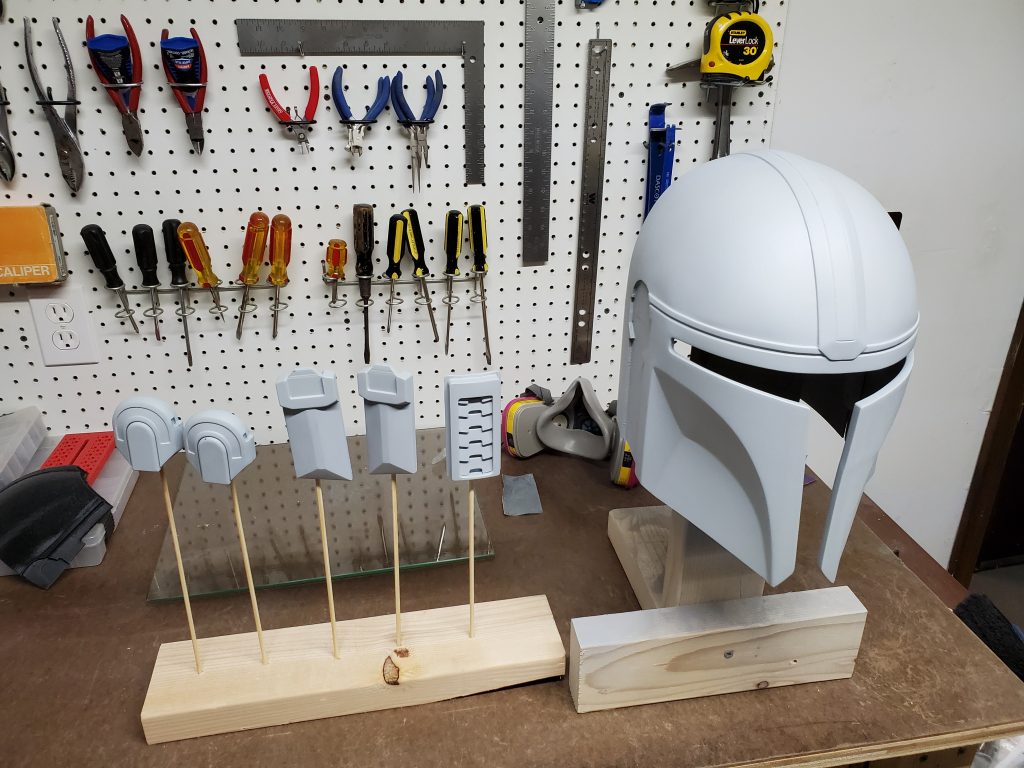
It’s time to move onto priming, and cleaning up this helmet to get it ready for paint.
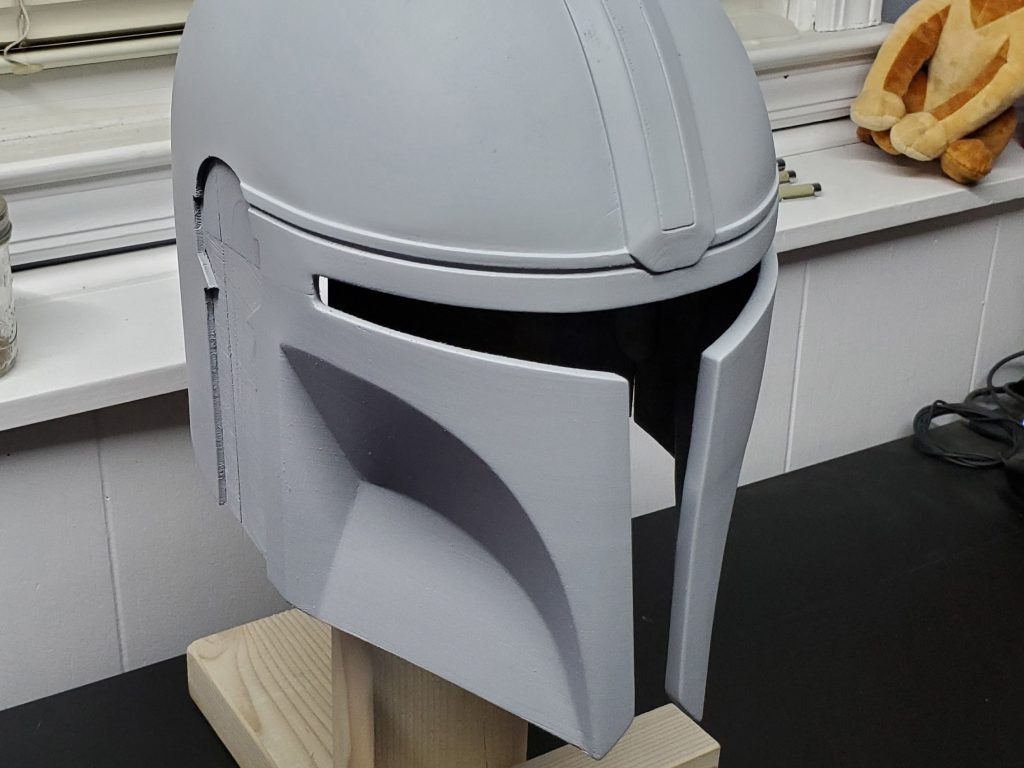
Here is a picture of my first pass with primer. It looks real good in my opinion, but if you get closer to it you can still see some of the more pronounced layer lines are still visible by where the crest connects to the brow decoration. Also the seam is still pretty visible by the corner of the visor. I also didn’t want to risk ruining any of my paint so I made a little makeshift stand out of some scrap 2x4s.
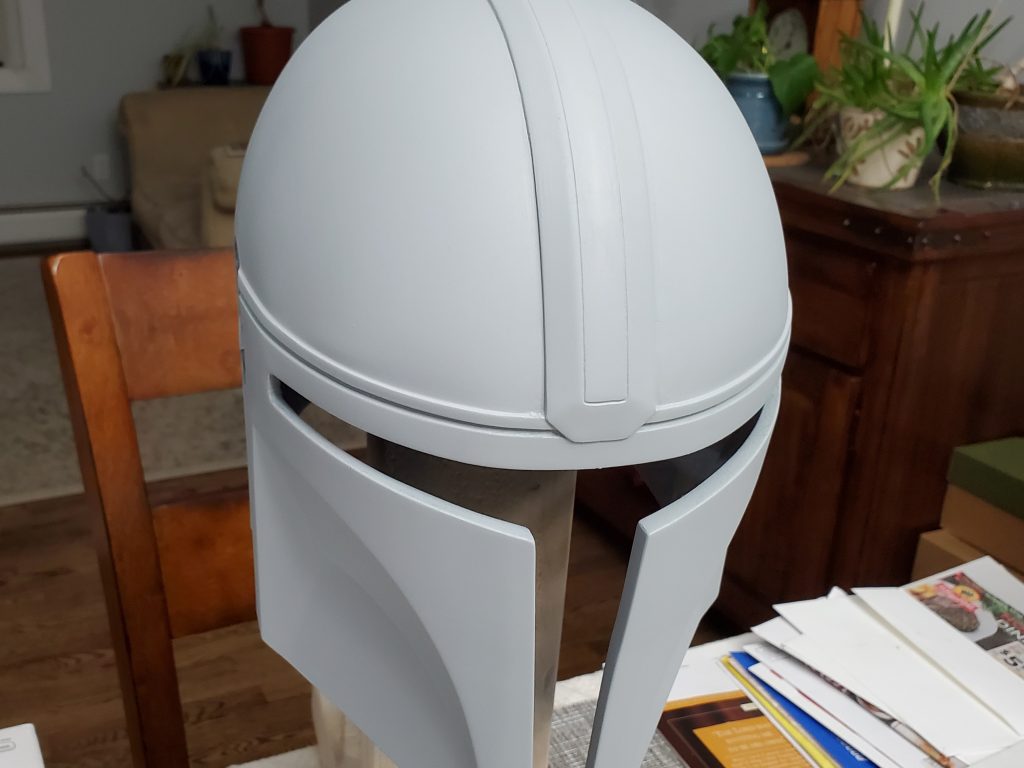
I went back with the spot putty and cleaned up the areas I mentioned before. The layer lines and visible seams are gone. However, it looks like I may have over done it with the putty and didn’t sand it all away from the brow area. More sanding…
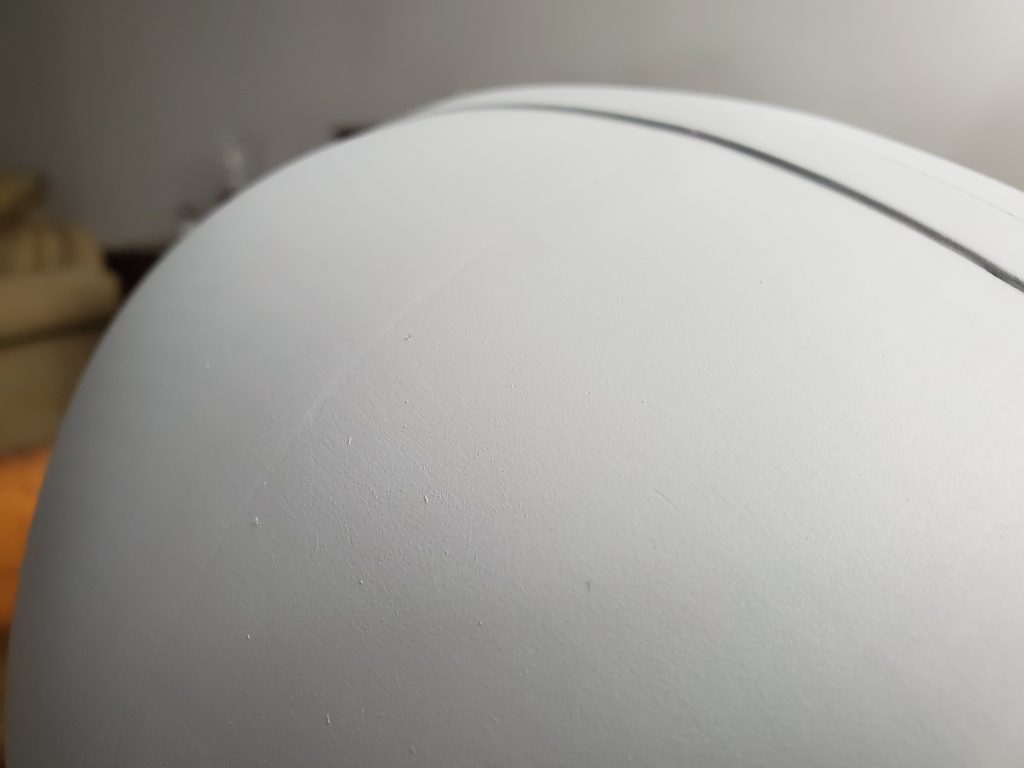
Also, when I had the helmet under our bright dining room lights, I was able to see that the seam running across the top of the helmet was still a little more pronounced that I want it to be. While I’m cleaning up the front, I’ll get that too.
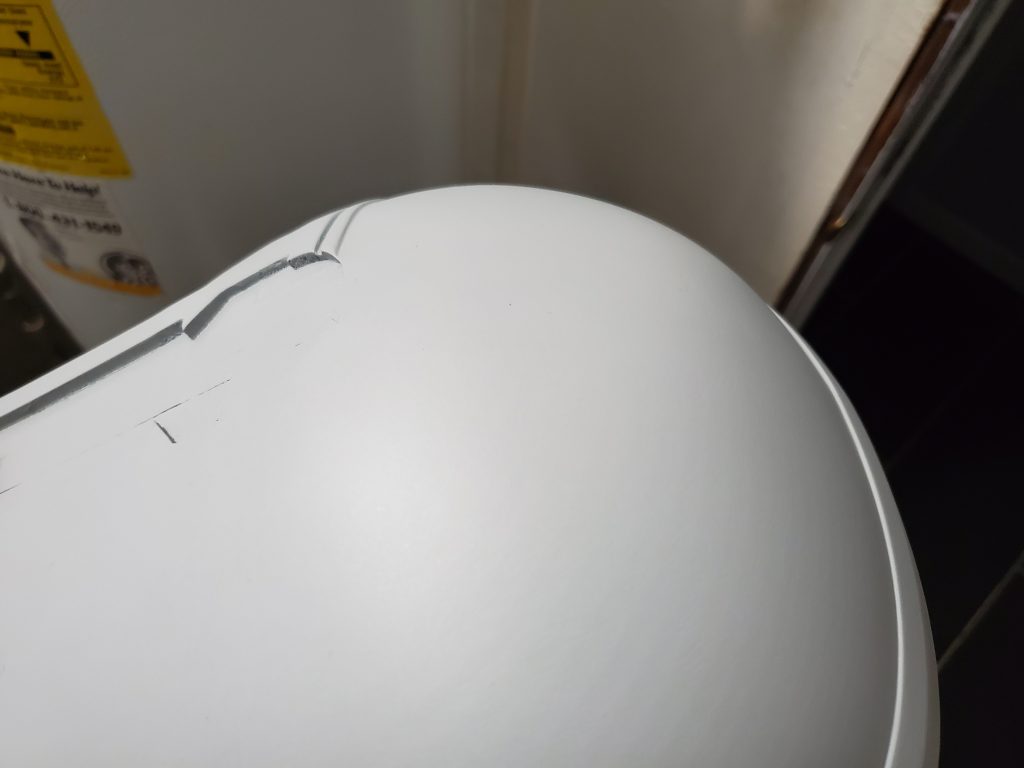
With just a little more putty and some quick sanding, the seam is gone.
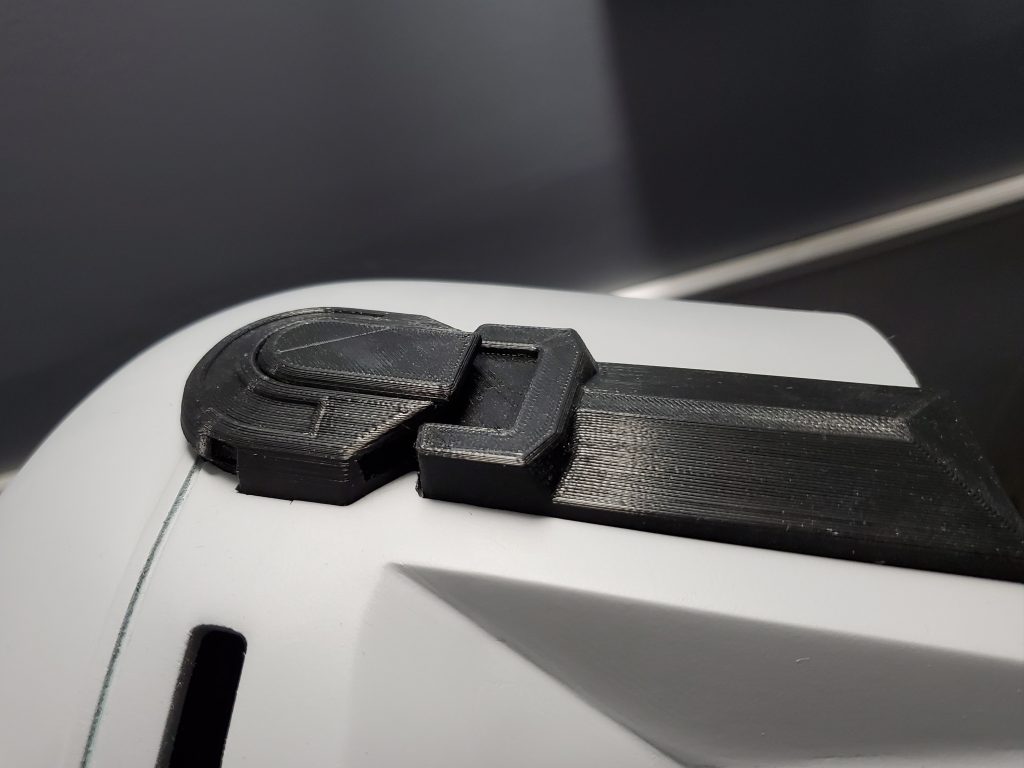
While I was working on all this finishing work, which took several days I might add, I had the printer printing the smaller detail pieces. Here is a quick test fit to make sure everything goes together like it should.
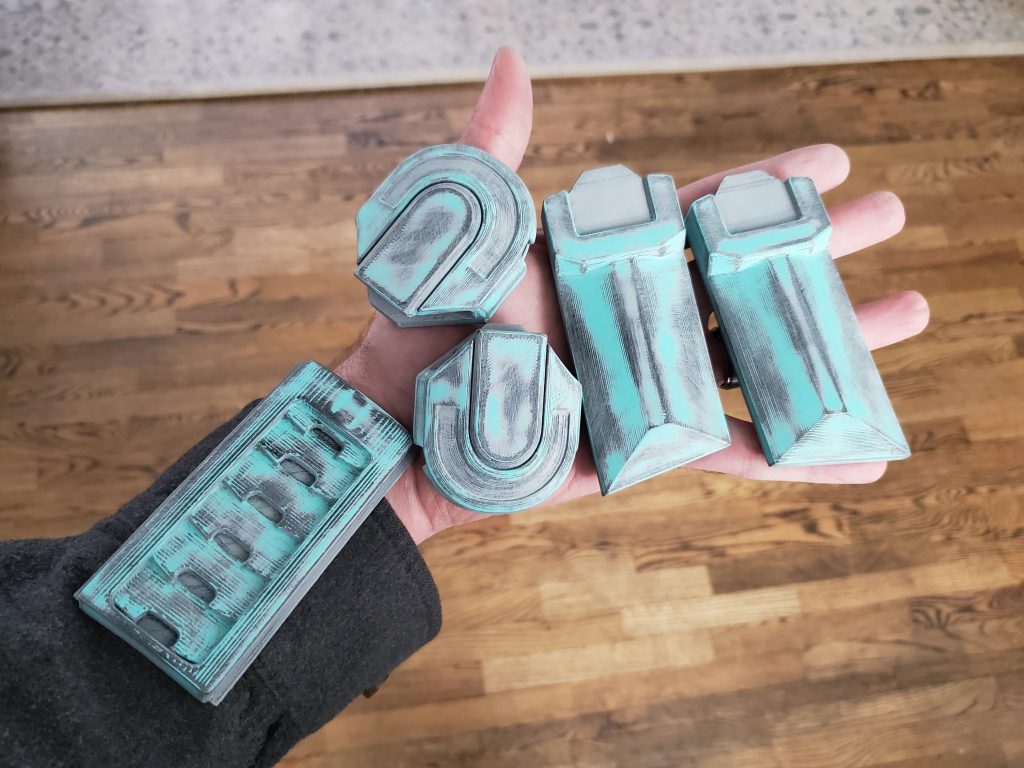
The detail bits got the same fill, sand, and fill again treatment that the rest of the helmet got, but this process went much faster than before.

Here is everything with it final coat of primer, wet sanded, and ready for paint! On the left side of this image you can see my failed print piece from Part 1 that I am going to start working on to test painting techniques.
I am really, really happy how everything is coming together so far. I can’t wait to see this thing in reflective chrome.
Thanks for looking!
Other parts of this project
◄ The Mandalorian Helmet Part 1: Printing
◄ The Mandalorian Helmet Part 2: Assembly
► The Mandalorian Helmet Part 4: Painting
► The Mandalorian Helmet Part 5: Final


