Graflex Lightsaber Part 5: Cleanup
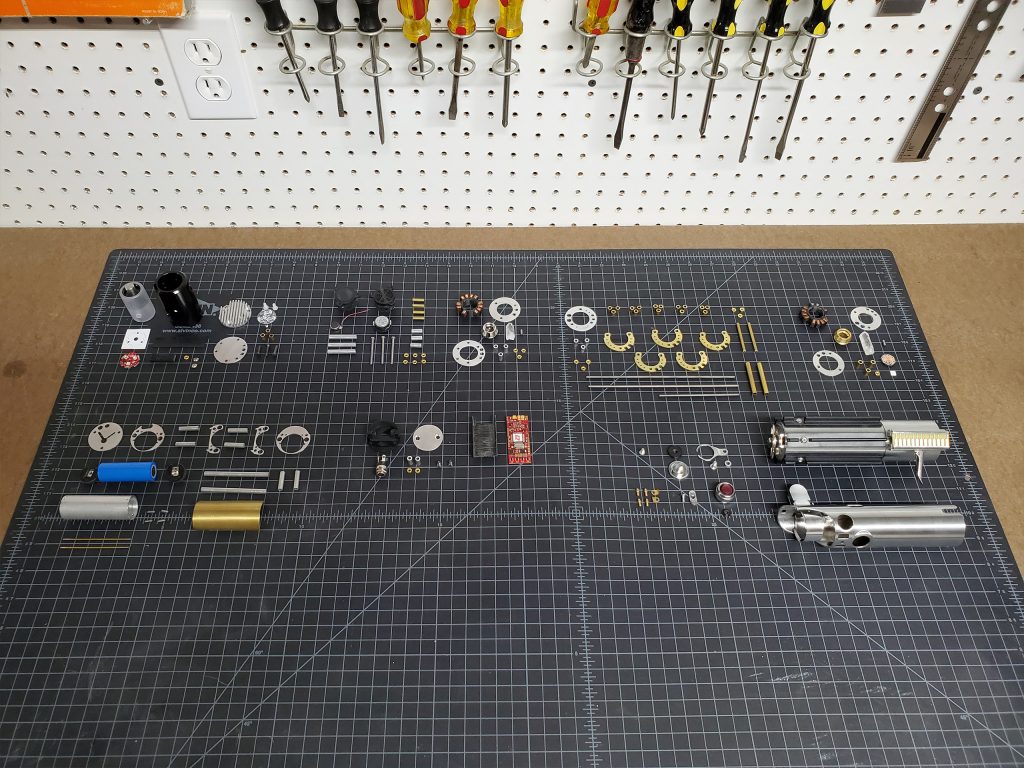
This project is heading towards the home stretch. Here I am going to finish fabricating some of the final pieces, then get everything assembled for a test fit.
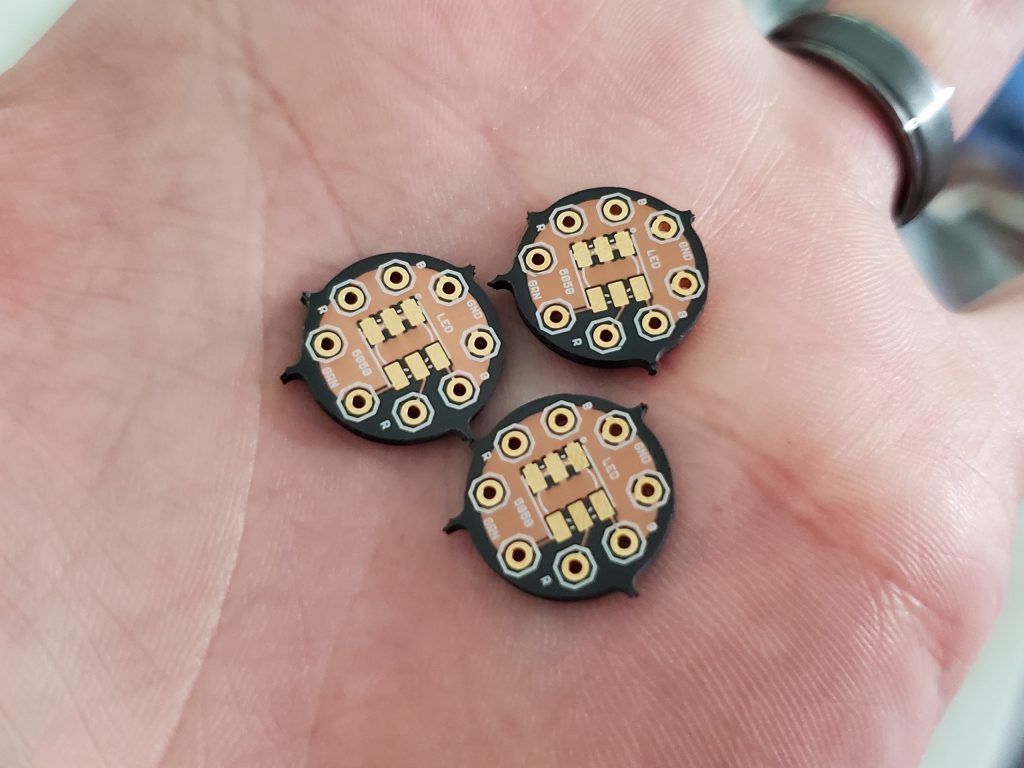
In order to light up the crystal chamber, I am going to need to fit a small LED under the quartz “kyber” crystal. To do this a friend of mine, Kevin over at kevinrye.net, helped layout a small circuit board just big enough for a 5mm surface mount RGB LED. The specific model LED I used was a 5060BRG4 which I picked up from sparkfun.com. The board was ordered from OSH Park using their new “After Dark” format. This LED will be wired in parallel with the main blade LED so the chamber glows whatever color I make the saber.

I needed a way to hold the crystals in the brass faucet seats. I didn’t want to use glue because I really like the idea of mechanical connections. My solution was to tap a small 4-40 threaded hole in the side of the seat and secure the crystal with a grub screw.

I did the same fastening method for the larger lower crystal.
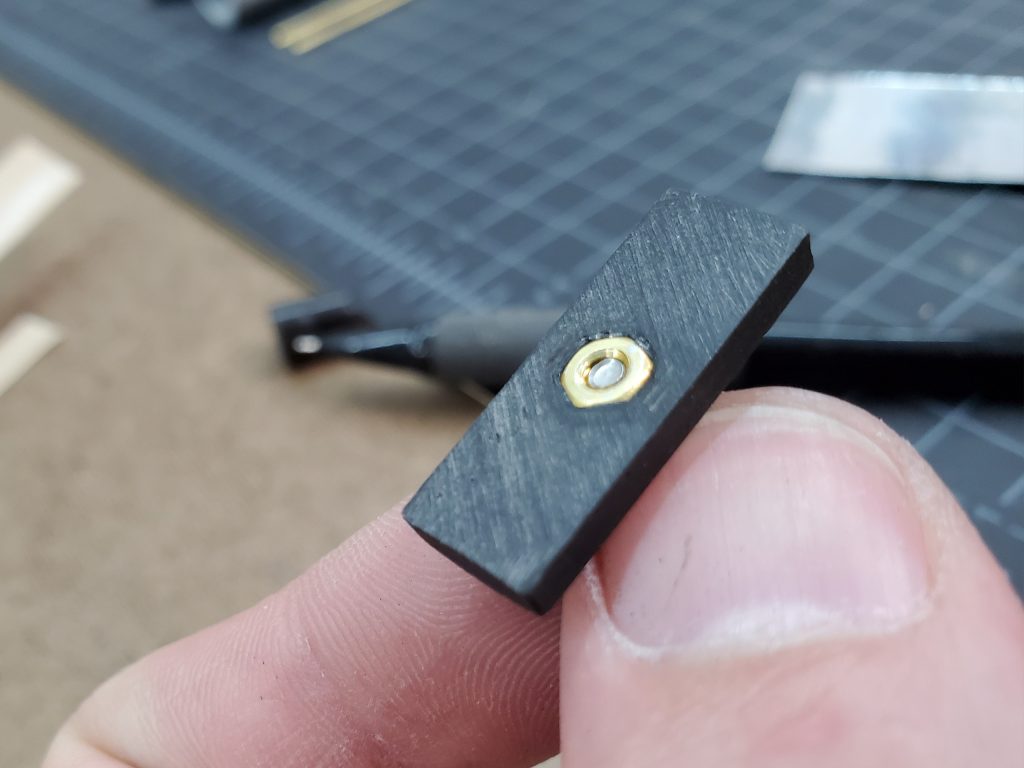
I noticed during my first demo assembly that the screw by the top auxiliary button was having a hard time engaging with the emitter assembly. The metal is real thin there and it only catches with a thread or 2. Basically, if the screw is too long, it will protrude into the emitter and scrape against the blade. If the screw is too short, it won’t engage. To fix this, I just heat pressed a brass nut into the button assembly to give the shortened screw something to grab.
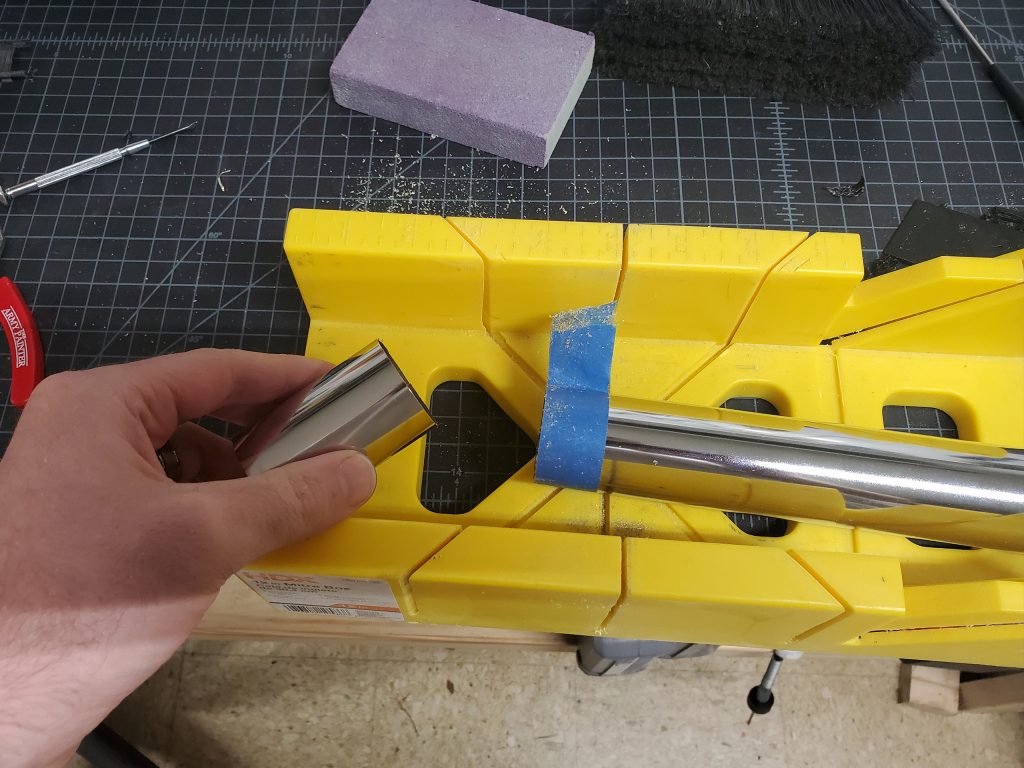
The last thing to do was to make the cover for the controller board. I wanted this to be brass. Instead of trying to form some sheet metal into a rounded cover, I instead cut a section from a chrome drain fitting. These are just plated brass and it was almost the perfect diameter. You will see the finished cover in later shorts.
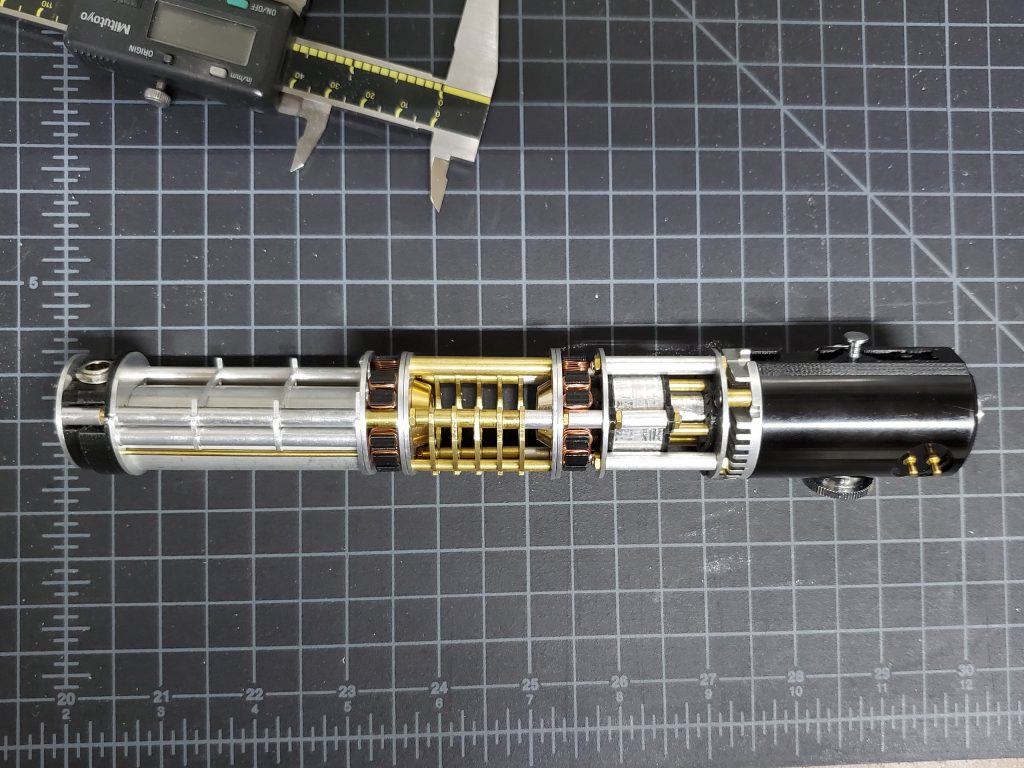
I apologize for the big jump ahead. But, here is nearly everything assembled. The reason I didn’t take any in progress pictures is because everything did NOT go smoothly. The problem was tolerances. I basically made everything too tight. The laser cut demo pieces went together great because they have two things going for them. First, they are perfectly cut, and second, the holes are just ever so slightly oversized because the laser has a kerf to it. To get all of my hand cut pieces fit I had to hone each hole carefully with a small round file to get everything to line up perfectly.

Here is a much better view with the Graflex body on. Here you can also see brass control board cover I made. This thing weights an absolute ton. Brass is way heavier that you would think, and there is still a mountain of electronics to put inside. Well, now that it is all together, nothing left to do but take it all apart and get it ready for wiring.

All knolled out and ready for orderly assembly.
Thanks for looking!
Other parts of this project
◄ Graflex Lightsaber Part 1: Planning
◄ Graflex Lightsaber Part 2: More Planning
◄ Graflex Lightsaber Part 3: Test Assembly
◄ Graflex Lightsaber Part 4: Fabrication
► Graflex Lightsaber Part 6: Final


Another awesome edition to the build log! What soundboard do you plan to use?
I used a “Naigon Igniter 2” it is a really great and versatile board. Unfortunately, the guy currently does not make them.
https://facebook.com/saberigniter/
If I were to do it all again, I would probably use CFX. Crystal Focus 10.