
Tomenosuke Blade Runner Blaster Part 2: Finishing
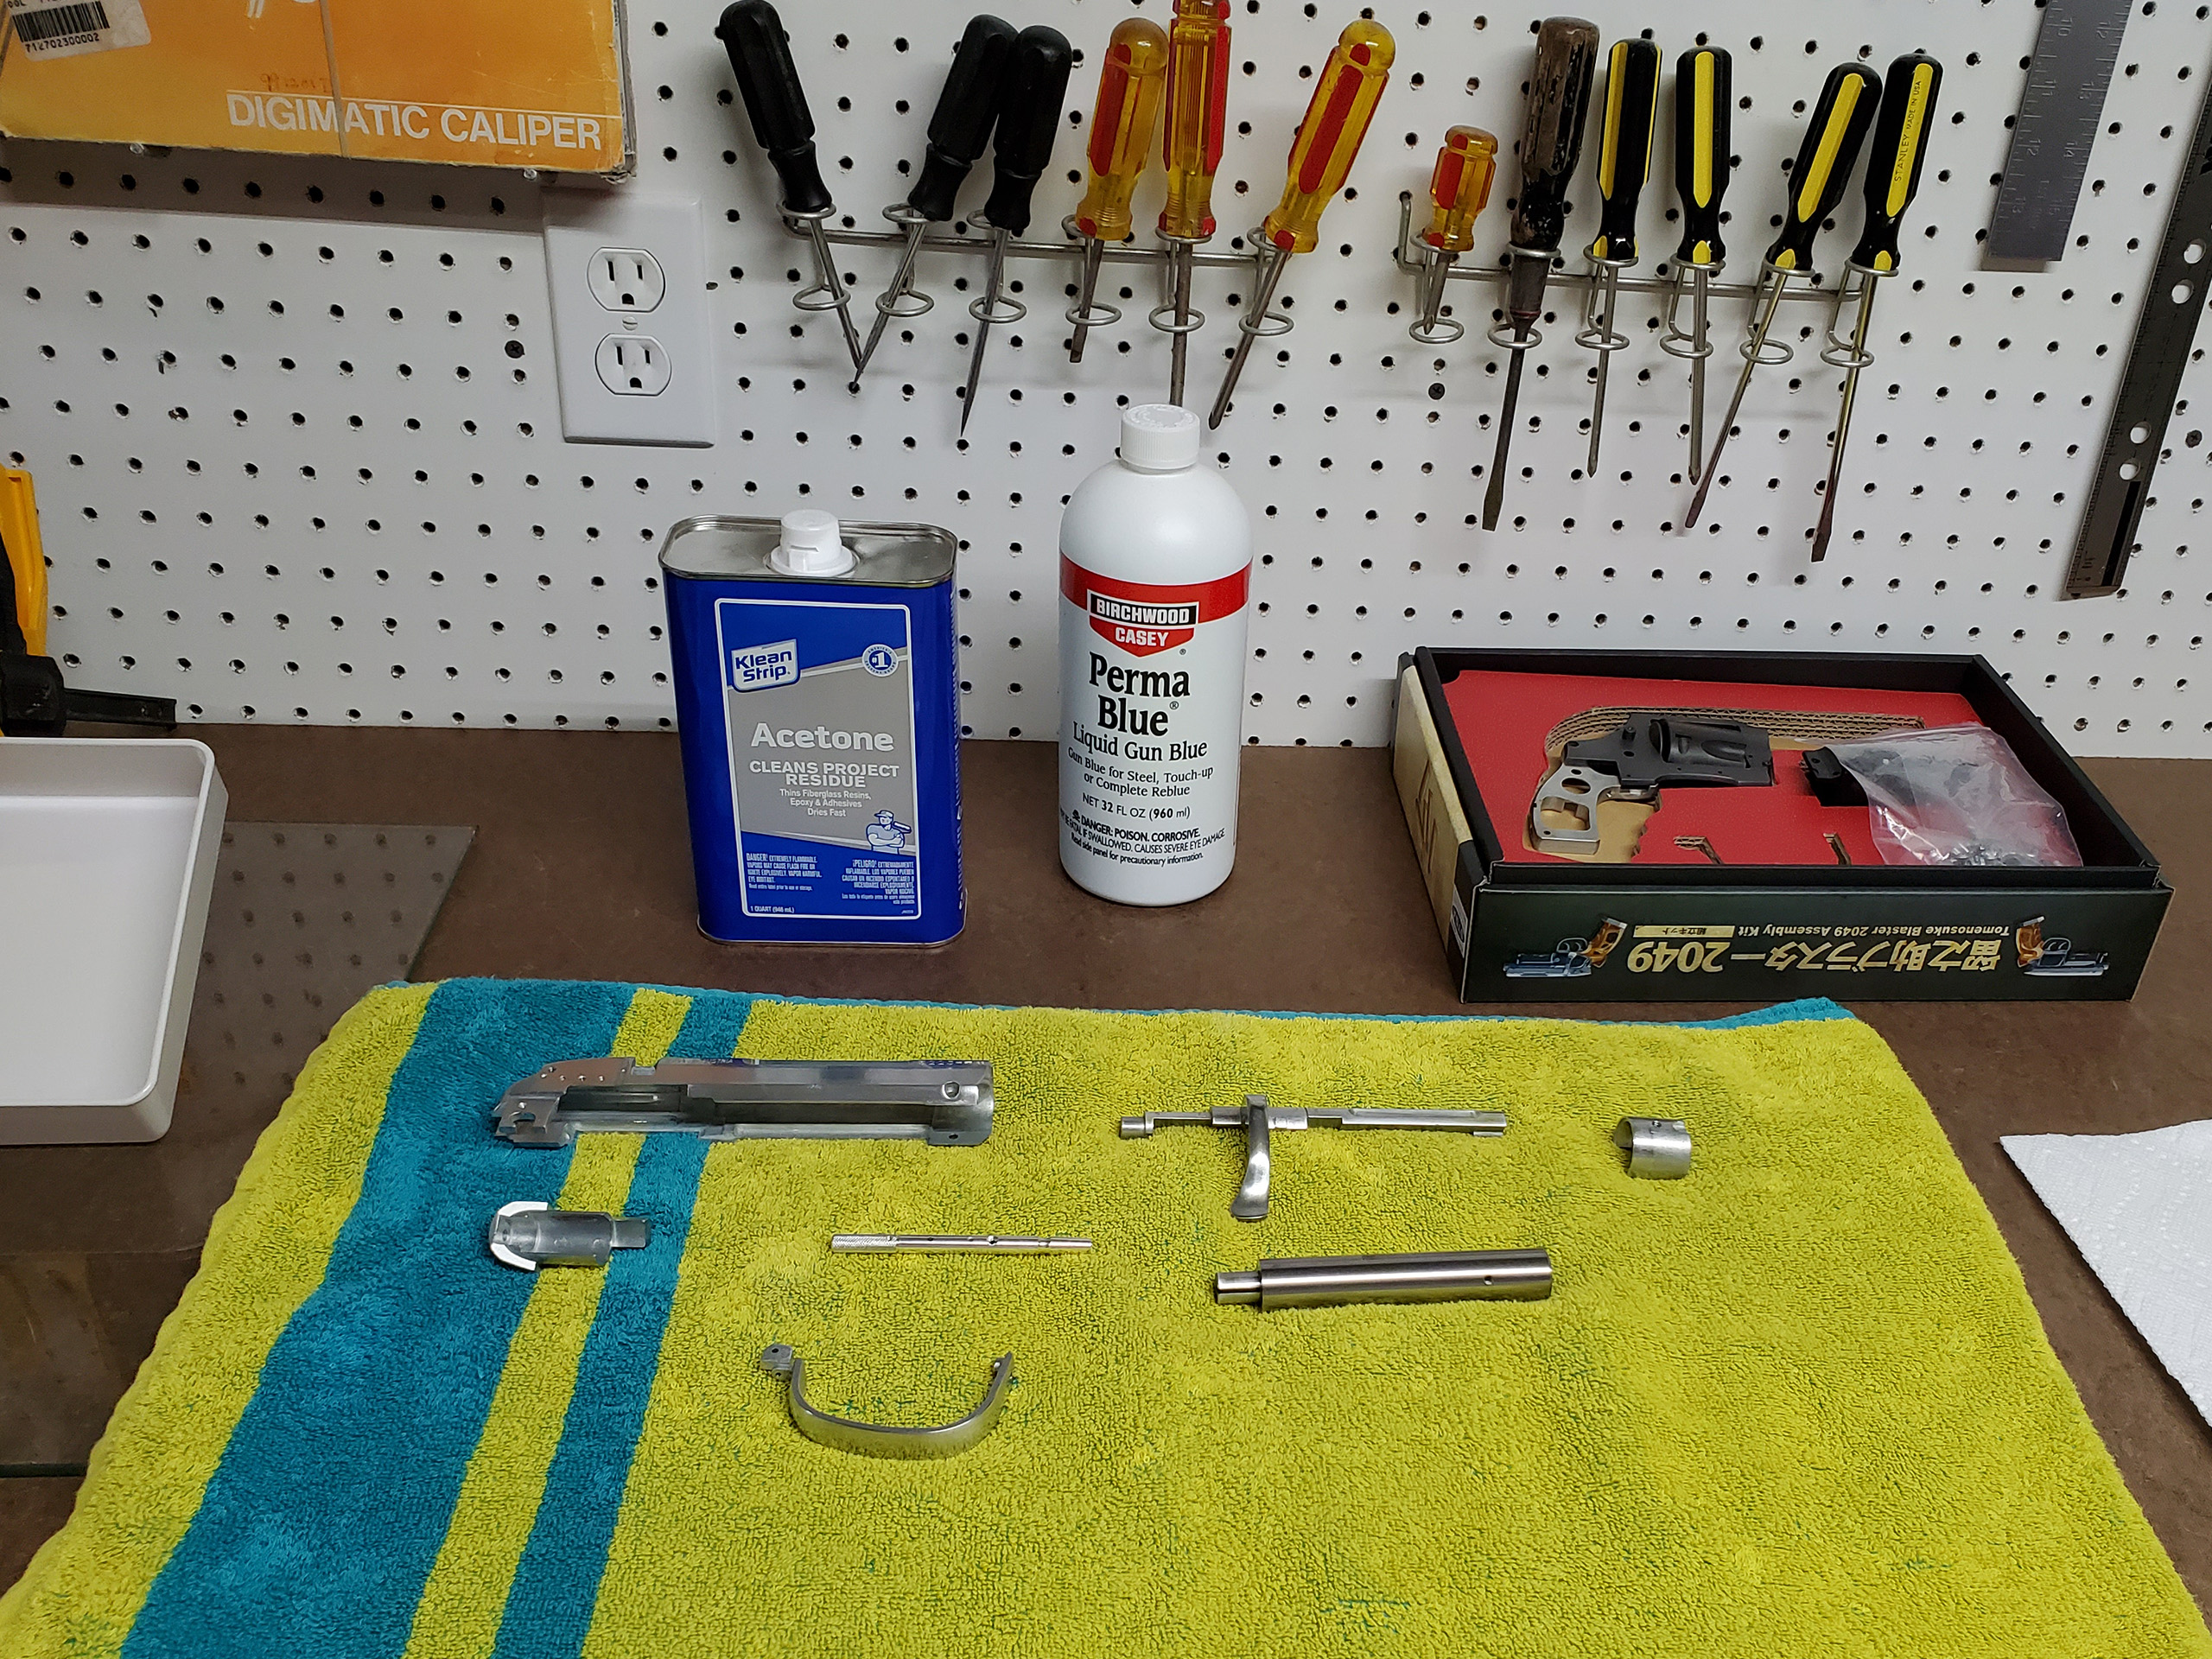
Part 2 of this build is going to be all about finish work. I am going to be chemically cold bluing most of the metal pieces and enameling the rest. At this point, all of my pieces have been hand polished up to 0000 steel wool and washed with warm soapy water. From now on I have to be extremely careful not to touch the visible surfaces of the pieces even with rubber gloves. Any smudges or inconsistencies will show through in the bluing process. Next, all the pieces were carefully rubbed down with acetone to make sure there were no skin oils or other residues on the surfaces. For the bluing solution I chose “Birchwood Casey Perma Blue”. Supposedly this is supposed to make that nice warm gunmetal gray. They also make a “Super Blue”, and an “Aluminum Black” with each giving a slightly different finish. I chose the one I saw the most examples of people using.
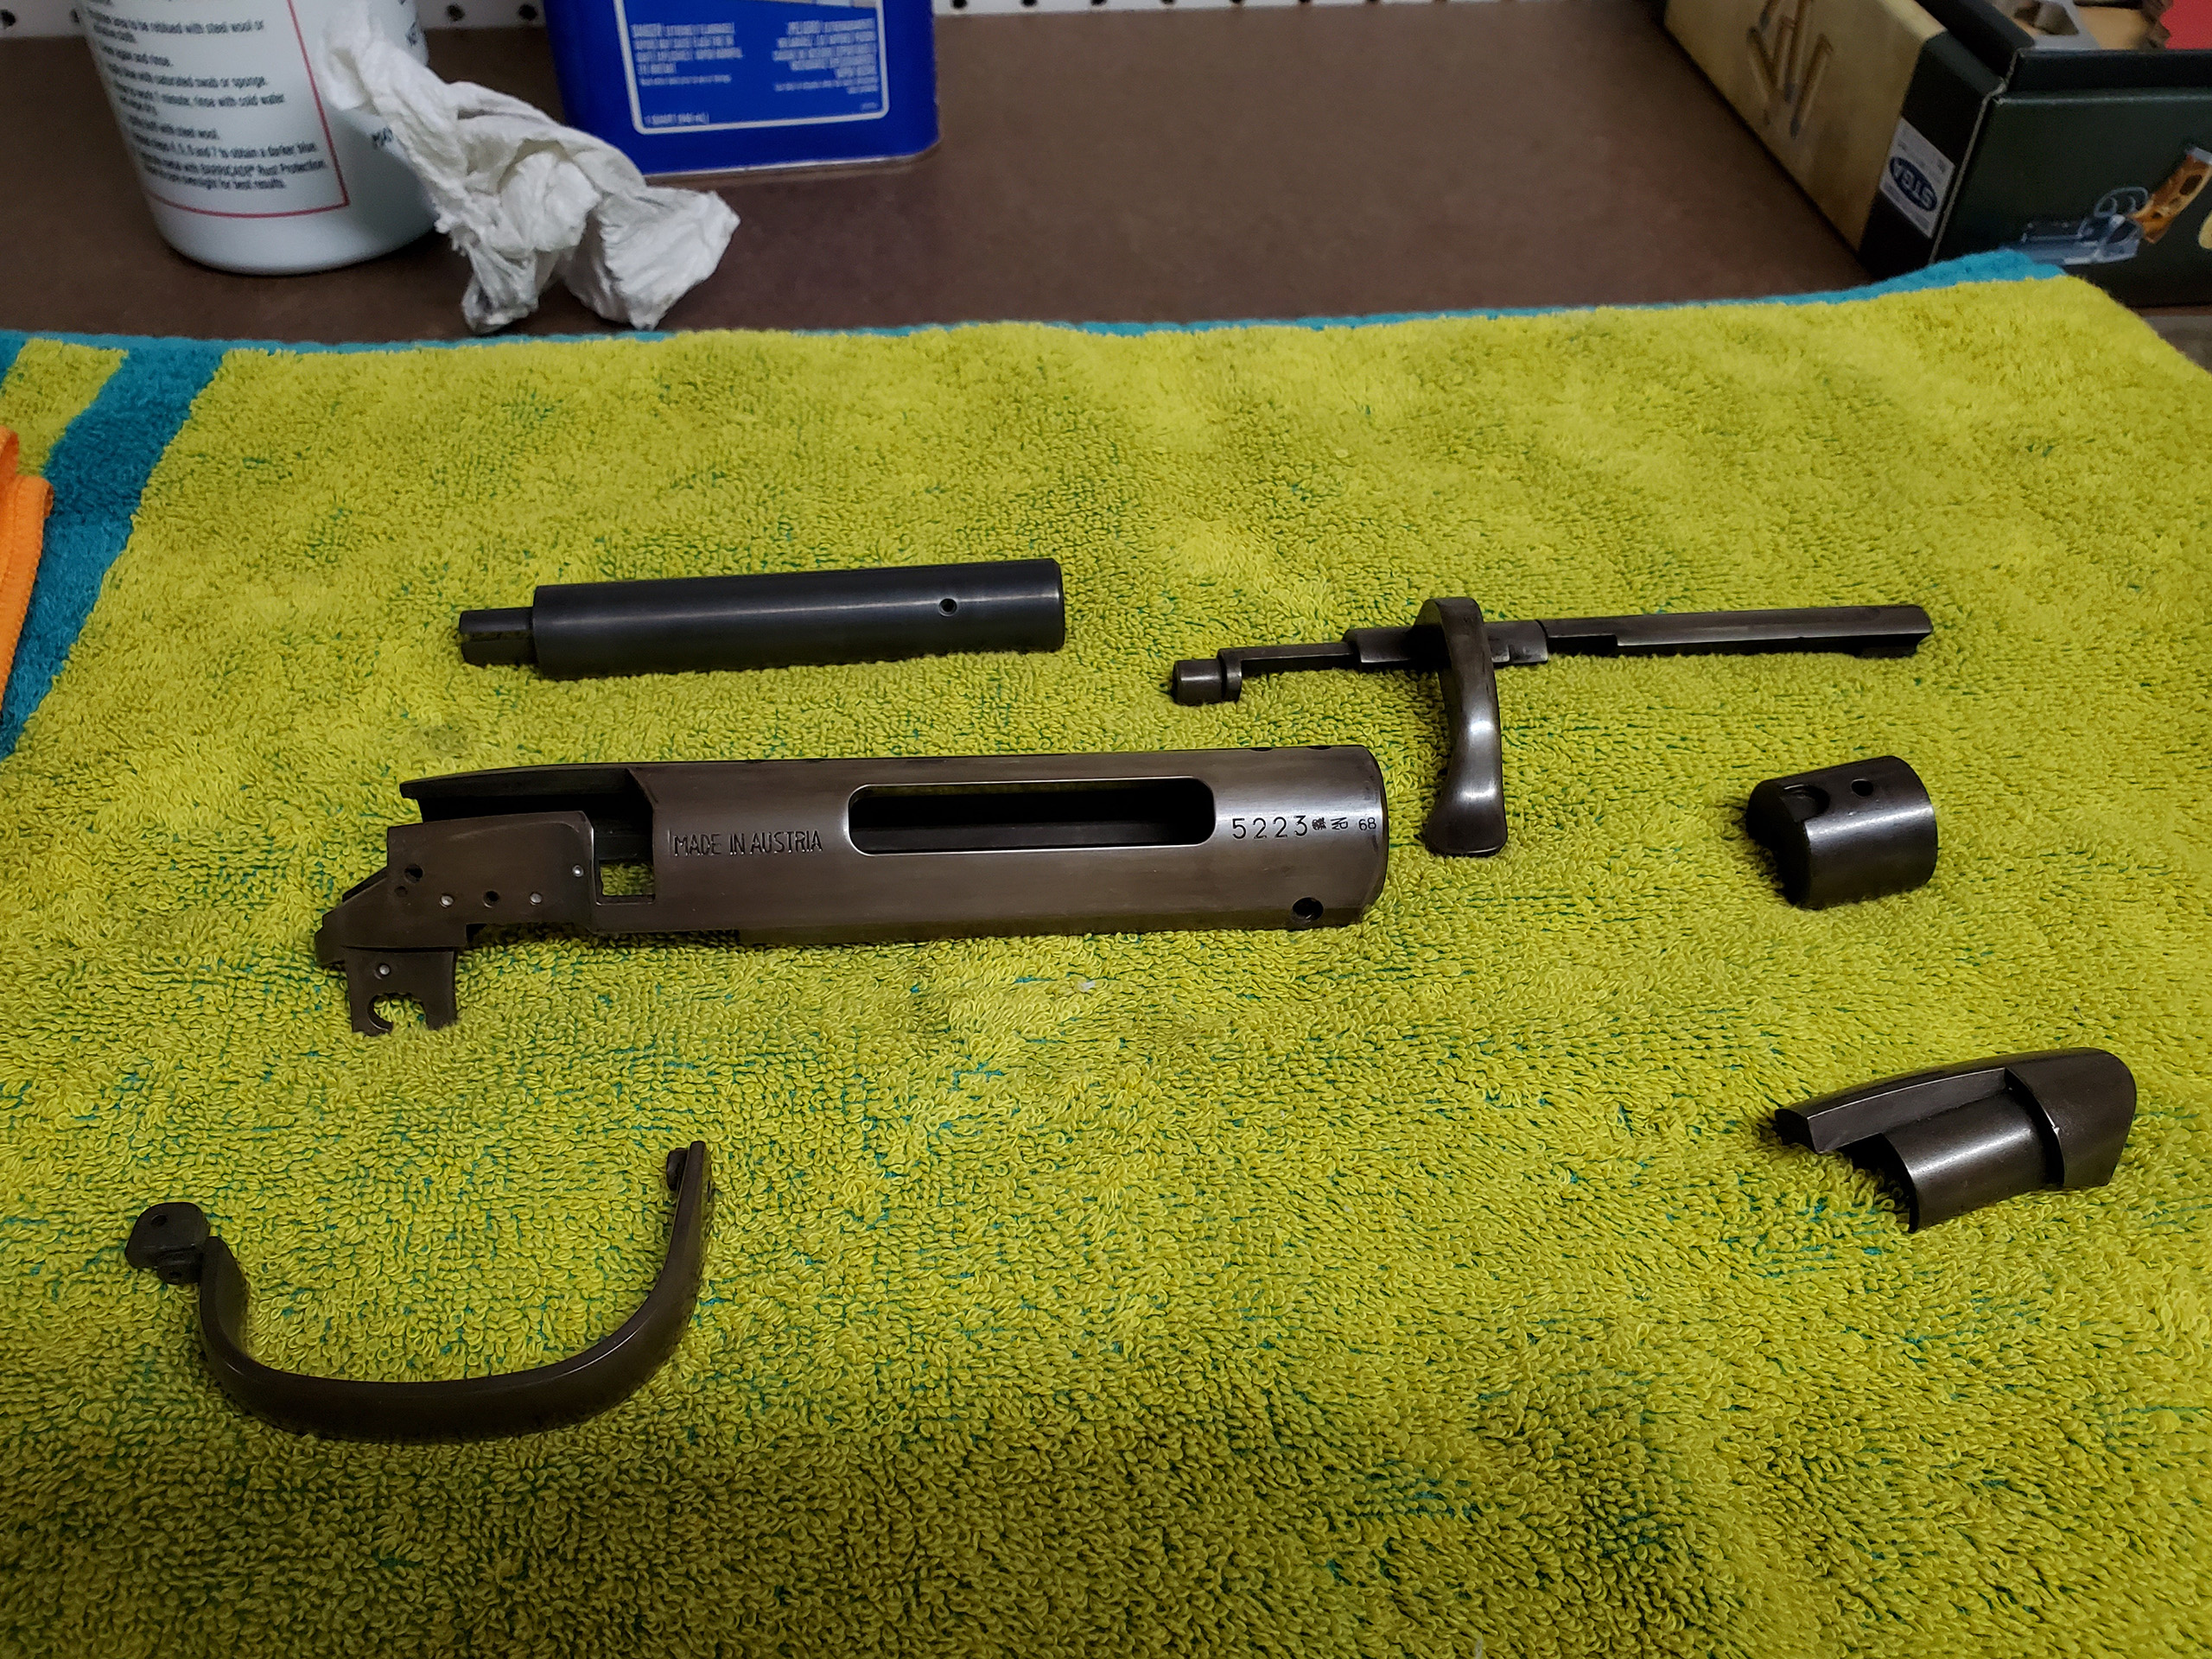
Here is my first pass. Some people use cotton rounds to apply the bluing solution but you run the risk streaks in the finish which scared the heck out of me. I instead chose to fully submerge the parts in solution in one quick pass. The parts were dunked, then allowed to sit outside of the solution for one minute, then washed off in a bath of water, and finally dried with a lint free shot rag. Last, following the recommendation of others who have completed the kit I very lightly brushed the pieces with 0000 steel wool in one direction to knock back the darkness of the finish. This entire process was done twice on each piece.
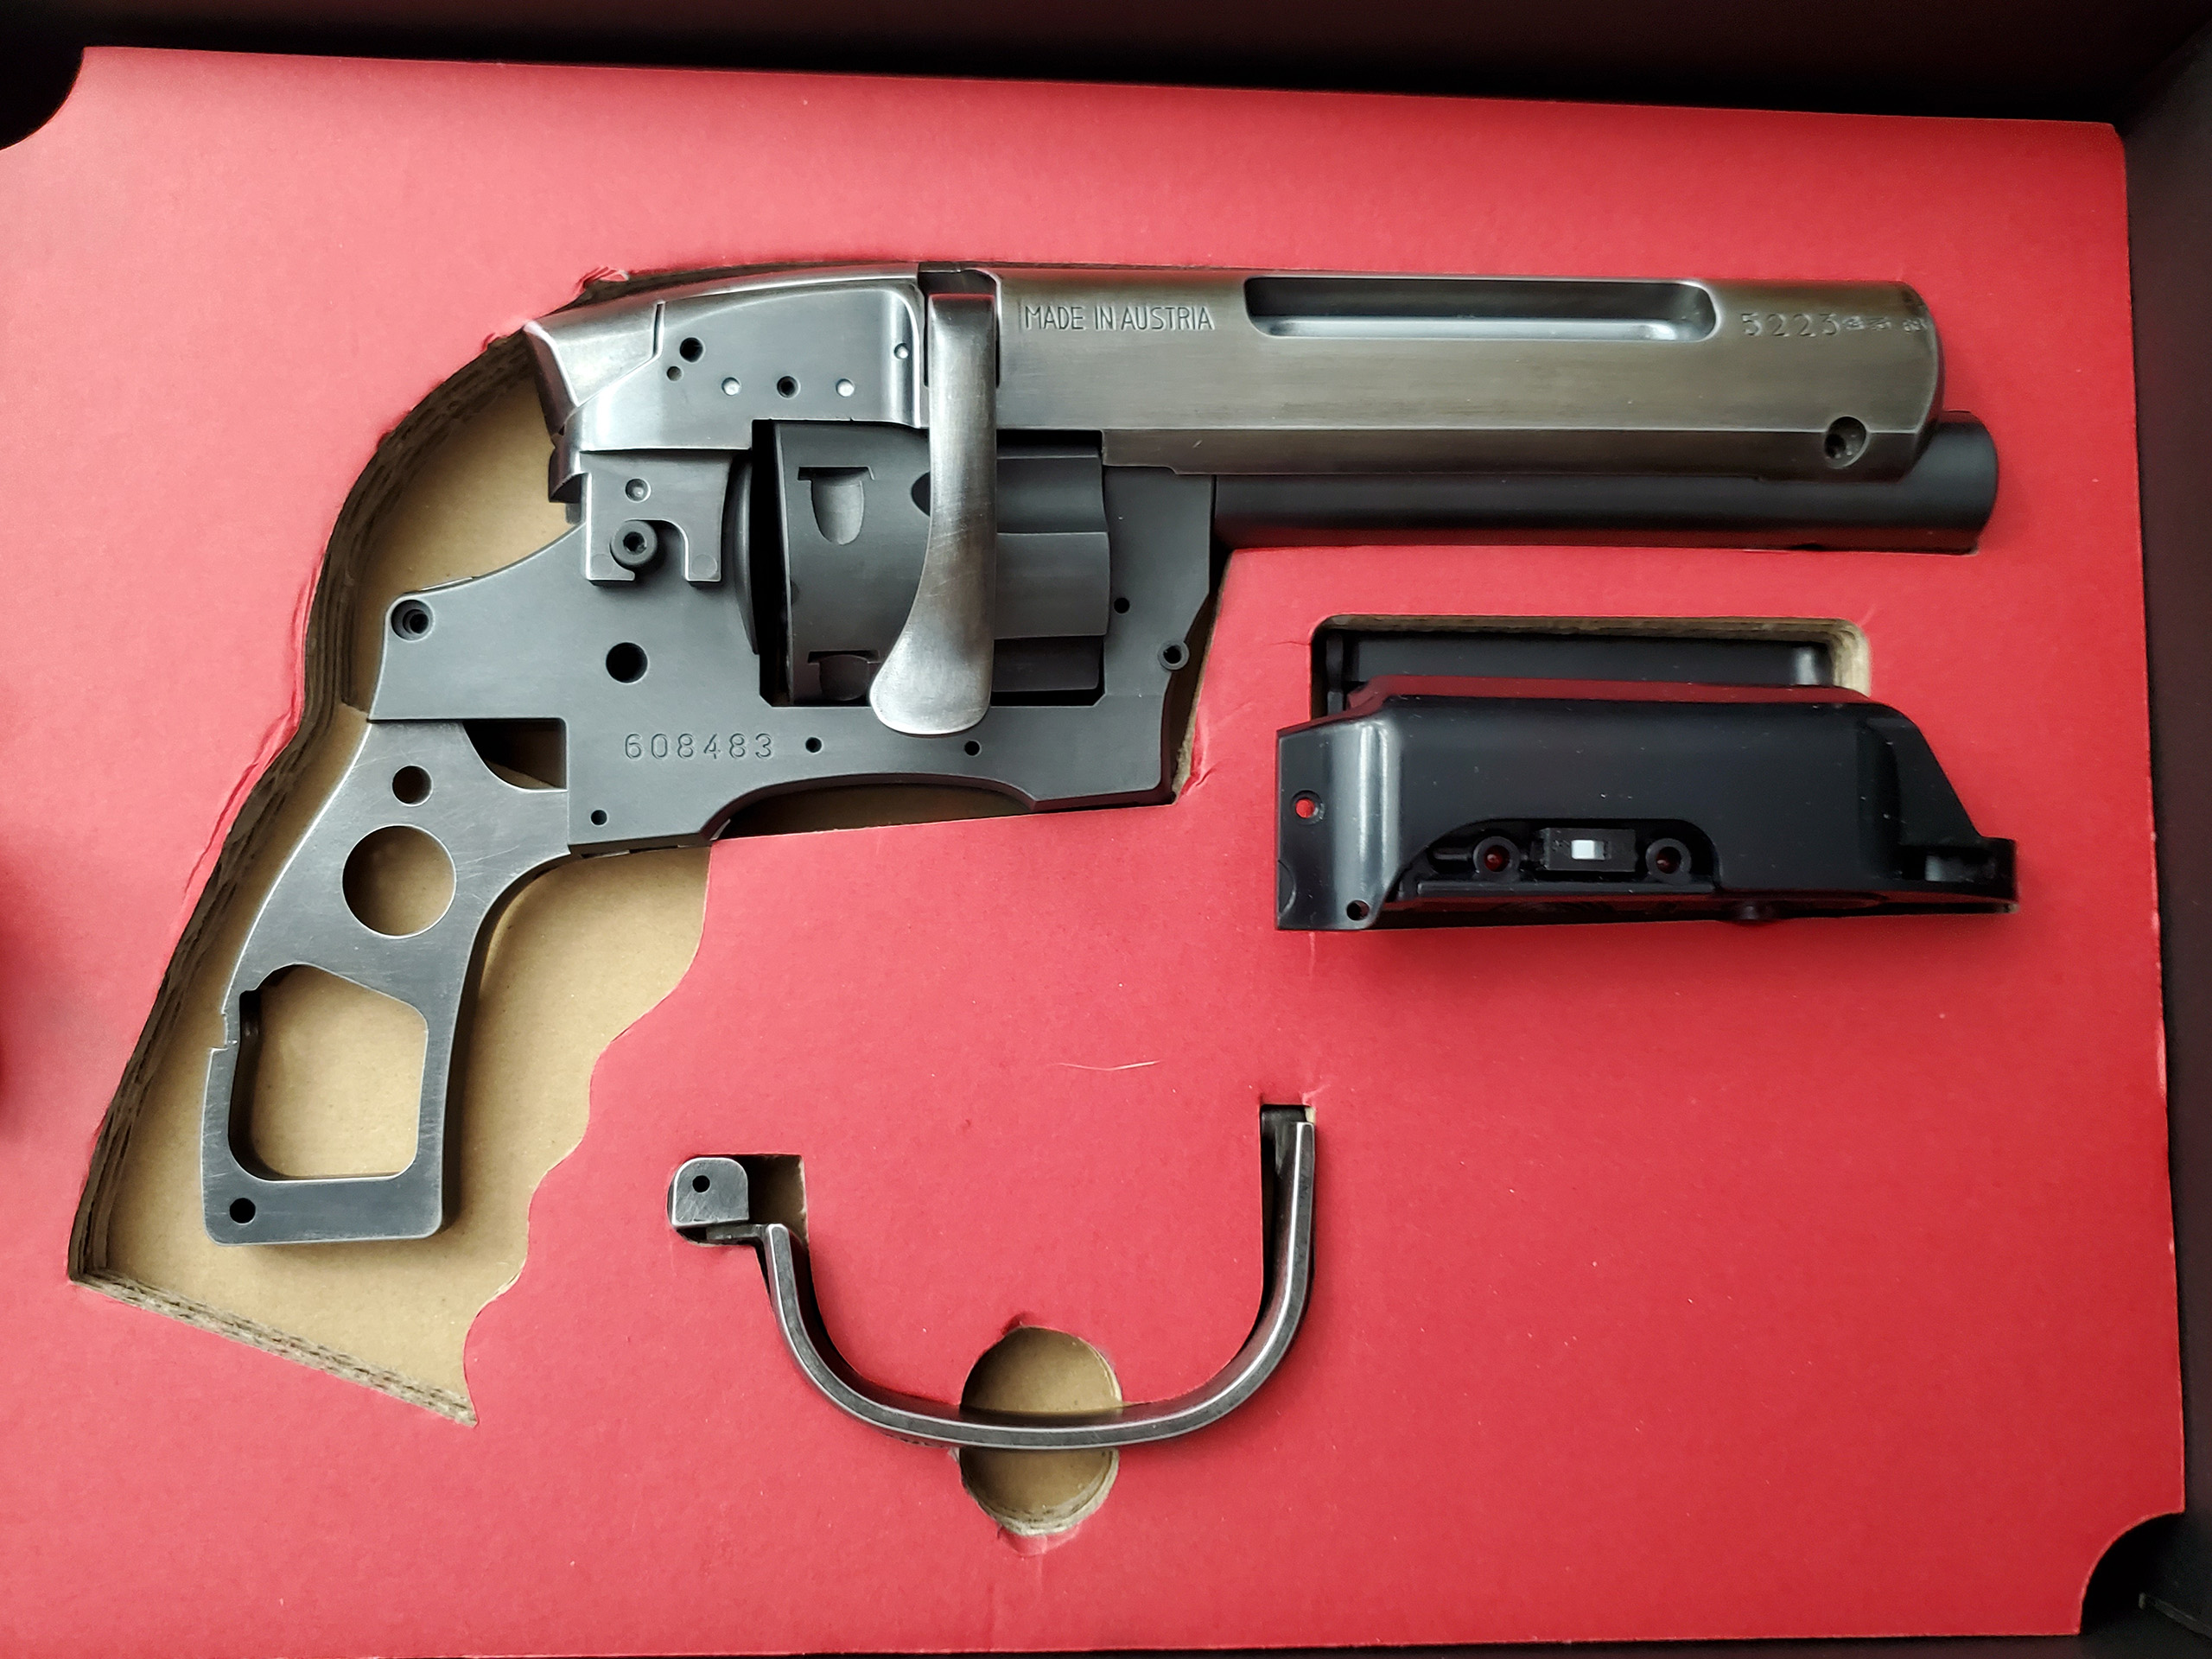
The whole process was very quick and only took about an hour from start to finish. The parts came out a little more brown than I had wanted but they still look great to me. My shop lights are also making them look a light warmer than they actually are. You may notice in the previous two pictures that the barrel is actually a much cooler gray than the rest of the parts. The barrel is steel and not zinc, and it came out the color I was shooting for.
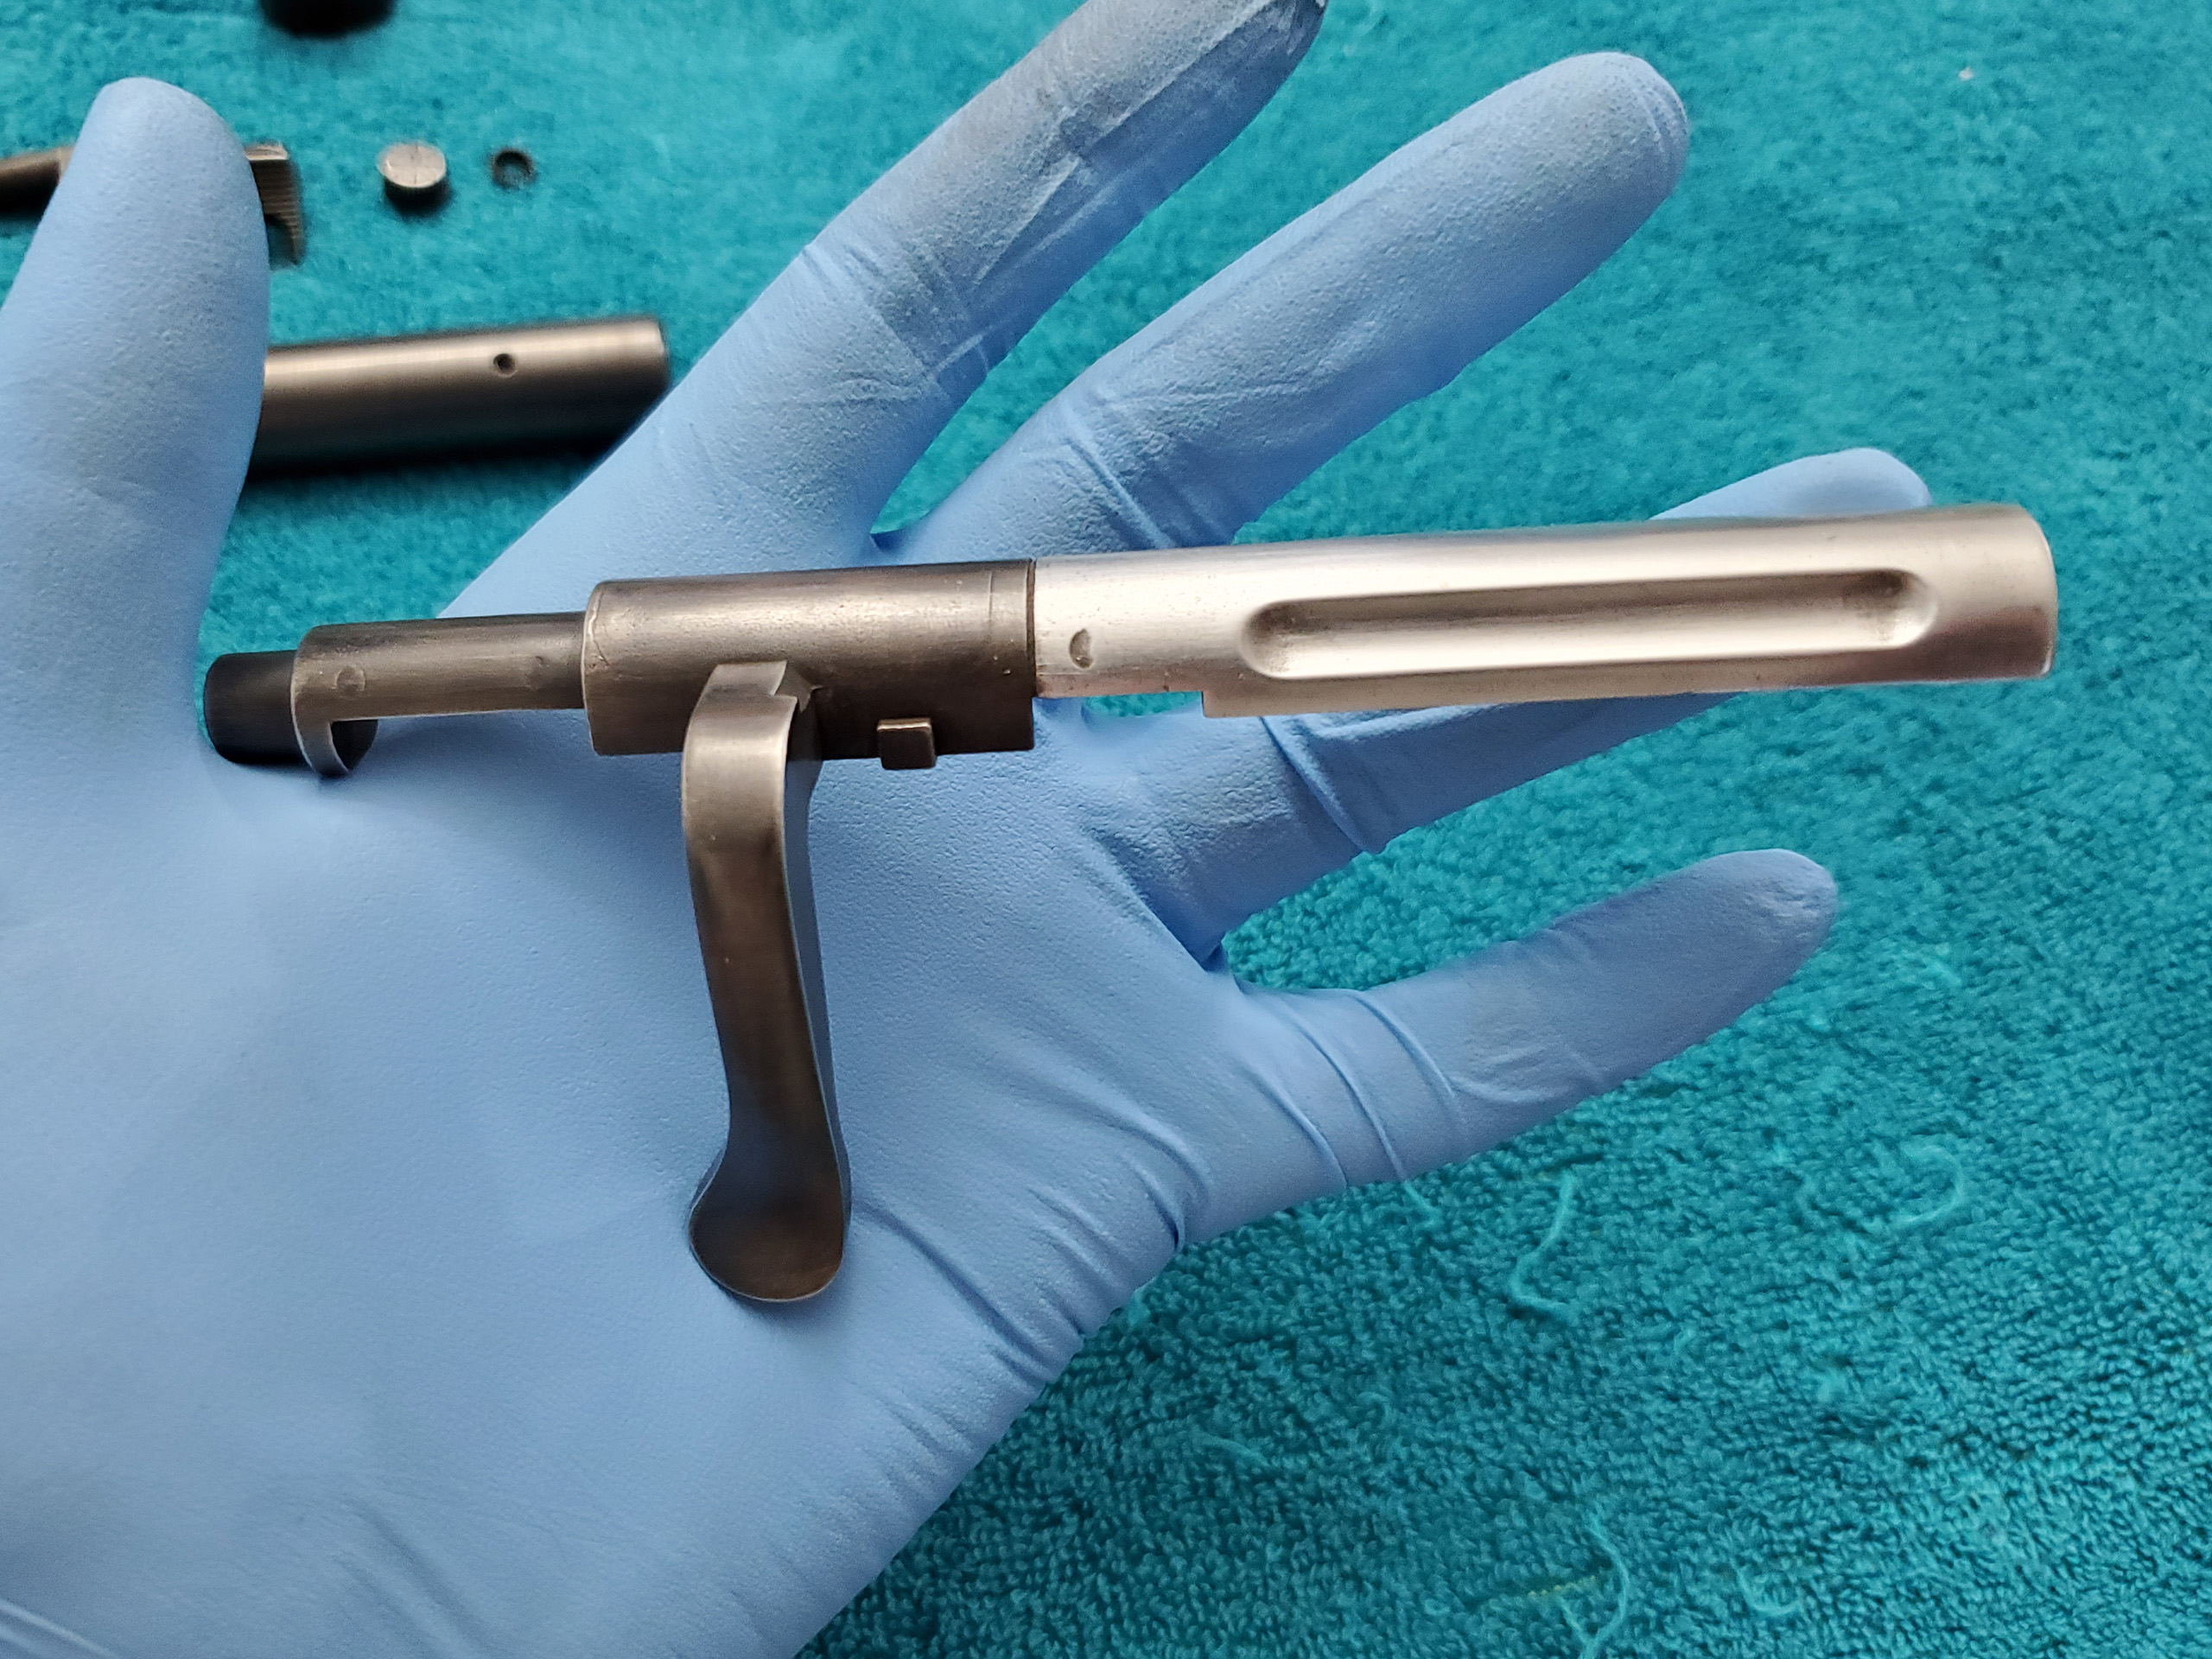
The precious picture is a little washed out, and everything just looks silver. So, here is some better contrast where you can see the difference between the bare metal Steyr bolt and blued lever.

Here is a little better view of the Steyr receiver. I really like how the 0000 steel wool polishing highlighted the edges.
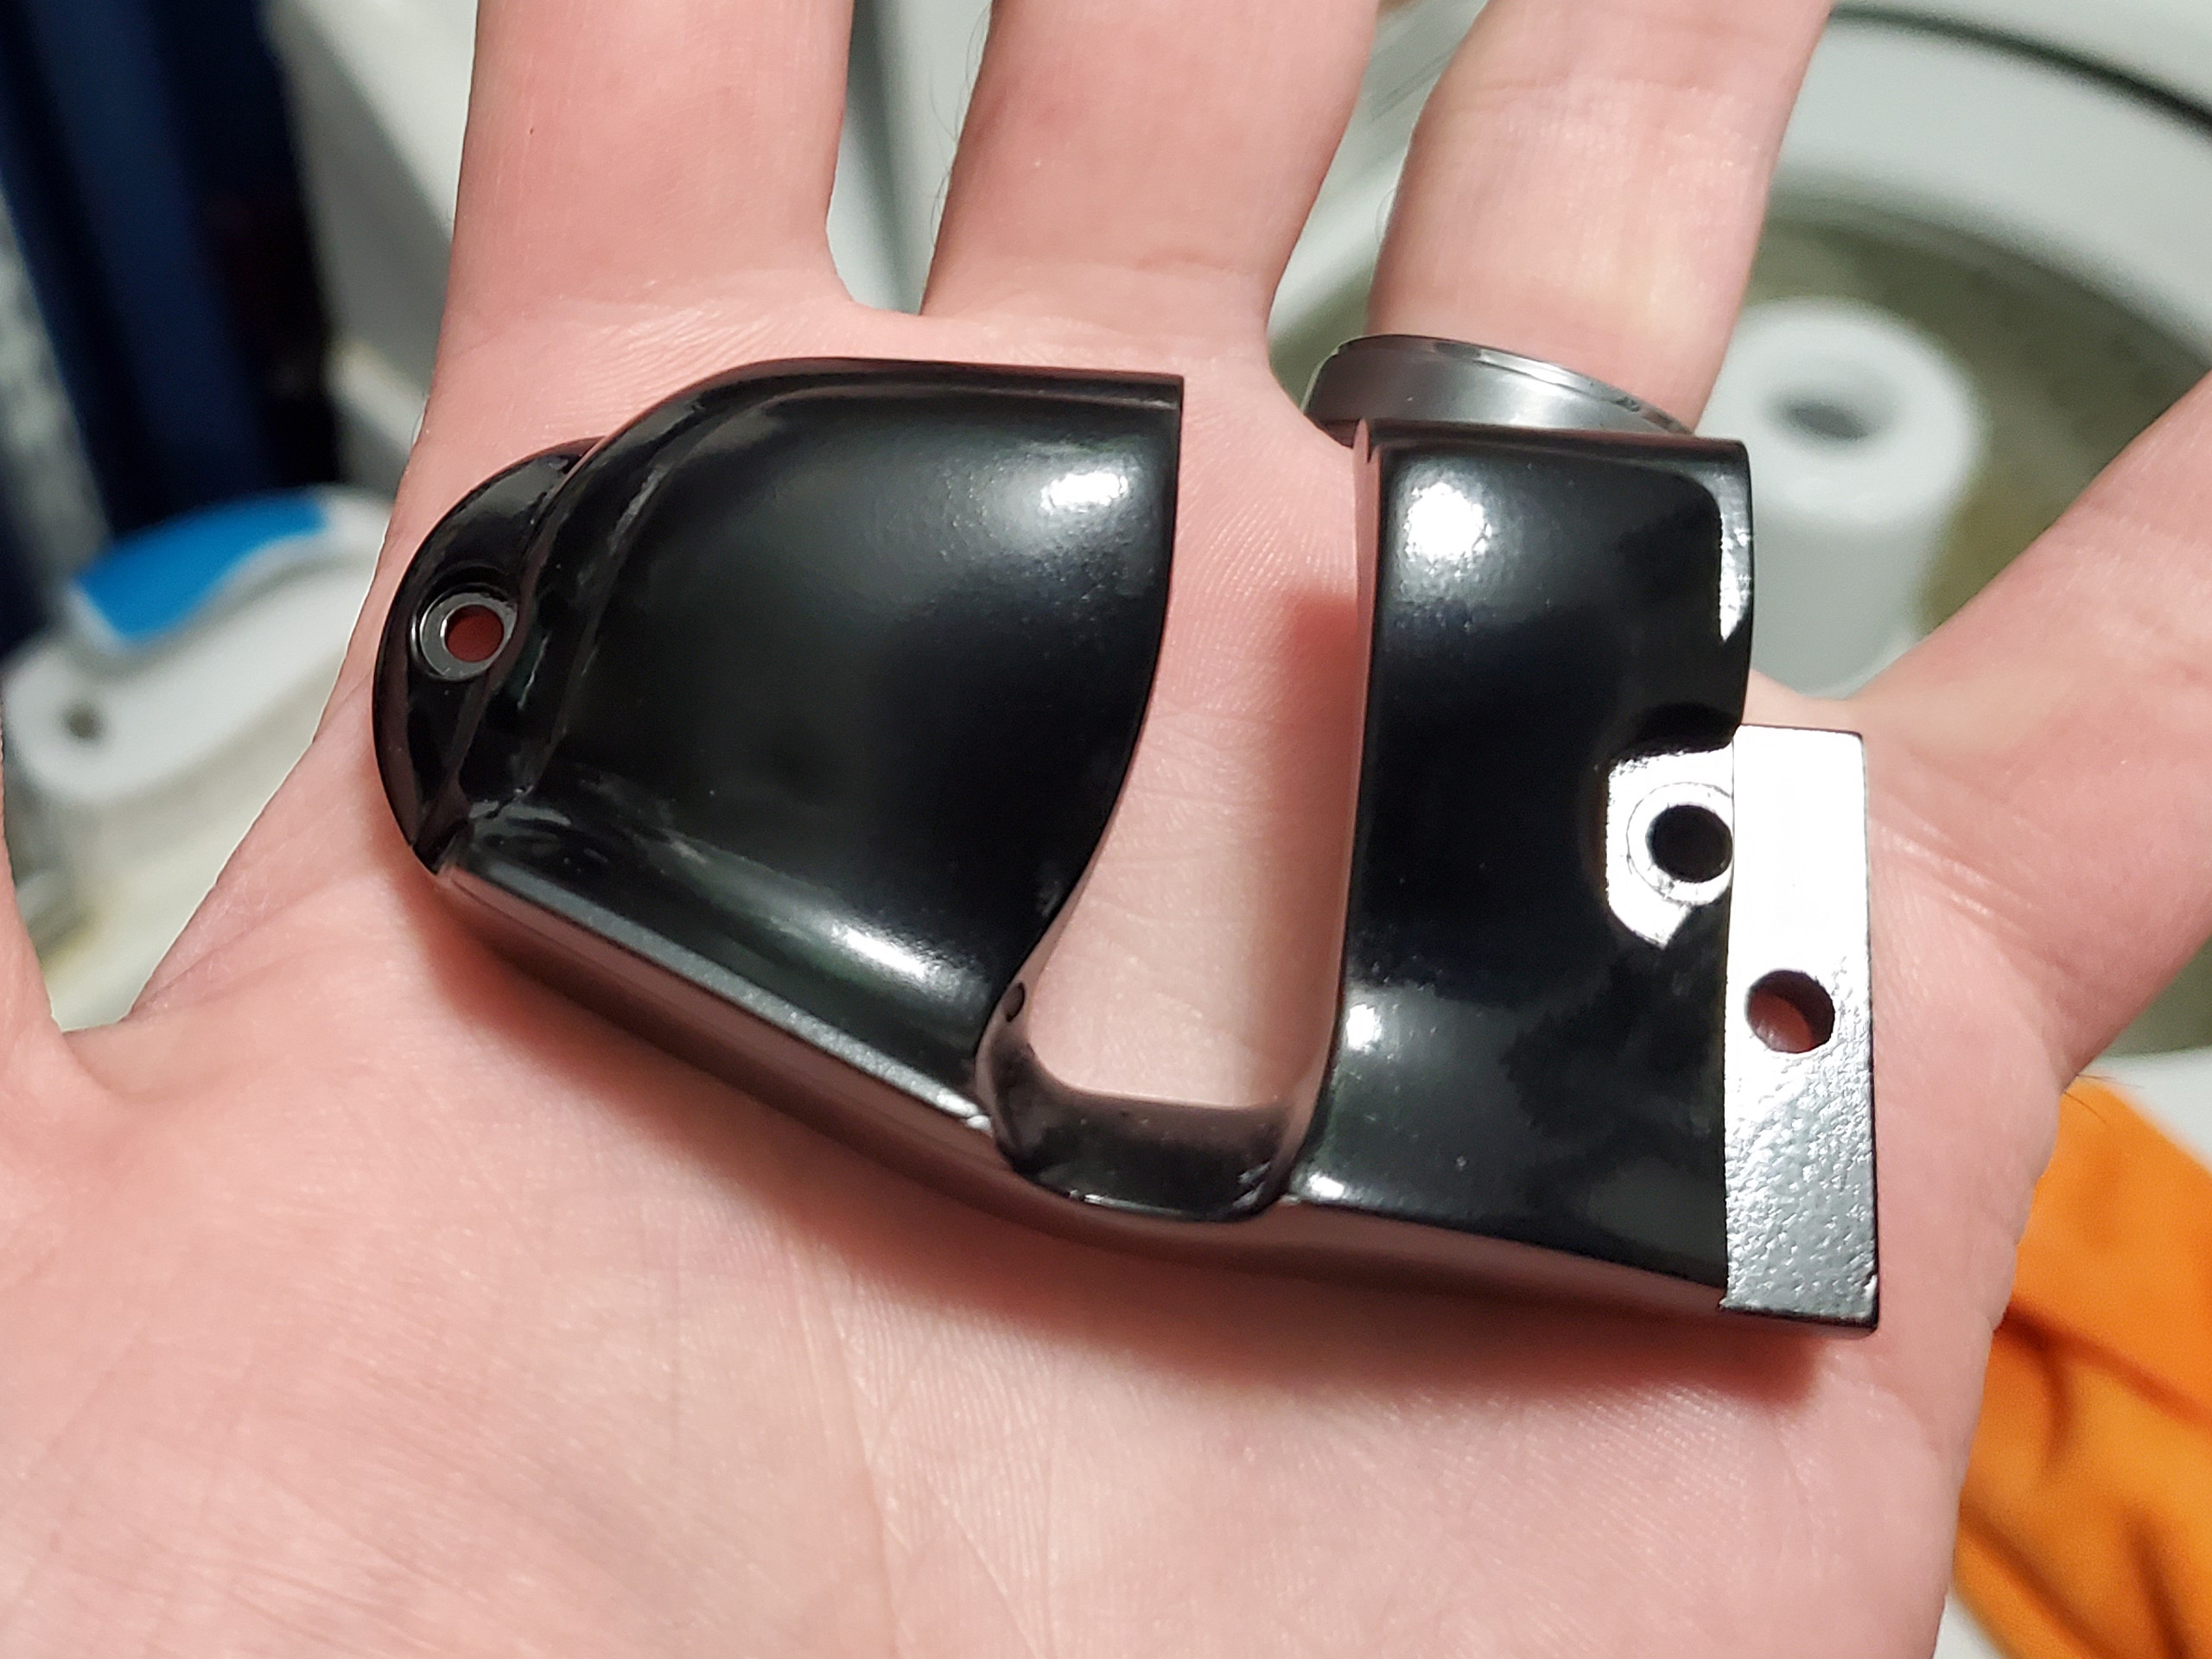
For the black pieces, I painted them with two very thin coats of gloss black enamel and let them dry overnight for around 20 hours. To finish them off I gave each part a quick hand polishing with Brasso metal polish to make the gloss more uniform. This also got rid of the ever so slight orange peel effect which formed over the pieces.
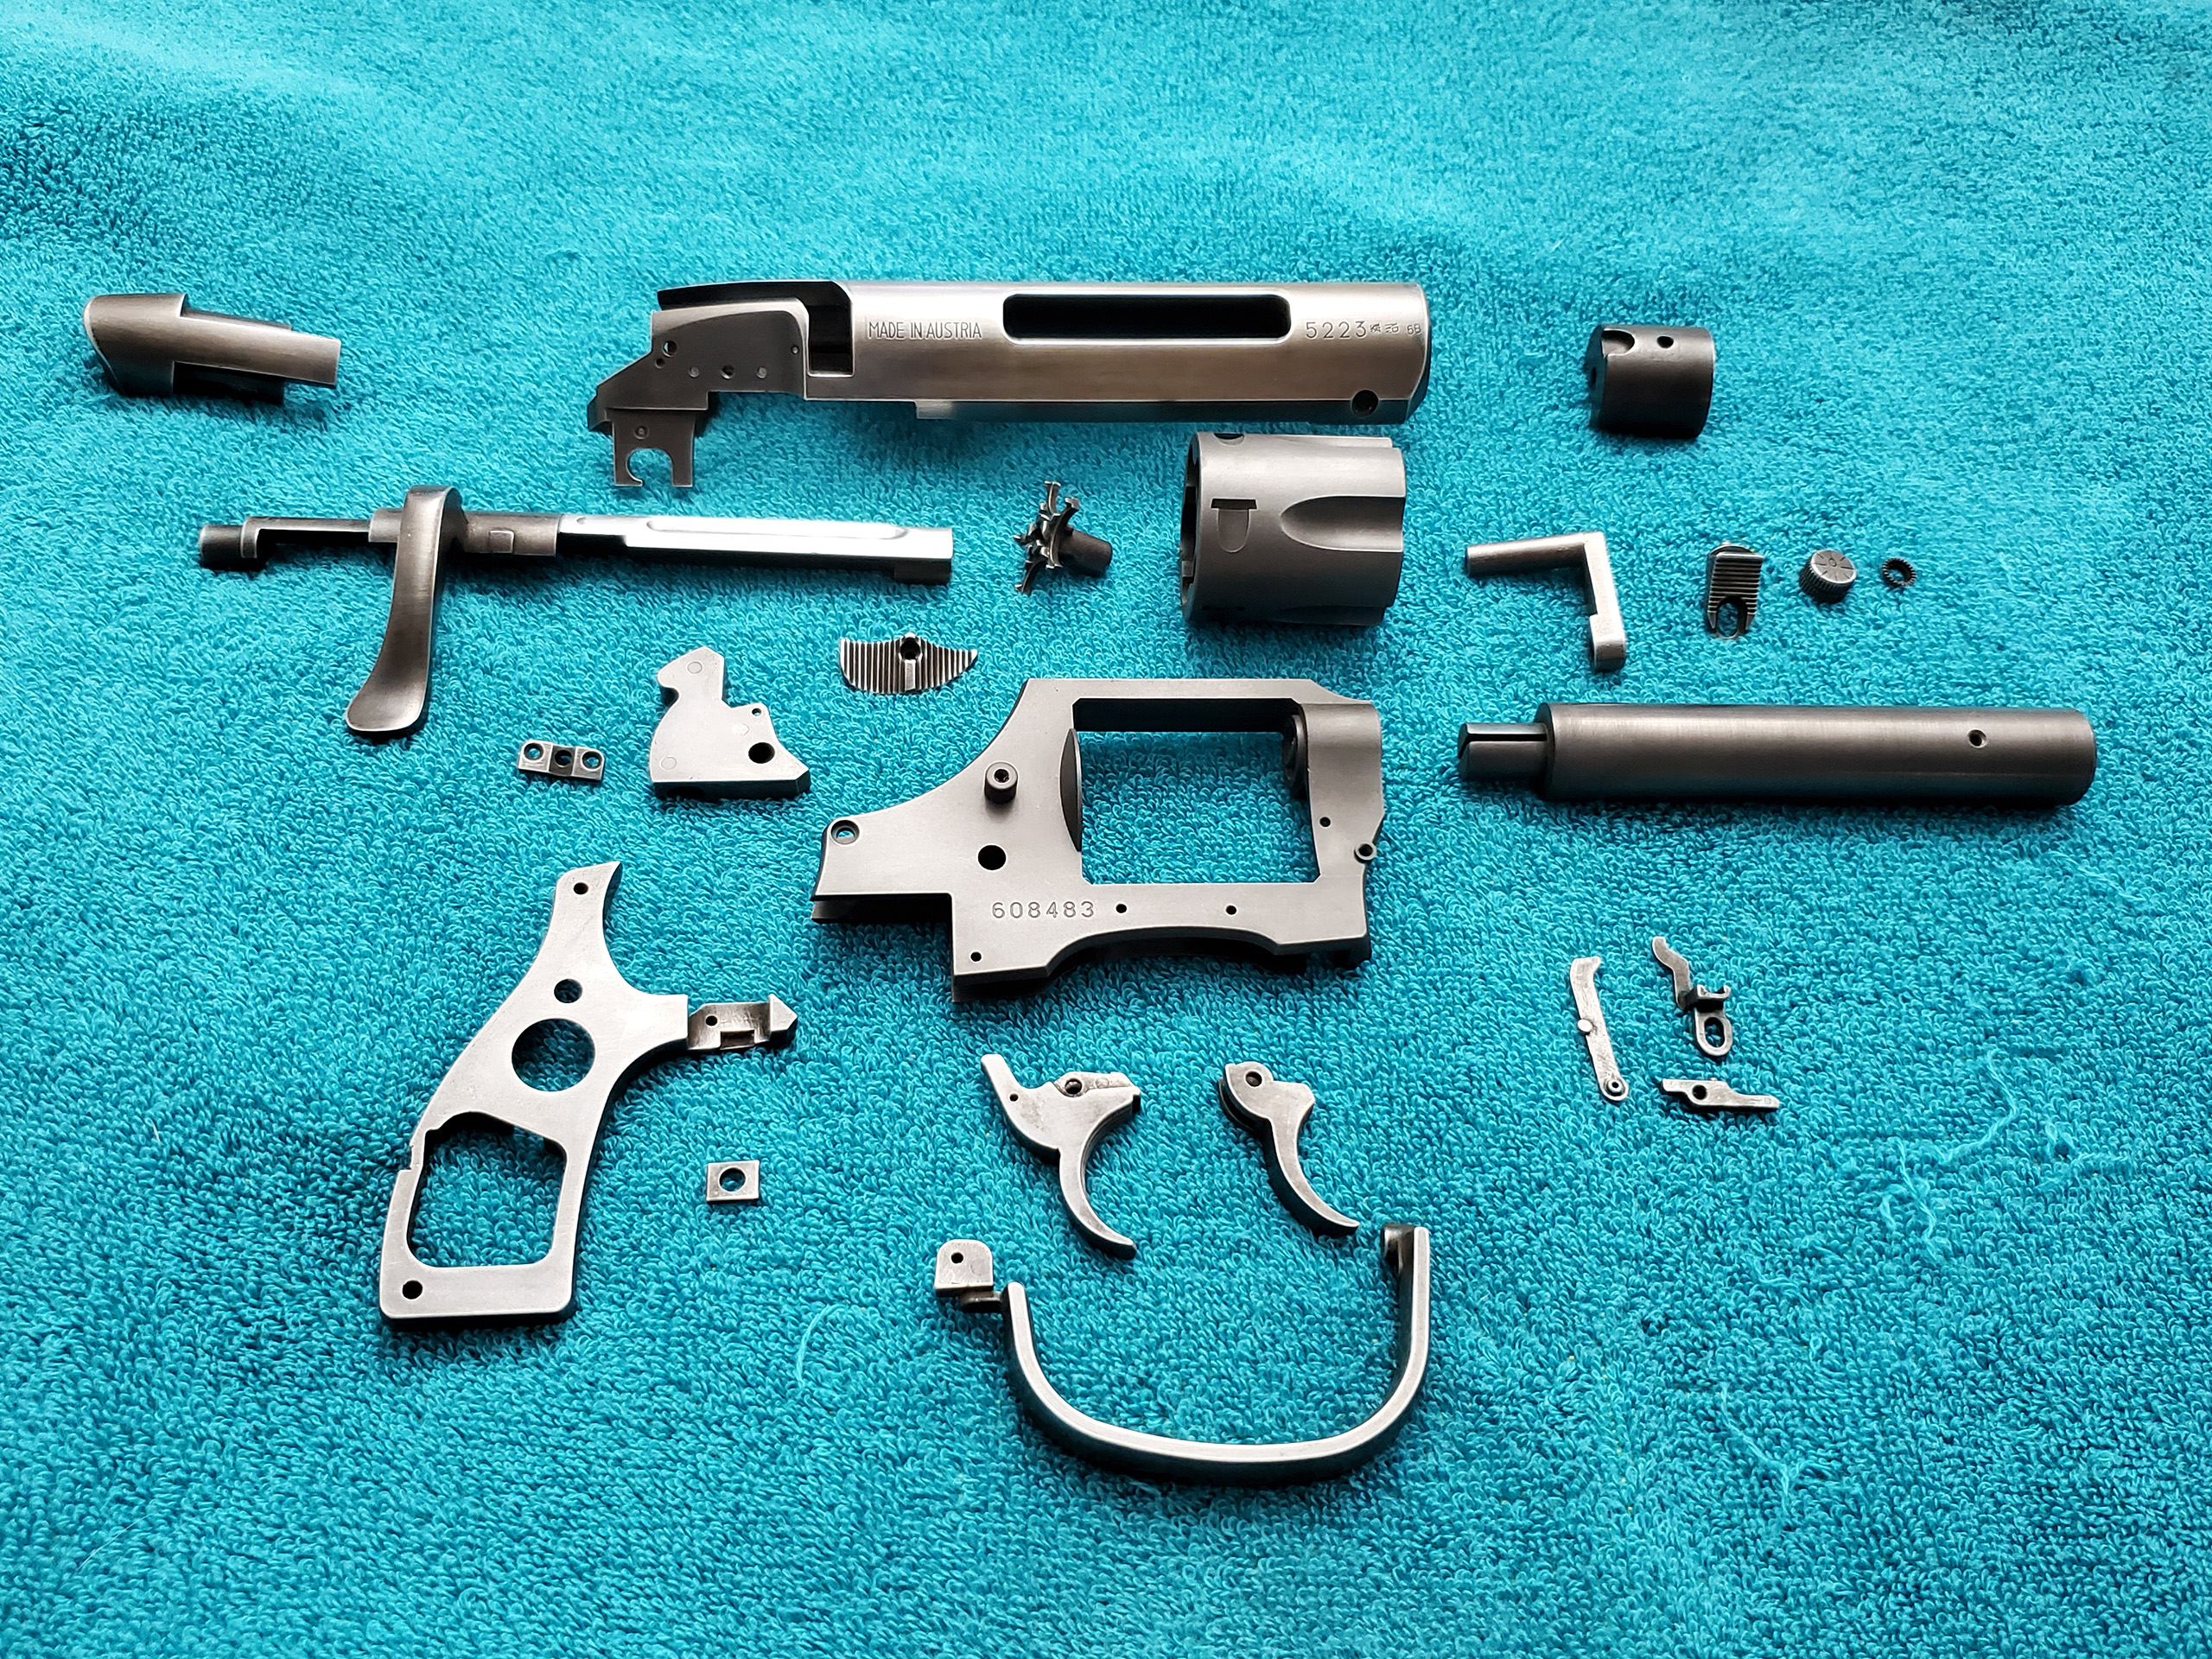
Here is where we sit today with everything more or less ready for final assembly. There will be a little bit more finishing work that happens as I assemble but I have to see how everything actually fits together to make those kinds of decisions.
Thanks for looking!
Other parts of this project
◄ Tomenosuke Blade Runner Blaster Part 1: Cleanup
► Tomenosuke Blade Runner Blaster Part 3: final


