
My First Crosscut Sled

I was gifted an old Makita 2703 table saw by my father’s neighbor. It’s a little well used, but in perfect working order. So, I figured I should make a crosscut sled for it. I started with a piece of 24” x 48” x 1/2″ birch plywood. I originally had planned for the sled to be 18” wide on each side of the blade (36-1/8” in total), but this proved to be extremely wide and unwieldy to use. I instead shortened the right side down to 13-1/2” which matches the width of the table.
Above is a peek at the completed sled which, as you can see, fits the width of the table saw perfectly.
Build Process
My first task was to cut the plywood down to 24” x 31-5/8”. This would give me 18” on the left side of the blade, and 13-1/2” on the right taking into account 1/8” for the blade kerf. Then, I cut two 3” strips off my finished piece to use for my fence.
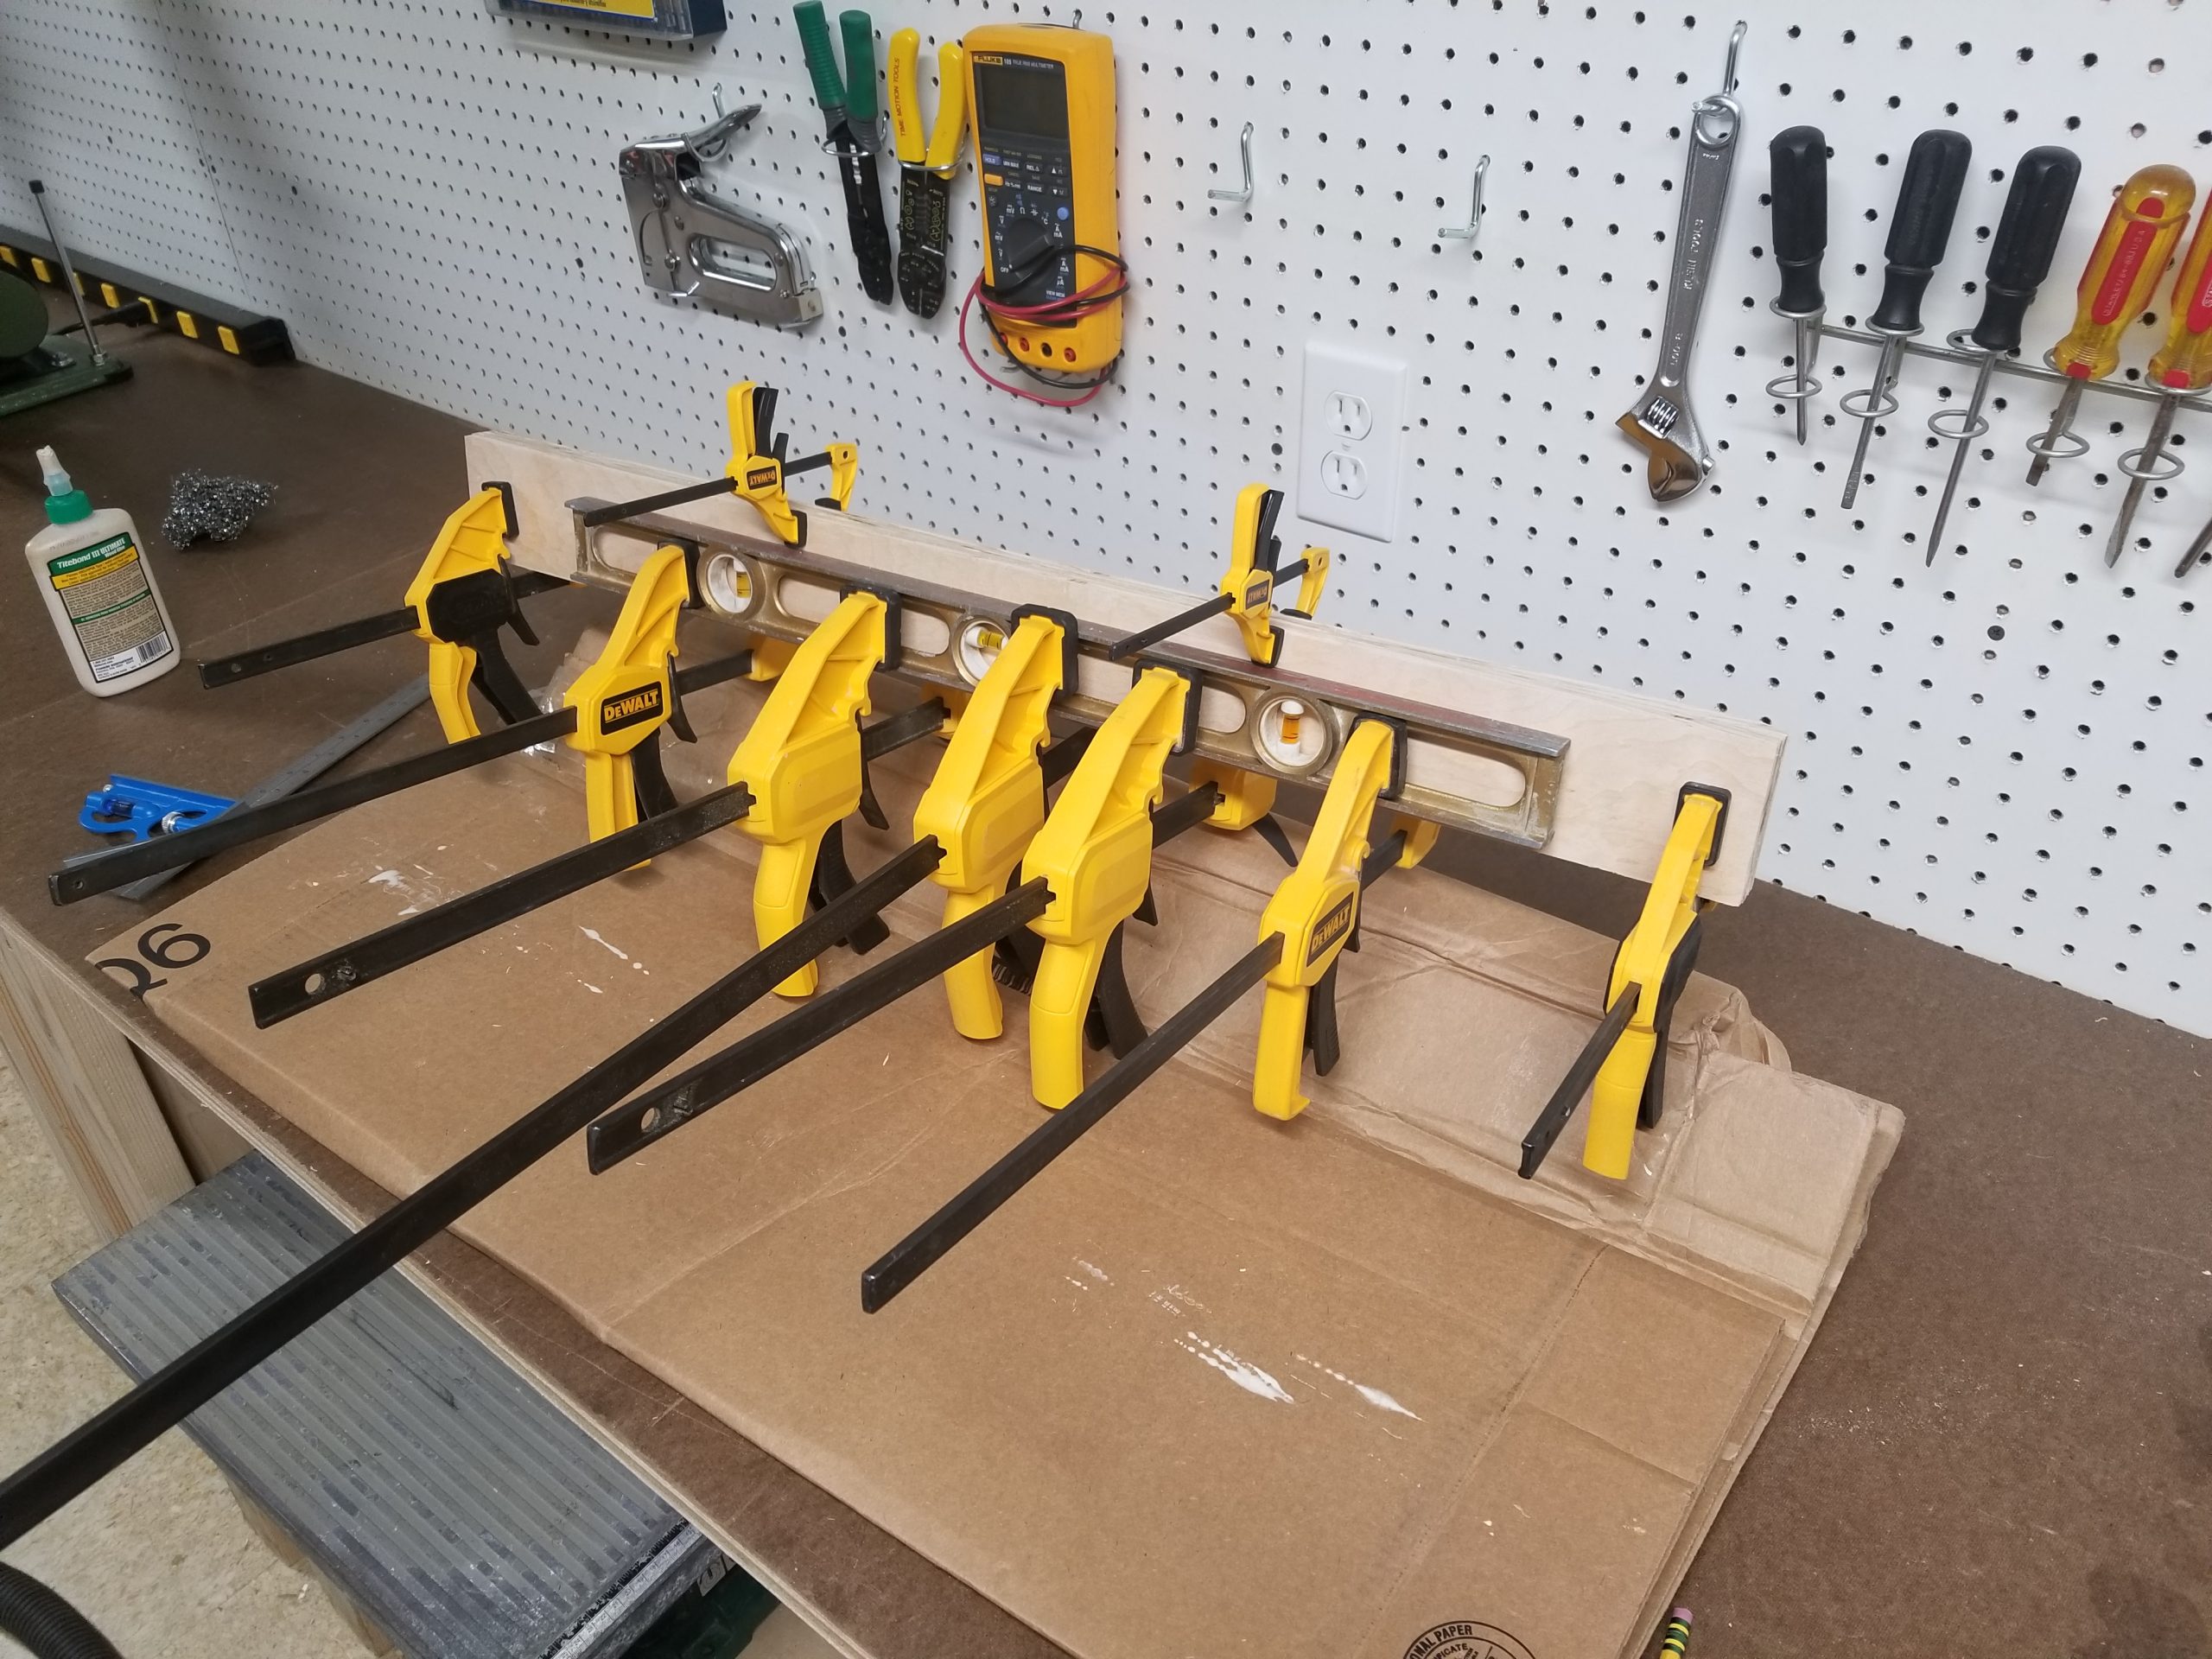
I faced glued the two 3” strips and then clamped it all together with an old aluminum level to ensure the pieces glued straight. I left this to sit for a few hours.
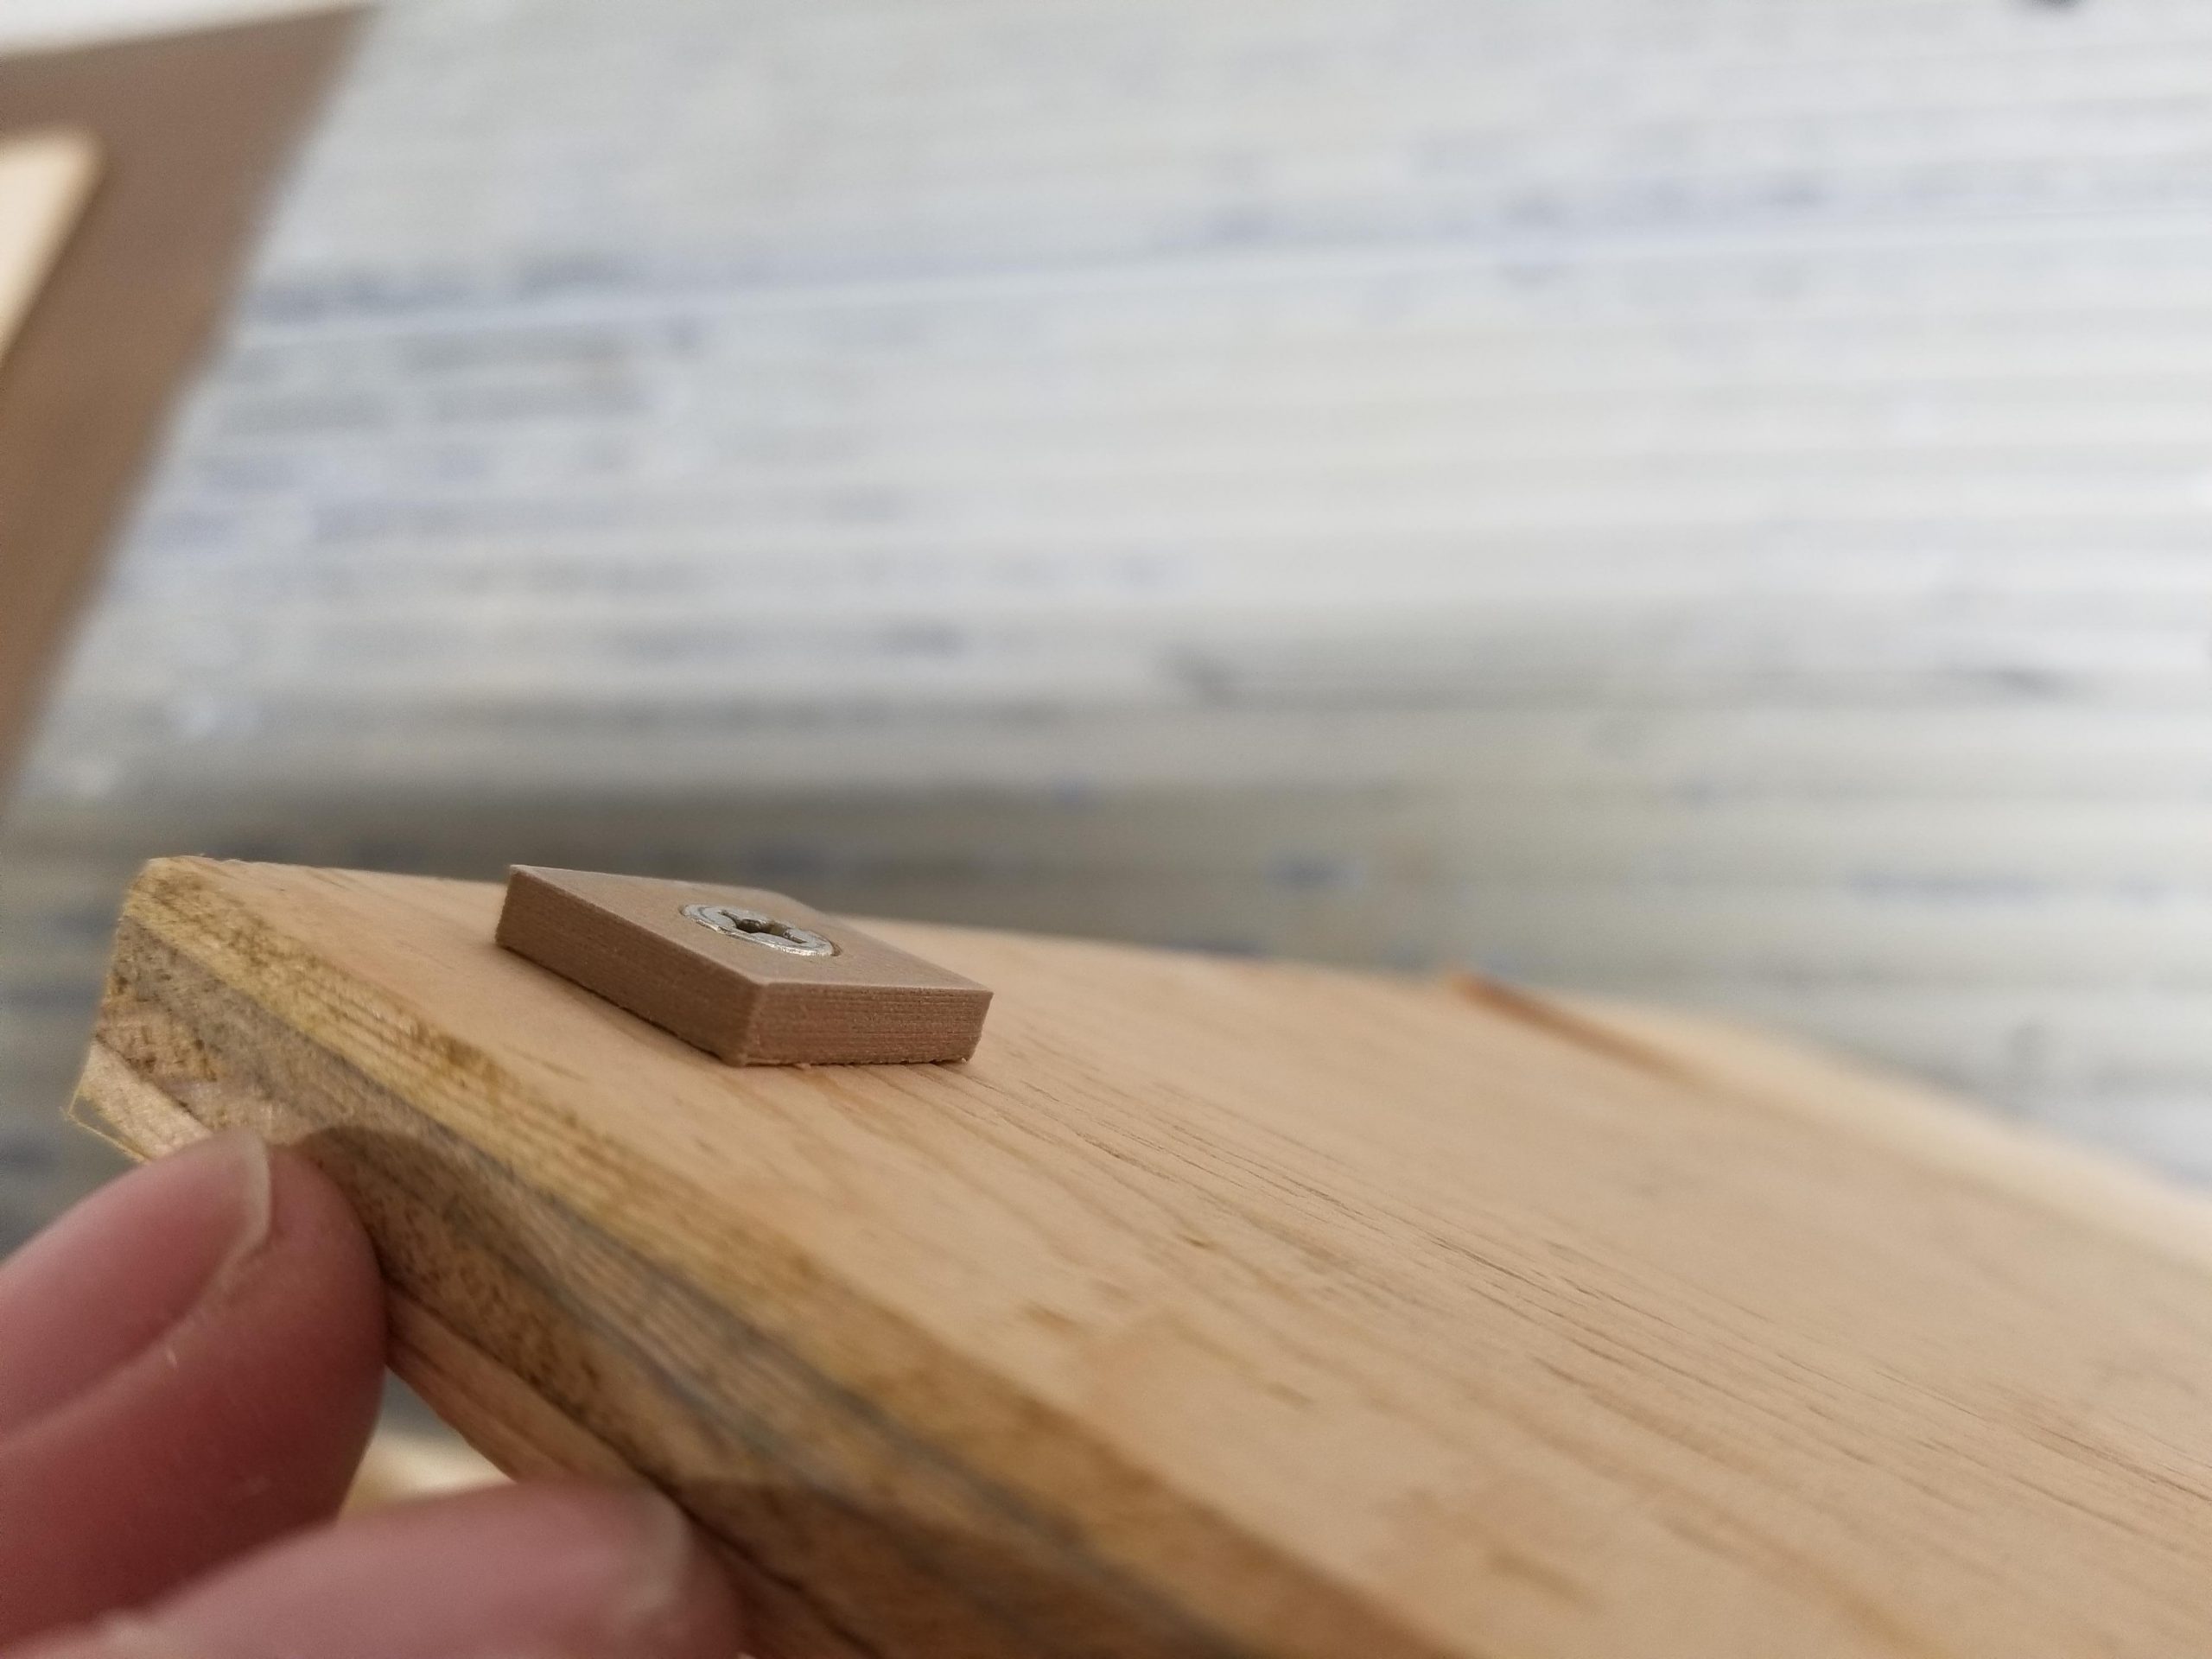
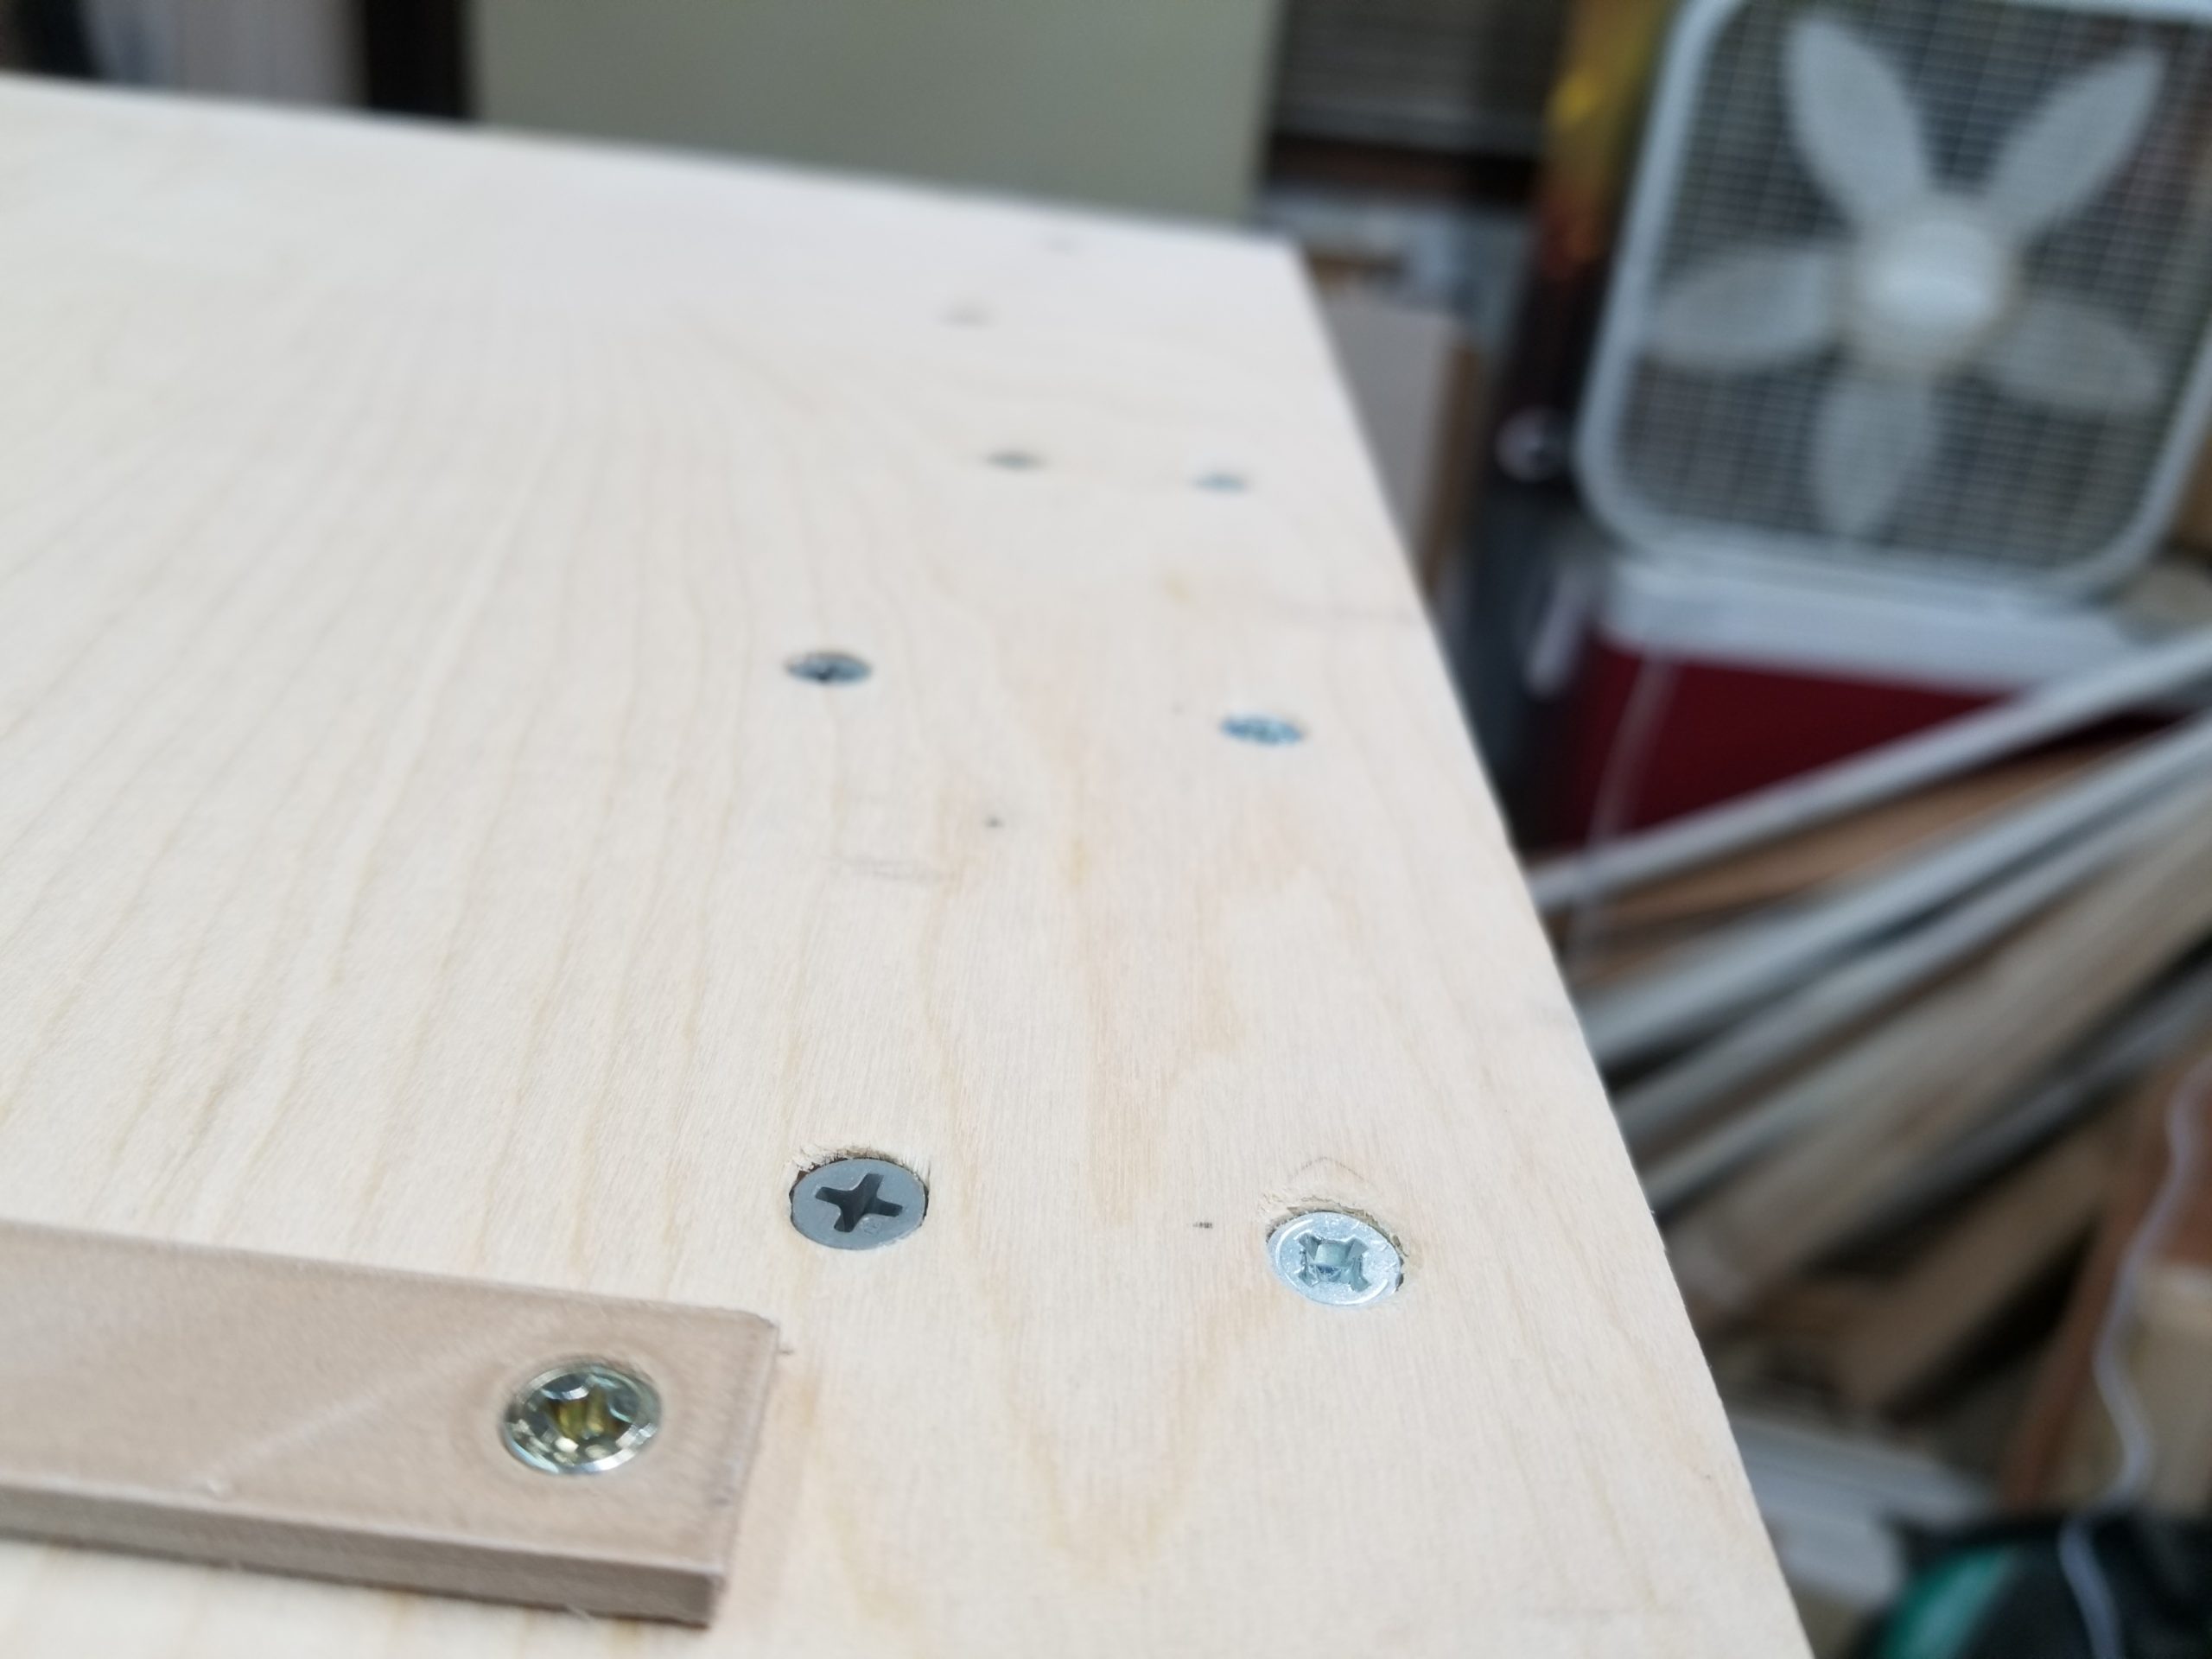
While the fence was gluing, I decided to work on my runners. For this I used my 3D printer. Using my calipers, I measured my tracks to be 15.25mm I printed out a small 15.2mm x 15.2mm square as a test piece along with a countersink to accommodate a 1/2″ #6 wood screw.

Here is my test fit. It could have been a little deeper, this is 4mm. But, I am happy with the results. It was a fairly smooth ride with no axial play.

Happy with my results, I went into production of the final runners. I printed a total of four 8” strips.
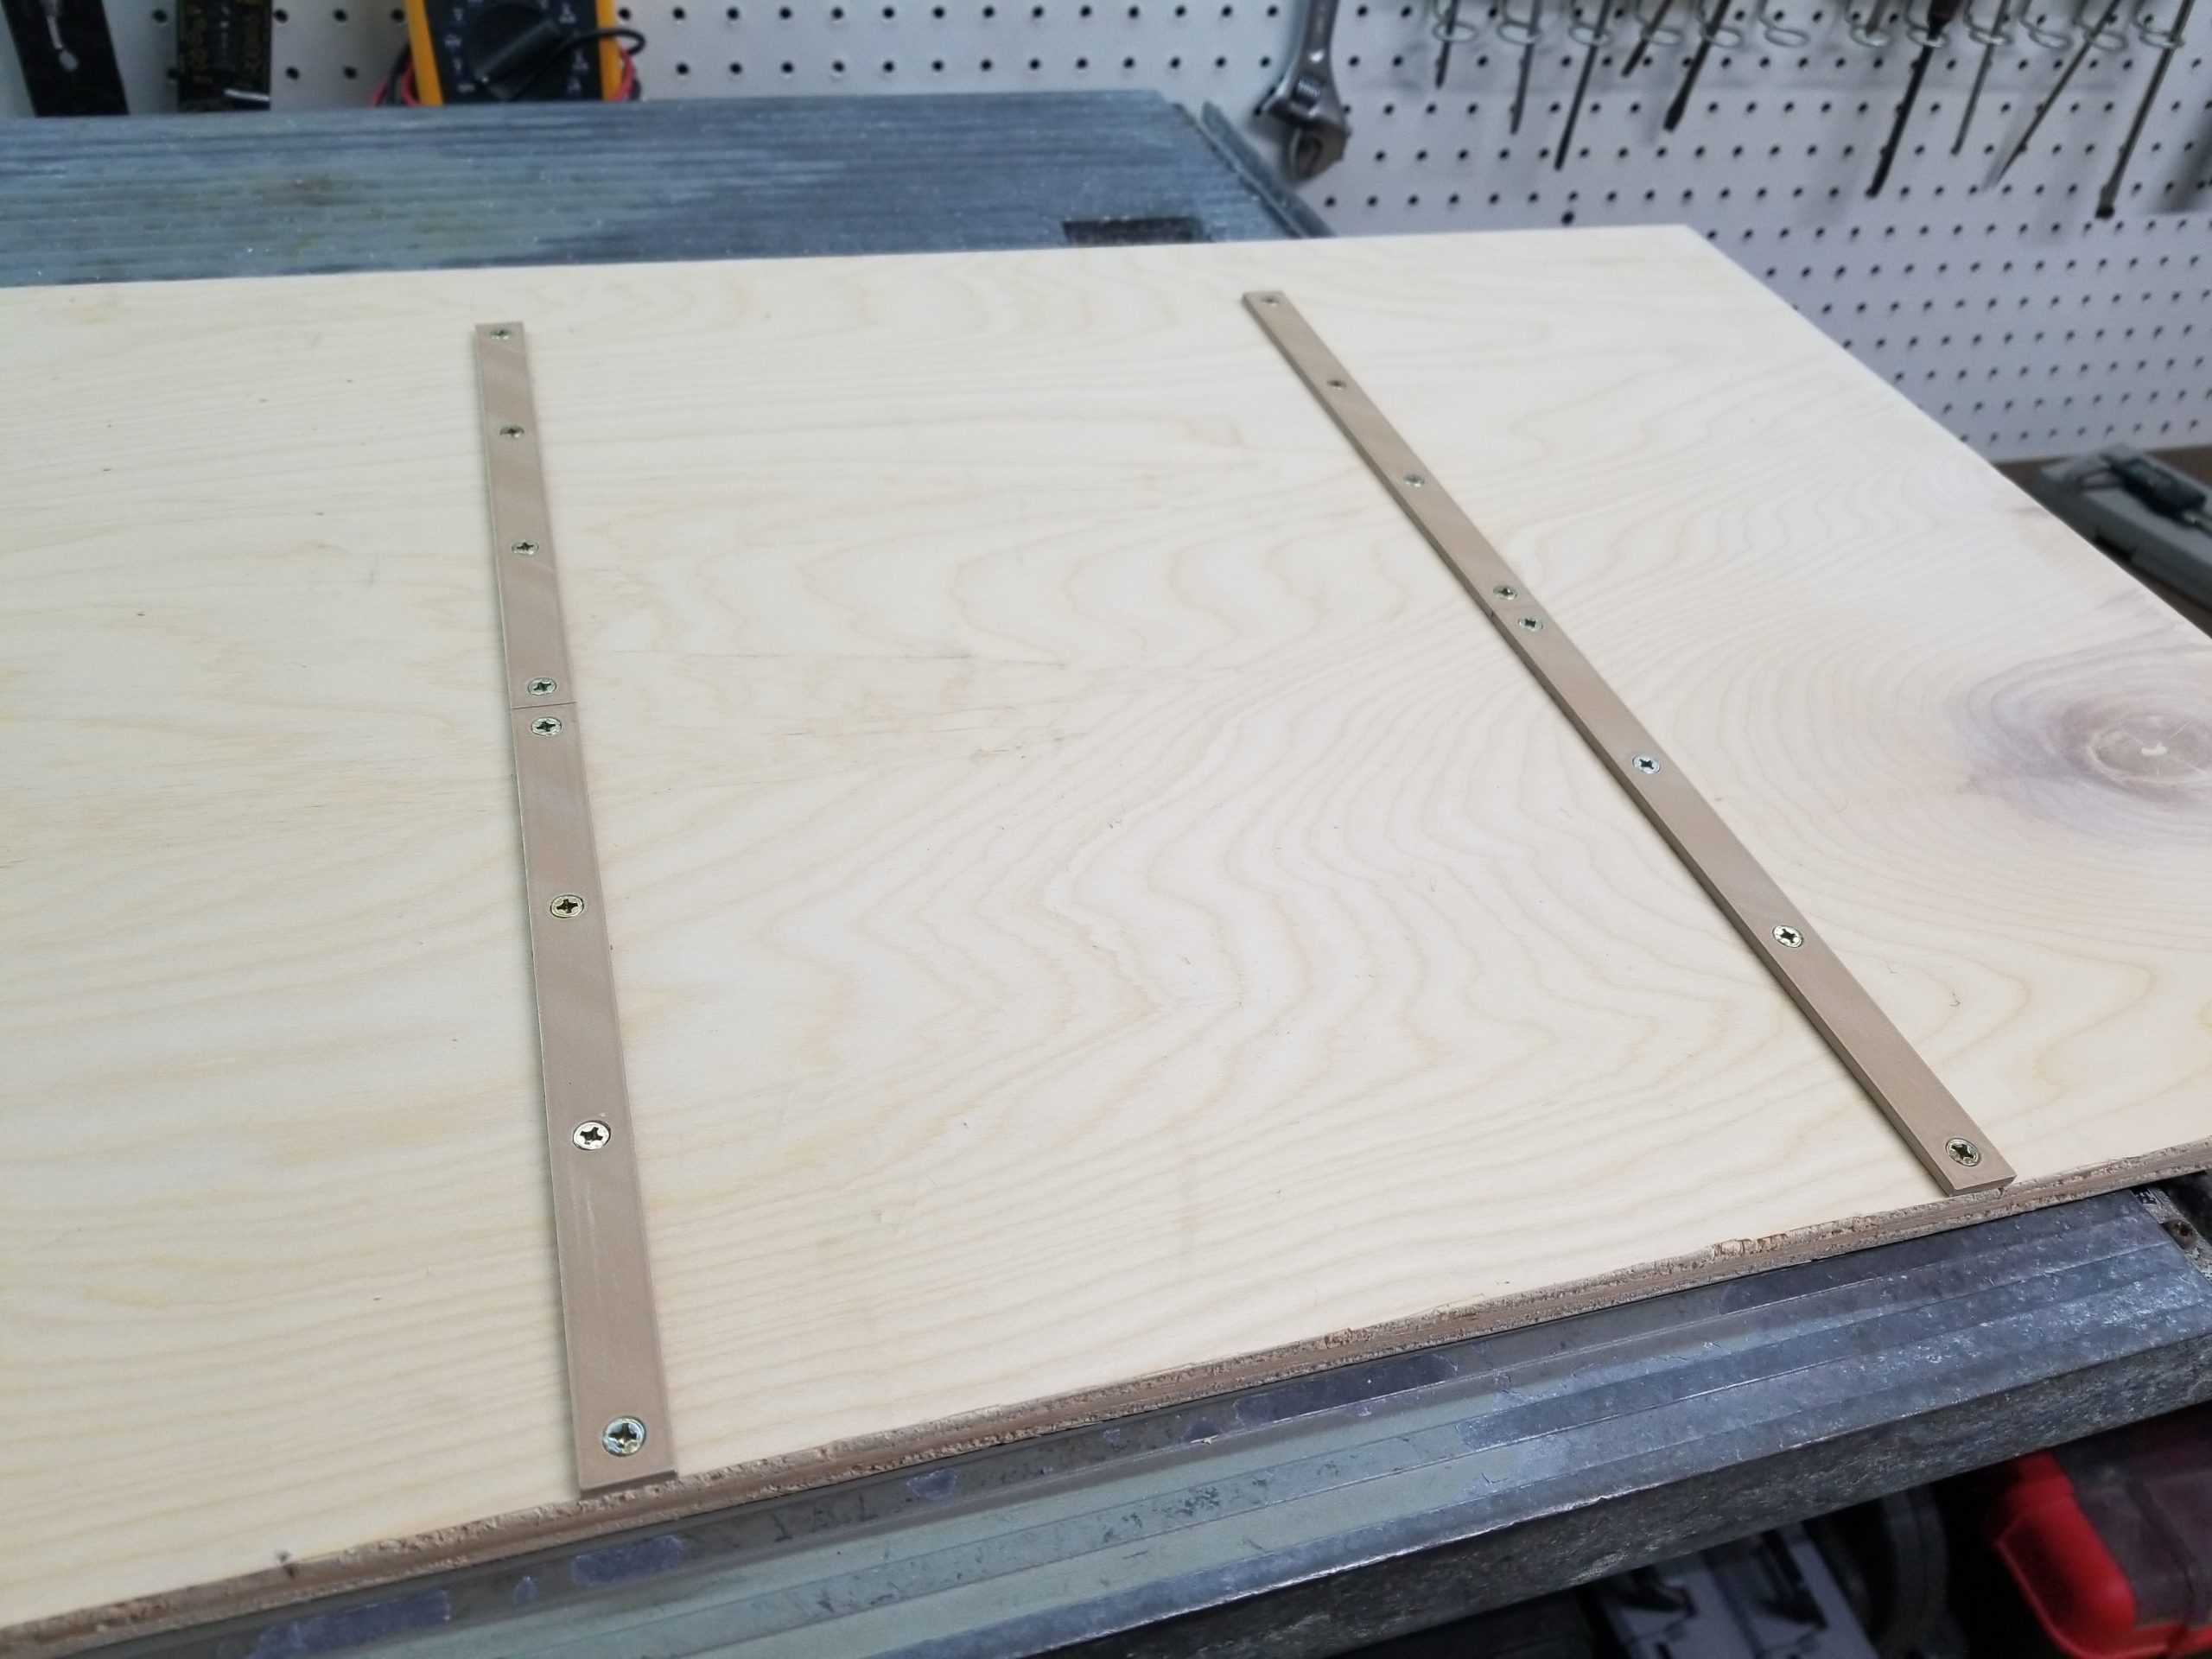
Once my runners were printed, I placed them in my table saw tracks on top of some plastic spacers to hold them up above the table surface. I gave them a small coating of wood glue, and then placed my sled on top of the runners. I let it sit for about an hour then flipped the assembly over and installed wood screws in each of the countersunk holes. The end result works perfectly.
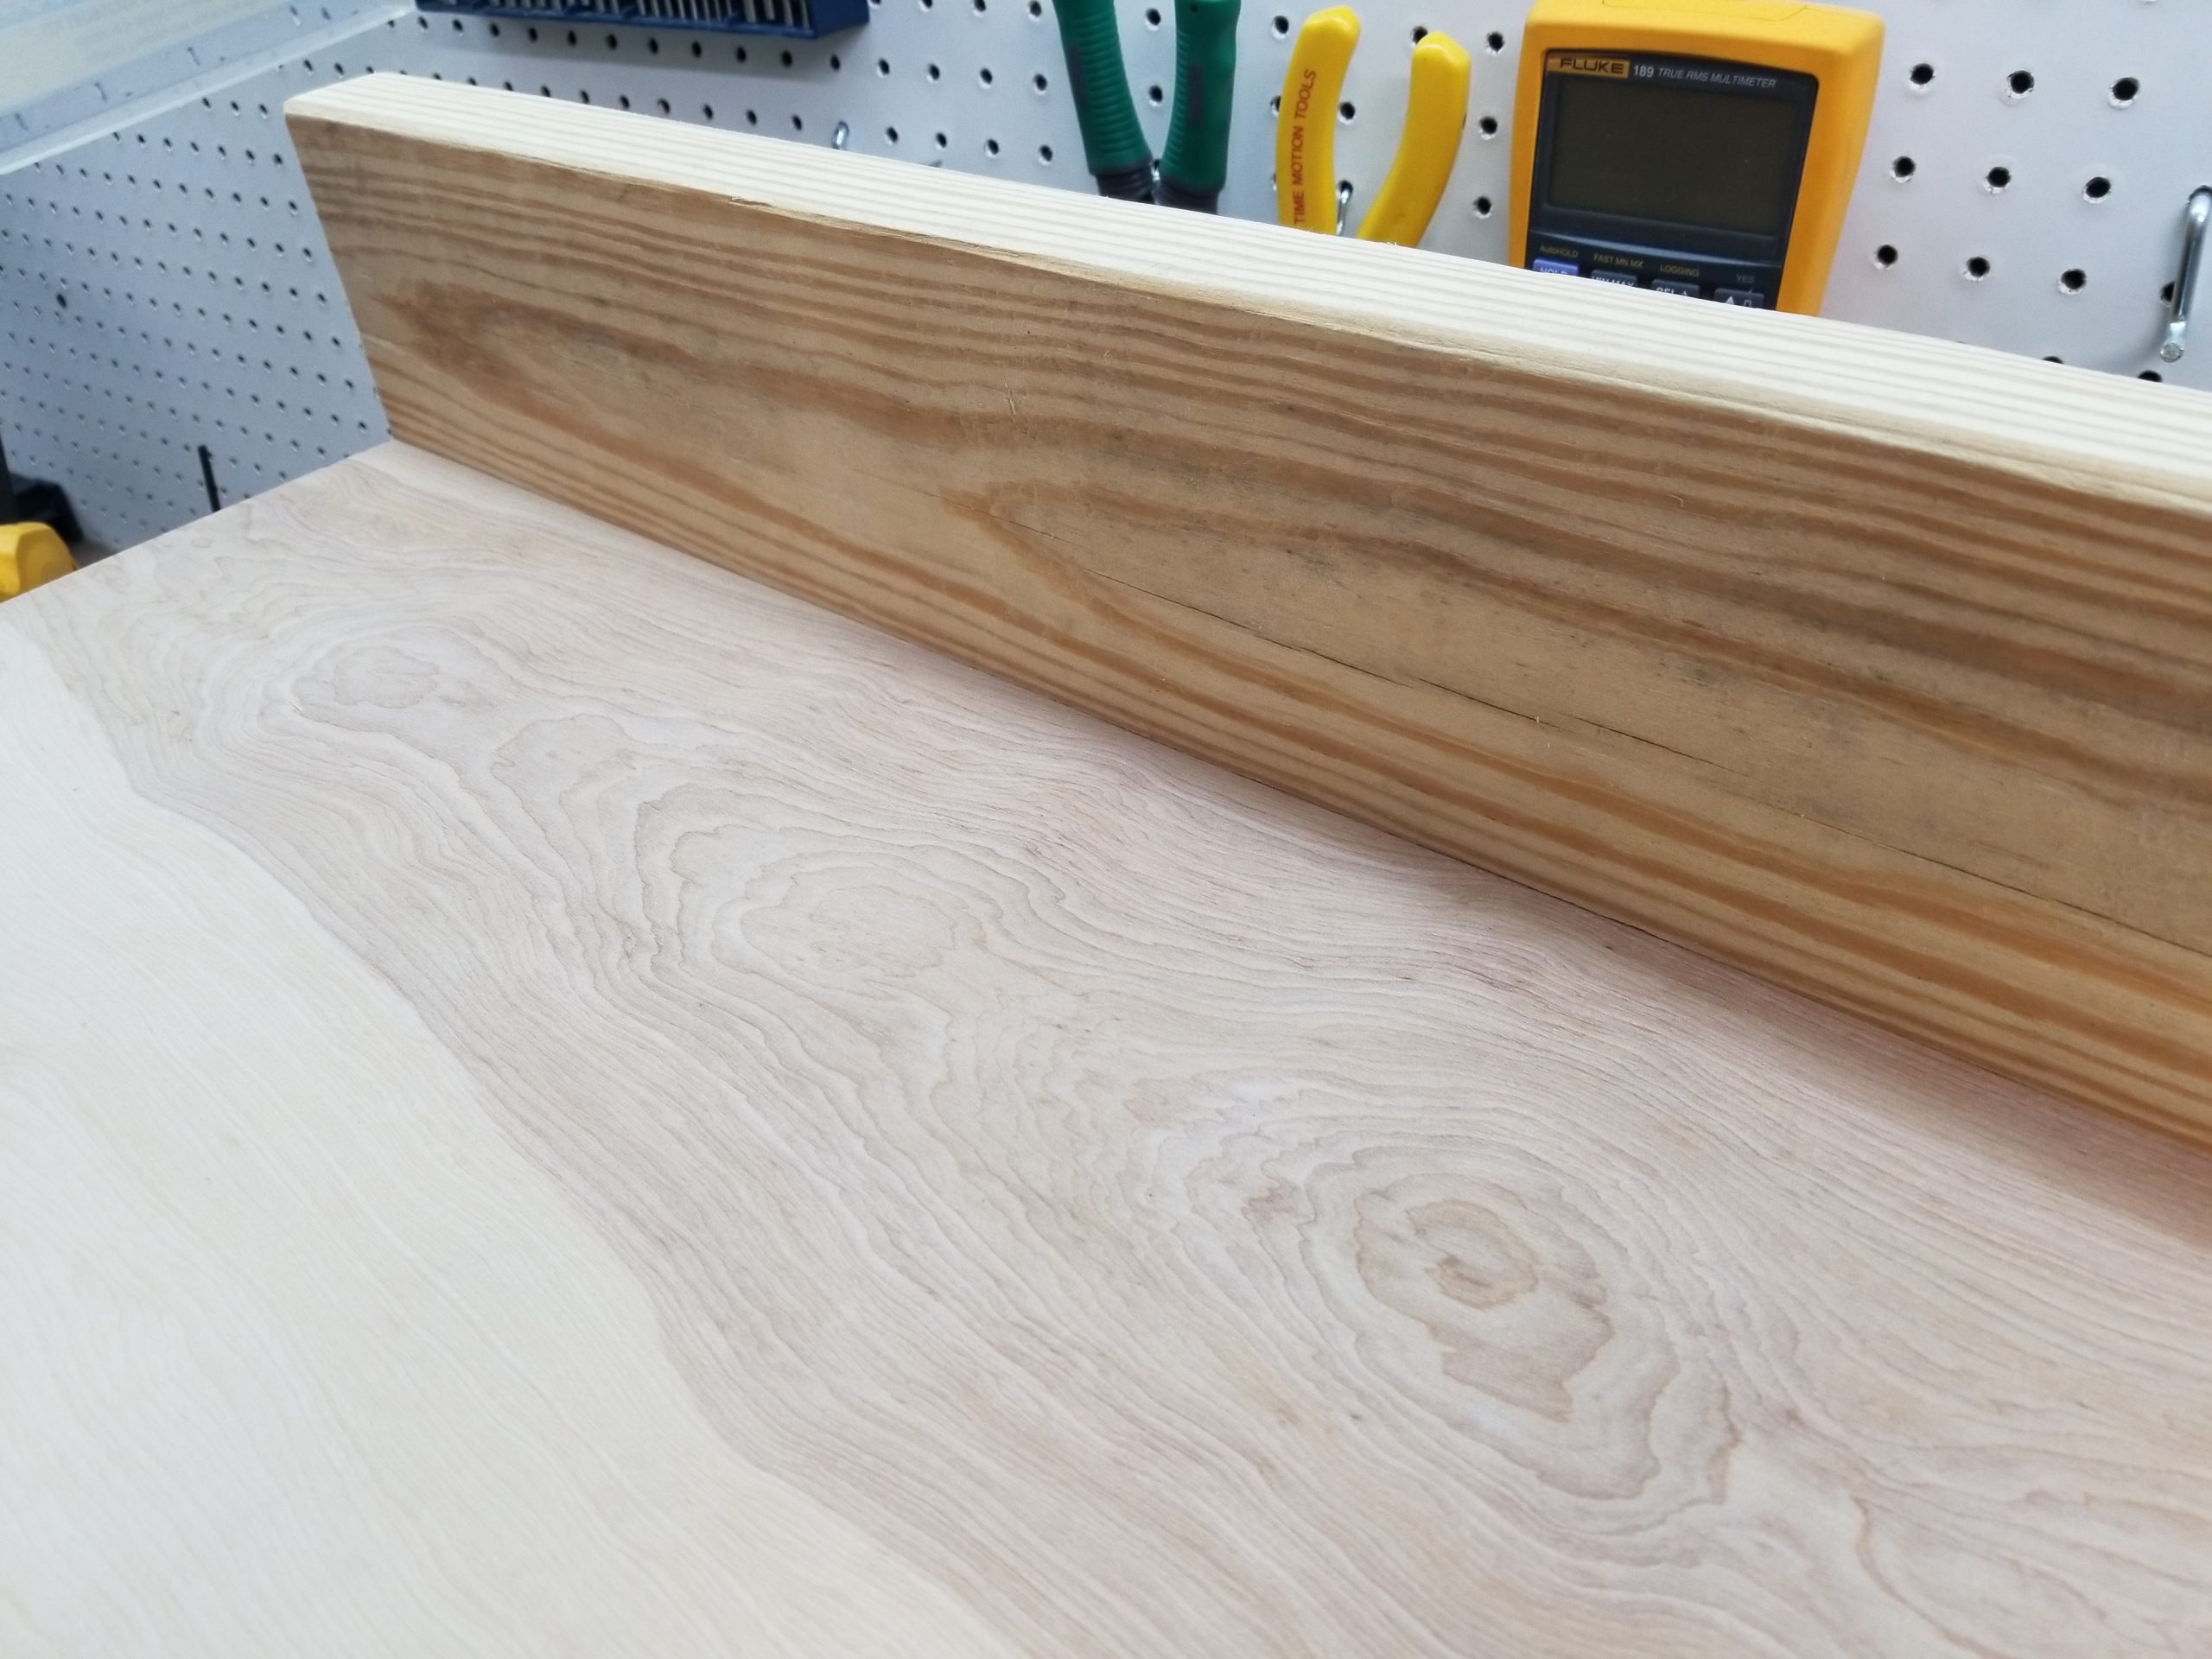
Next, I took an old 2×6 and ripped it down to 4-1/2”. This gave it a nice straight edge. I then attached it to the back of the sled for support. I did not use any glue, just screws every few inches.

Now I attached my newly glued and screwed front fence. I attached it with a single screw on the right side to use as a pivot, and then clamped it onto place on the left. I dialed in the correct location using the “5 cut method” referenced in King’s Fine Woodworking video here: https://youtu.be/njsD5W6fcI0?t=1175 . In the end my sled is out about 2 thousandths over 10 inches so I am super happy with that.
With the fence in place, I screwed it into its final location. I staggered the screws to avoid putting them between the two pieces of face glued plywood. I also installed another piece of that 2×6 at the front of the sled to give it more rigidity and serve as a reminder to keep my hands away from the blade area.
Here is the finished sled. No, this is not the final home for the table saw, this is just bench I was doing the work on.
Thanks for looking!


This looks great! I just bought the same saw(my first table saw) Would you be willing to share the file for the runners? I have a local makers space that have some 3d printers and I would like to make a cross cut sled. 🙂
You happen to have the STL files for those rails posted online anywhere? Thingaverse? Printables?