
45 Degree Miter Jig
In order to use my nice new Cross Cut sled for making boxes I decided to make a 45° Miter Jig to go with it. This will allow me to consistently make perfect 45° cuts in just about anything that fits on my sled.
BUILD PROCESS

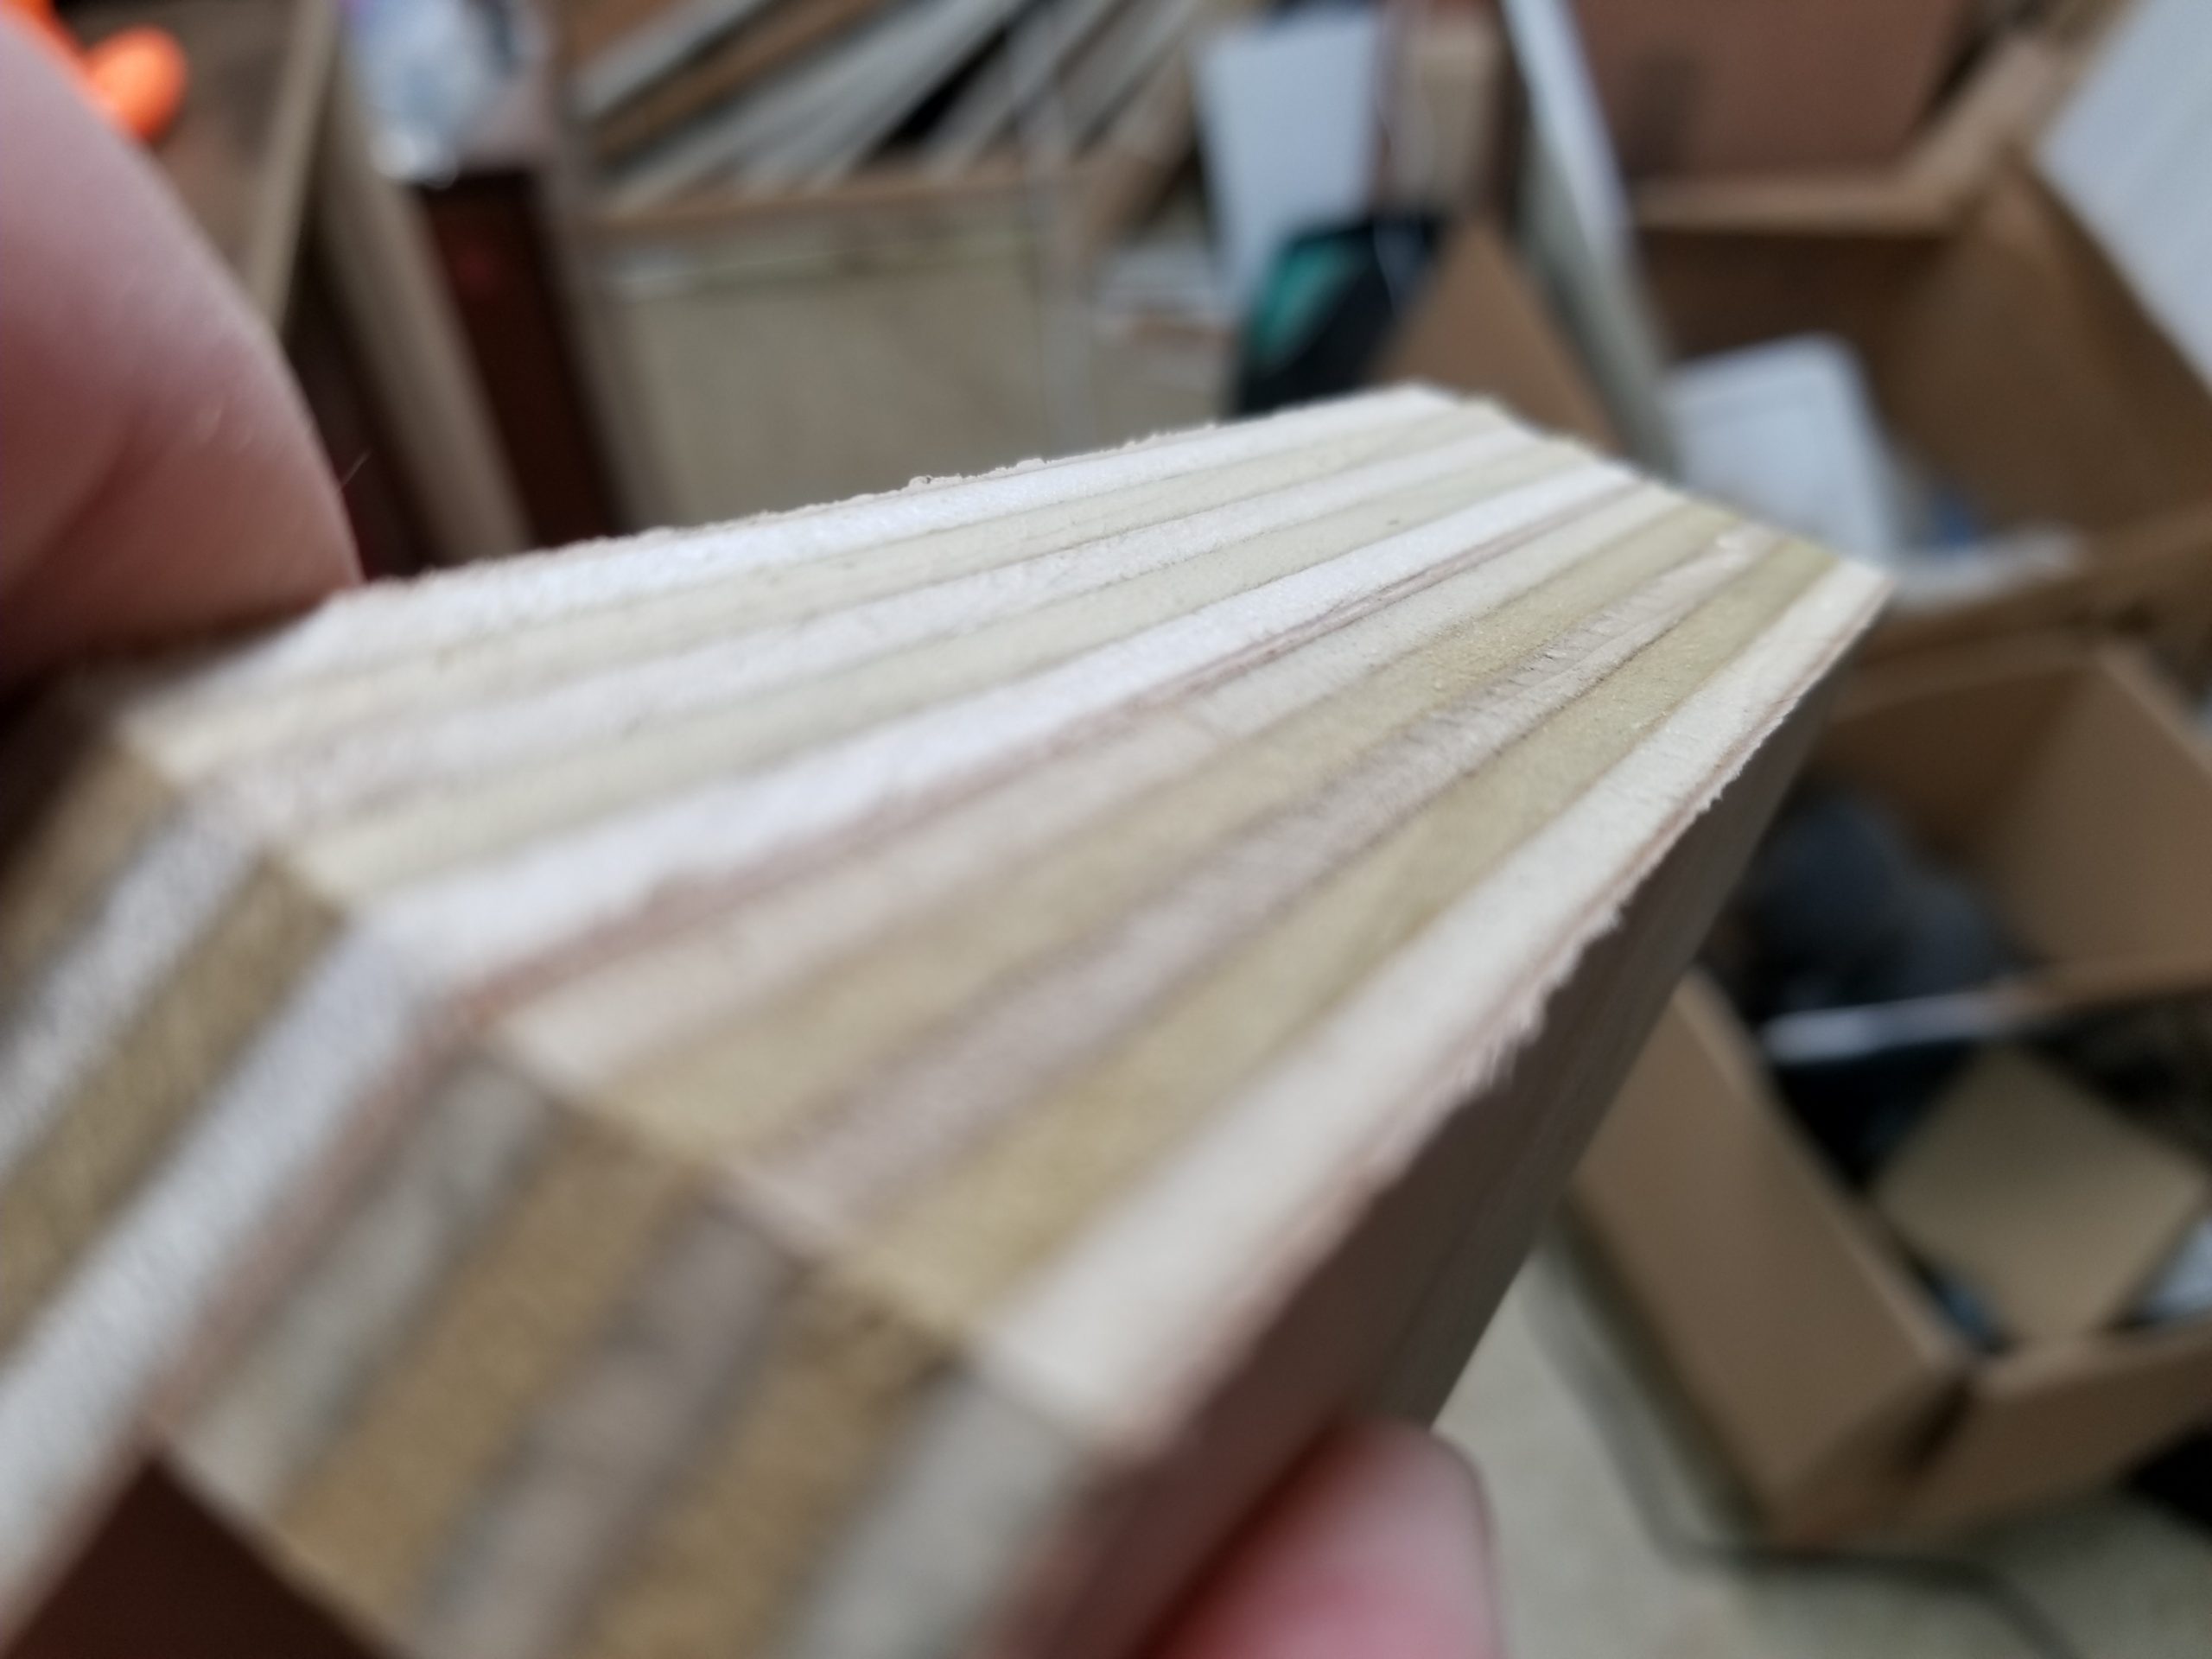
I started off by making a 45° template. To do this, I used the method in King’s Fine Woodworking video here: https://youtu.be/njsD5W6fcI0?t=2147 . Here is the final 45° cut in my piece of 3/4″ birch plywood. The line is there intentionally. It is how I expected the cut to look when done so I had something to compare the final cut too. Looks pretty perfect to me.
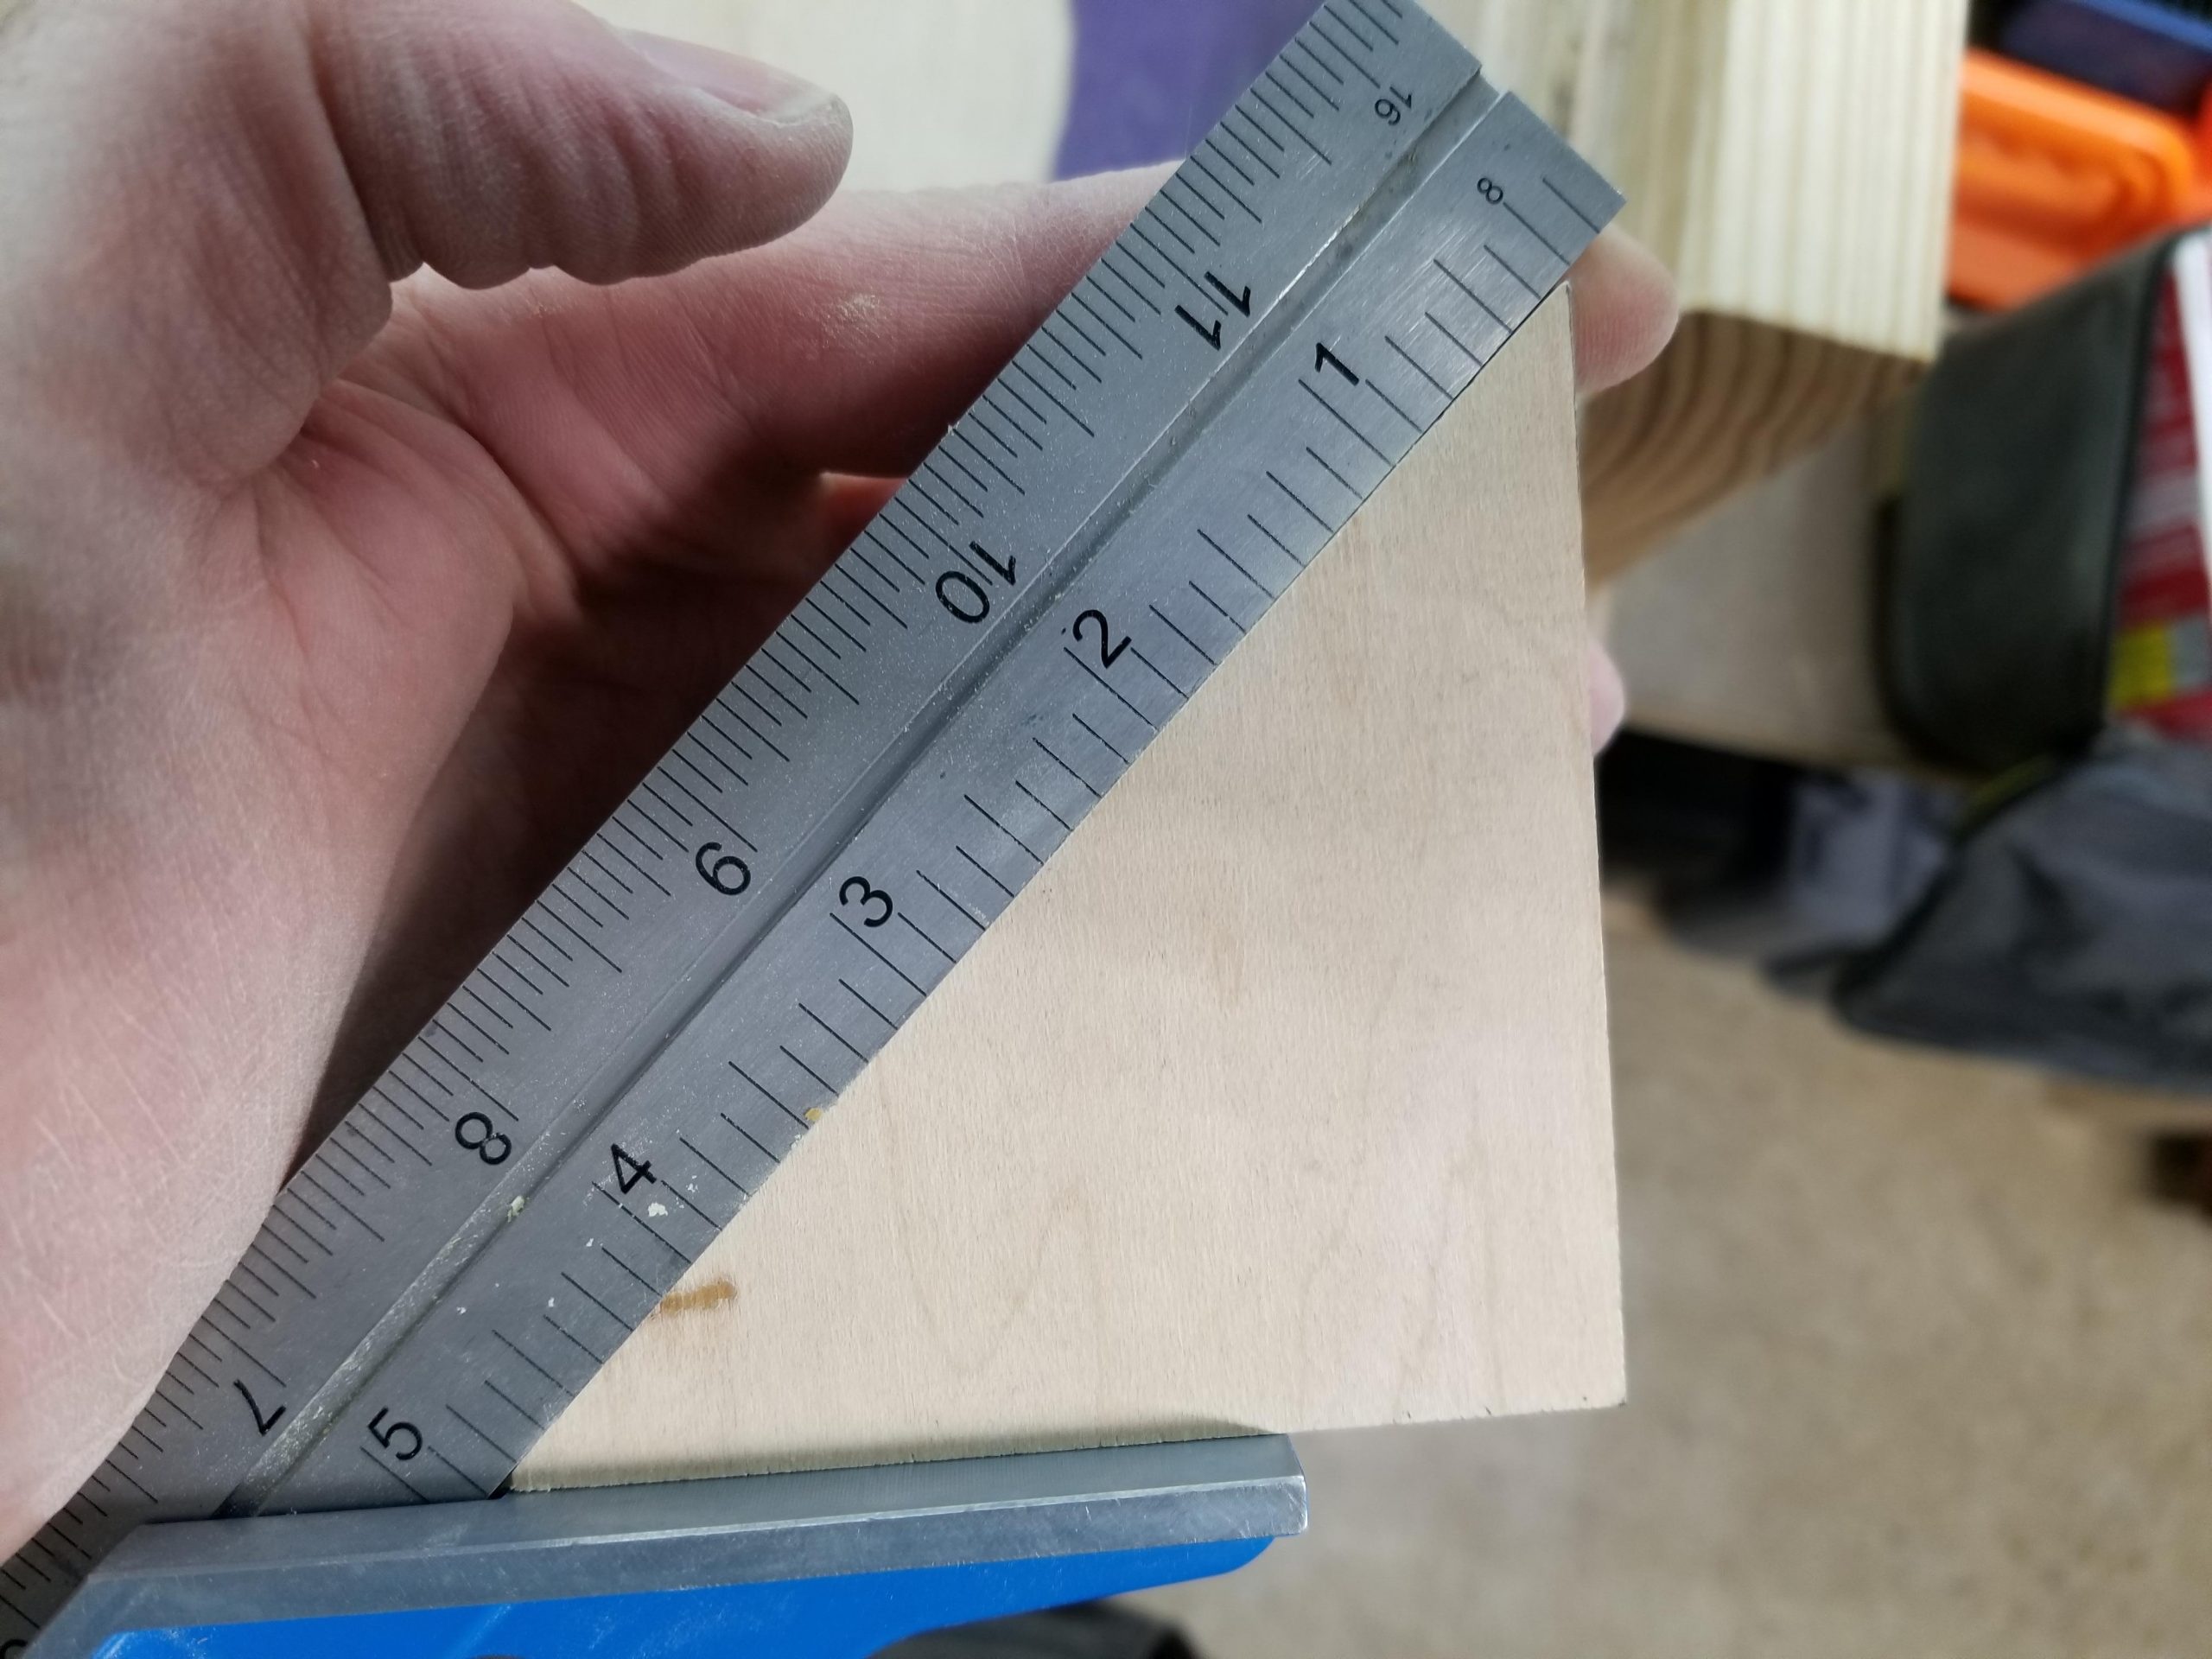
Here are the two halves of the cut stacked up with each other. If my cut was off, the stack up would have shown the difference. For example, if my cut was 46°, the other half would have been the remainder, 44°. When stacked up, they would have shown a 2° difference in each other.
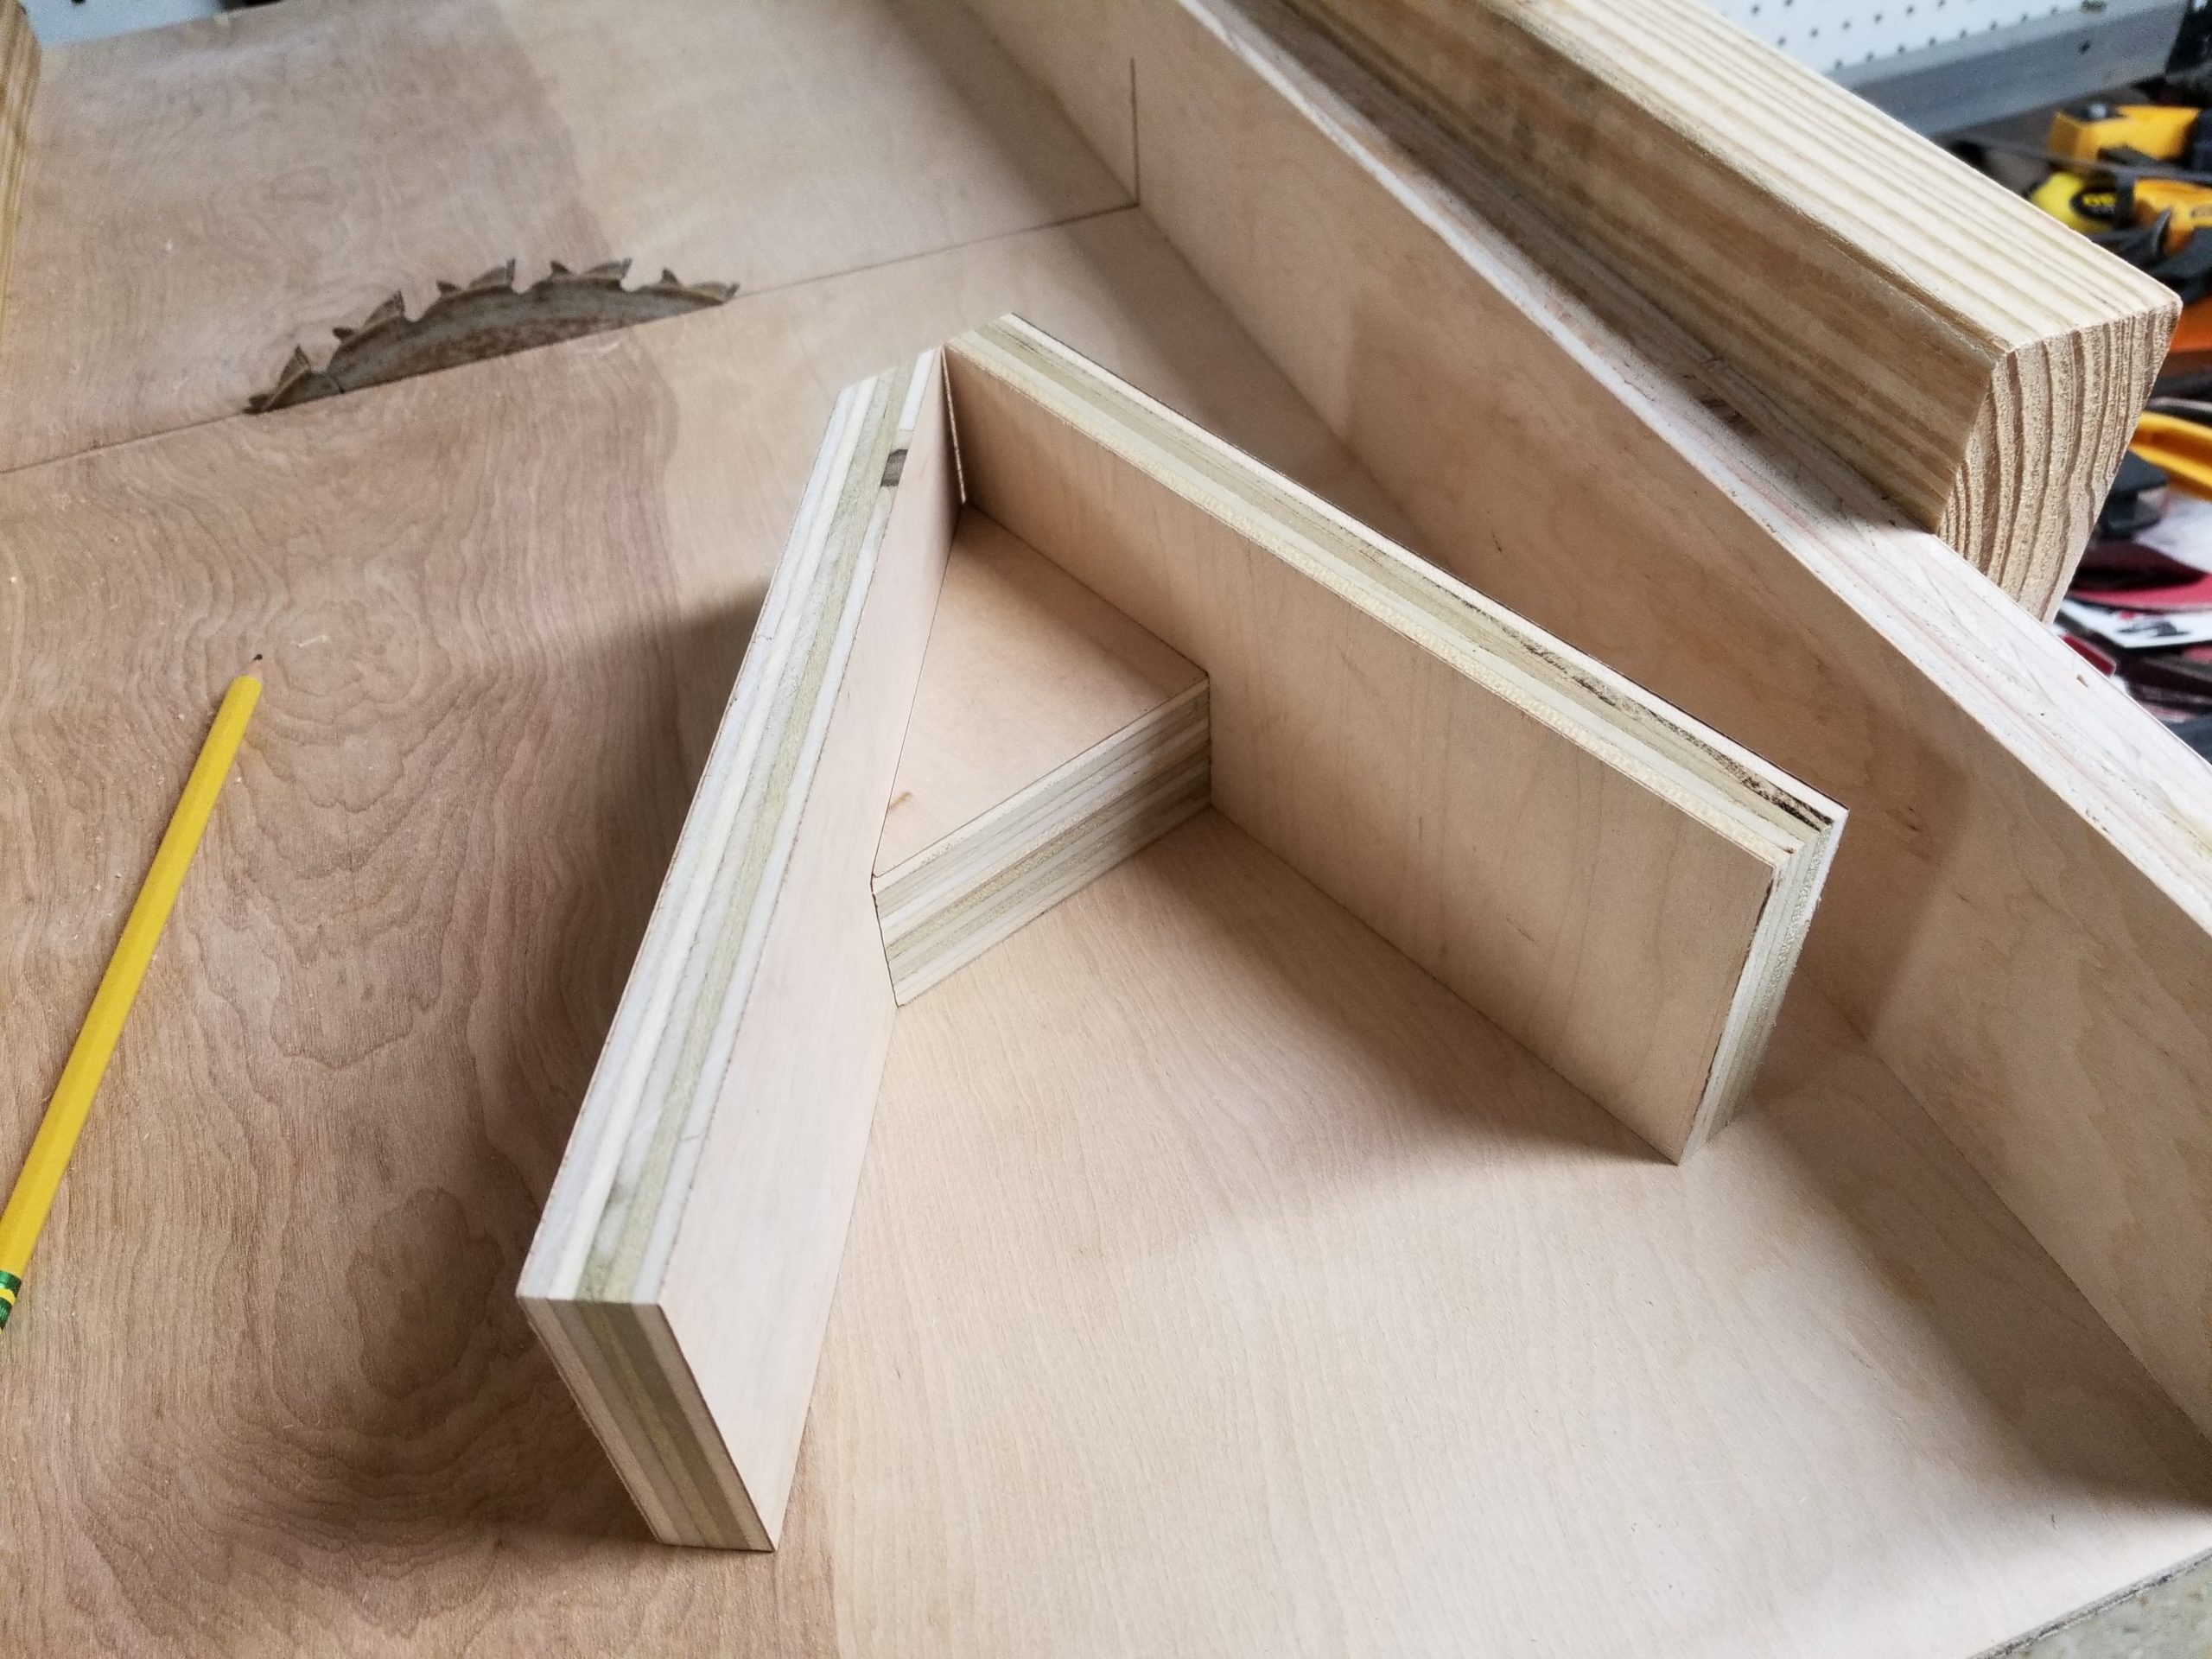
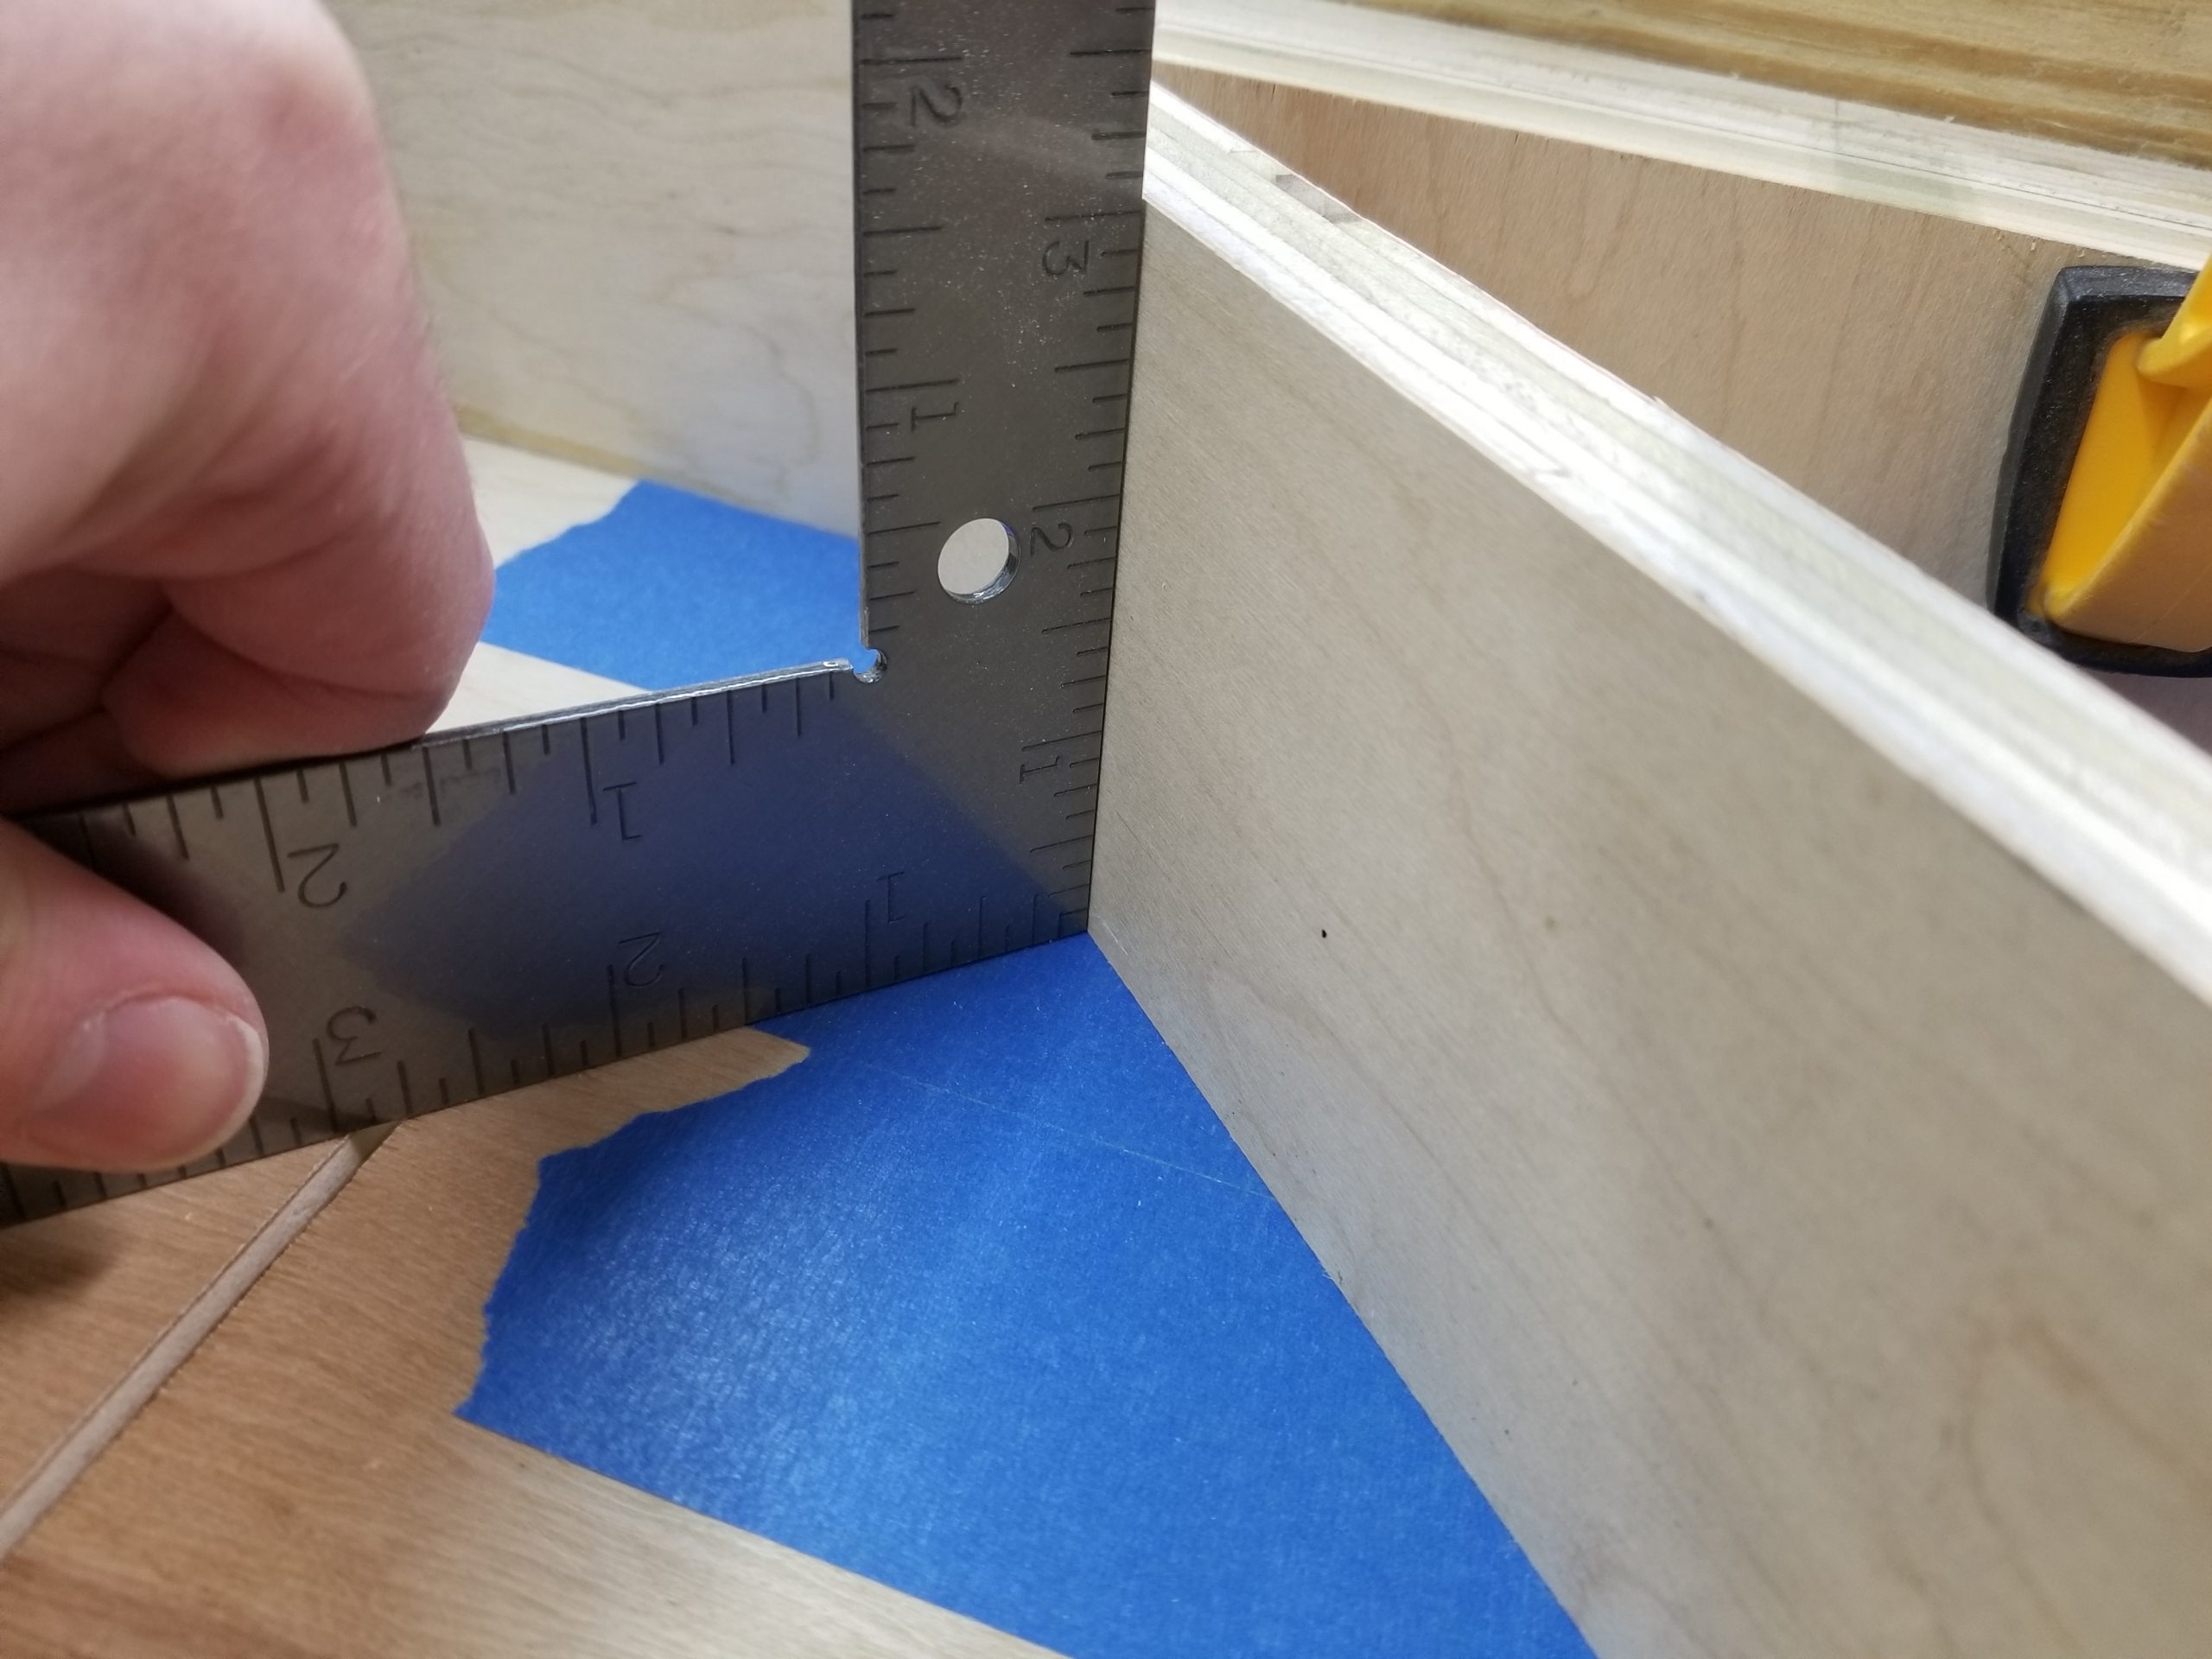
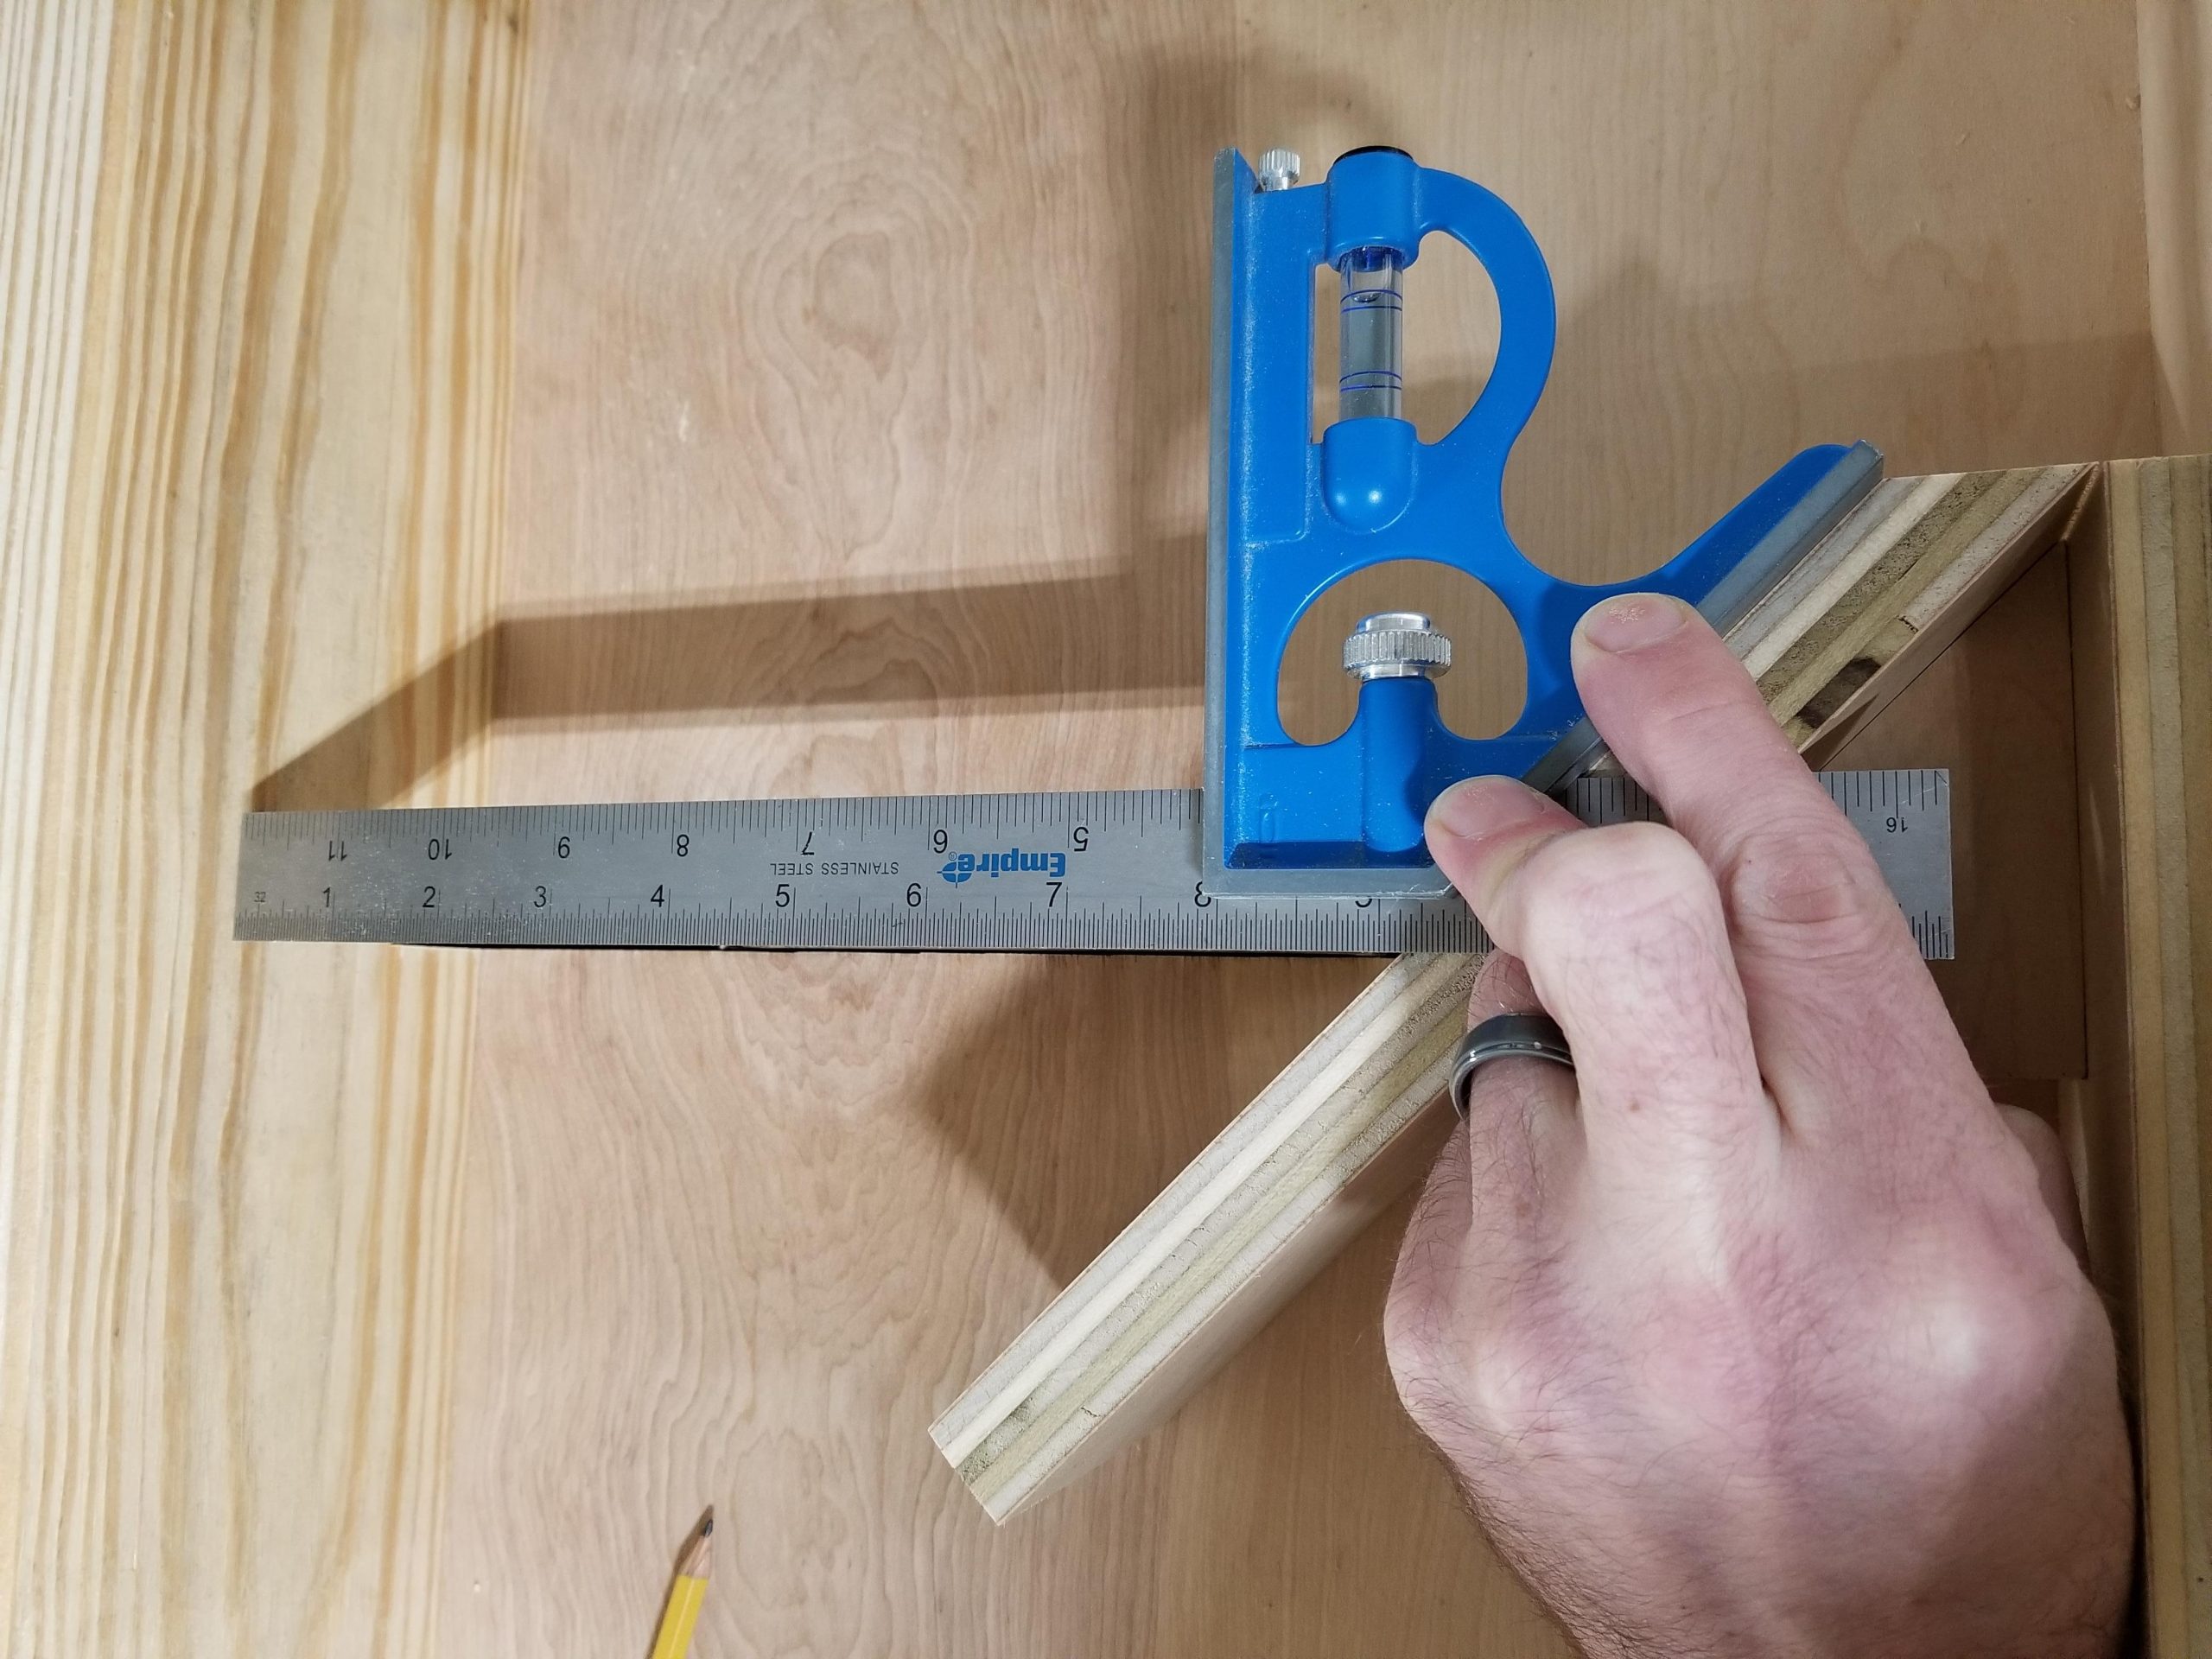
I face glued my two 45° triangles and then cleaned up with edges real quick on the table saw, and checked the final piece against my little compound square.
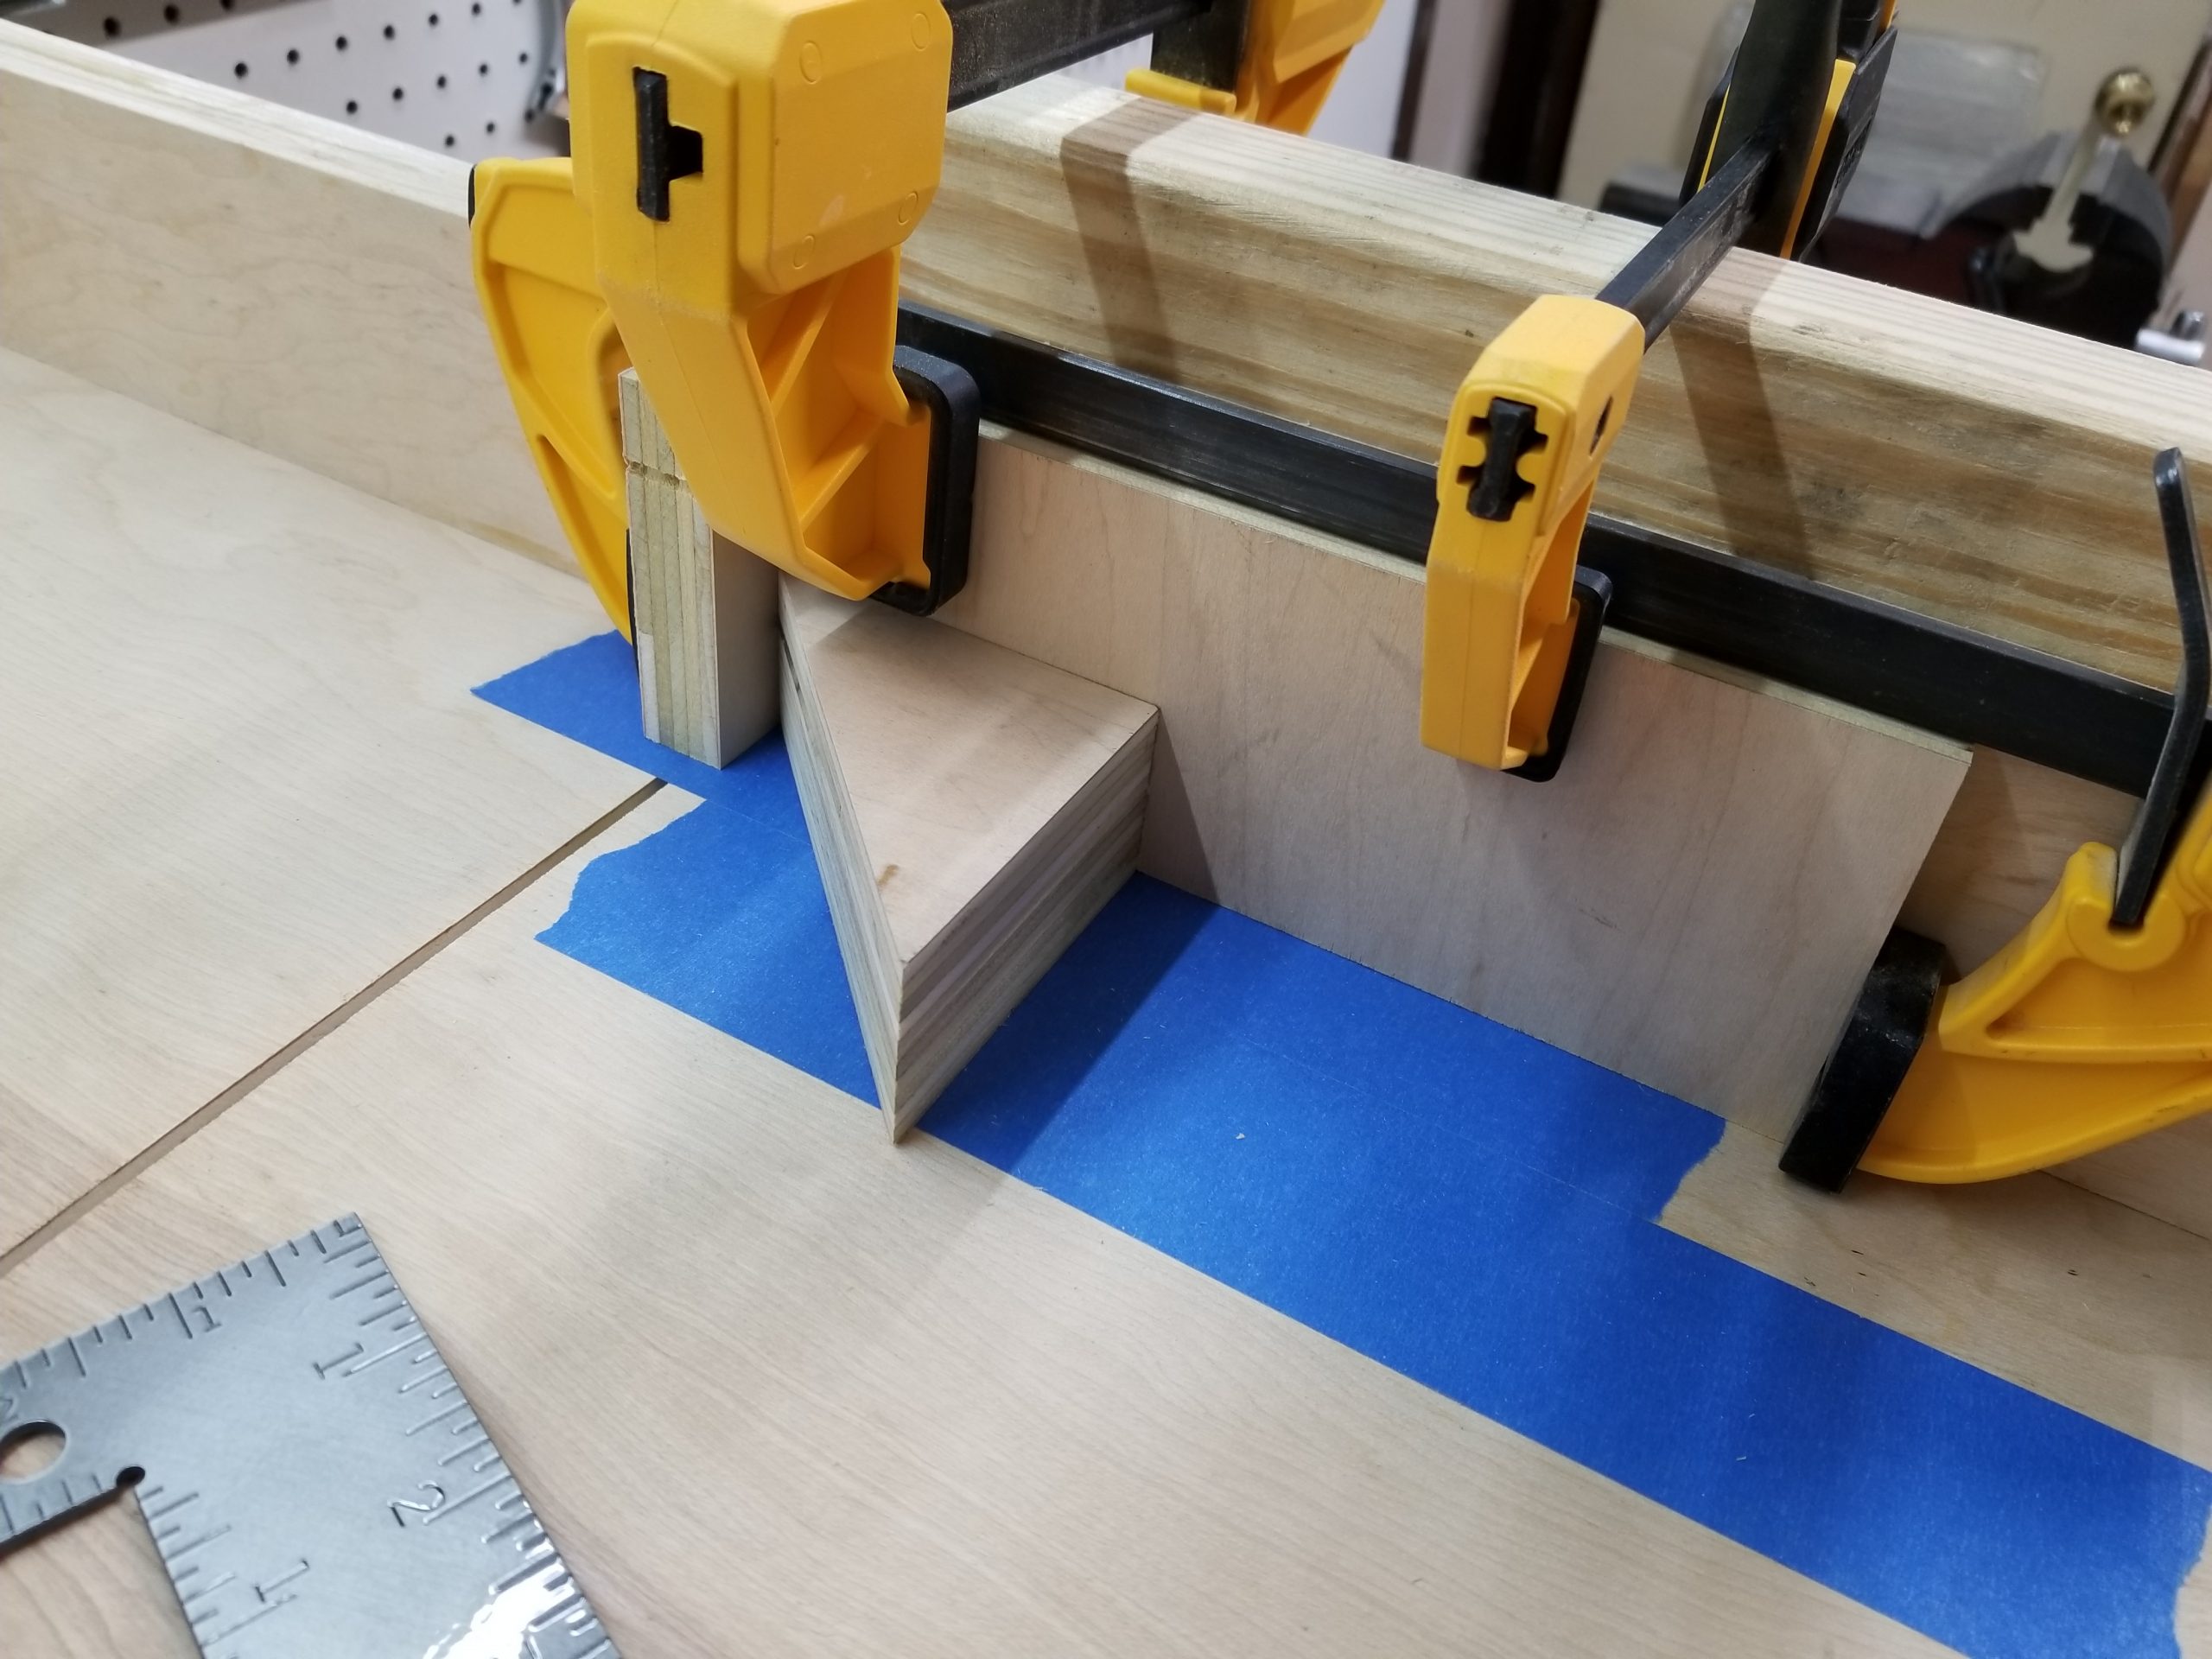
Next, I clamped a 8” x 3” piece of 3/4″ plywood to my cross sled fence. This will be the clamping surface for the completed jig. I then glued the 45 degree triangle to the plywood, and screwed it in place once dry. The tape is there to prevent glue from getting on my sled.
I repeated the same procedure for the face of the jig ensuring the completed piece remained square to the sled surface. It looks ever so slightly off in the picture, but the painters tape was throwing it off. With the tape removed it was spot on.
Here is a picture of the completed jig all glued and finished. I trimmed the end for a nice square edge.
Here is a quick stack up of all the components aligned to the blade kerf.
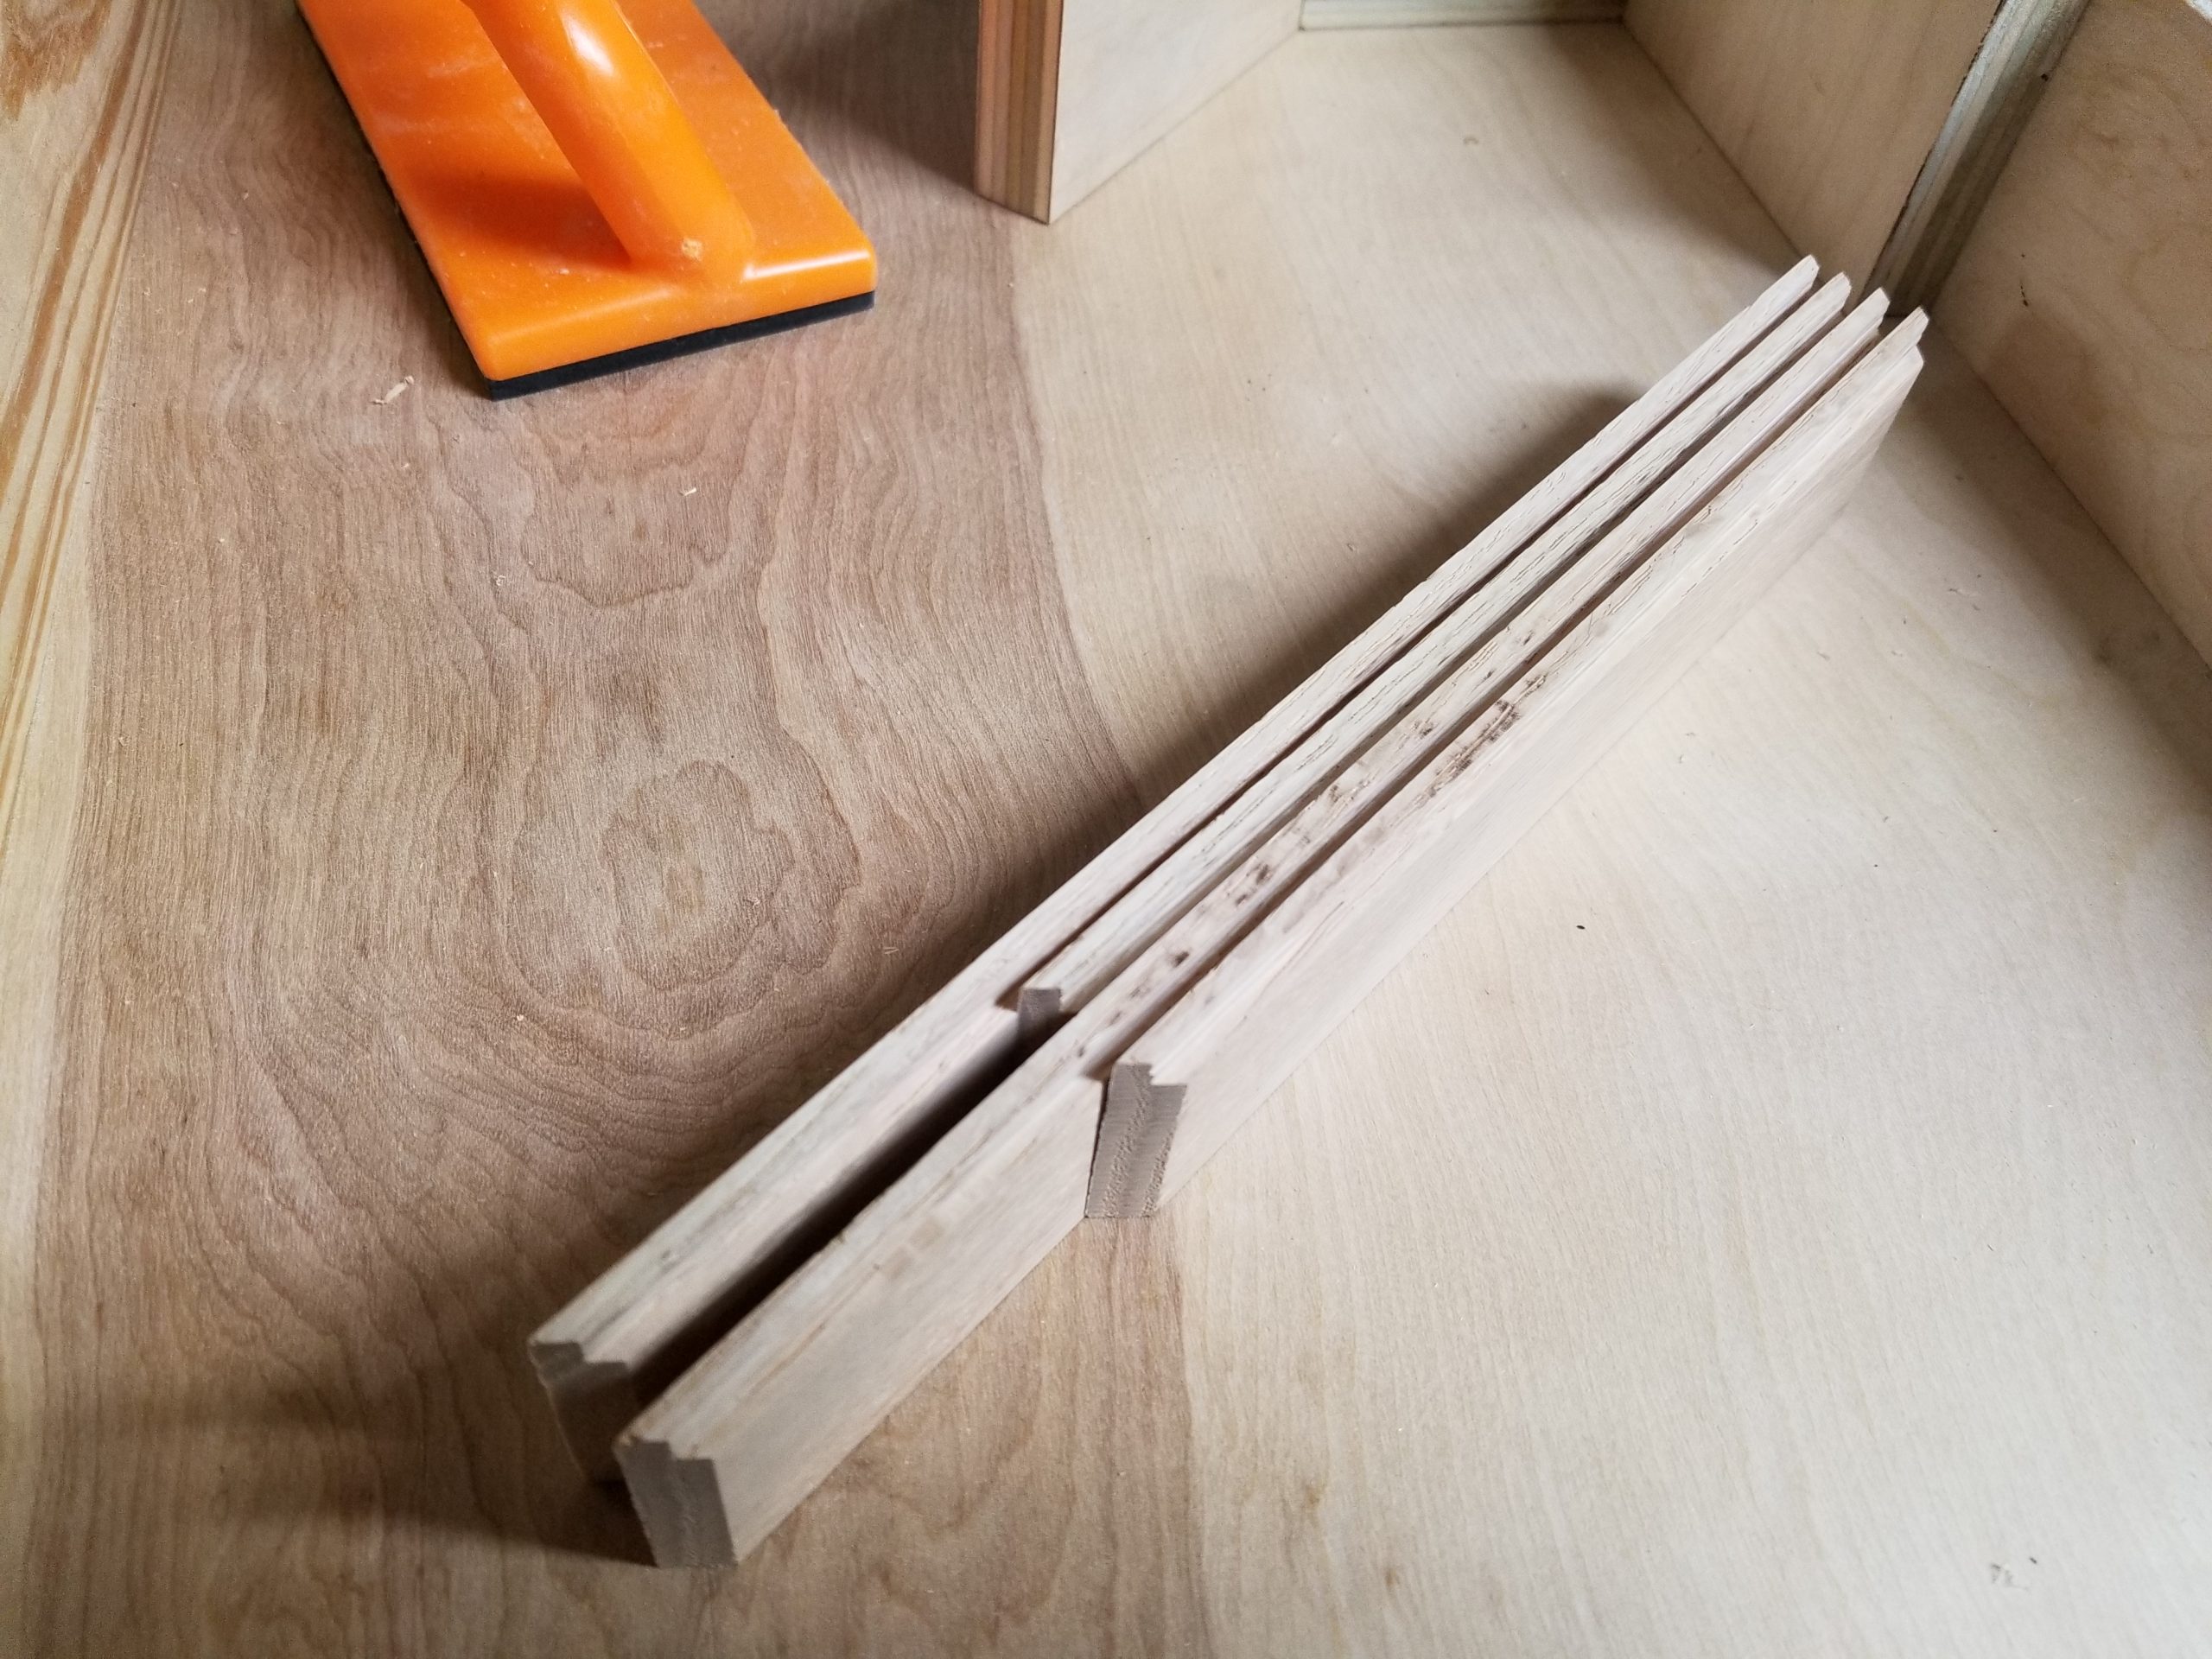
Glamour shot of some completed cuts. All that work for this.
Thanks for looking!


