
Rocinante Name Plate From The Expanse
During lockdown my wife and I binge watched all four released seasons of The Expanse. It is a really great show and I highly recommend a watch if you haven’t already. It also happens to be filled with tons of great props and set pieces, and I found myself really wanting to make something from it. I decided to try and replicate the ship name plate from the Rocinante.

Luckil,y there are a bunch of really good reference photos out there, and the fonts used were fairly common and easy to determine. I started by replicating the layout and overall dimensions in Adobe Illustrator.
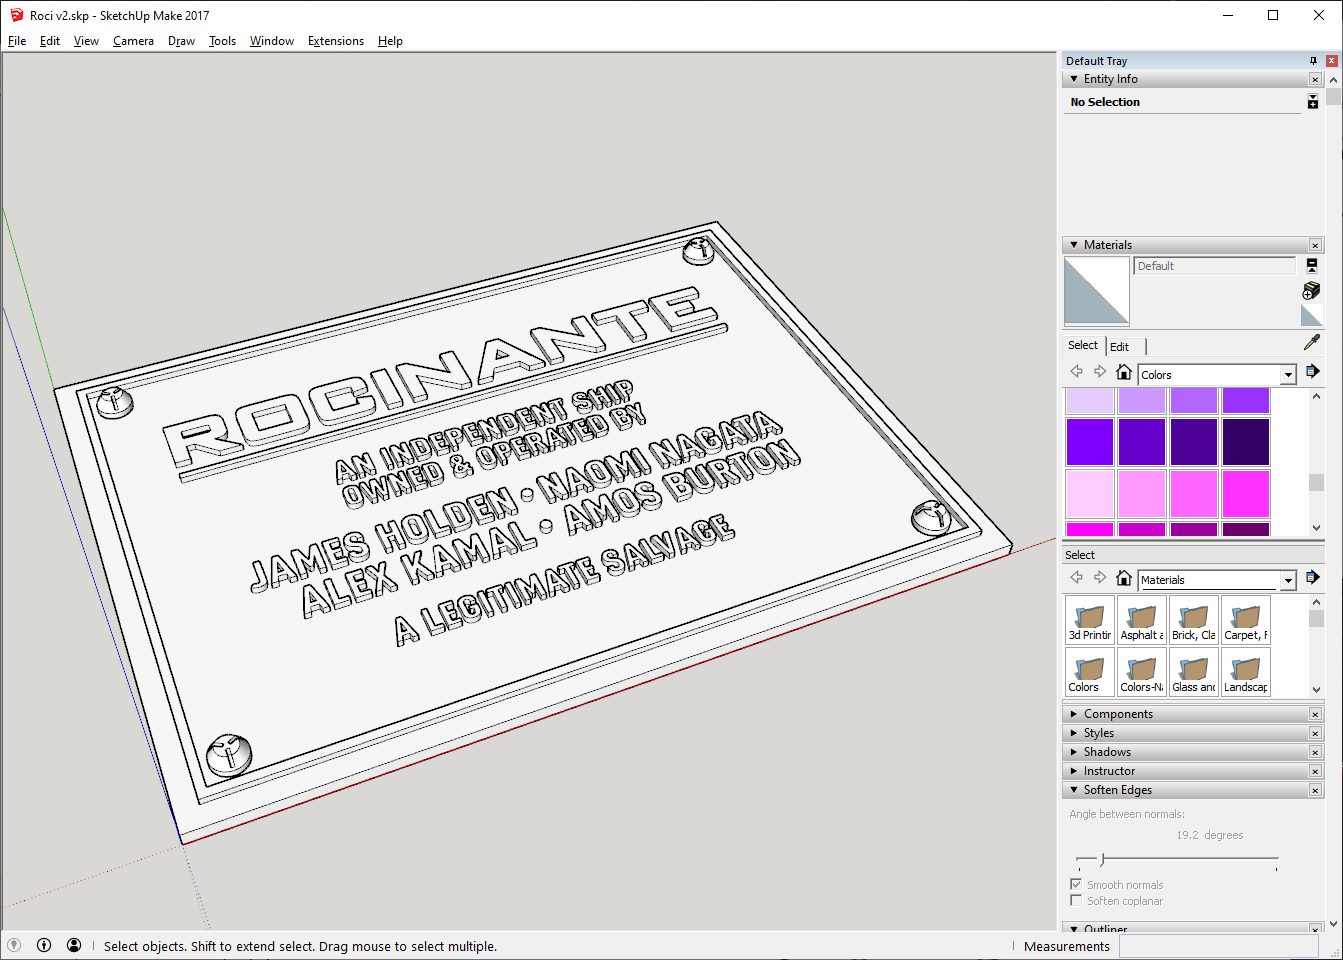
My original plan was to 3d print the whole piece so I moved my line art over to SketchUp and got to work. I quickly found three big problems with this approach. First, the biggest 3d printer I have access to is my friend’s CR-10 which has a maximum build size of 300mm and is too small. The second problem is that I would need to break the plate up into two pieces to make it fit; meaning creating joining seams and a lot of extra finishing work. Third, printing each half would take almost 24 hours each due to the massive surface area. Instead, I was convinced by the same friend to simply laser cut the pieces out of 1/8” MDF which would take a whopping 20 minutes.
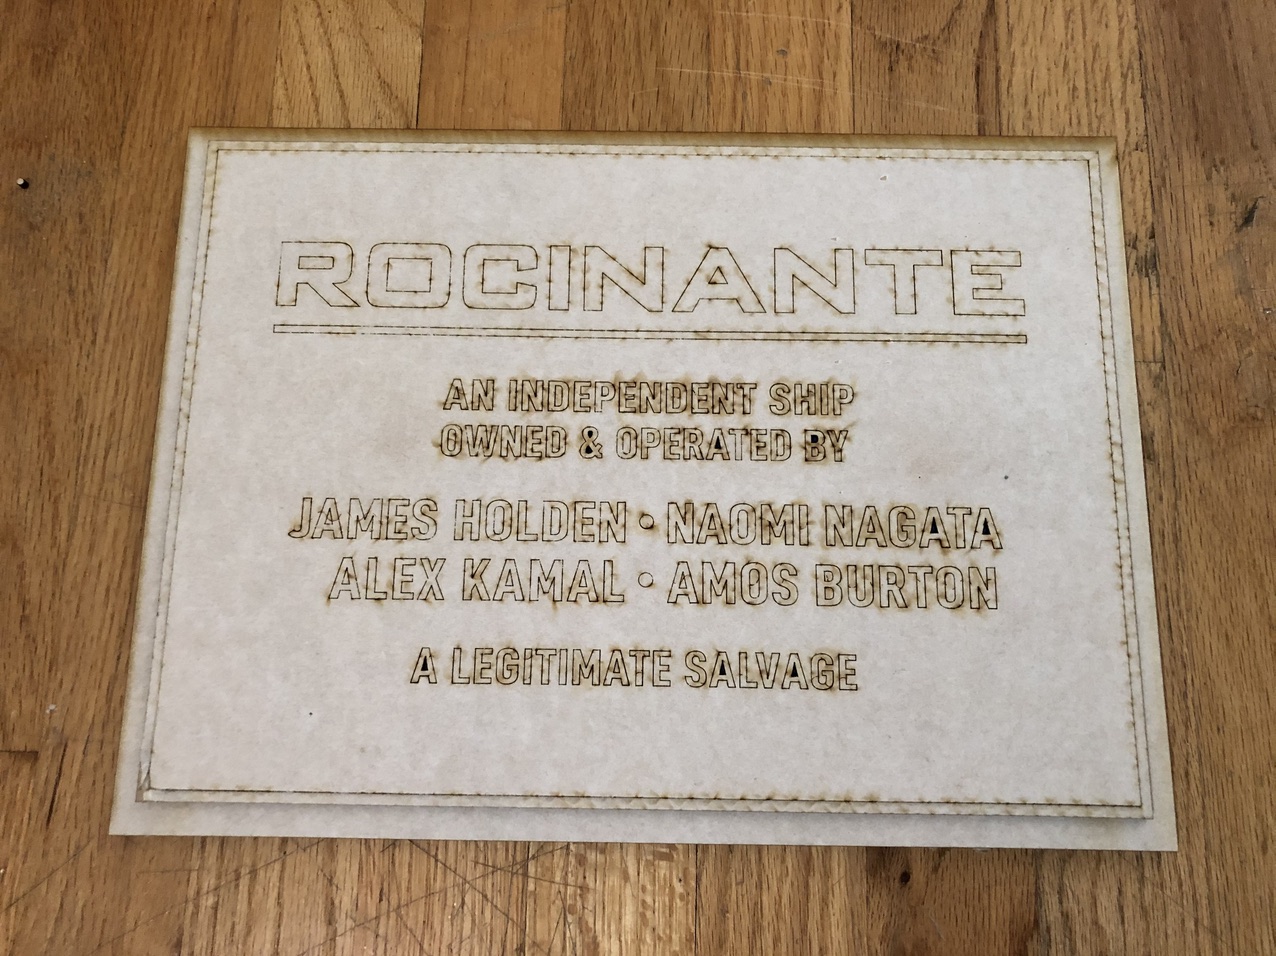
It was very easy to export my original Illustrator artwork out into SVG files for the laser cutter. The whole plate is made out of three sheets of 1/8” MDF. One sheet for the letters, and two glued together to make up with 1/4″ back plate with recessed holes for the mounting bolts.
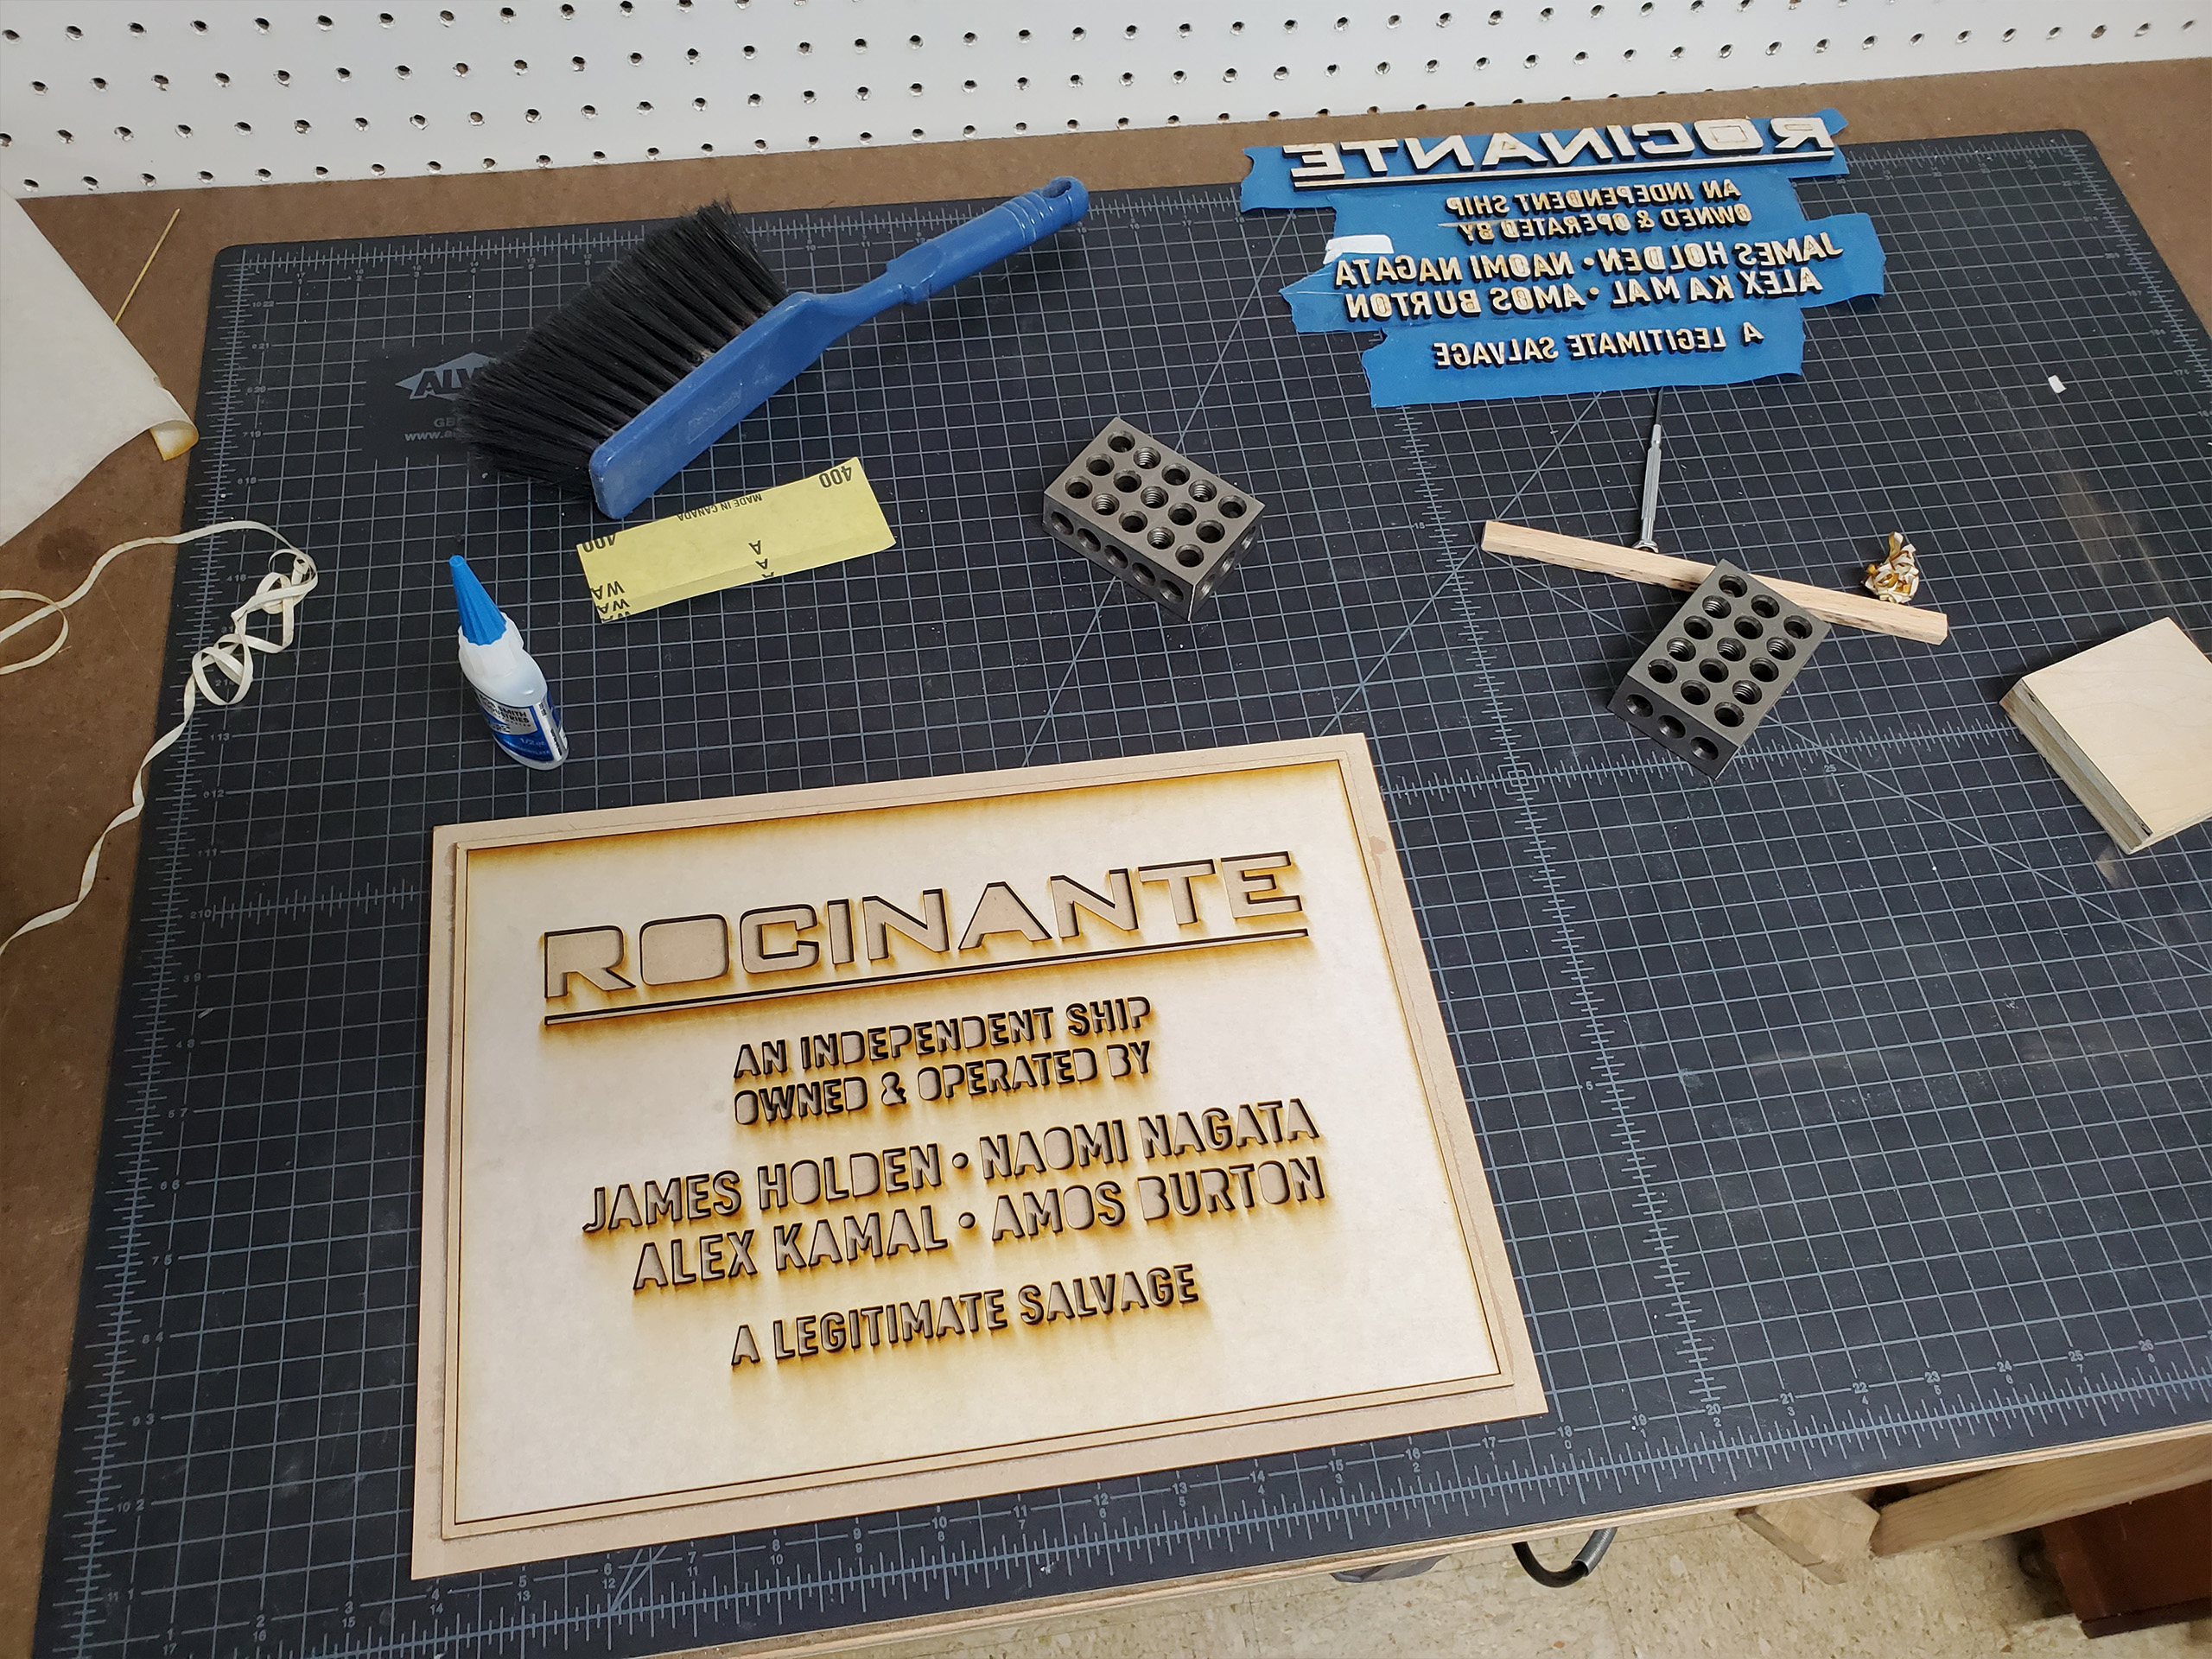
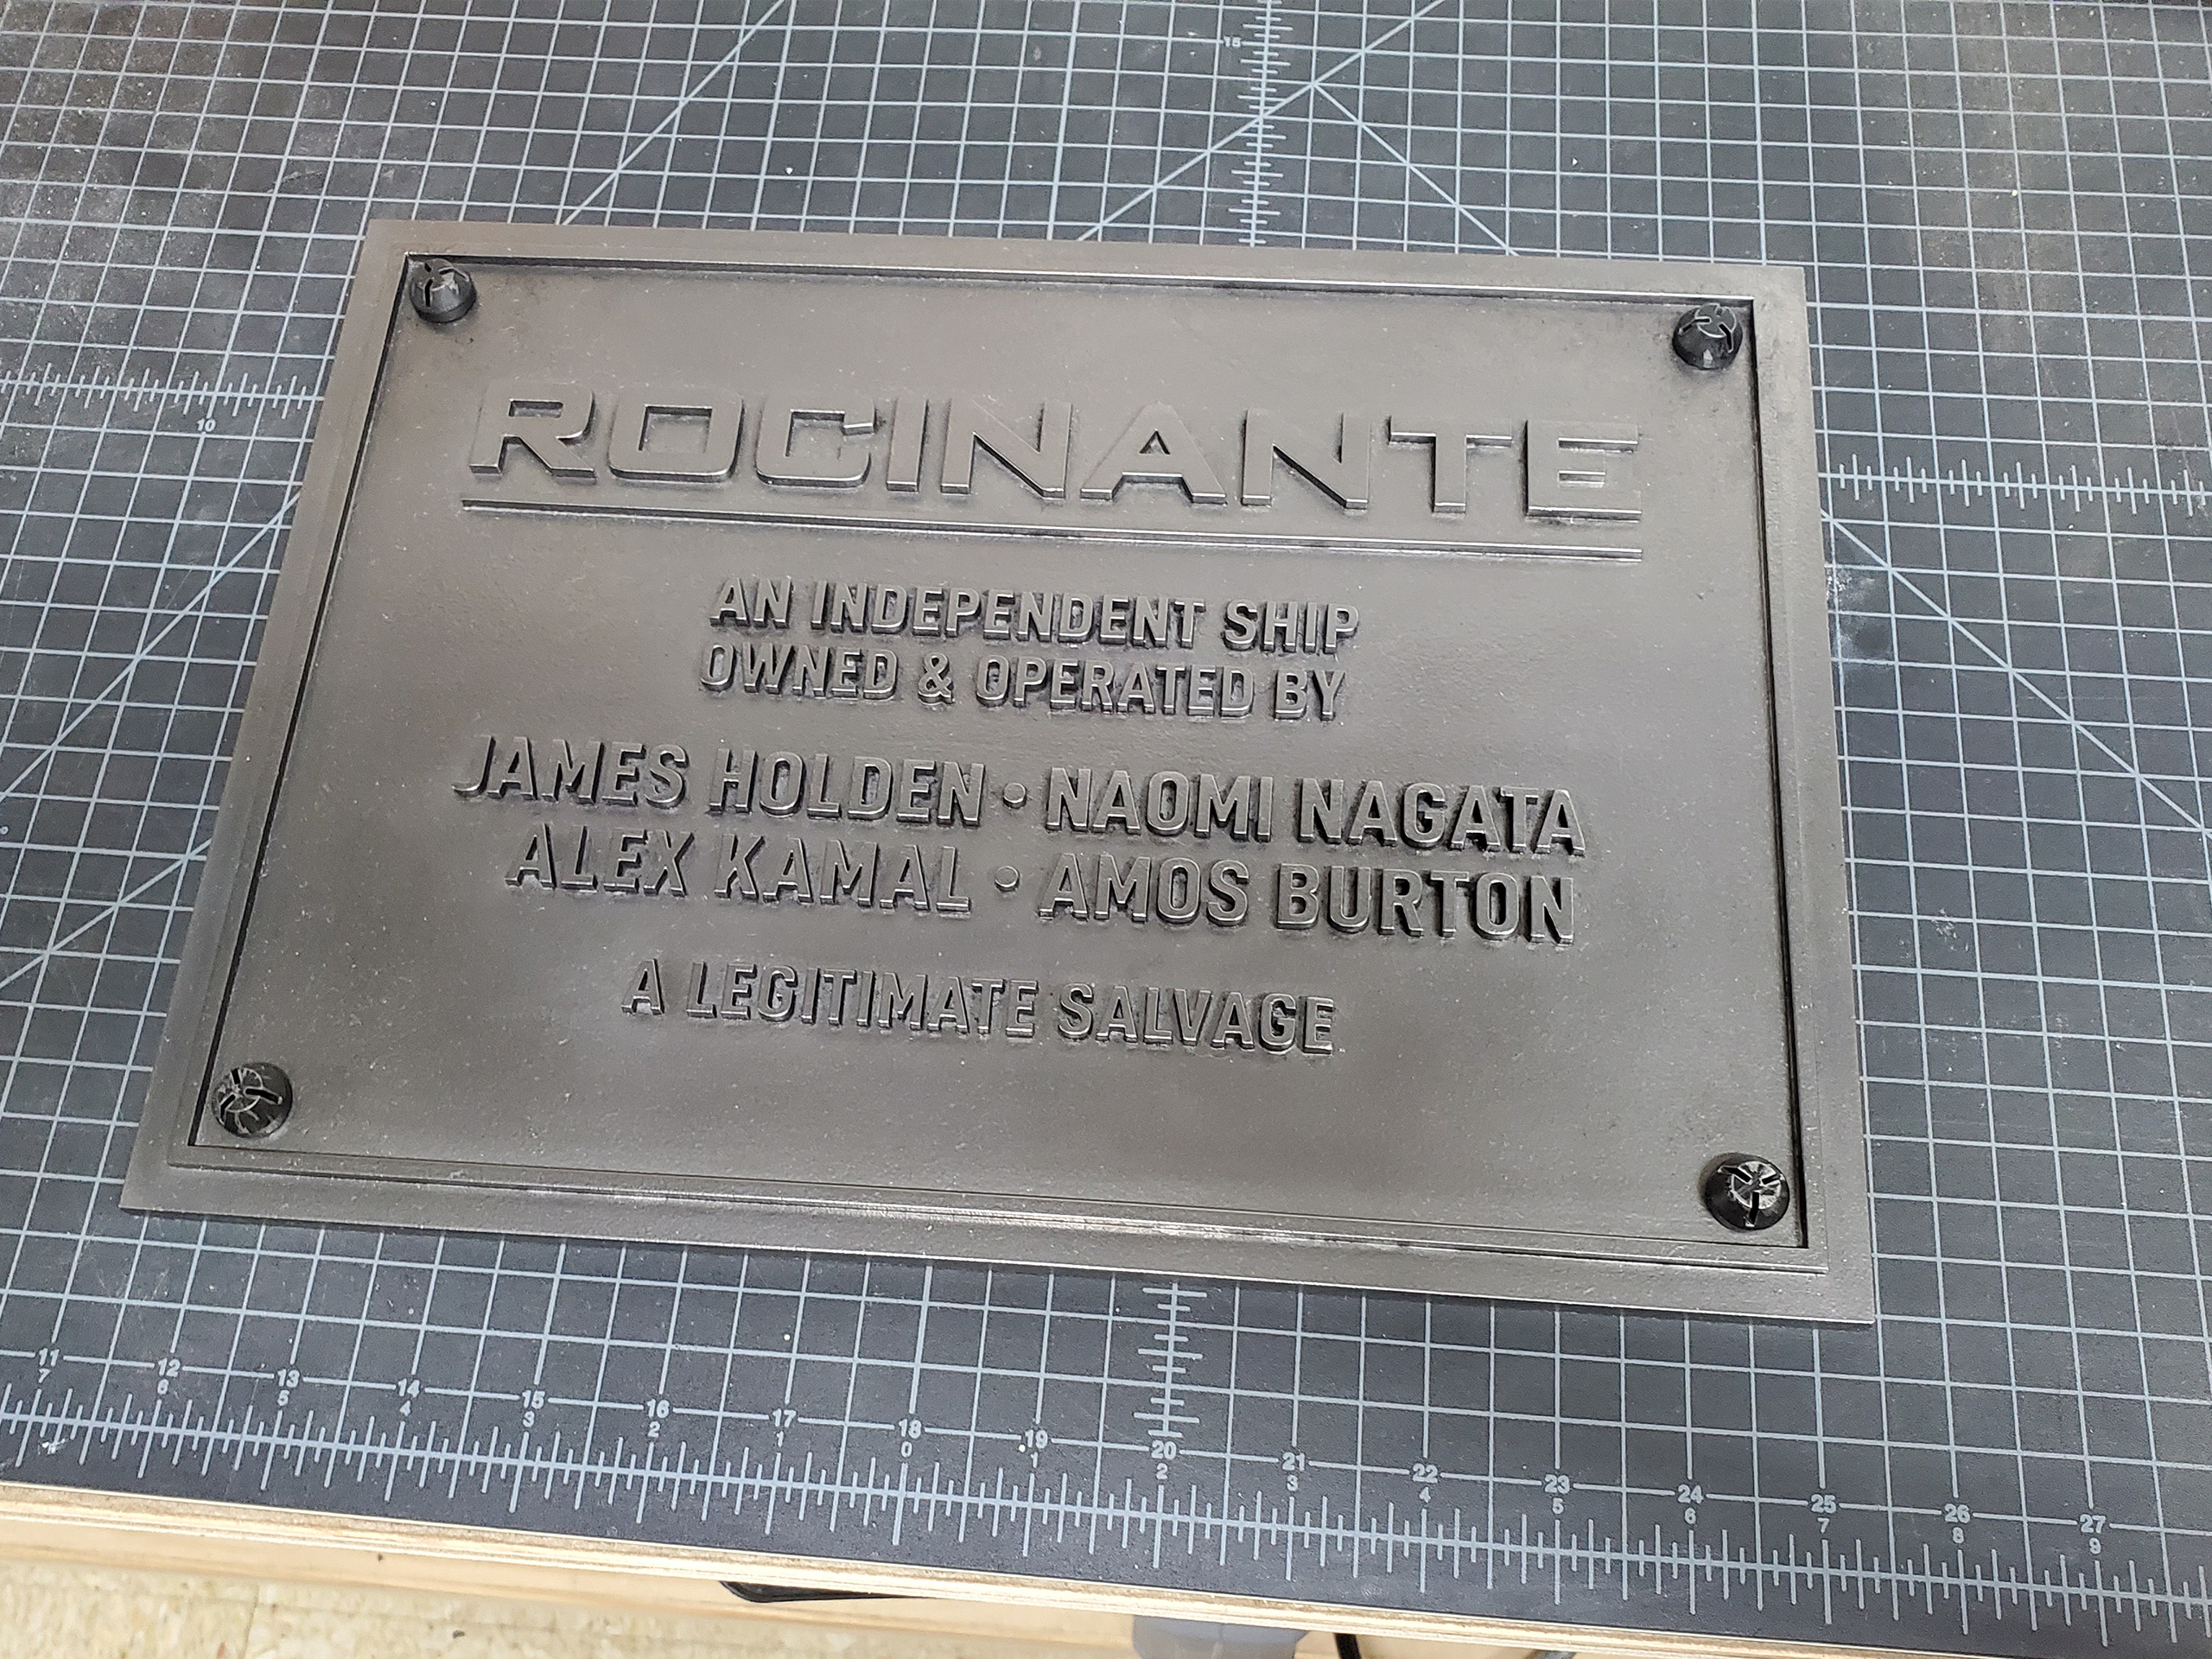
With everything in hand, I glued the two base plates together and then carefully used the “letter discard piece” as a template to glue each letter into place individually.
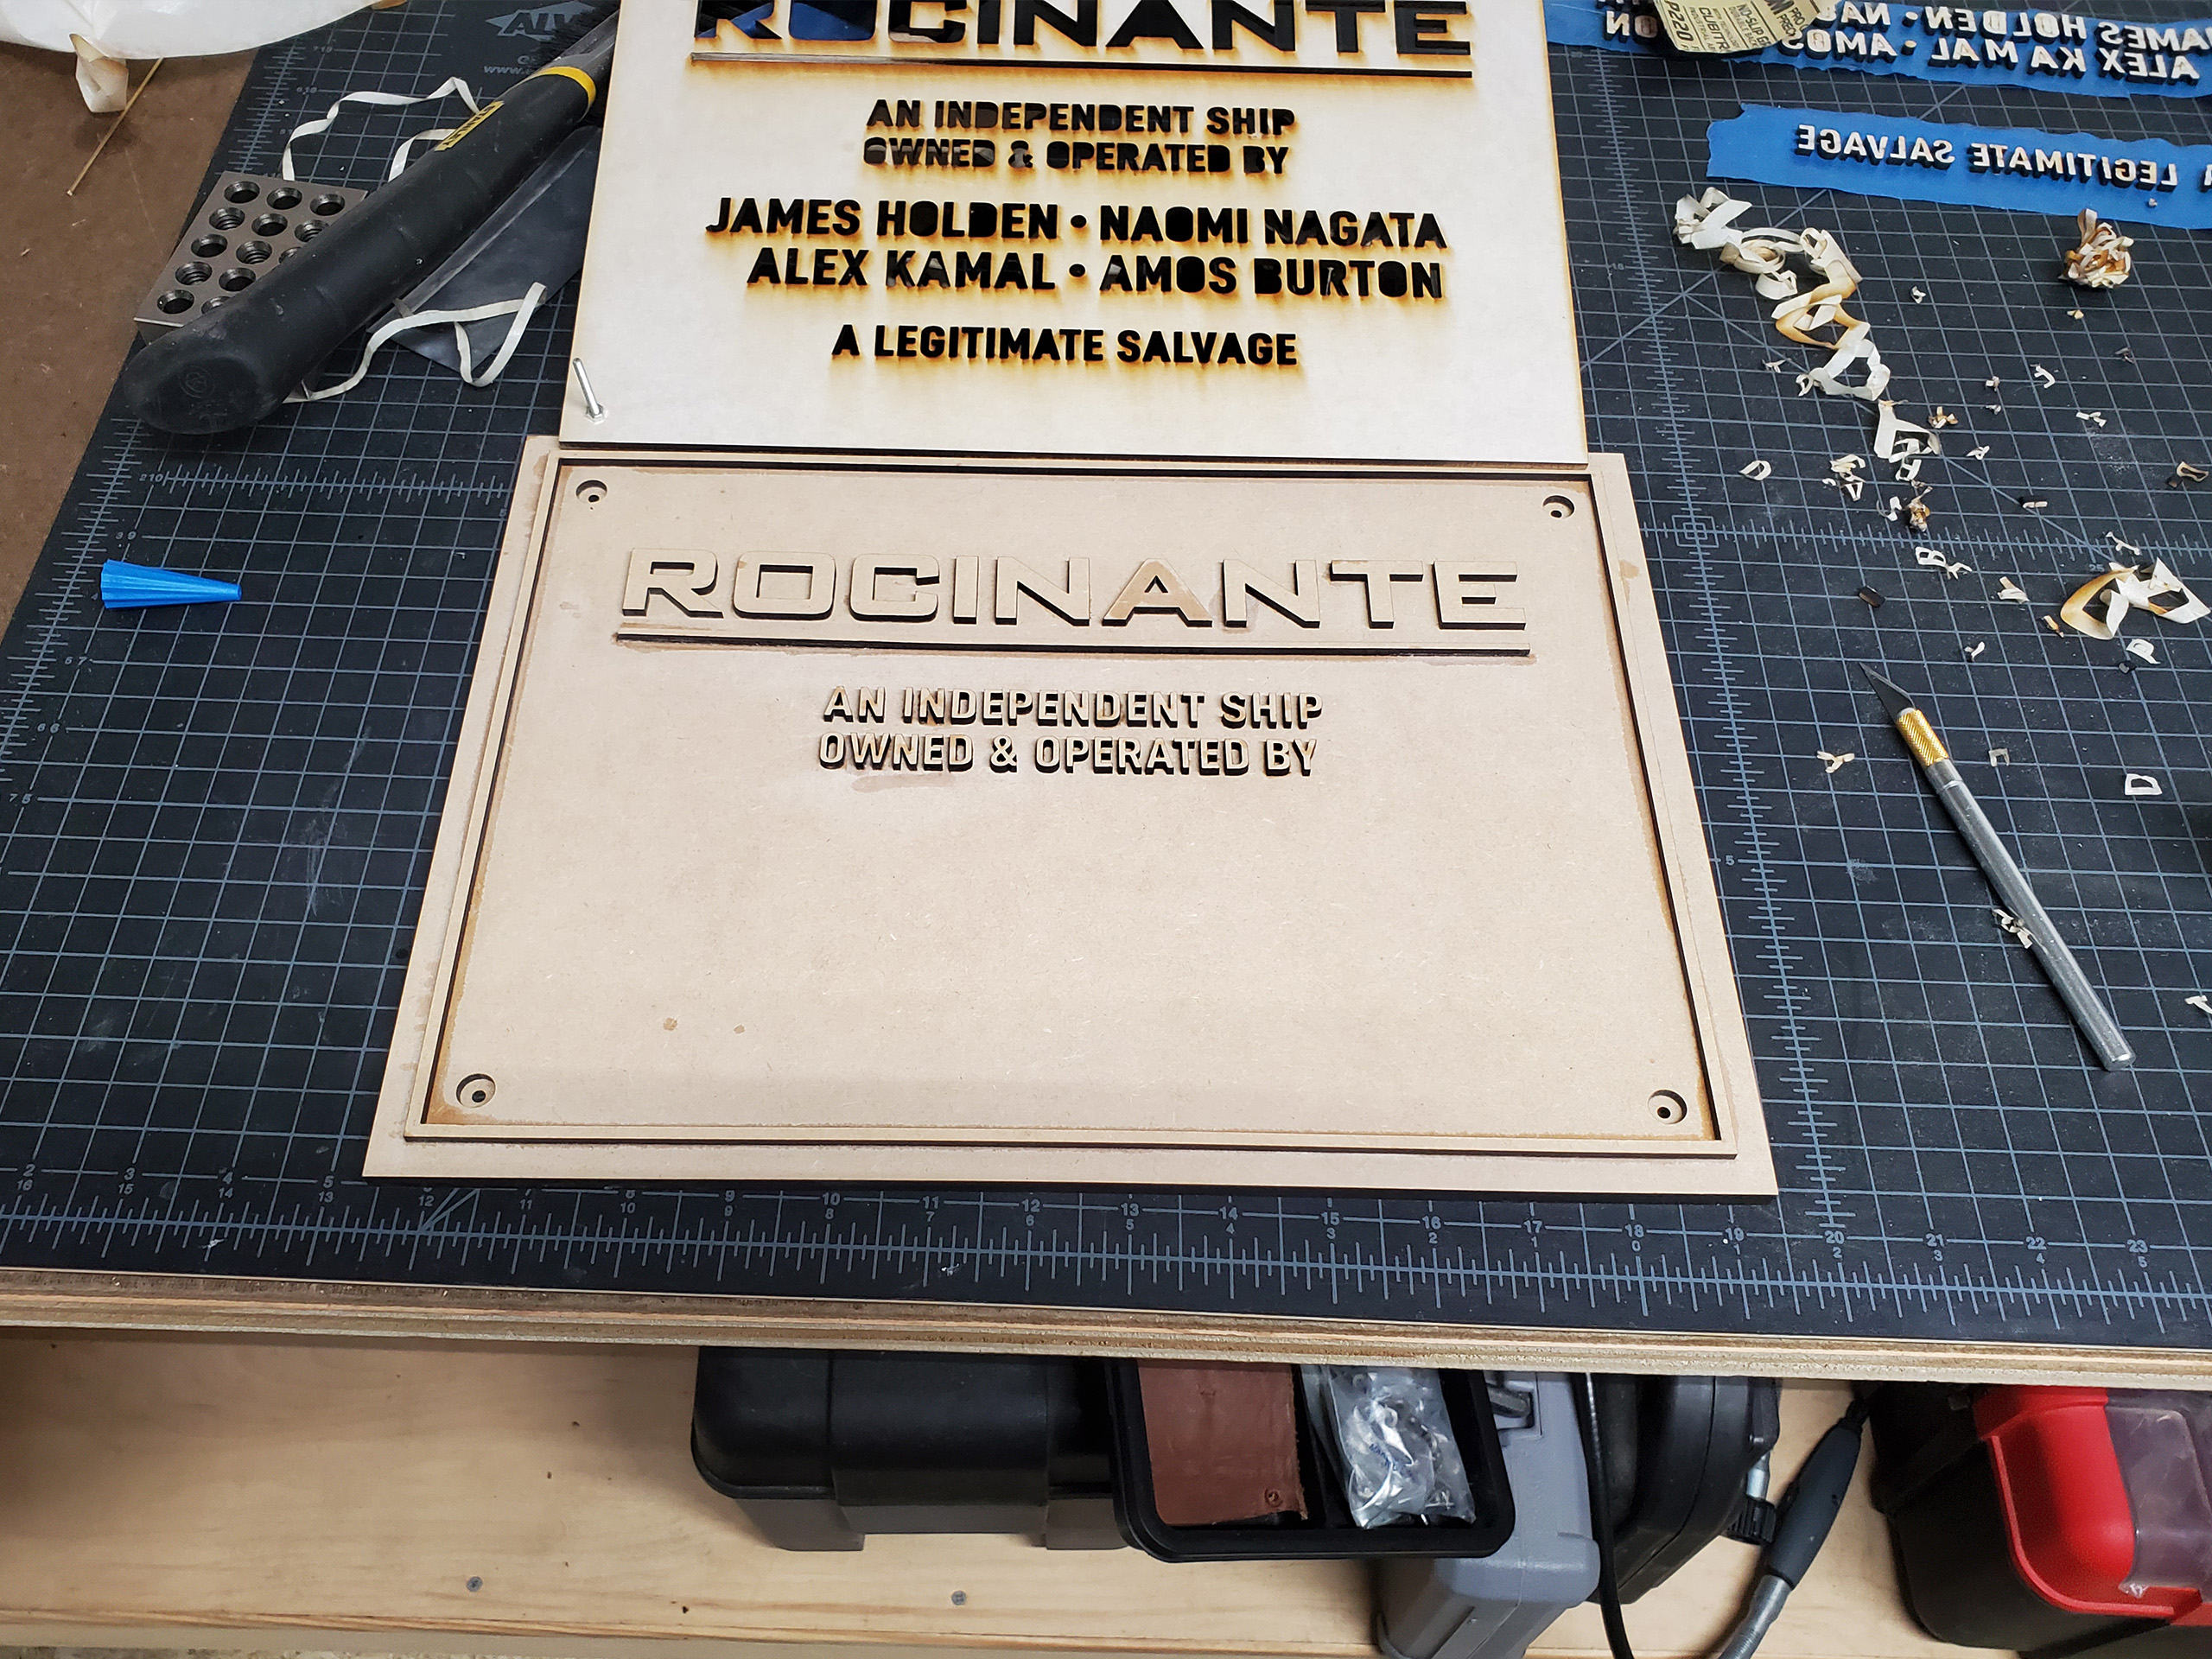
This part took a few hours and a lot of patience. I would place the template down, and then glue two letters into place using thin superglue. Then, remove the template and wait for everything to dry before repeating.
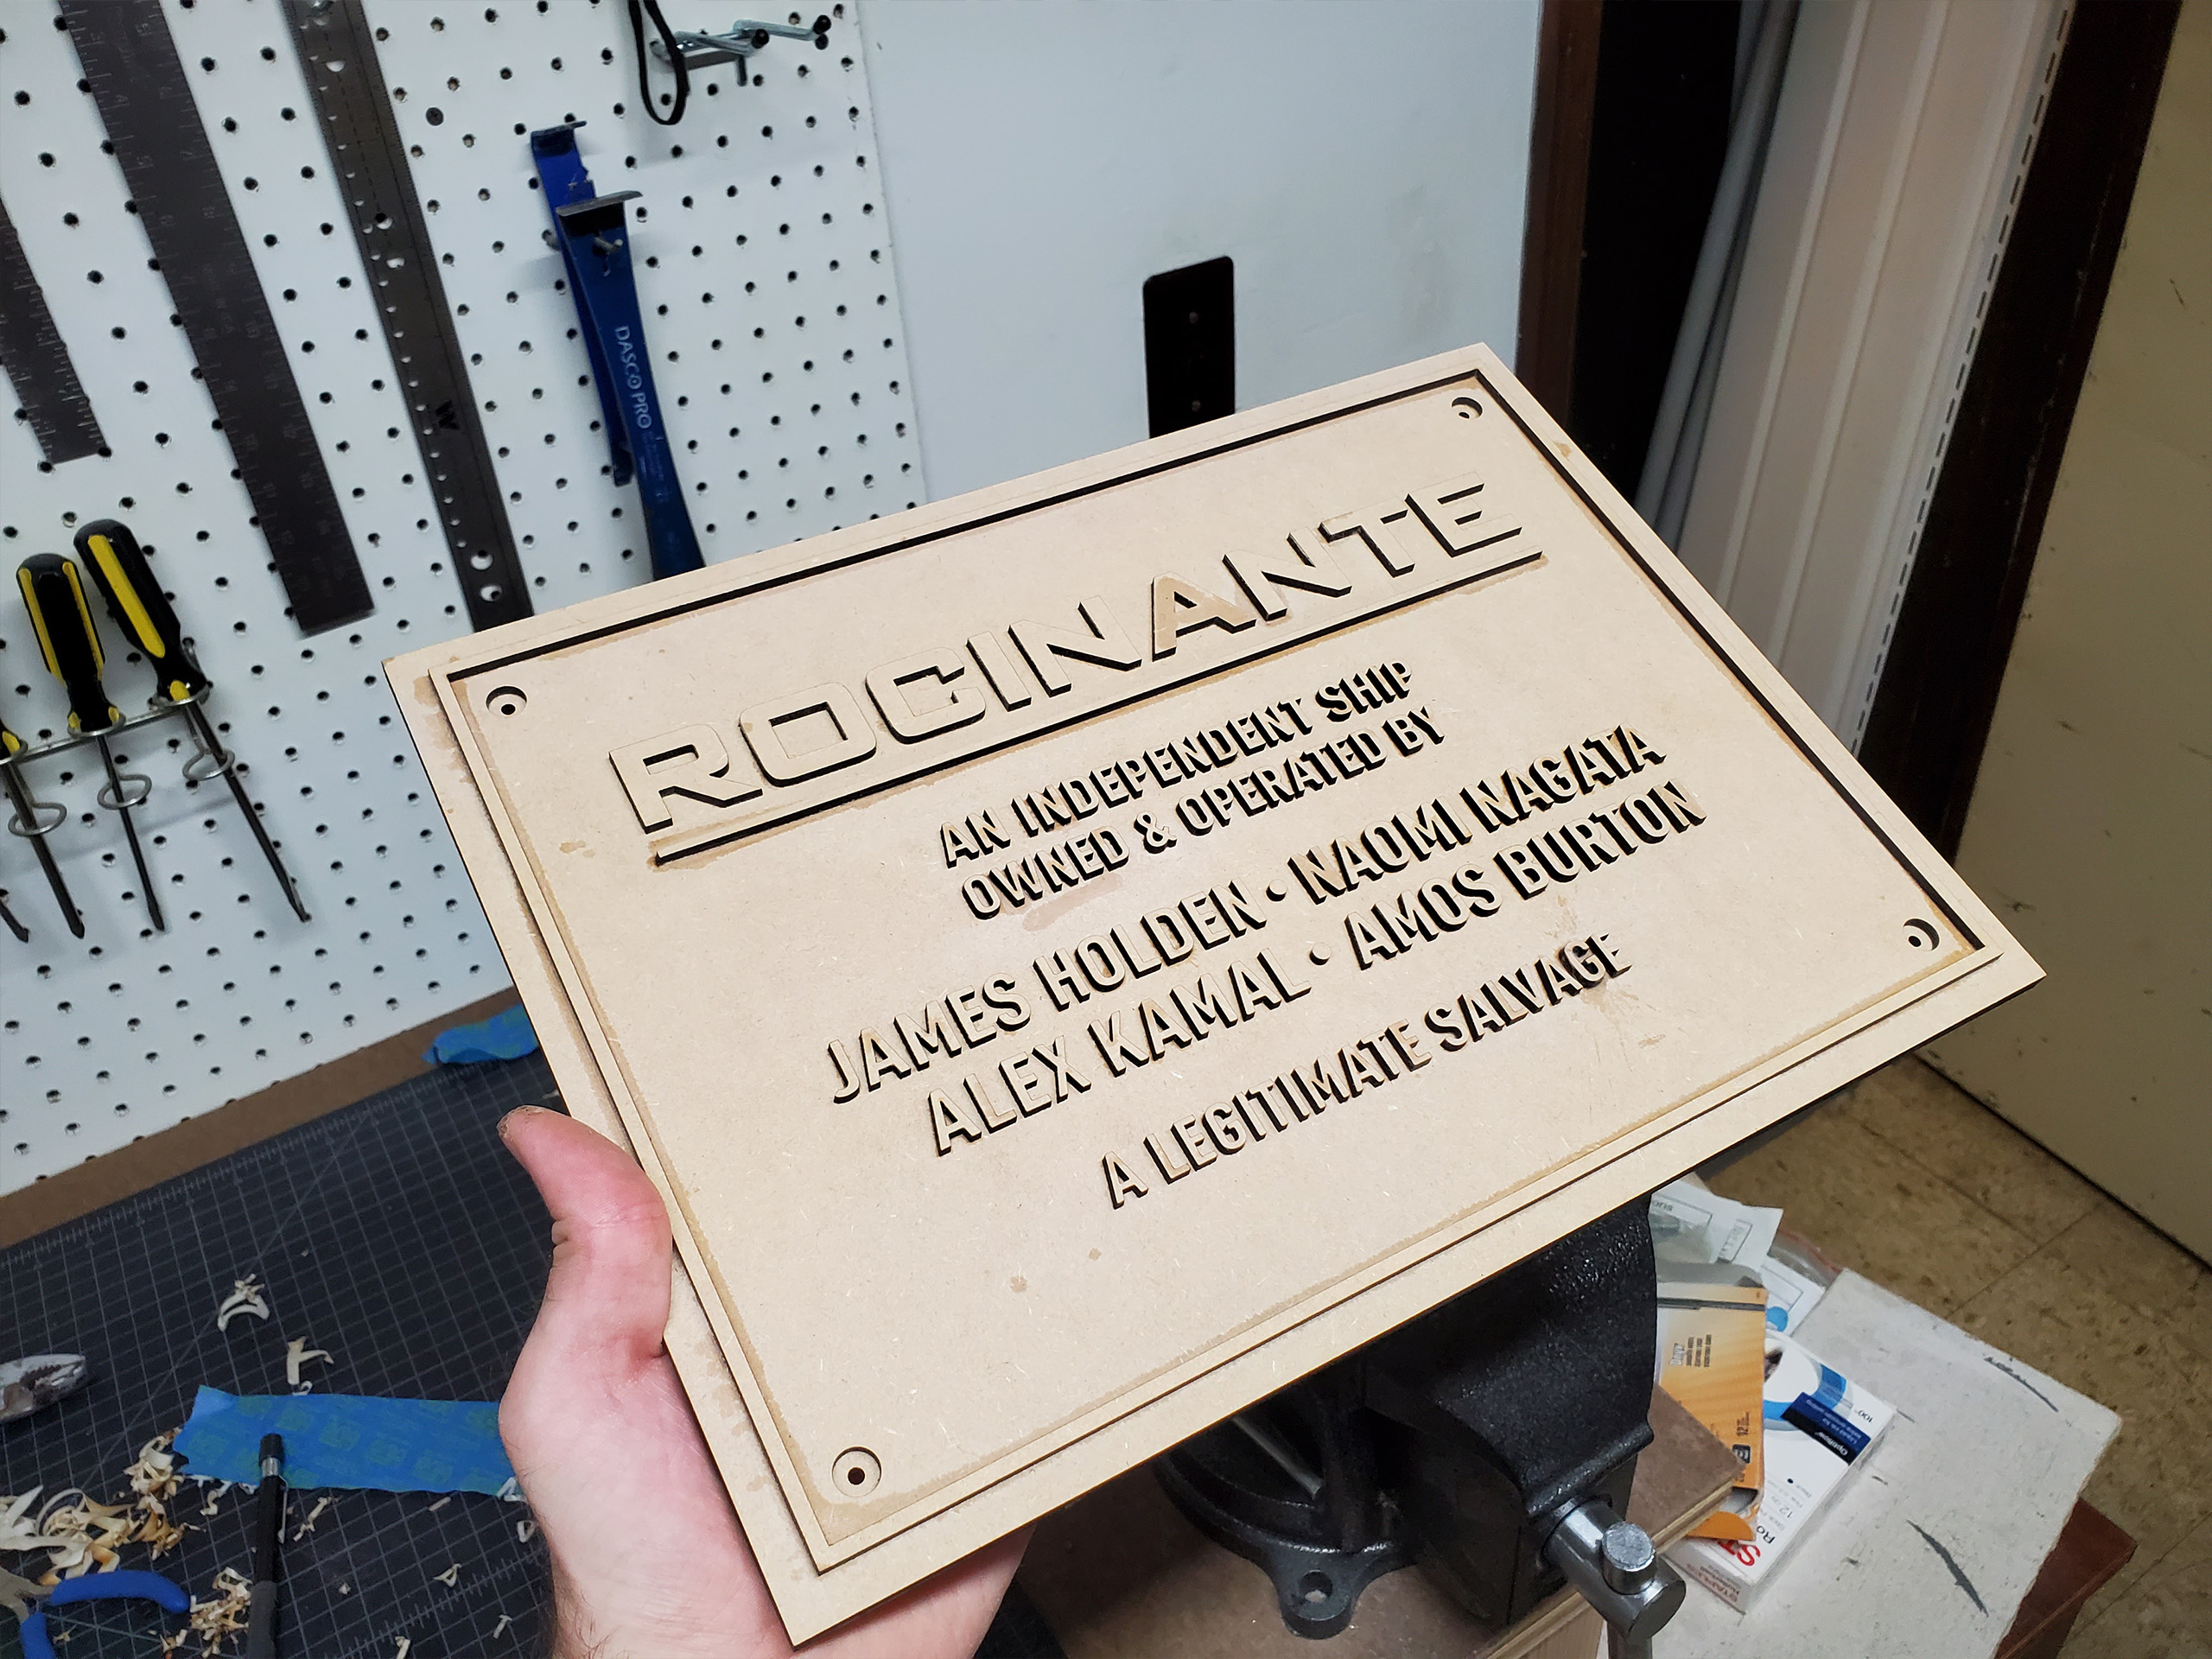
Here is the completed glue up. You can’t see it here too well, but my fingers are absolutely caked with superglue at this point.
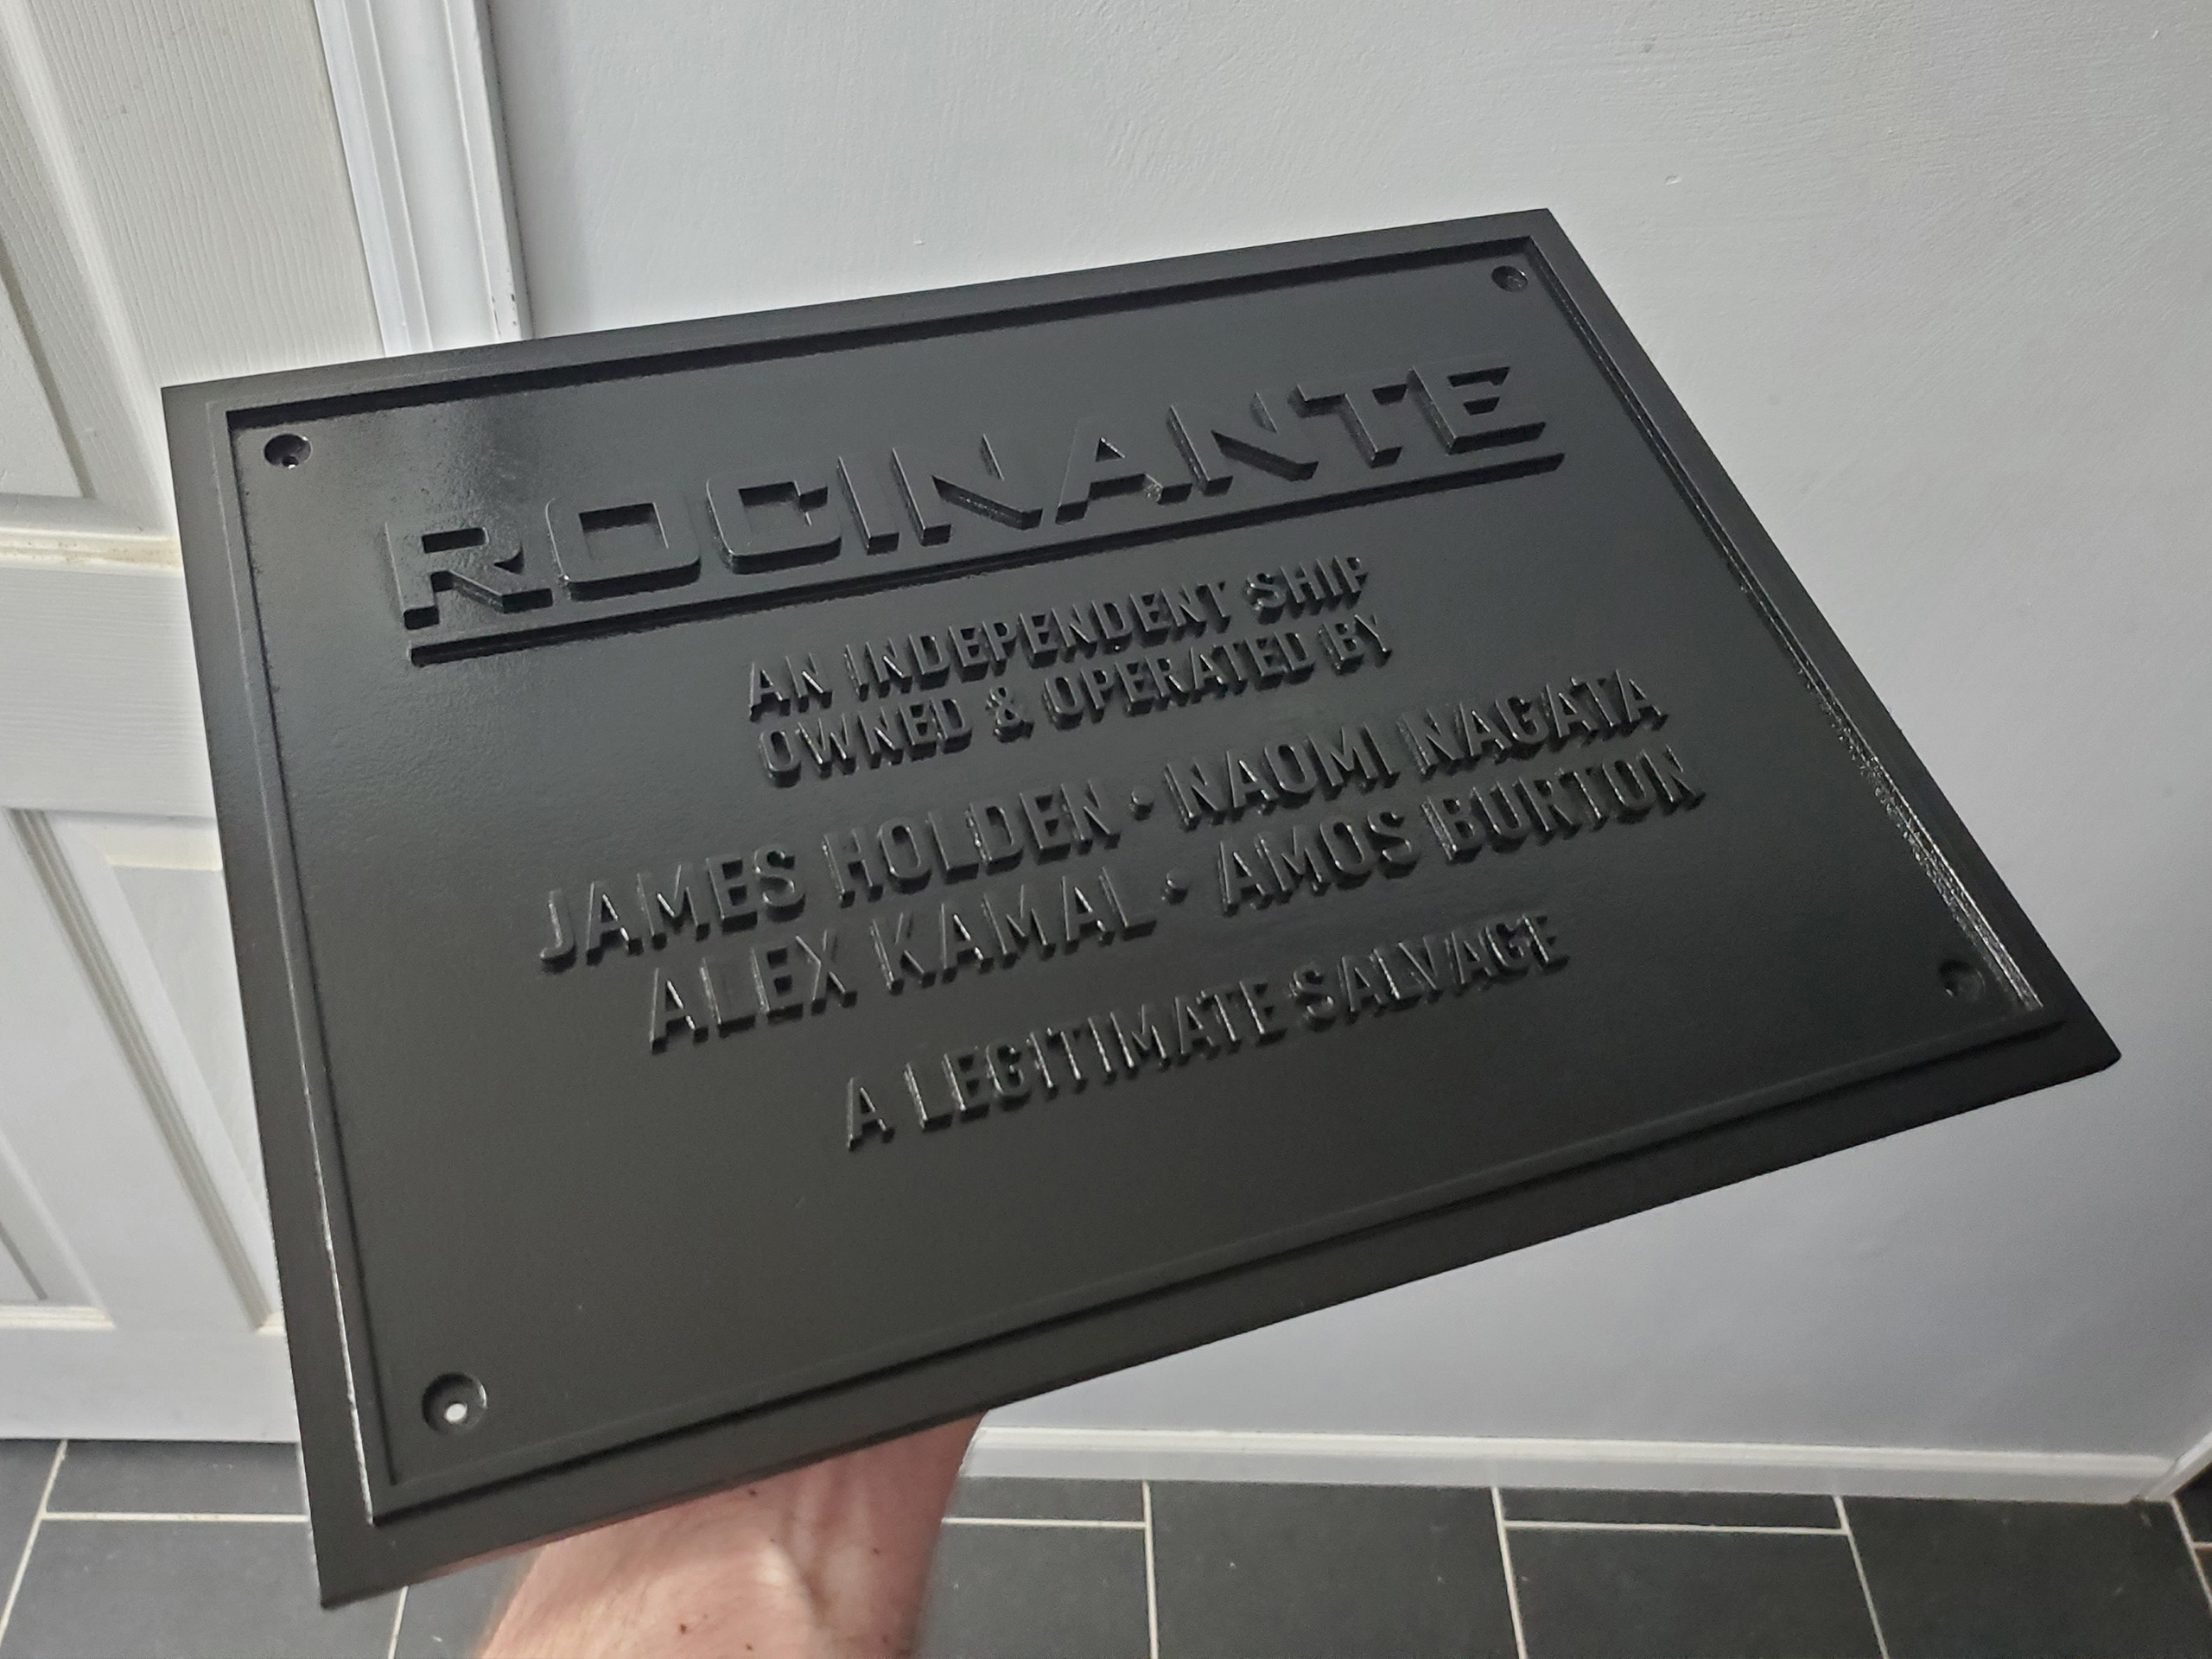
The next thing to do was lightly sand the whole piece and give in a good thick coat of gloss black to seal everything together.
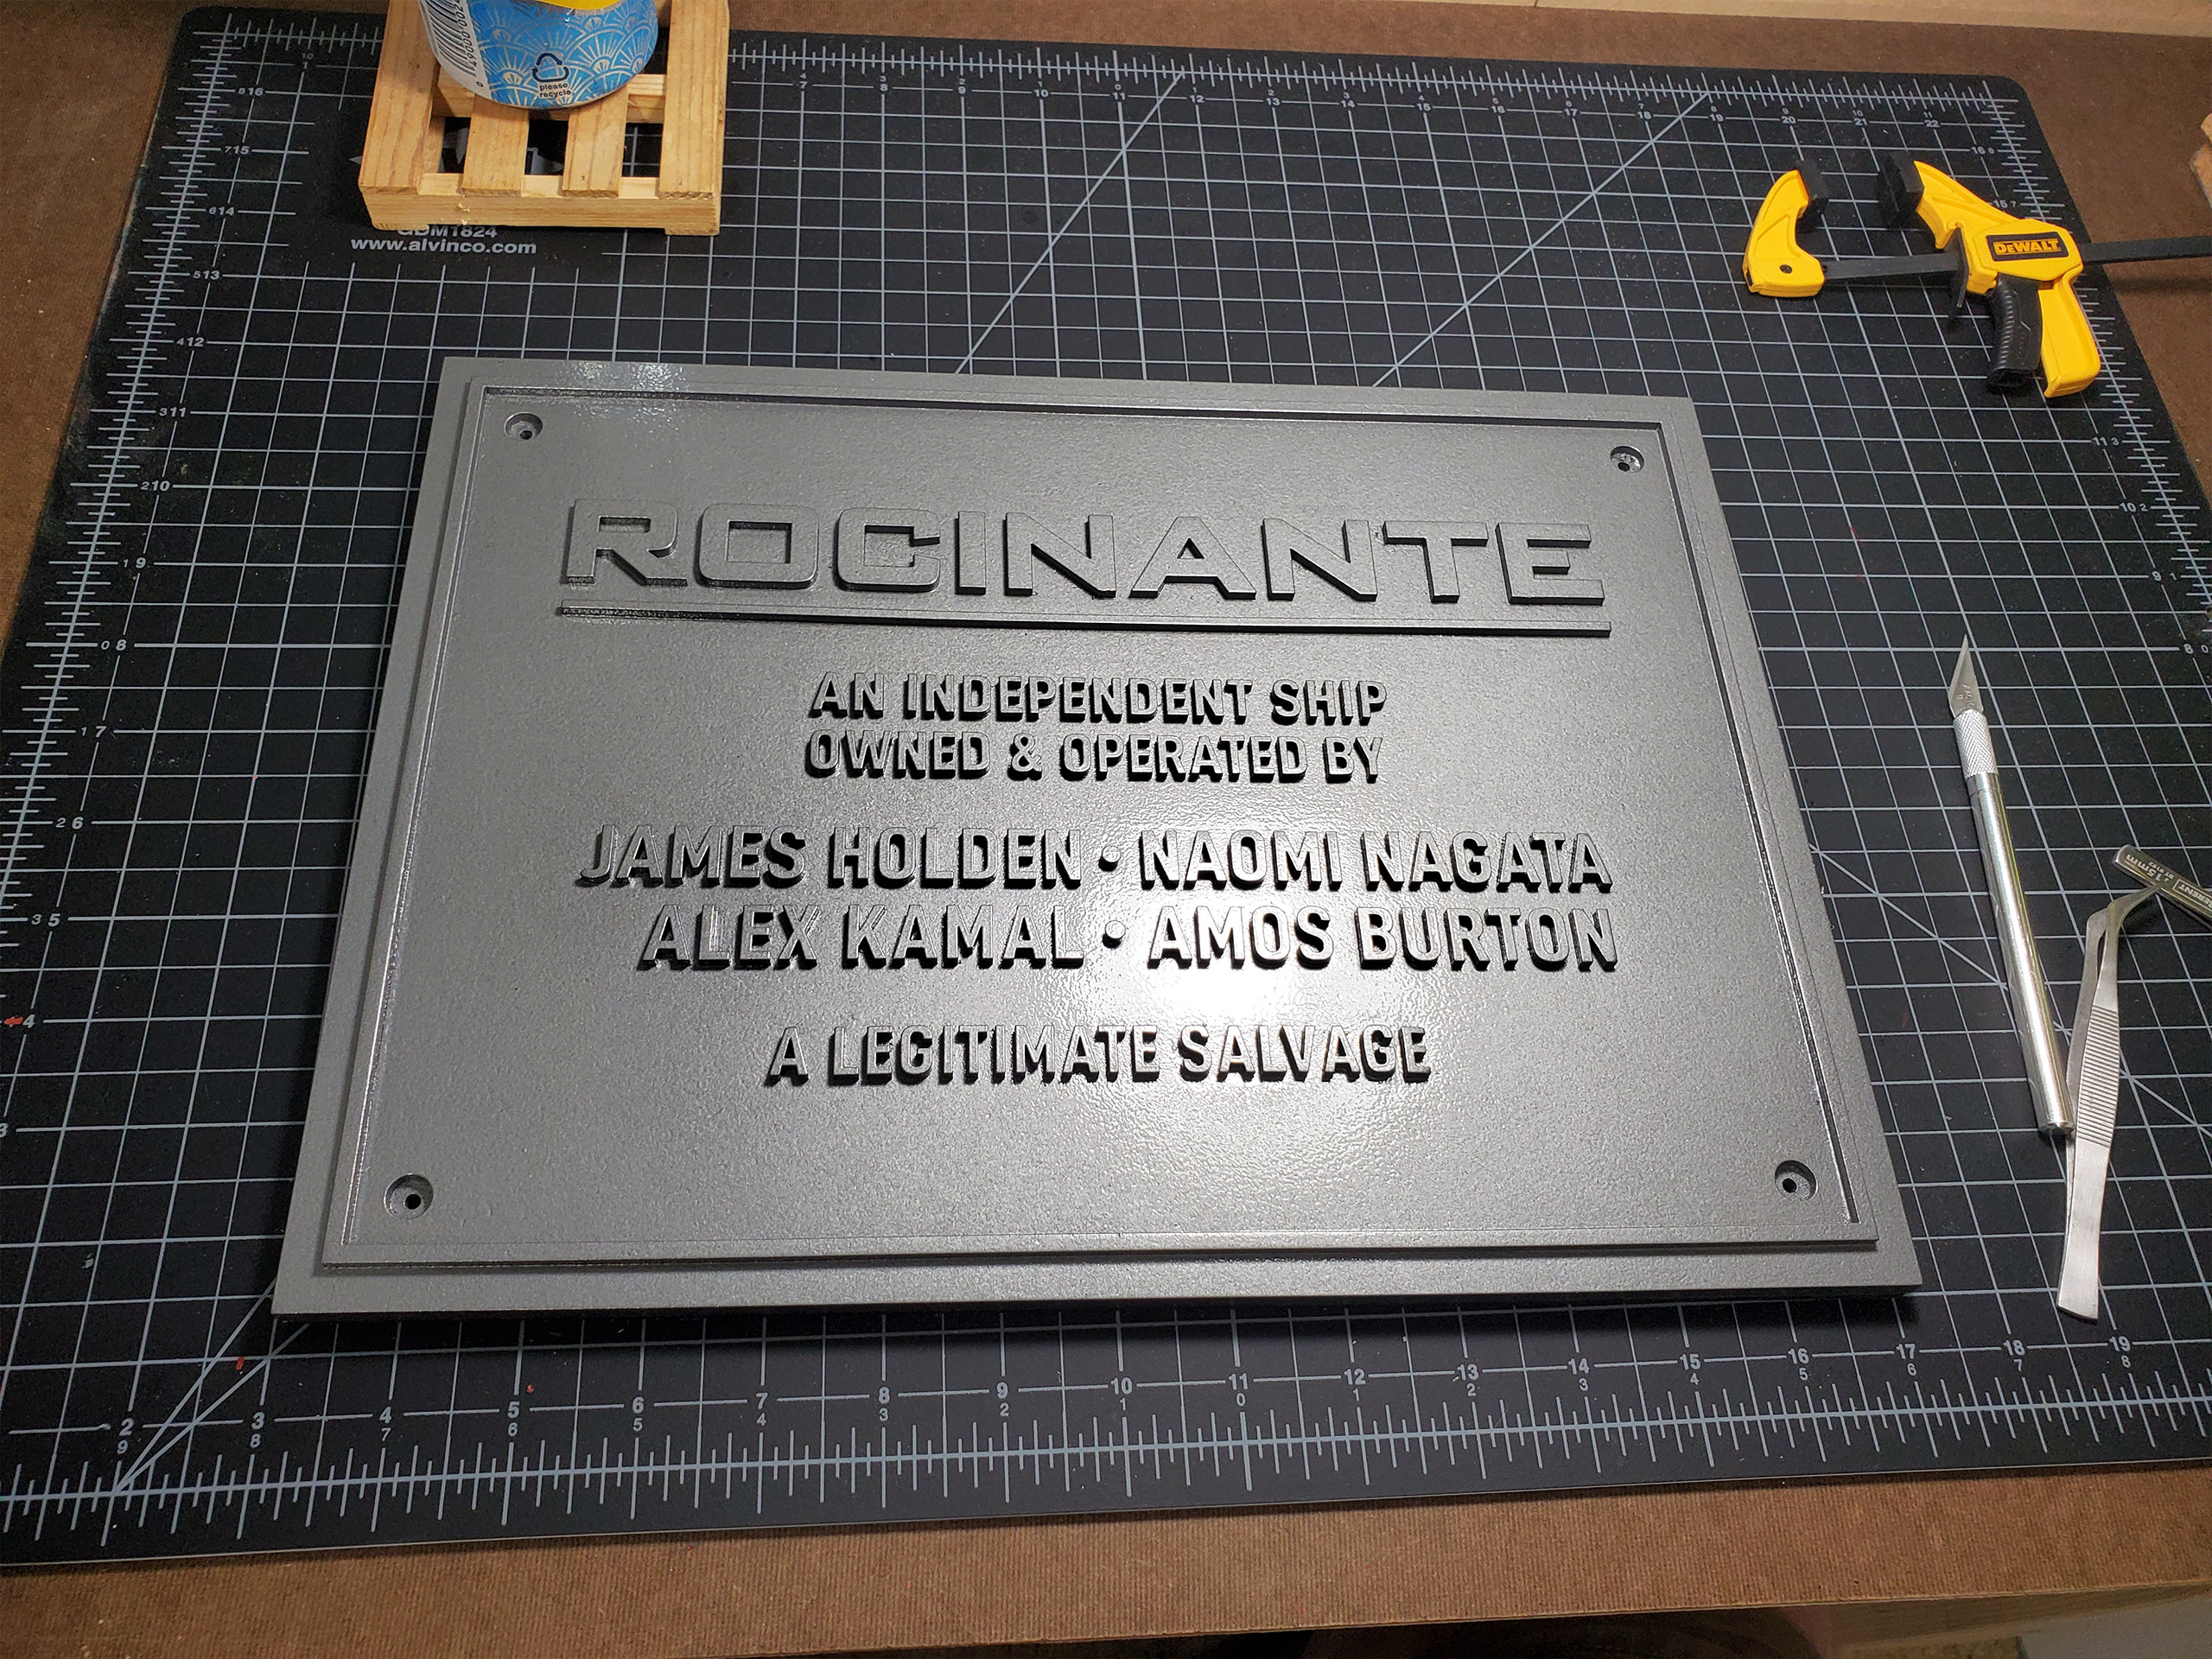
The piece was left to sit for about 24 hours to dry. Then I painted the whole thing with Rust-Oleum gray hammered finish paint. This gave the whole piece a nice slight texture to make it better resemble metal.
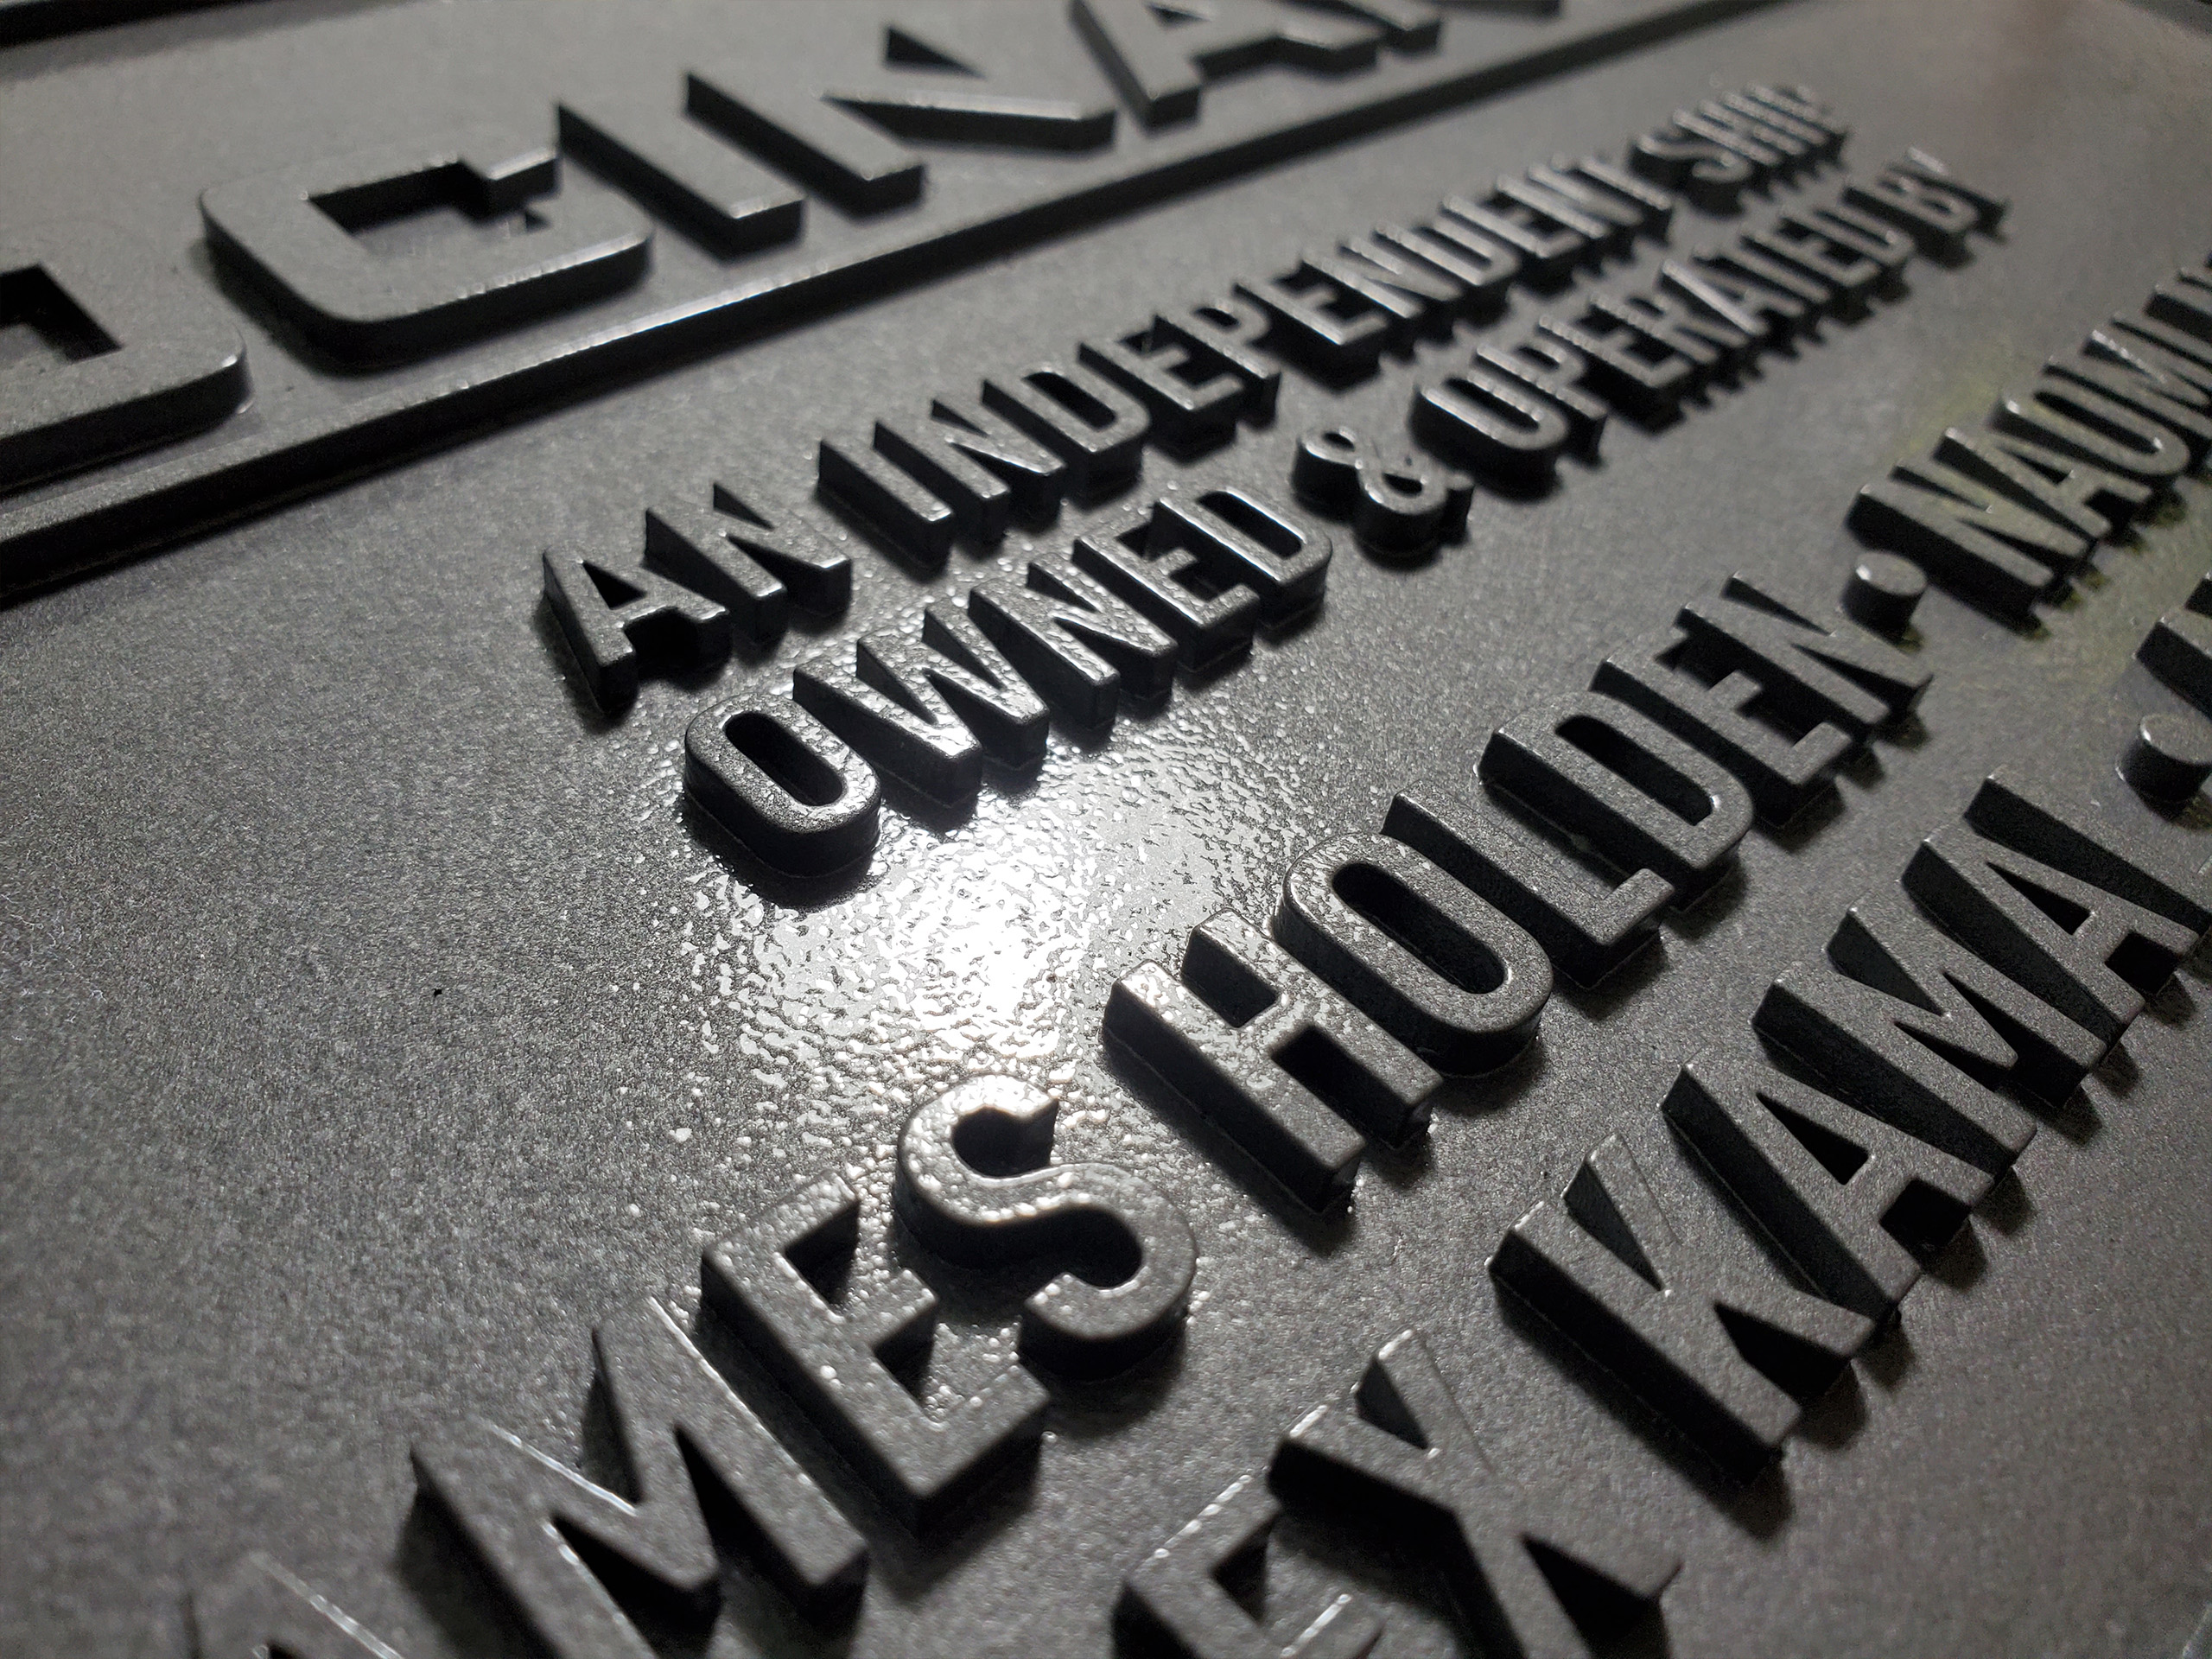
Here is an up-close of the texture.
Next I gave the whole piece a final rubdown with powdered graphite to really sell the metal look, and a clear coat of aqua gloss to seal it all together.
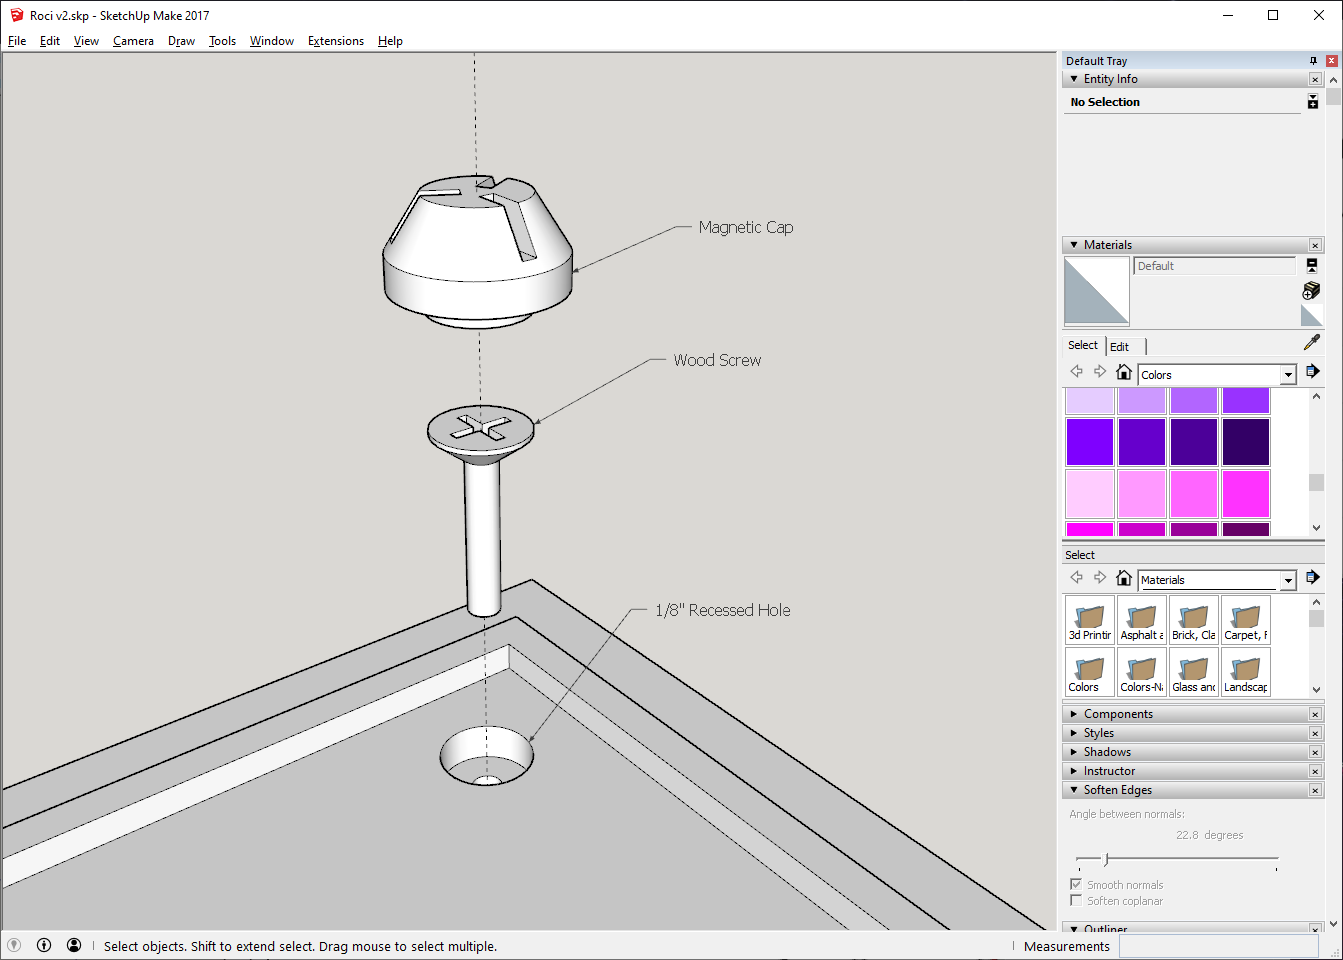
For the corner bolts, I created a quick model in SketchUp. The bolts each contain a small 5mm magnet which attaches to the screw used to hold the plate to the wall.
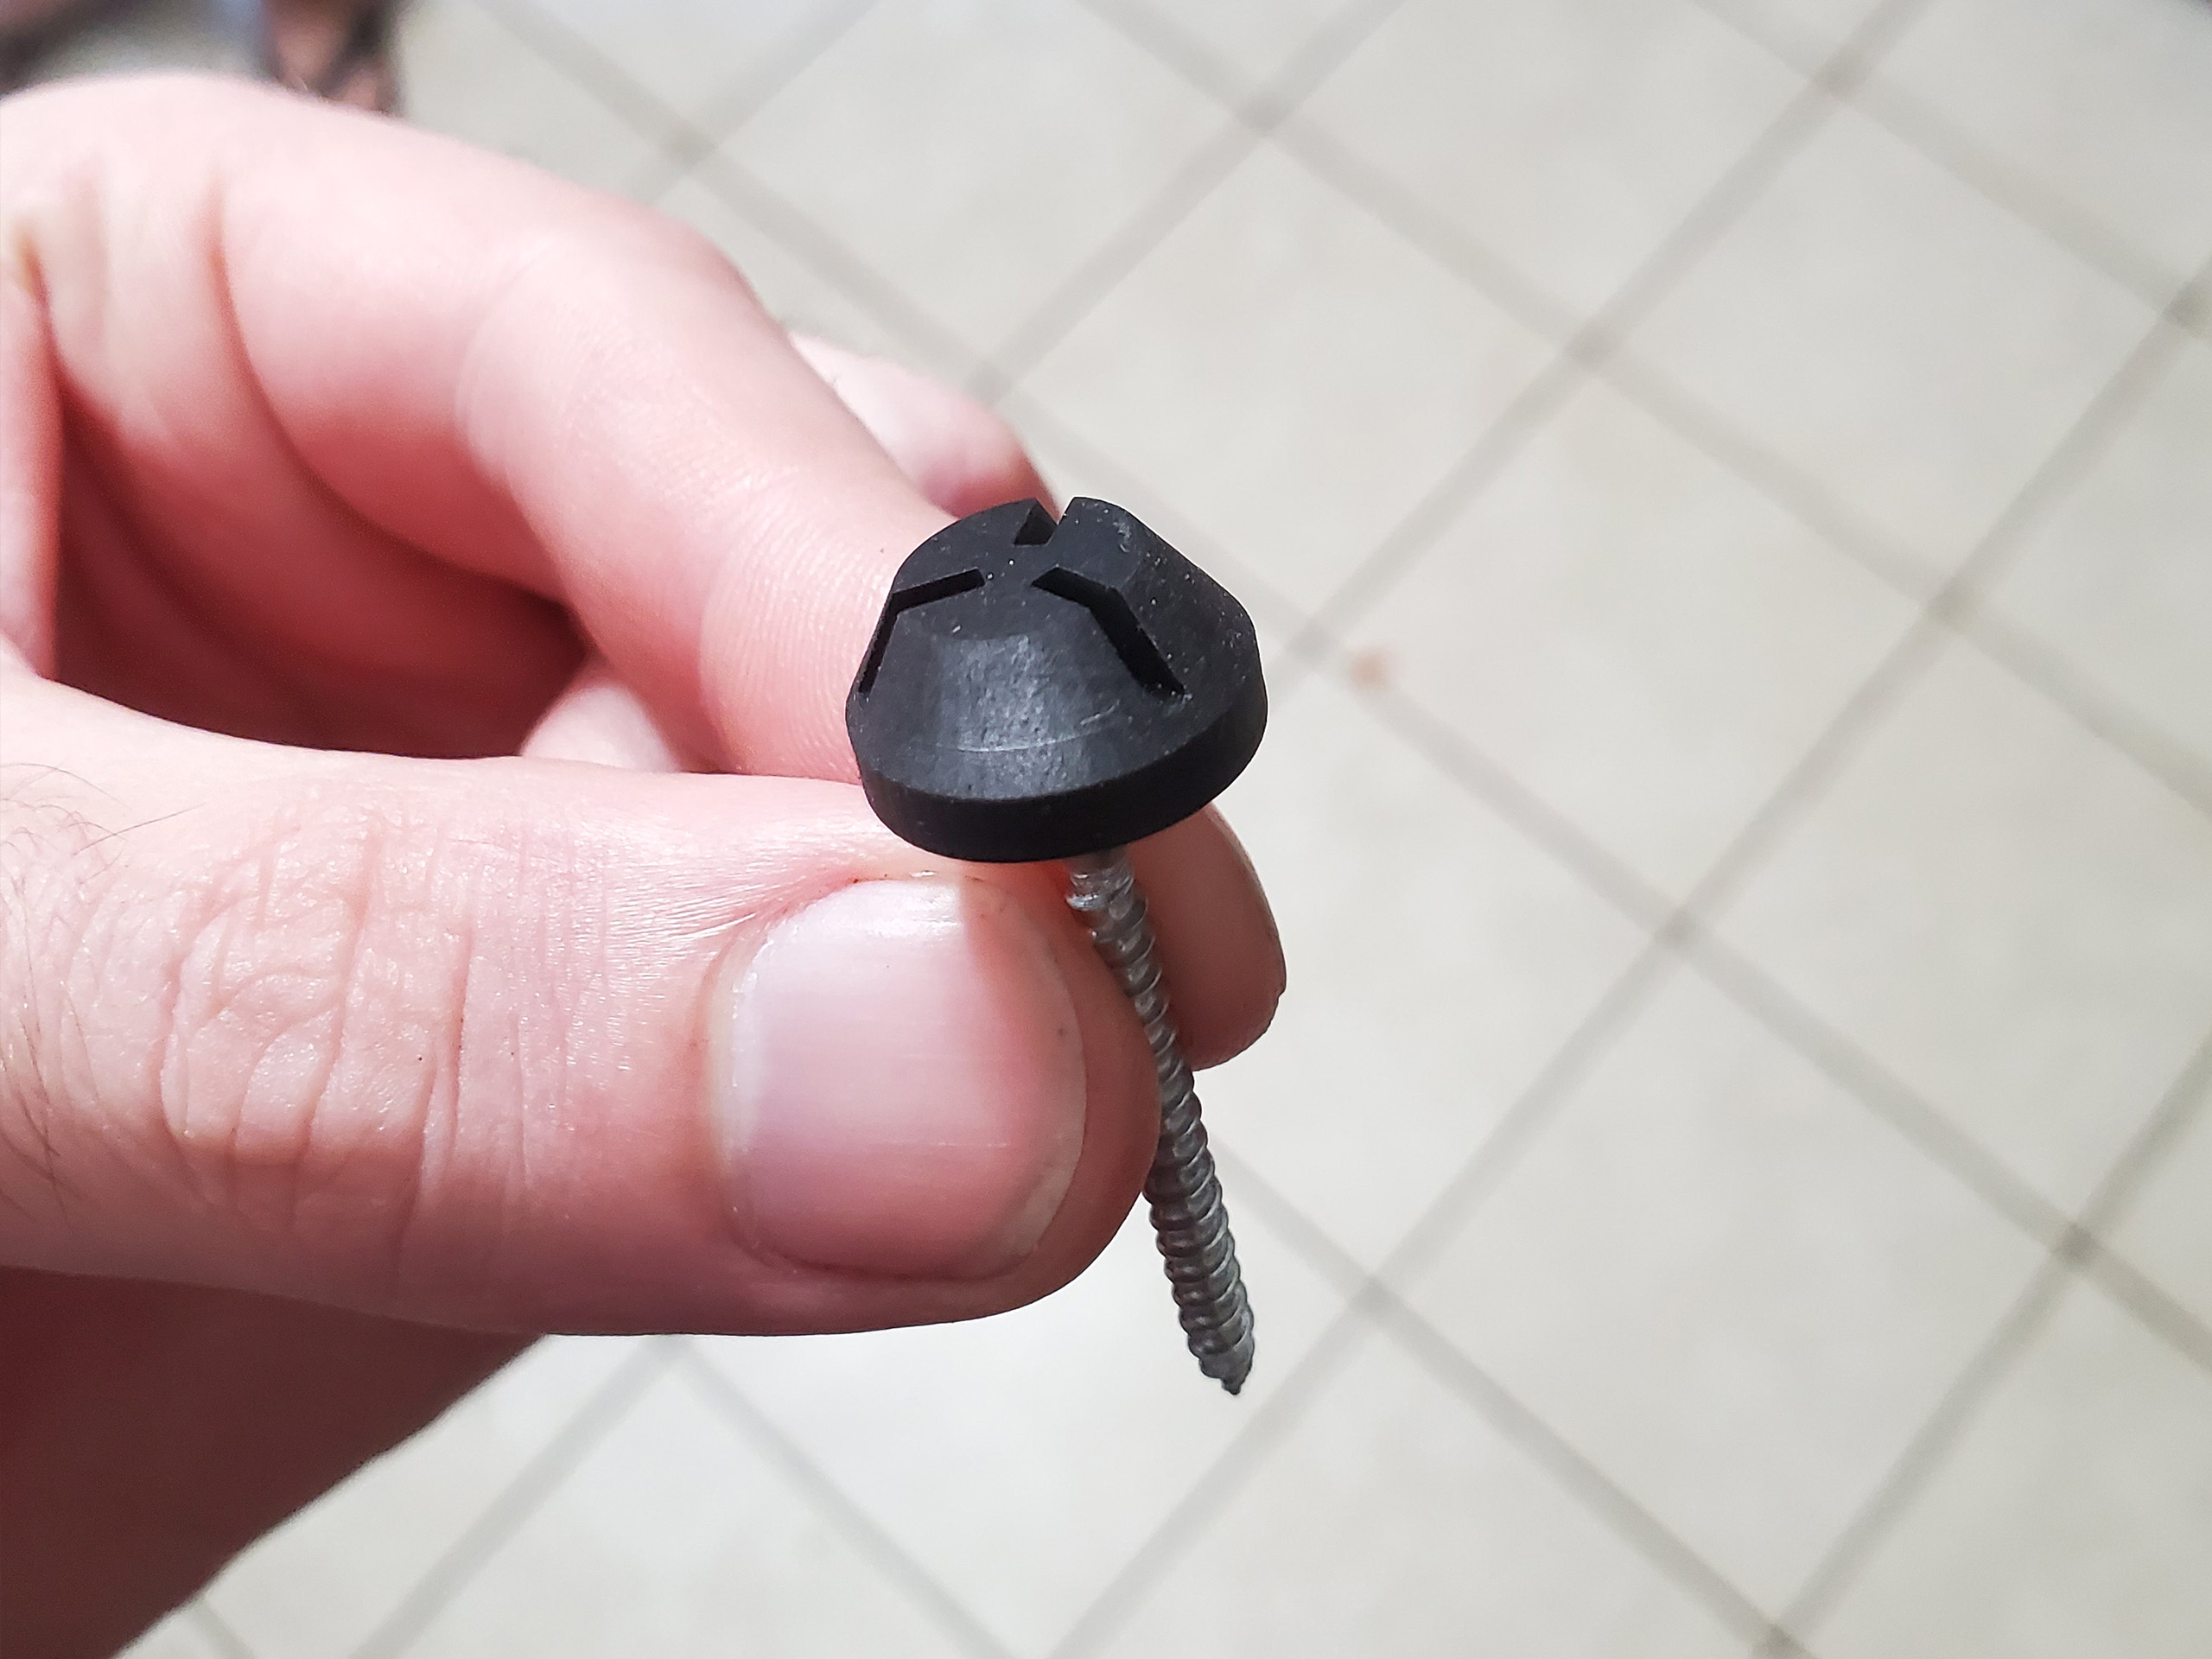
Here is the completed bolt head printed on my resin printer ready for paint and weathering.
The plate was giving a light weathering with black acrylics.
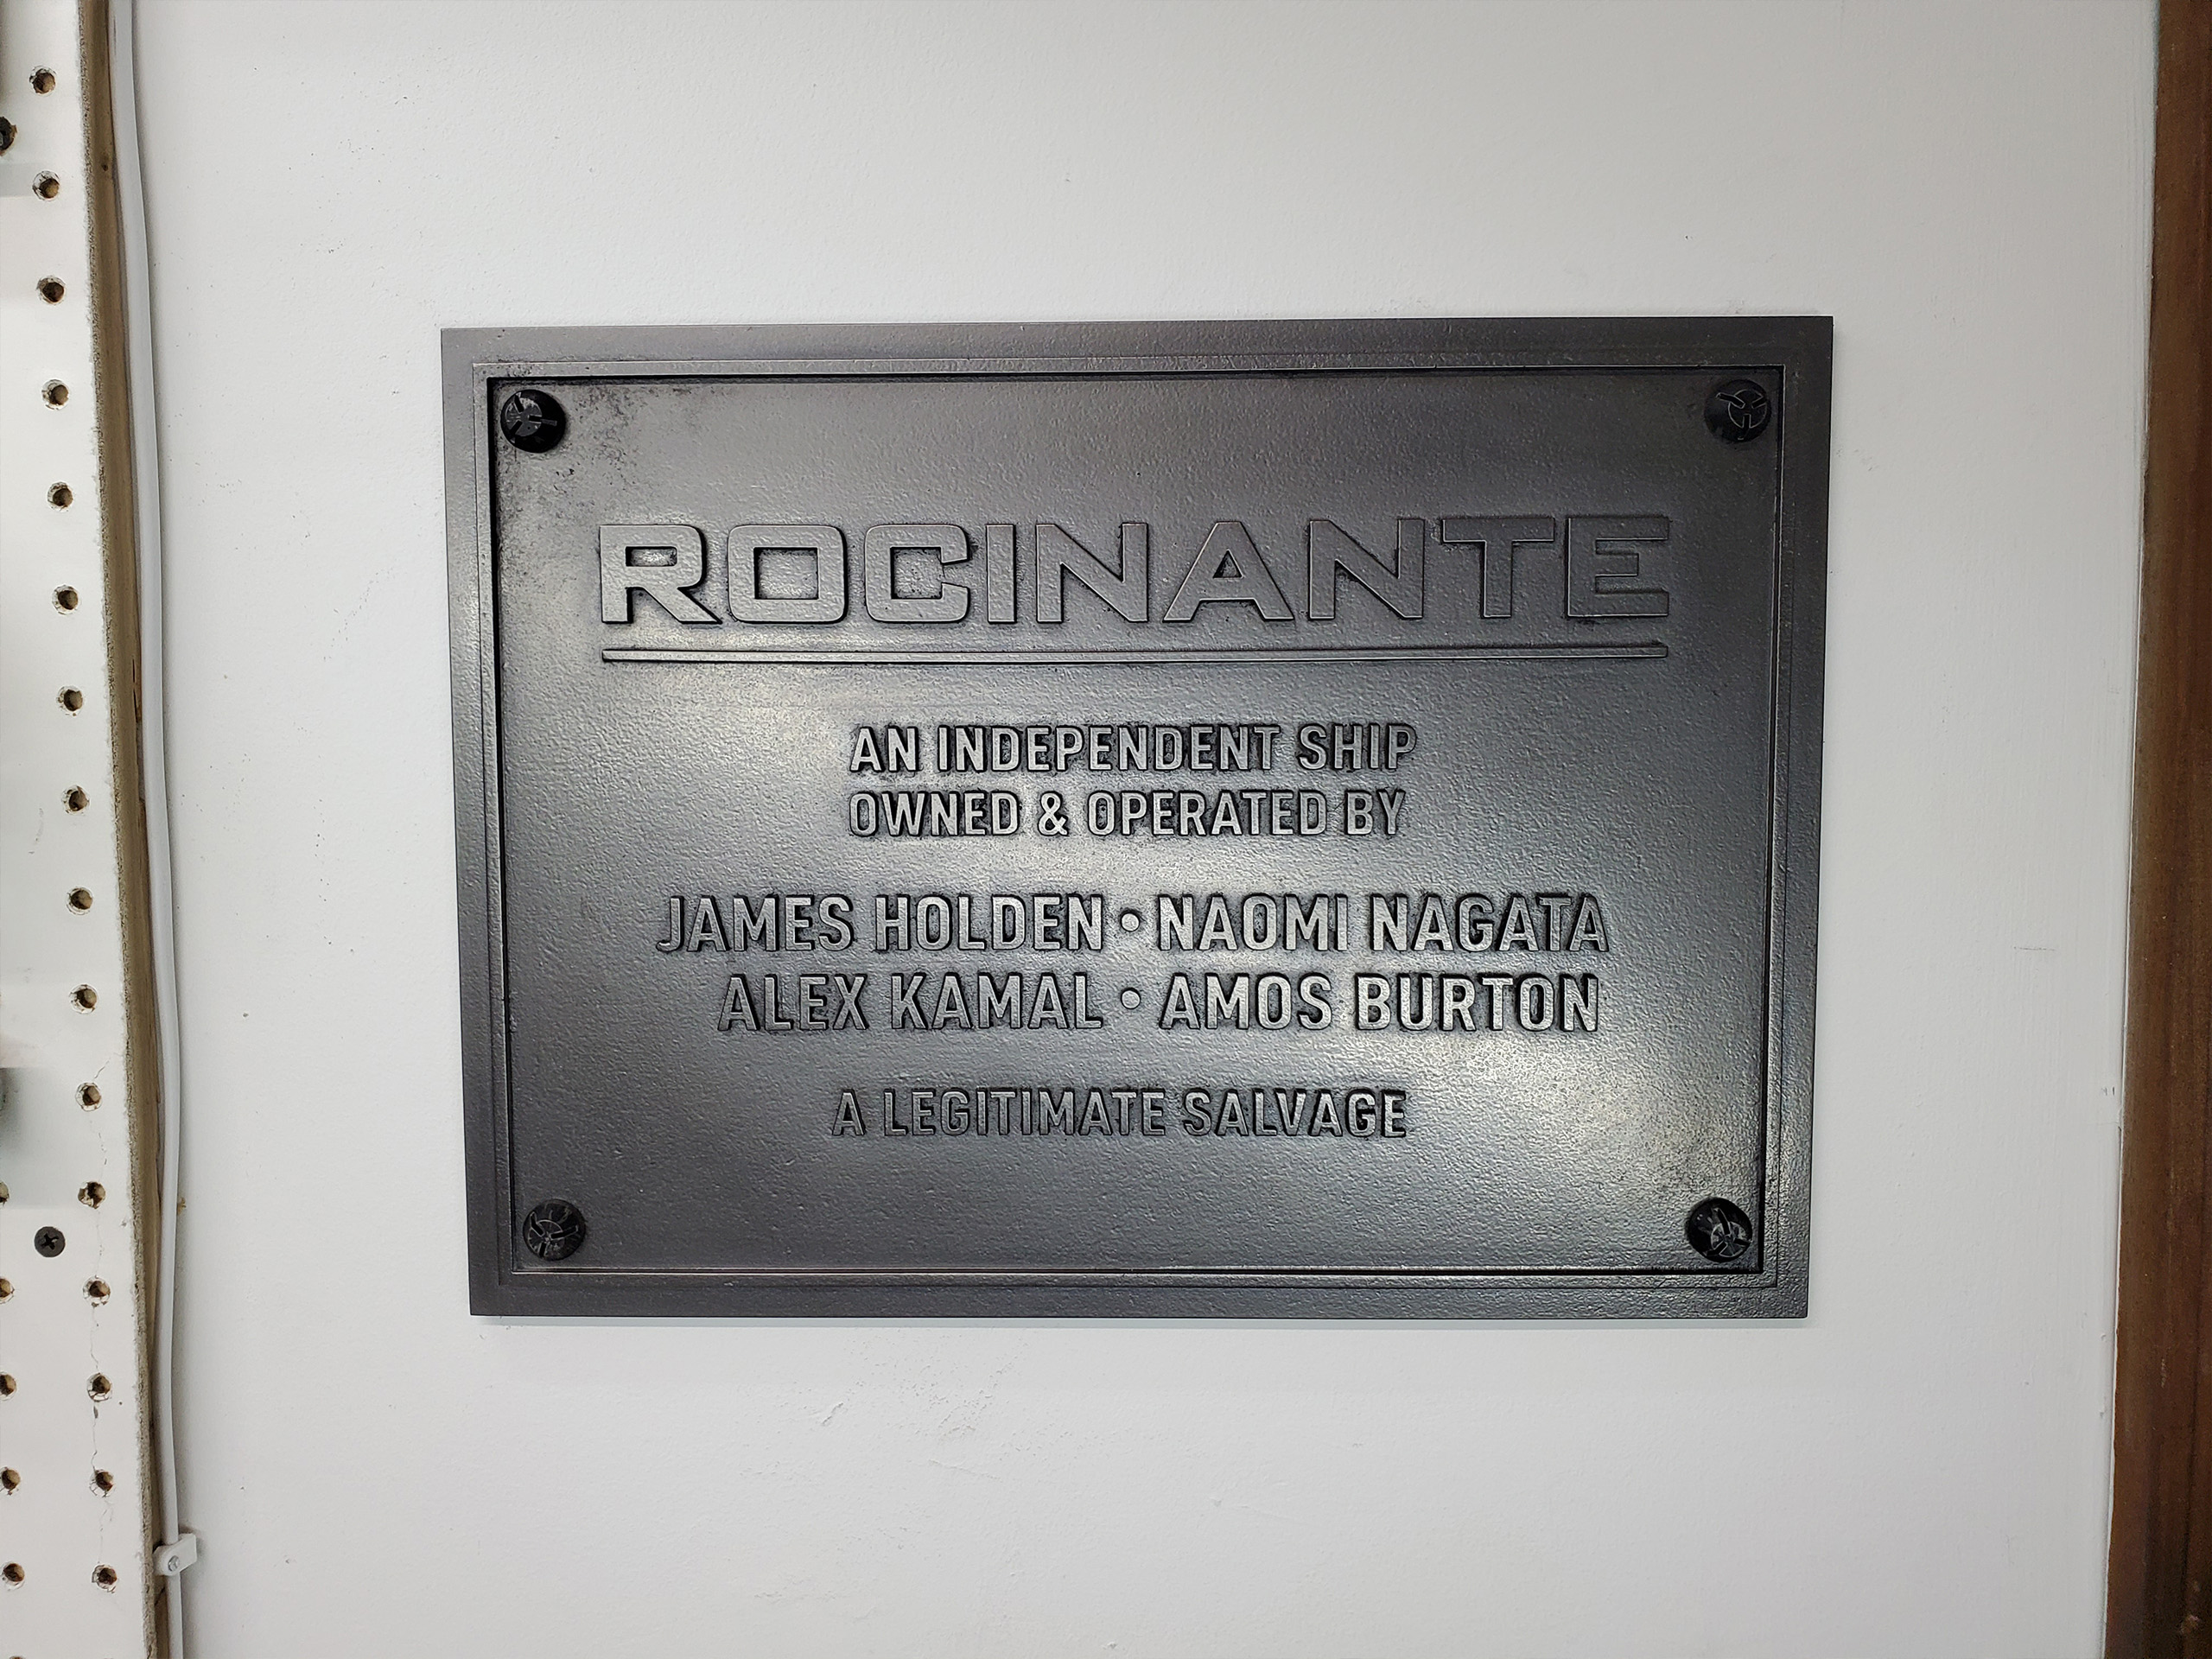
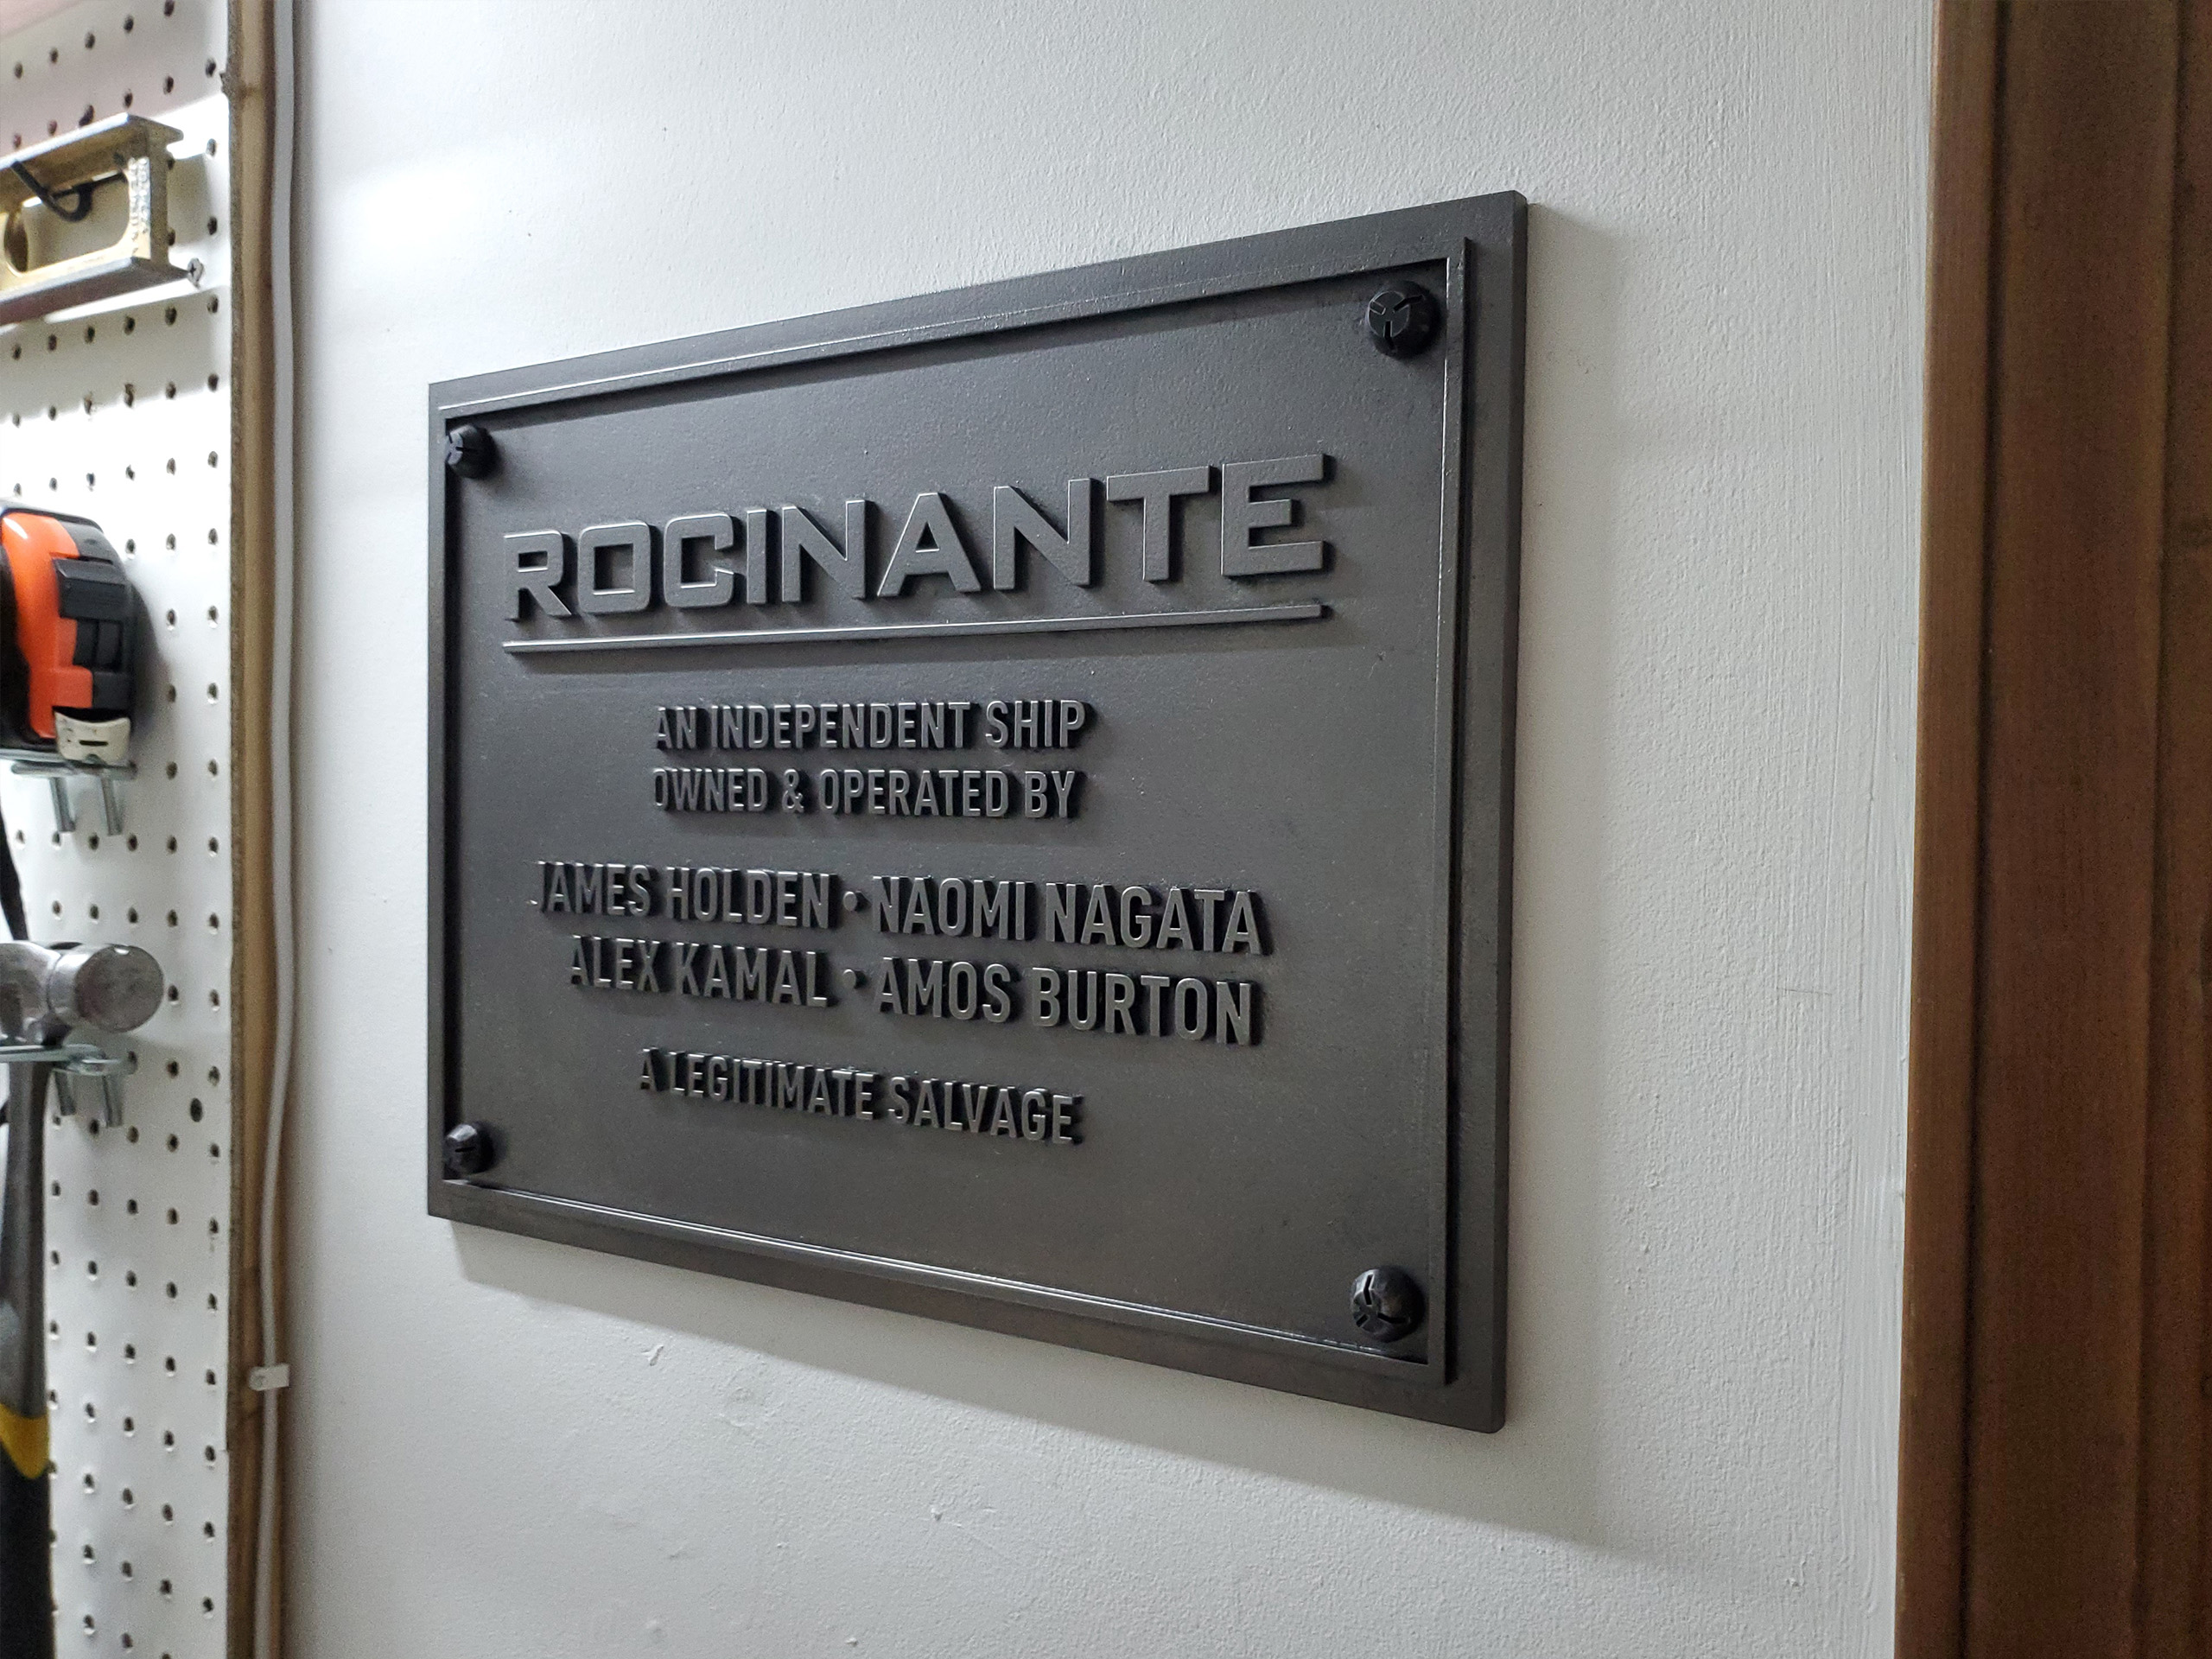
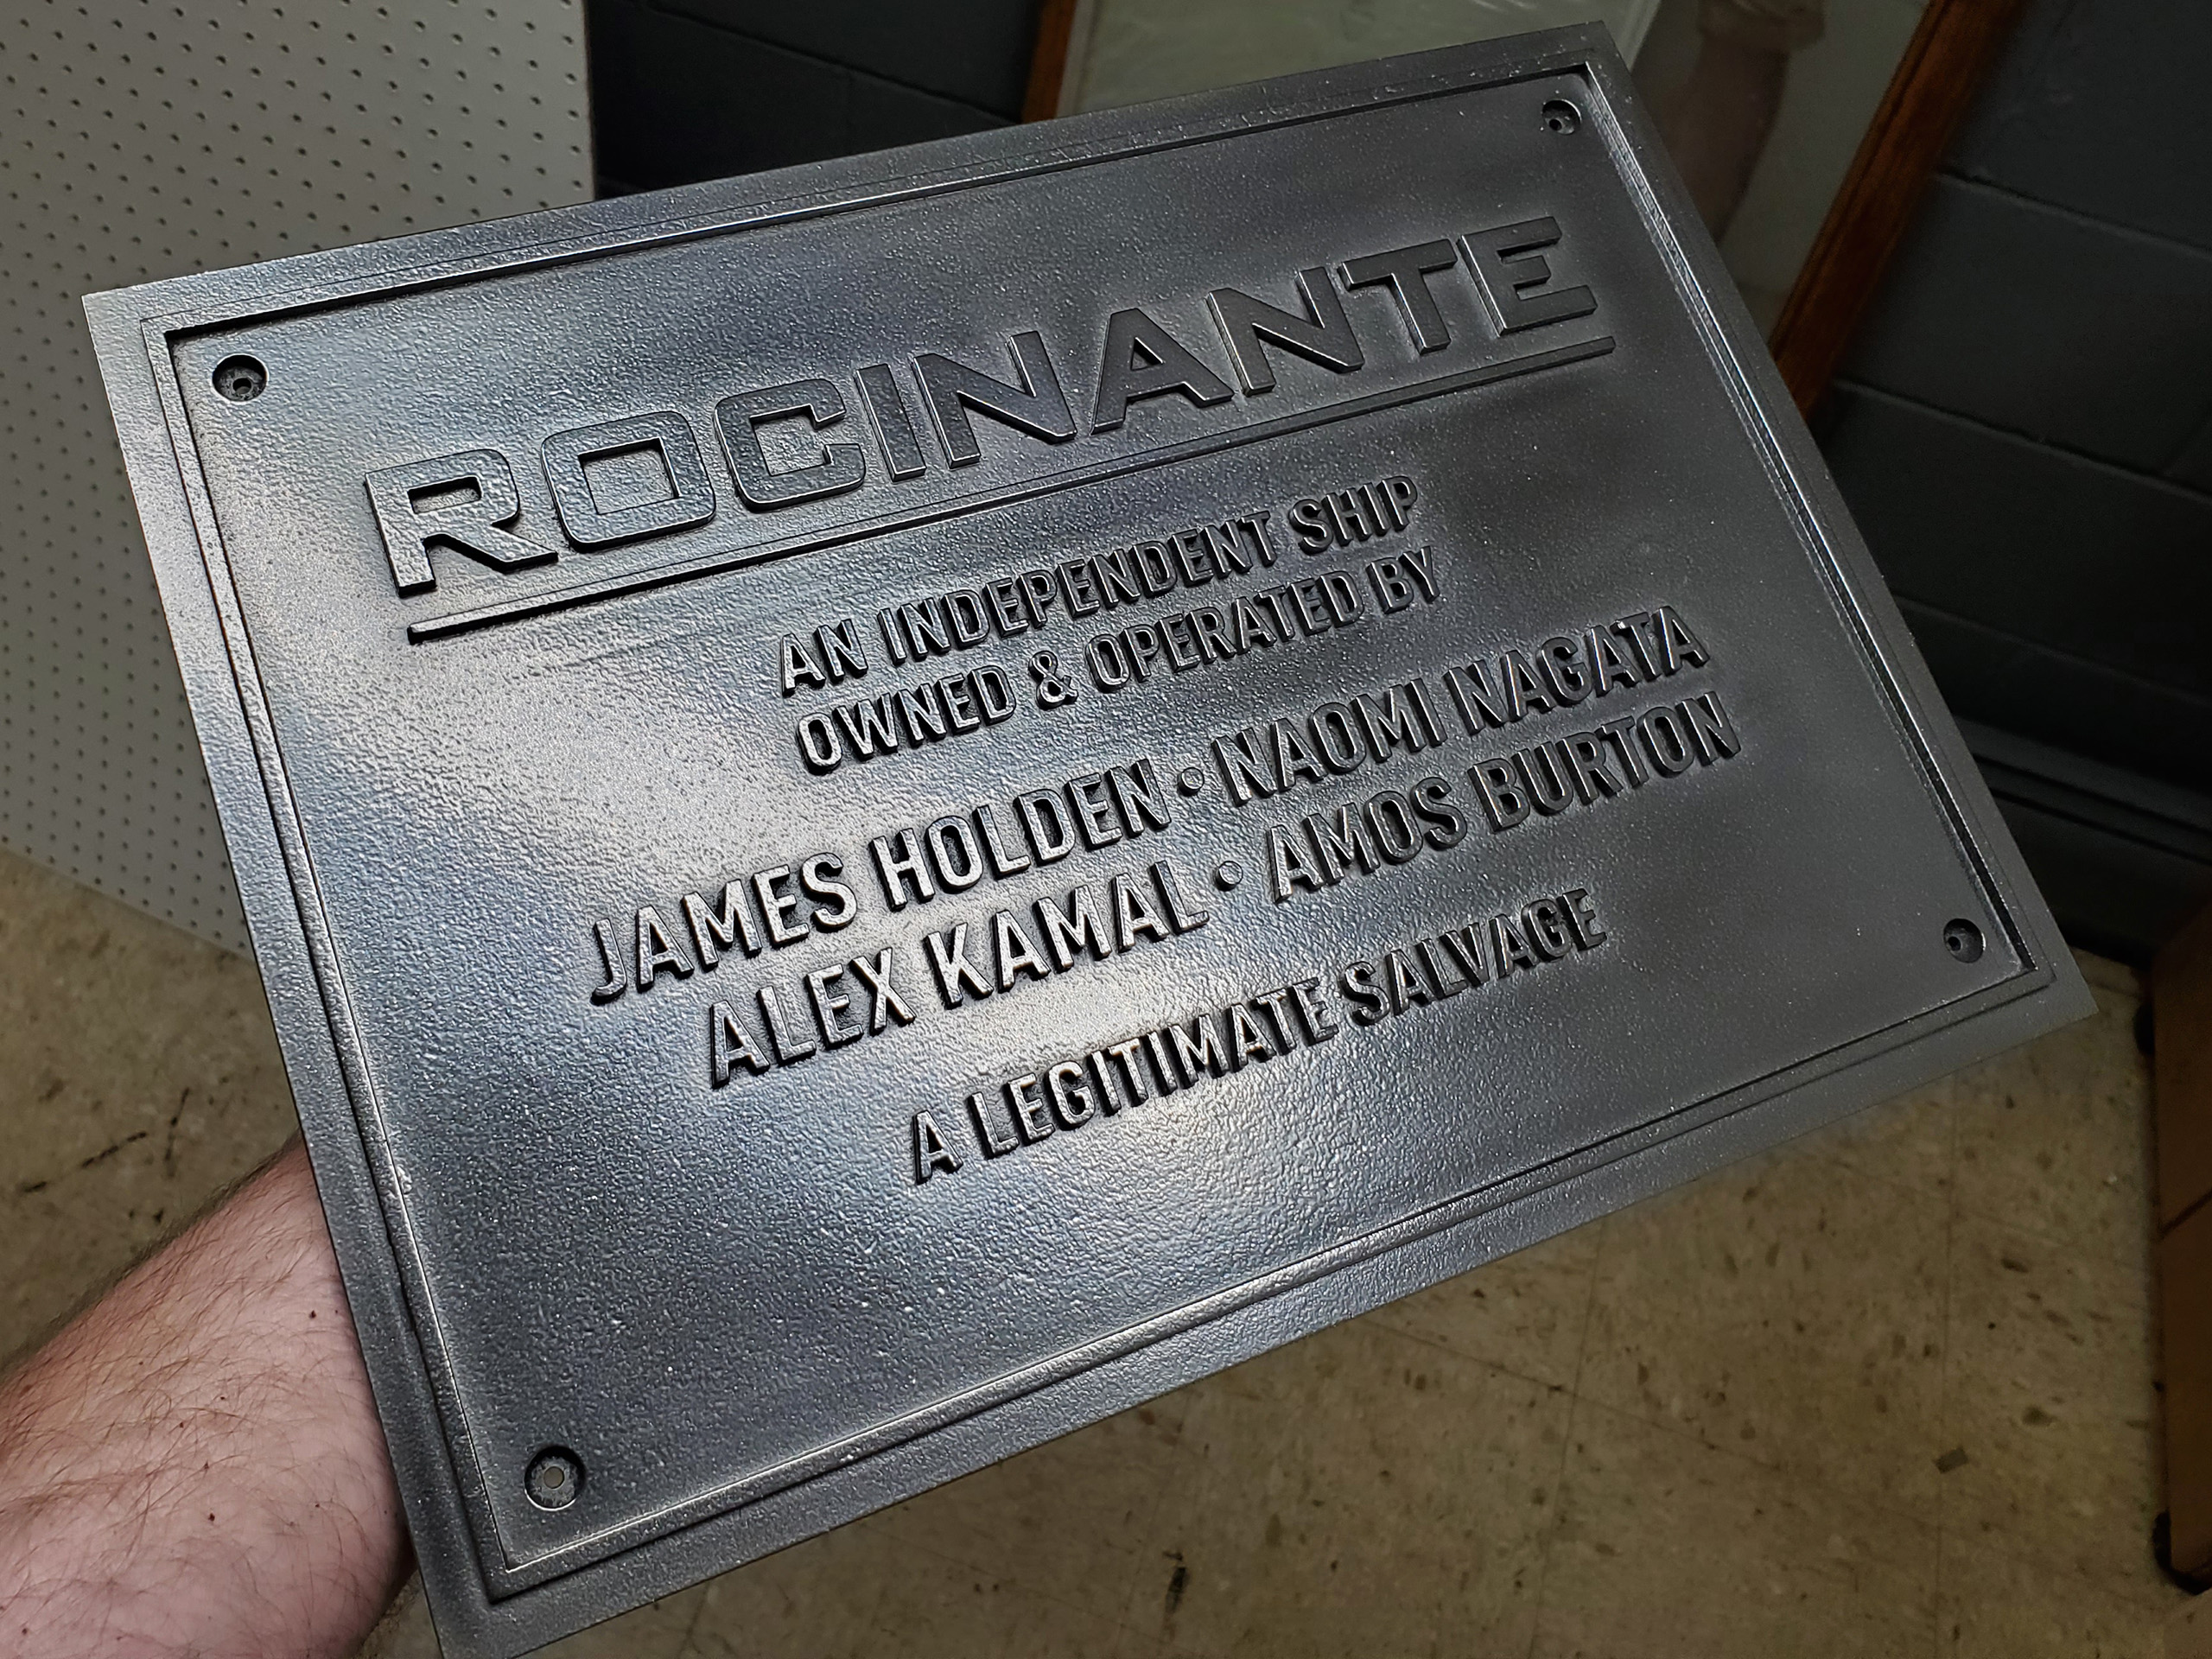
With everything done, I hung it on the wall of my work room. The completed piece is 14” x 10-1/4” and I think really looks the part. This was a nice quick build and only took three days from start to finish and most of that was watching paint dry. Lastly, below is a quick glamour shot highlighting the metallic sheen.
Thanks for looking!


This is so freaking cool. Do you happen to sell these because my boyfriend is a huge expanse fan and I would love to get him this for his birthday!
Hello,
I am just wrapping up season 5, and there’s a nice shot of the Roci’s name plate towards the end of the last episode. A quick google search lead me to your page. Any chance you’d make and sell me one of those?
Thanks!
This looks great! Really like the metal effect you achieved with the graphite.
I found a great font for the wording, but not finding the right thing for the ship name. Do you recall which one you used?
Thanks
The ship name is BankGothicLH Heavy
The rest of the wording is FF DIN Condensed Bold
Would you be willing to post the file?
I can work on getting them uploaded this week. You are not the first person to ask.I would love to make kits for people, but I don’t think that would ever happen. What kind of files were you looking for? I have .svg files for laser cutting and an stl I made for the bolt covers.
The .svg for laser cutting would be great. I’m having trouble finding the ff din font for free so my replica is not perfect which is bothering me.
Great work! I’d also appreciate the files…
I would also second the laser files. Been trying to fine a good way of doing this.
Absolutely amazing, love it. You think the .svg files would work with a fine wood etcher/engraver as they do for the laser cutter? I would also love to have them 🙂